June is just around the corner and it promises to be a busy month!
The 2022 January – June Mini Catalog will be retiring on June 30 and the Last Chance retiring items have been posted.

This will be your last chance to purchase retiring items from the January – June 2022 Mini Catalog and retiring items are available while supplies last. And some items are on sale at up to 50% discount.
Here are the details:
- Not all retiring items are on sale. Discounted items are noted in the Retiring List
- All products are available while supplies last, and there are no purchase limits.
- Discounted items can be added to a Starter Kit and redeemed as a 50% off item or with Stampin’ Rewards.
- Only orders opened and closed during the promotion period apply.
- Stamp Sets are not guaranteed during this promotion and are while supplies last.
- The items are available while supplies last through June 30, 2022.
Order soon to make sure that you are able to get the items that you are wanting! Let me know if you have any questions. Happy shopping!
Click HERE to download a PDF of the Retiring List items.
Click HERE to download an Excel Spreadsheet of the Retiring List items.

Kits Collection Buy One Get One 50% Off!
Get ready—the Kits Collection is having a buy one, get one 50% off promotion. The Kits Collection by Stampin’ Up! is perfect for beginner crafters with its variety and all-inclusive projects. And this is the perfect time to share a kit from the Kits Collection with a friend!
Here are the details:
- Sale runs through 1–30 June 2022.
- All kits in the Kits Collection by Stampin’ Up! qualify for this sale.
- Kit selection is based on availability.
- You will need at least two kits in your cart for the discount to automatically apply at checkout.
- There are no order limits on this promotion.
The kit selection is based on availability, and new kits are continually being added. You can see what’s available in the Kits Collection selection HERE. Let me know if you have any questions
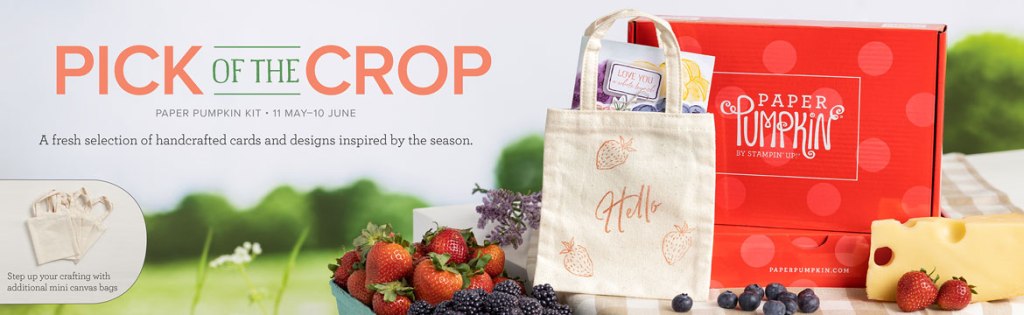
The June Paper Pumpkin Kit is Pick of the Crop!
Give your card collection a reFRESH with this month’s Paper Pumpkin Kit! We’re talking FRESH ideas, designs, cards, and crafts. This kit’s stamp set is perfect for expressing your love, gratitude, and style. With sentiments that say “Love you a whole bunch”, “You’re the pick of the crop”, “You are the sweetest,” and so many more, you’ll be able to use this photopolymer stamp set for all of your summer projects.
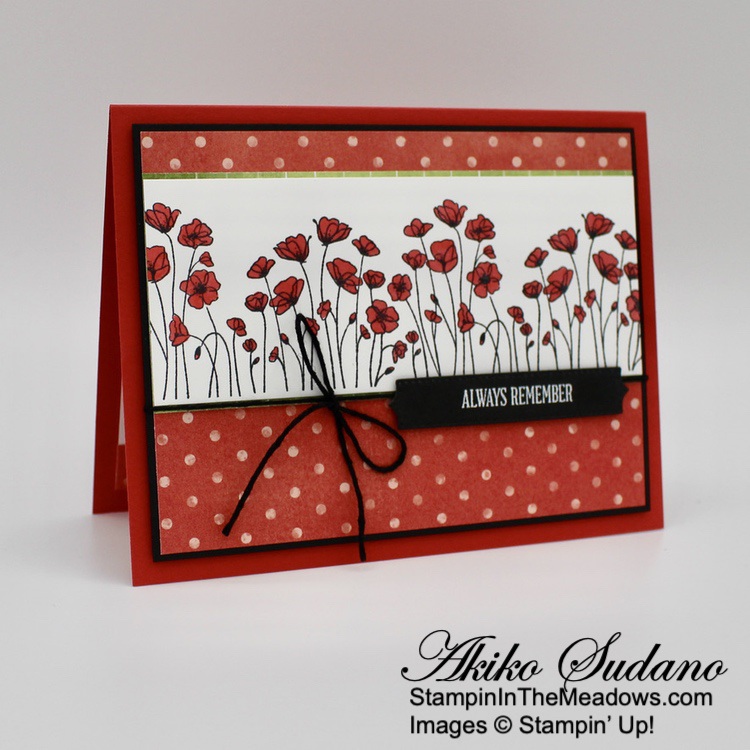
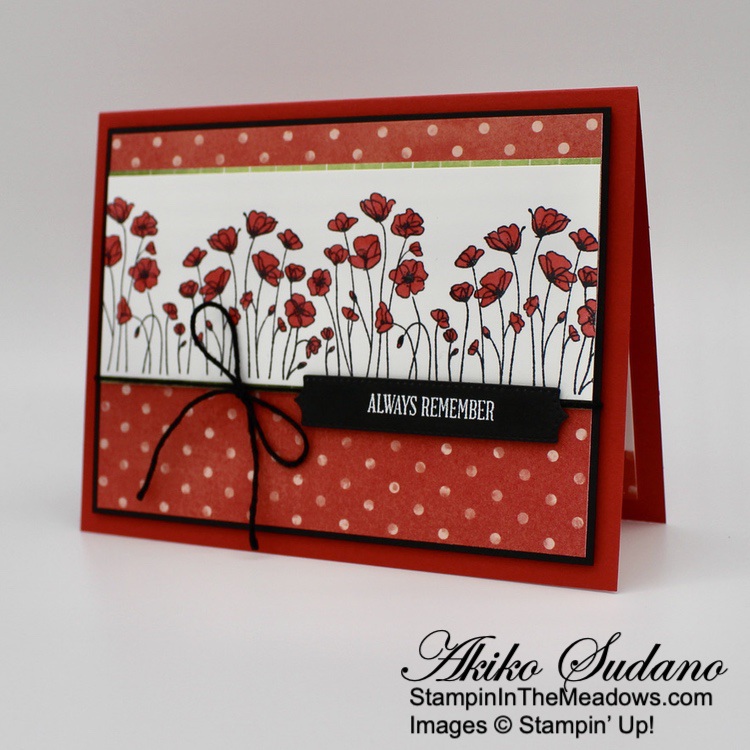
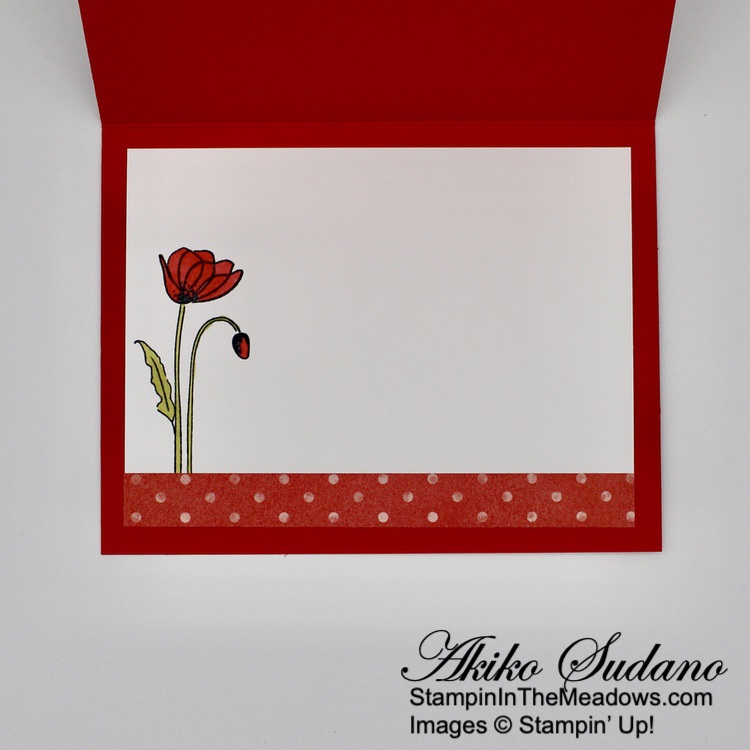
This kit includes supplies to create 9 card – 3 each of 3 designs and 9 coordinating envelopes:
- Calypso Coral Classic Stampin’ Spot®
- Printed card bases a, die-cut paper pieces, vellum, adhesive, and more!
- Card size: 4-1/4″ x 5-1/2″
- Envelope Size: 4-1/2″ x 5-3/4″
- A 5-3/8″ x 6″ mini shopping bag
- Stamp or color the bag for a personalized touch
- It holds a couple of cards for a fun twist on card packaging
- Additional shopping bags can be purchased starting June 13, 2022
- Item 161922 – contains 4 mini canvas bags
Coordinating Colors: Blackberry Bliss, Cajun Craze, Calypso Coral, Crushed Curry, Garden Green, Night of Navy, Soft Succulent
If you’re interested in subscribing to Paper Pumpkin, you can either sign up for a subscription where you are billed monthly for your kit or you can purchase a prepaid subscription in my Online Store. To see more information and to sign up for the monthly subscription click here. To see the options for prepaid subscriptions in my Online Store, click here.
Sign up deadline for the June 2022 kit is June 10, 2022. Note: Supplies may be limited toward the end of the subscription period.
Current Host Code: MHHQUNTF
Use this host code when you order $50 or more and receive a free gift from me! The free gift is your choice of any item currently available valued up to $10.00!
If your order is over $150, please do not use the host code since you’ll receive your own Host Dollars plus I’ll still send you the free gift! This host code can be used by anyone, no club or commitment required. Let me know if you have any questions.
If you need any stamping supplies, I’d be very happy to be your Demonstrator. Just click on the Shop Now button on the right side of the screen to go directly to my online store or contact me if you have any questions. Happy Stamping!
Thanks for stopping by and have a great day!
Akiko
- Visit my online store here
- See the current Stampin’ Up! clearance rack specials here
- Earn FREE Stampin’ Up! products through my Wildflower Frequent Shopper Program – my way of saying thank you to my online frequent shopper customers.
- Have any questions? I’d be happy to help, click here to contact me.


")

 Designer Series Paper")


")
")


 Designer Series Paper")


")

 Designer Series Paper")


 Cotton Ribbon Combo Pack")


")

 Host Designer Series Paper")


")
 Designer Series Paper")


 Metallic Woven Ribbon")


")


")


")


 Layering Designs")


")
 Designer Series Paper")


