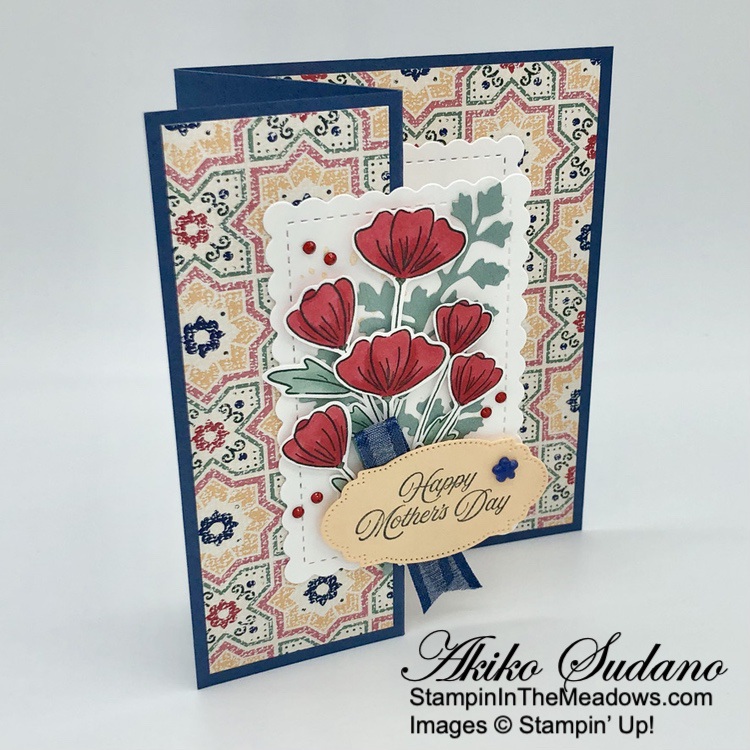
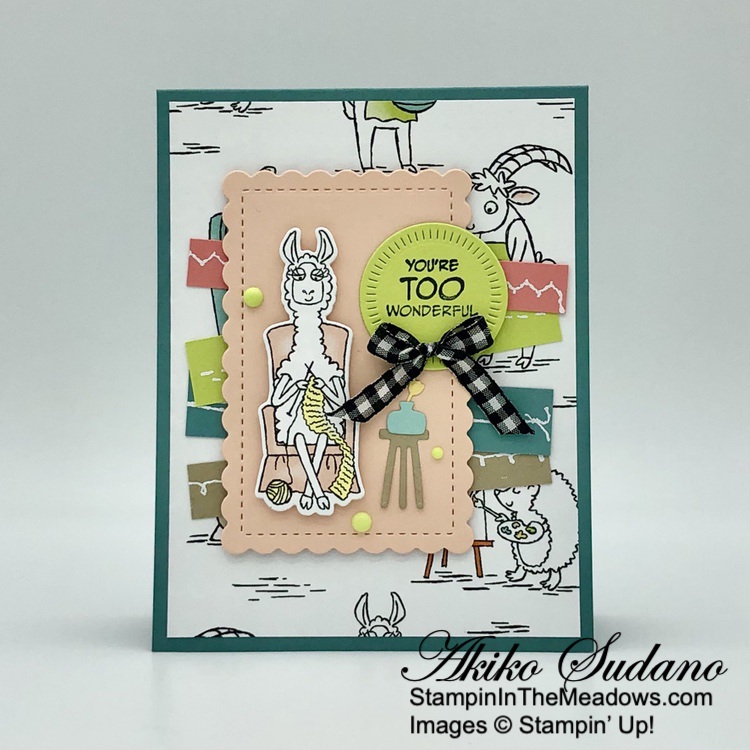
Good Morning! Whimsical garden gnomes have decorated our flower beds for the past couple of years and with the weather warming up, I knew I had to make a card with the Stampin’ Up! Friendly Gnomes stamp set before they retired. I paired this cute stamp set with the Happy Forest Friends designer series paper for a faux side step fun fold card to share today. You can find the supplies I used at the bottom of my post along with the sizes of cardstock used.
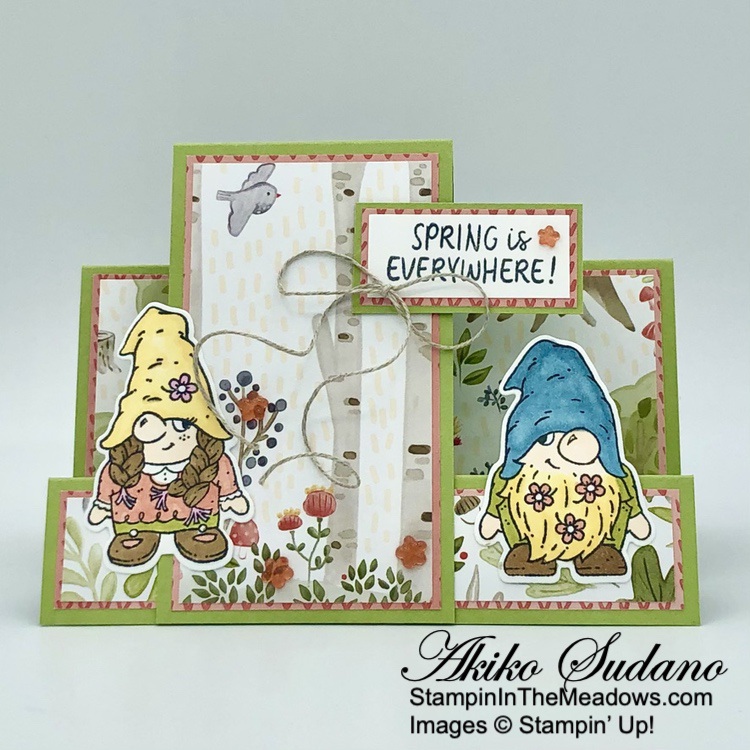
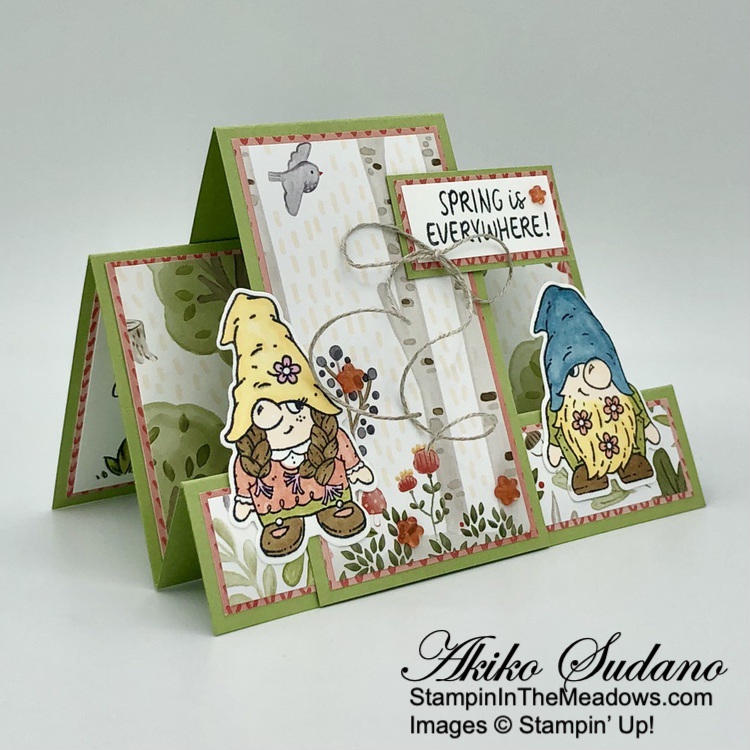
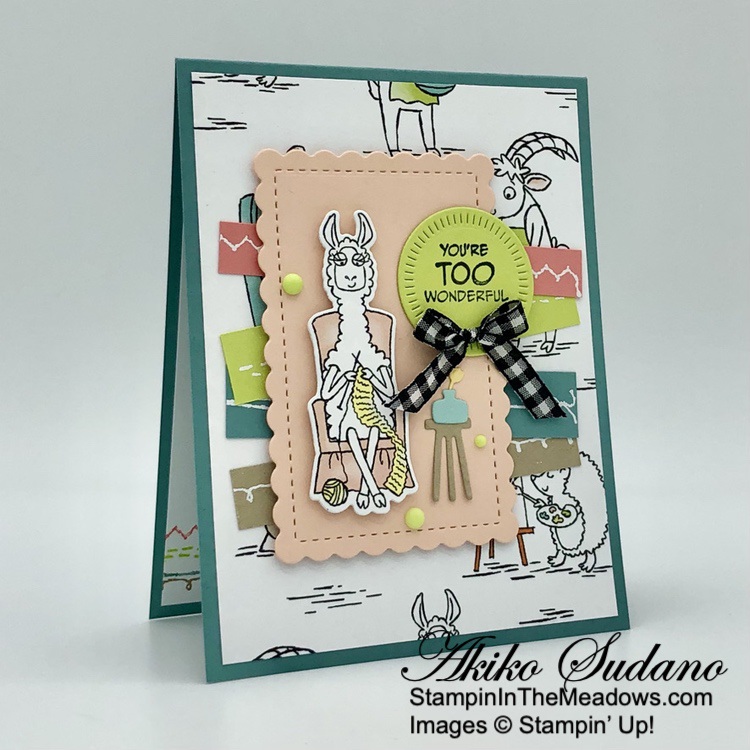
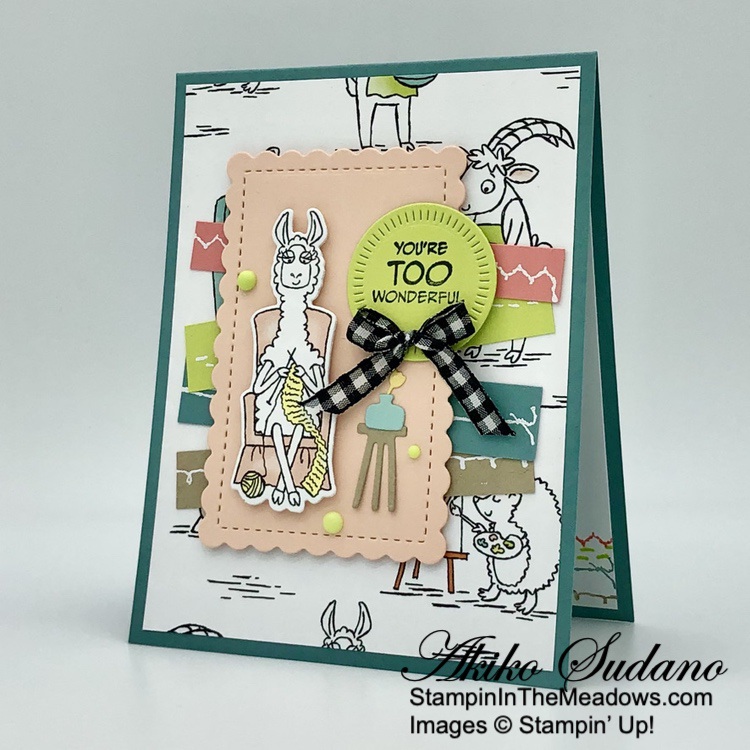
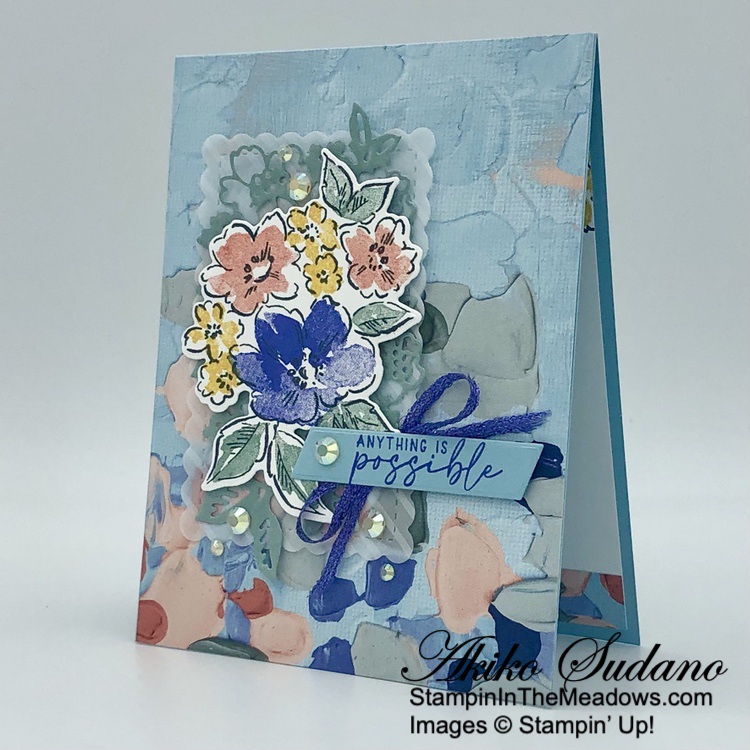
I used panels of Calypso Coral Happy Forest Friends designer series paper as mats and I adhered one to each panel of Happy Forest Friends DSP for my card. I used a strip of greenery for the first step and adhered it to the Pear Pizzazz card base. I used a forest scenery panel for the middle step and adhered it to the card. I used a tall forest scenery panel to adhere to the pear Pizzazz faux side step. I adhered the faux side step to the first step with Tear N Tape adhesive, burnished the score line and used Tear N Tape to adhere the back to the back of the card. It’s so easy to make, compared to the careful scoring and cutting for a regular side step card.
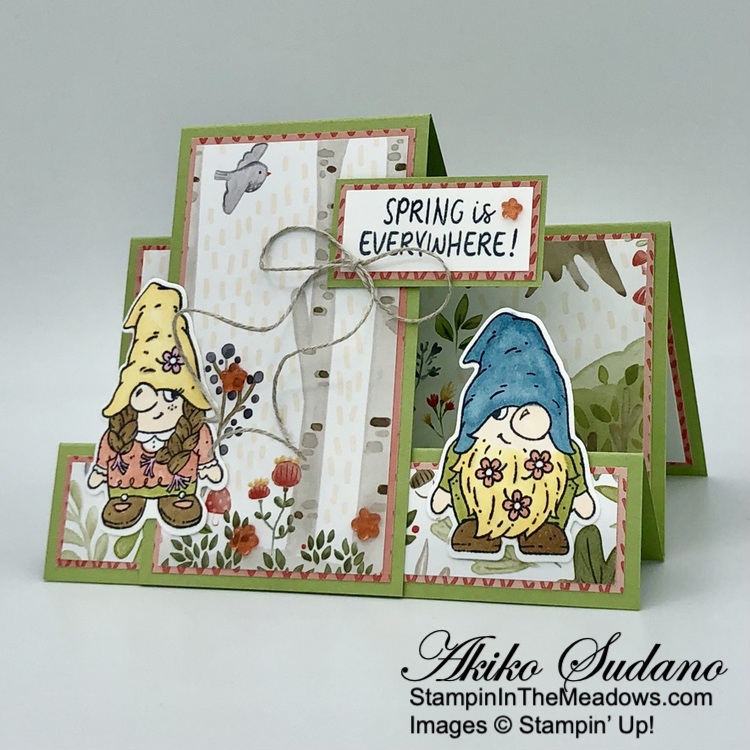
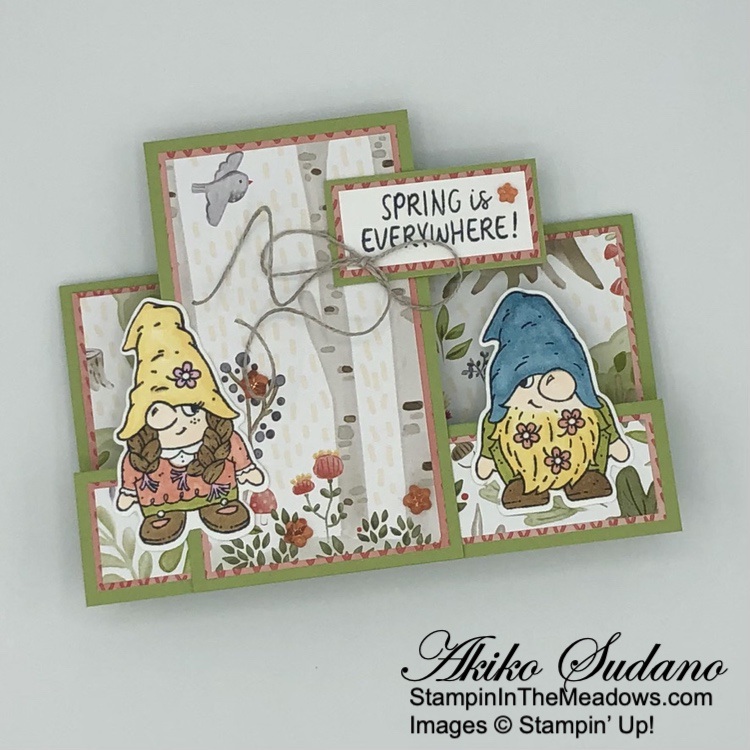
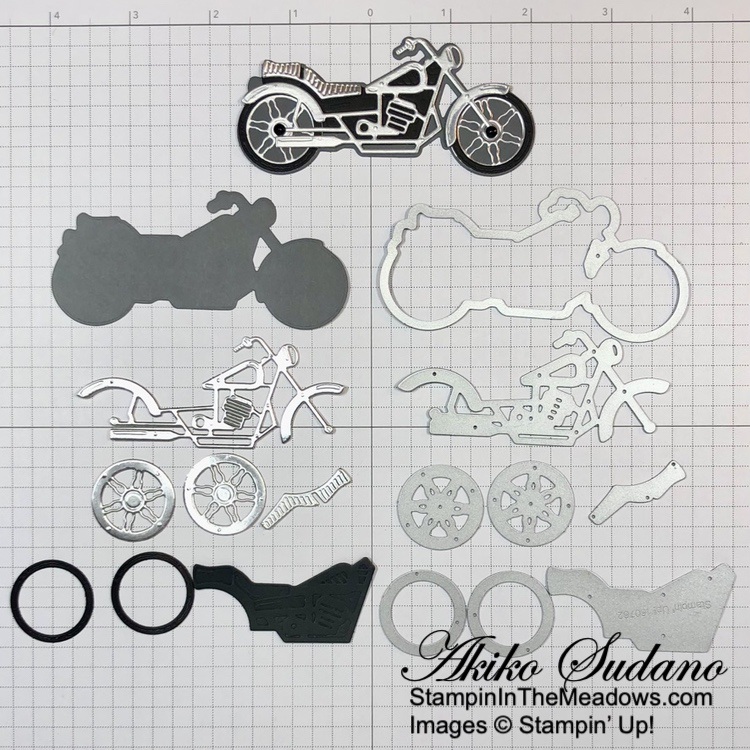
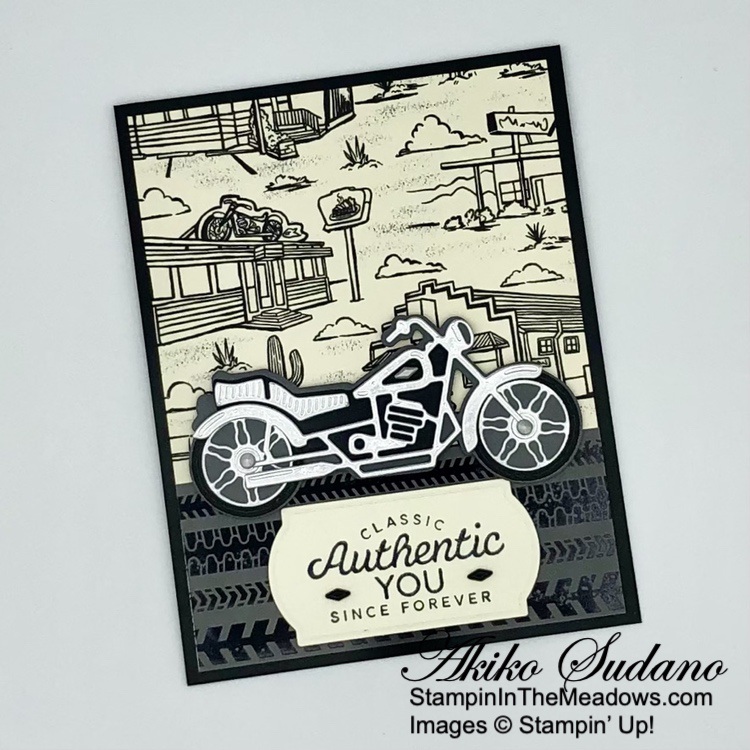
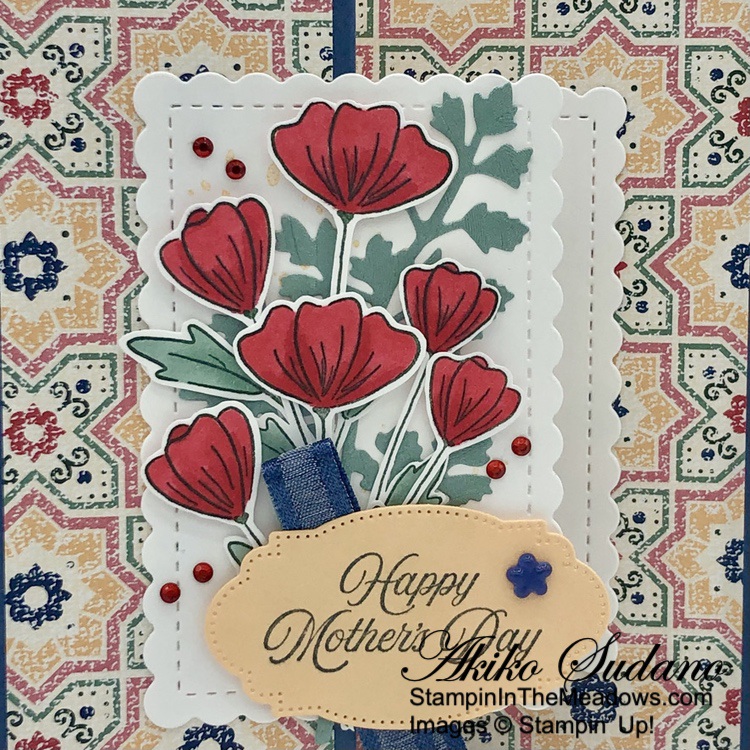
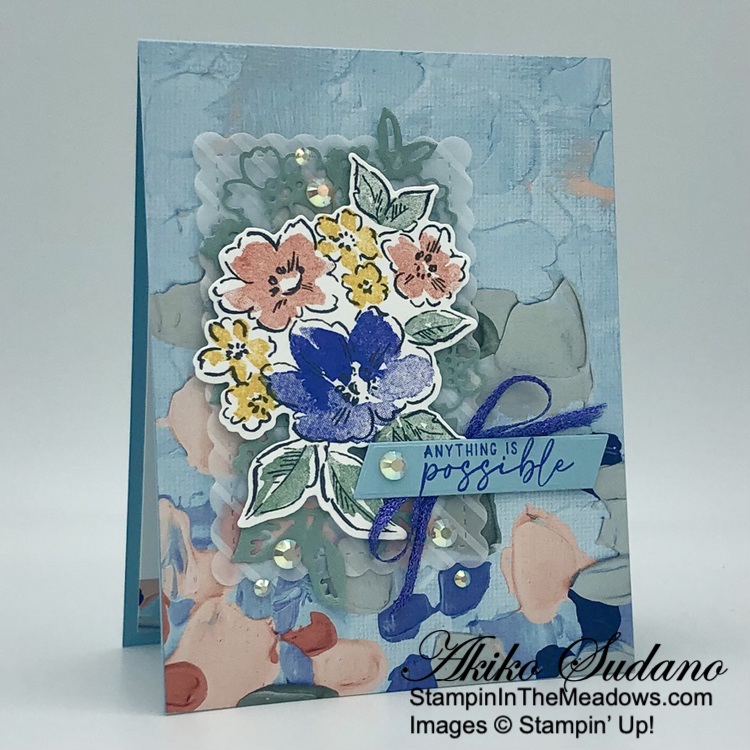
I stamped the two gnomes from the Stampin’ Up! Friendly Gnomes cling stamp set in Memento Tuxedo Black ink and colored them with Stampin’ Blends. I used So Saffron, Calypso Coral, Pecan Pie (a new color available on May 2, 2023), Balmy Blue, Petal Pink, Bubble Bath (another new color available on May 2, 2023) and Old Olive. I cut the gnomes out with the coordinating dies and adhered them to the cad with glue dots.
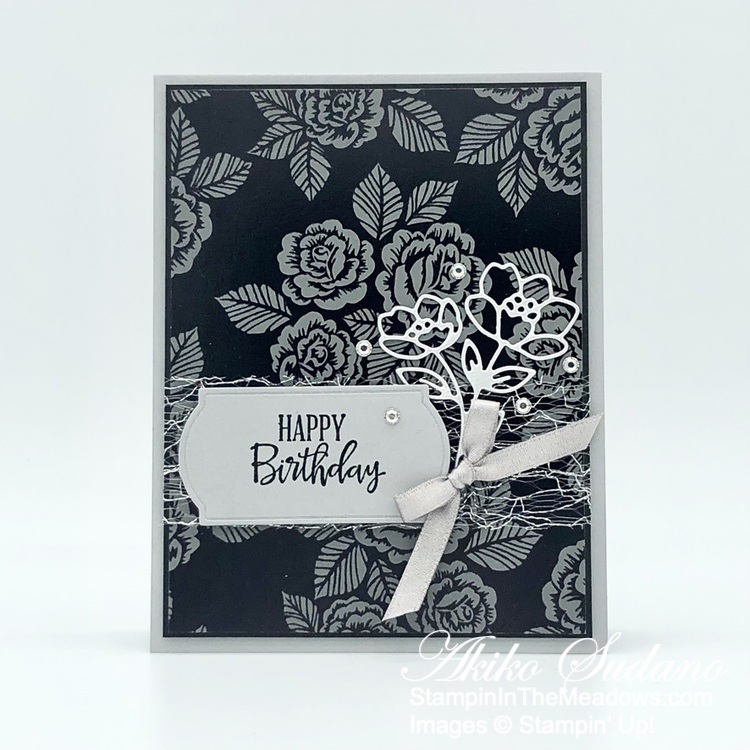
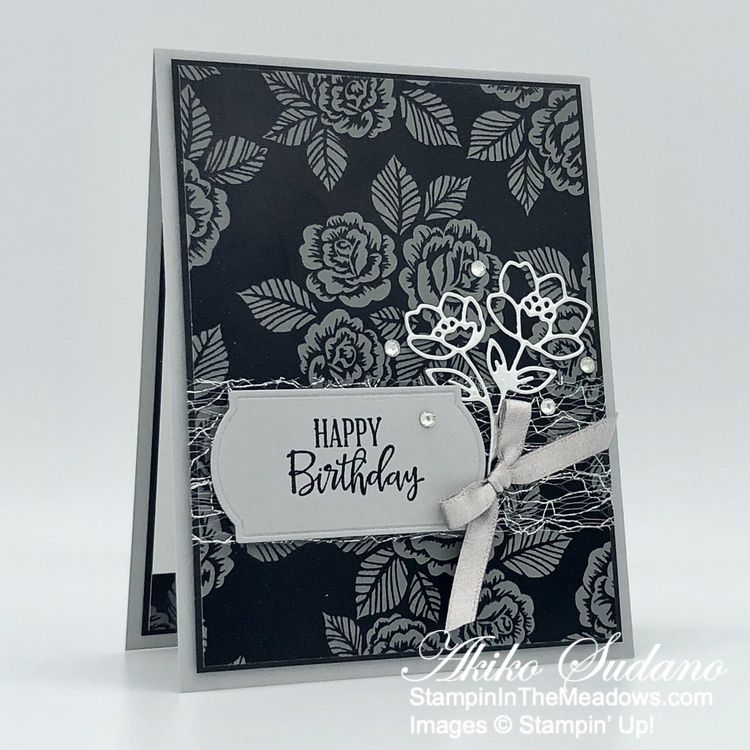
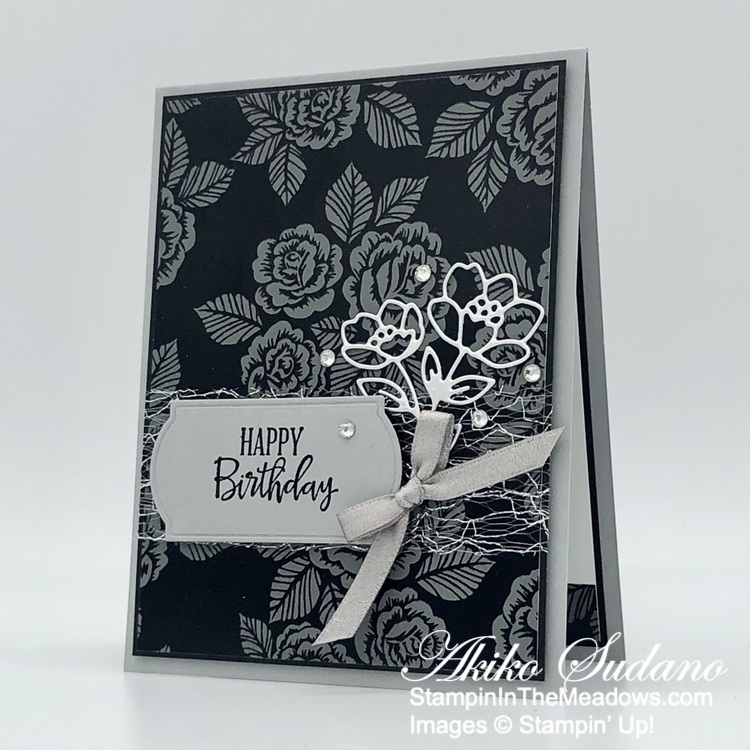
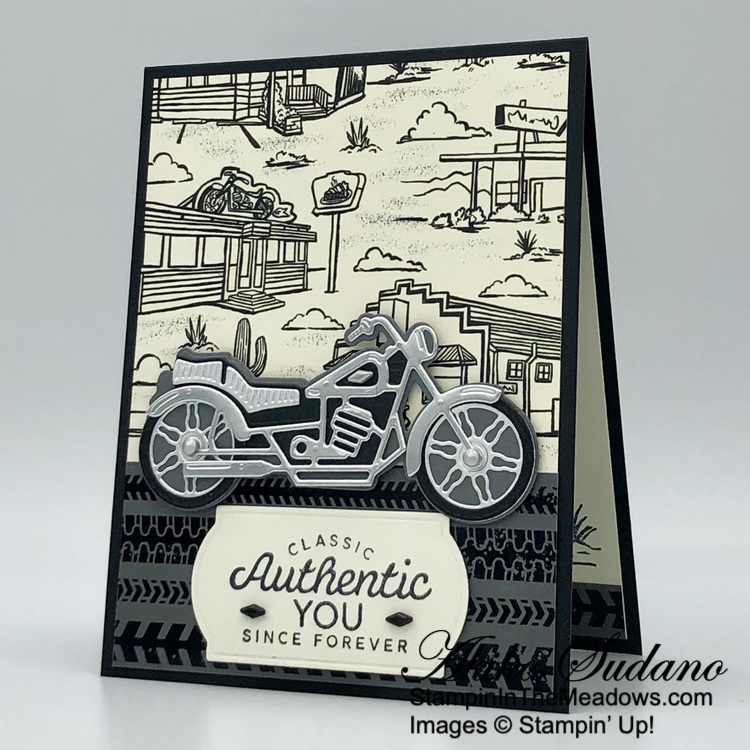
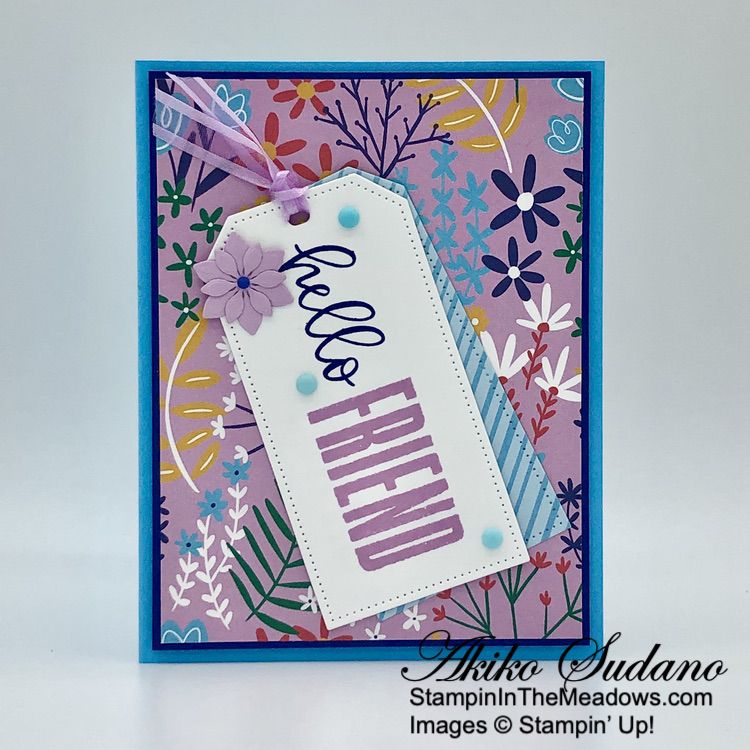
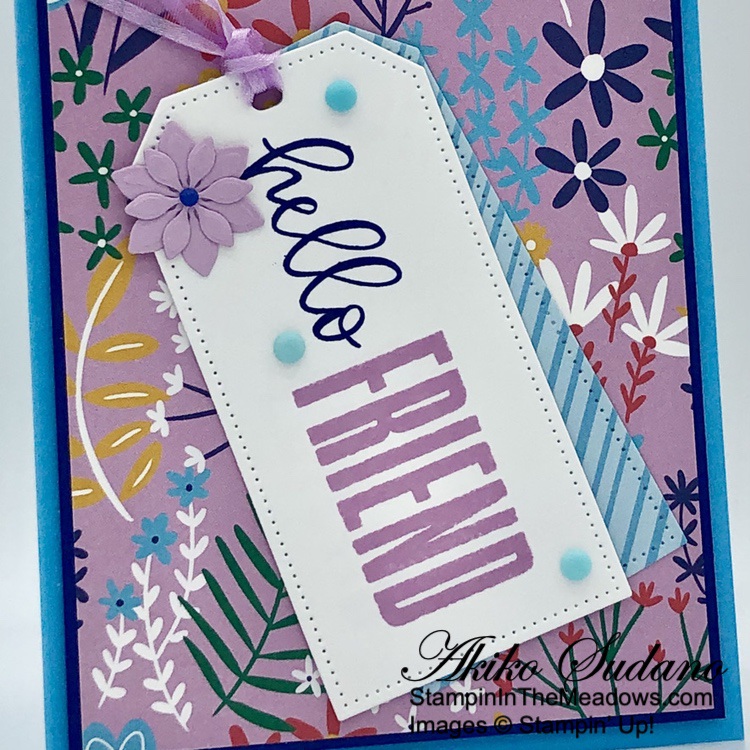
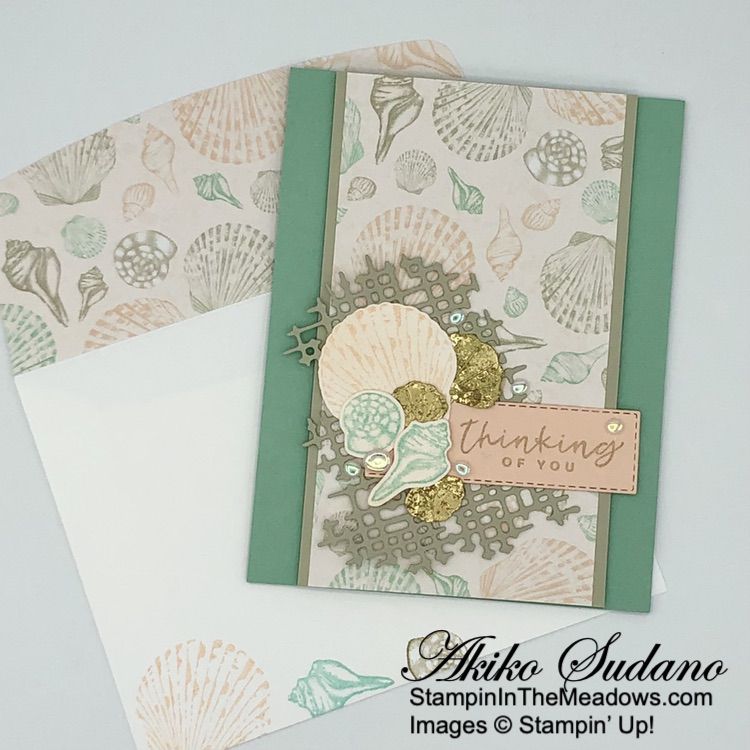
I stamped the sentiment from the Stampin’ Up! Friendly Gnomes stamp set in Memento Tuxedo Black ink on Basic White and adhered it to a mat and Pear Pizzazz panel. I adhered it to the front of the card with glue dots and finished the card front with Calypso Coral resin glowers and a Linen Thread bow.
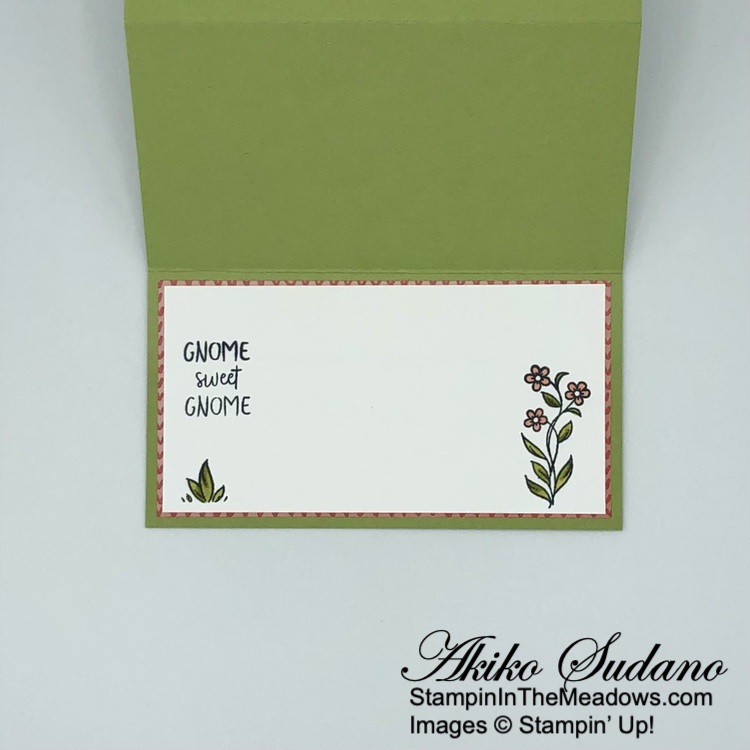
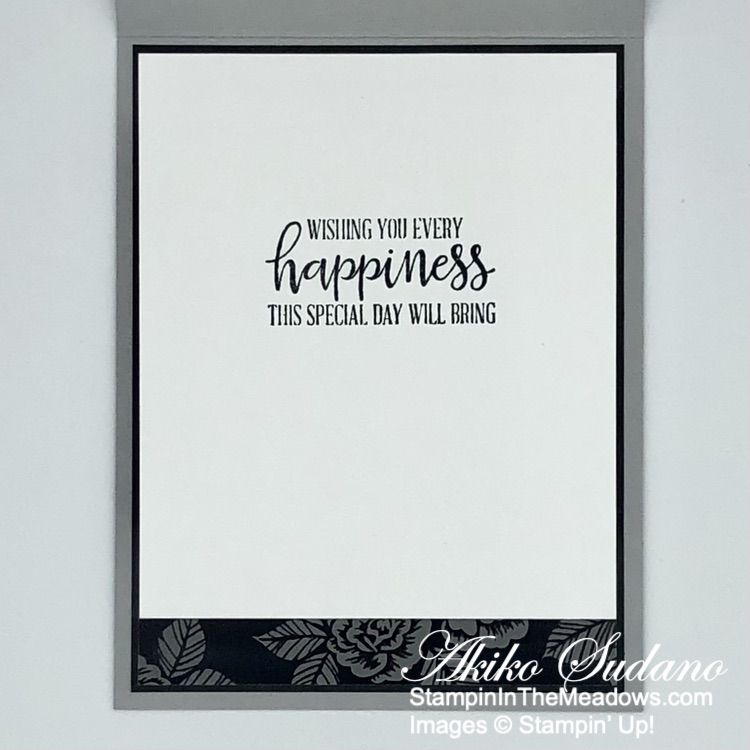
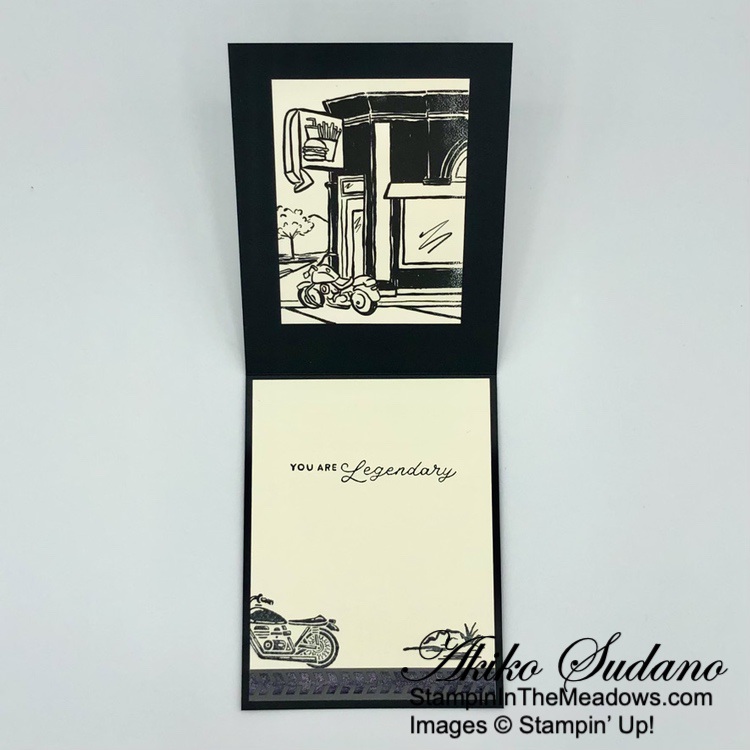
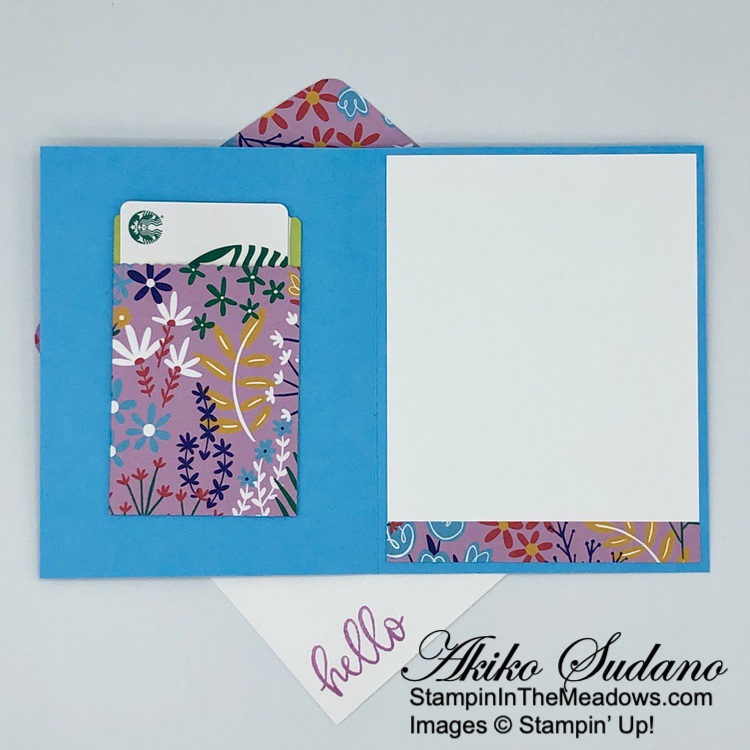
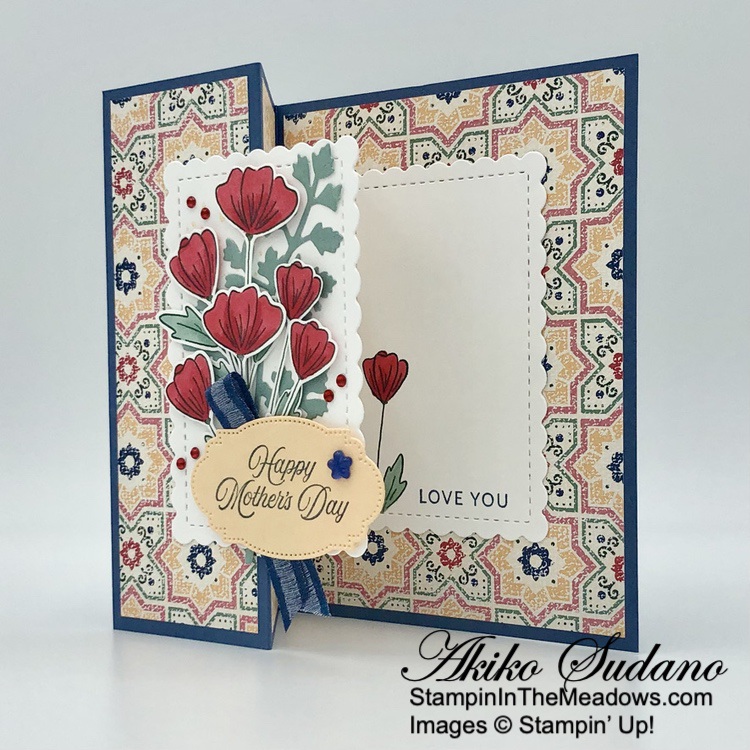
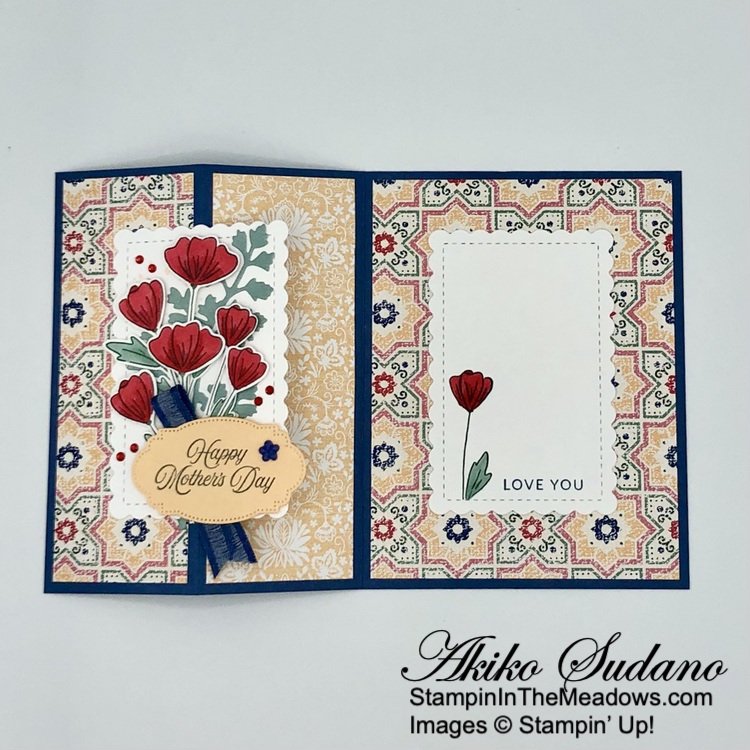
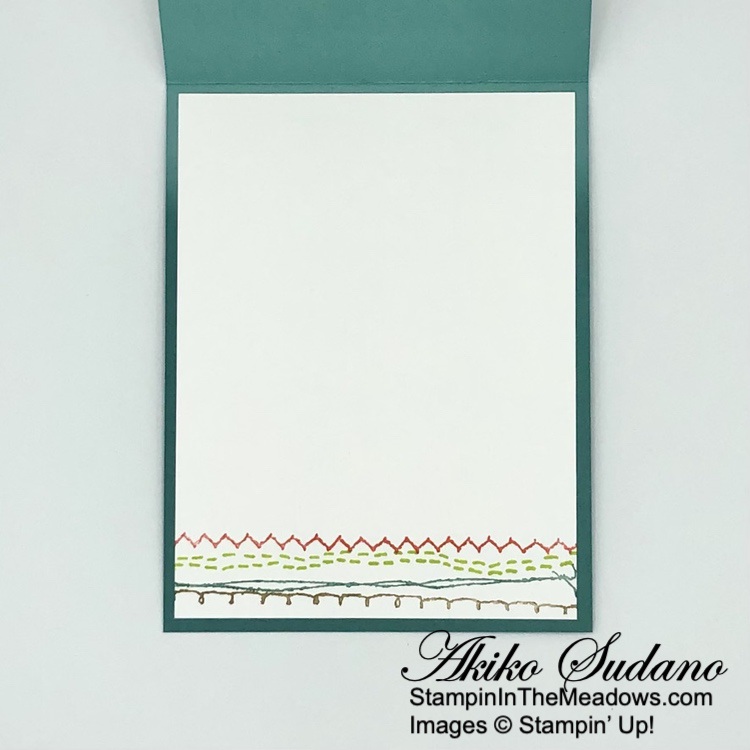
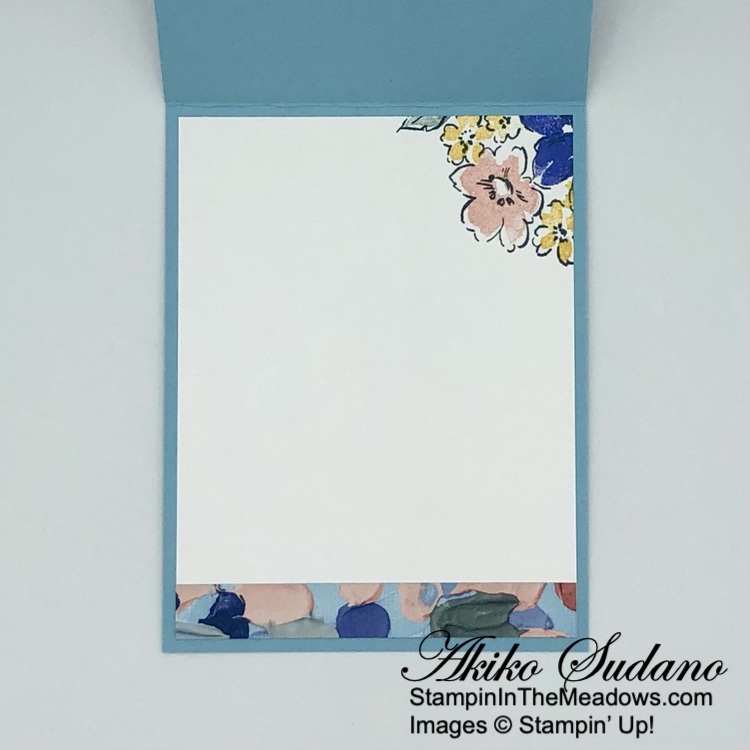
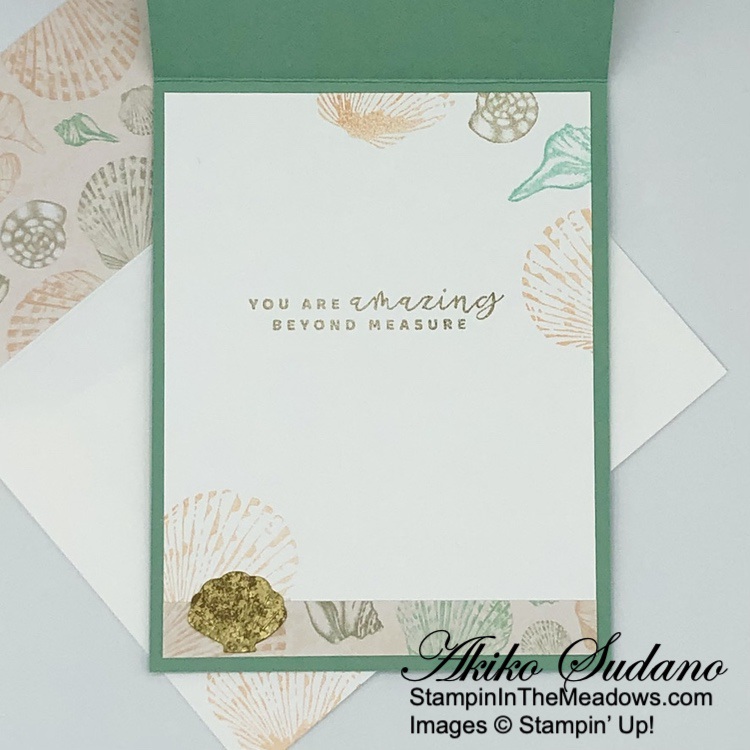
For the inside of the card, I stamped the sentiment from the Stampin’ Up! Friendly Gnomes stamp set in Memento Tuxedo Black ink on a Basic White panel. I stamped the floral sprig and grass and colored them with Stampin’ Blends. I adhered the panel to a DSP mat and then to the inside of the card with Stampin’ Seal.
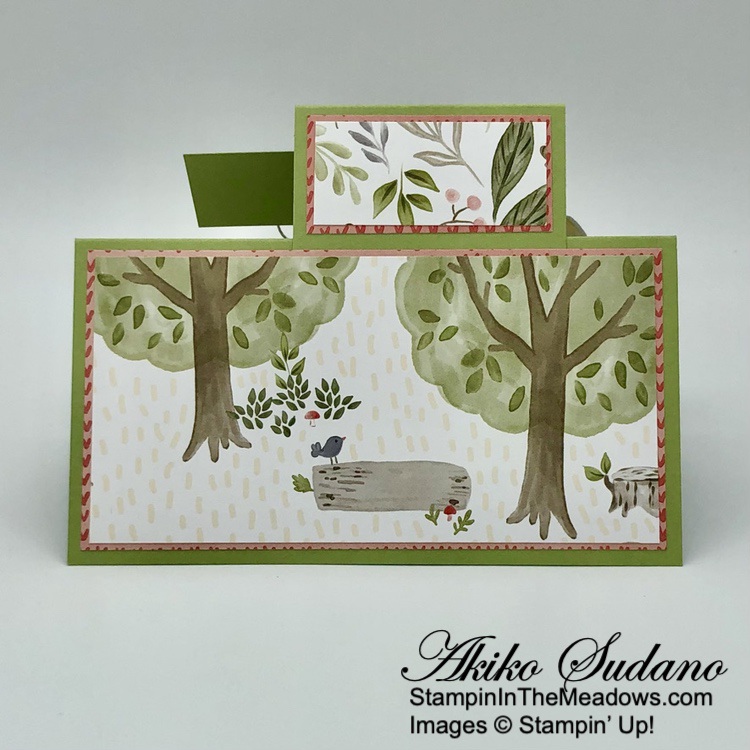
I even decorated the back of the card with another forest scene panel! And I layered another panel of Happy Forest Friends to the top of the faux side step. This area could also be covered with another decorated Basic White panel and used to write a personal message.
Both the Stampin’ Up! Friendly Gnomes stamp set and the Happy Forest Friends designer series paper are retiring (and so is Pear Pizzazz!) so now is a good time to pick up these products for your Springtime gnomes card!

New 2023-2024 Annual Catalog Coming Soon!
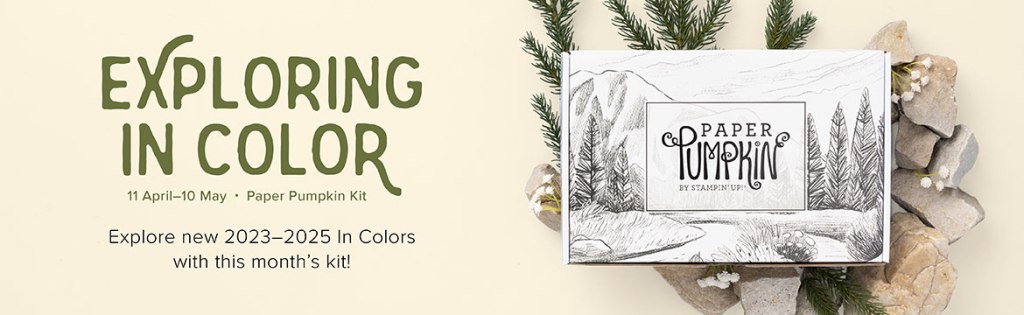
The new Stampin’ Up! 2023-2024 Annual Catalog will debut on May 2, 2023! The Demonstrator pre-order is happening now, so there will be sneak peeks of wonderful new products and colors! I have sent out catalogs to my current customers. If you would like a copy, simply place an order and I will be happy to send you one, too!!
Get the complete details on the new 2023-2025 In Colors and the Color Refresh on my Stampin’ Up! Promotions Page.

Last Chance Products Sale Going On Now!
This Last Chance Products promotion includes two lists of products that will no longer be available once the catalogs retire on May 1, 2023. There will be one for the 2022-2023 Annual Catalog and one for the January-April 2023 Mini Catalog. For these retiring catalogs, you can find carryover products in the upcoming 2023-2024 Annual Catalog.
Items on the retiring list are only available while supplies last, so order soon to make sure that you are able to get the items that you are wanting! Some of the items will have sale prices listed with discounts up to 60% off.
Several wonderful retiring items have already sold out!
The last day to order from these catalogs will be May 1, 2023.
Click HERE to download a PDF of the Retiring Last Chance Products from the 2022-2023 Annual Catalog.
Click HERE to download a PDF of the Retiring Last Chance Products from the January-April 2023 Mini Catalog.
Current Host Code: 6EDCPU4T
Use this host code when you order $50 or more and receive a Thank You gift from me! The free gift is your choice of any currently available item valued up to $10.00.
If your order is over $150, please do not use the host code since you’ll receive your own Host Dollars plus I’ll still send you the Thank You gift! This host code can be used by anyone, no club or commitment required. Let me know if you have any questions.
If you need any stamping supplies, I’d be very happy to be your Demonstrator. Just click on the Shop Now button on the right side of the screen to go directly to my online store or contact me if you have any questions. Happy Stamping!
Thanks for stopping by and have a great week!
Akiko
- Visit my online store here
- See the current Stampin’ Up! clearance rack specials here
- Earn FREE Stampin’ Up! products through my Wildflower Frequent Shopper Program – my way of saying thank you to my online frequent shopper customers.
- Have any questions? I’d be happy to help, click here to contact me.
Cardstock Cuts for this project:
- Pear Pizzazz – 5-1/2″ x 8-1/2″ card base scored at 1-1/4″, 2-1/2″ and 5-1/2″, 2-1/2″ x 6″ scored at 4-1/4″ (faux side step), 1″ x 2″ (label)
- Basic White – 2-5/8″ x 5-1/8″ (inside panel), 3/4″ x 1-3/4″ (label)
- Happy Forest Friends DSP
- Calypso Coral mat – 1″ x 5-1/4″ (front step), three 2-3/4″ x 5-1/5″ panels (inside panel, middle step and back panel), 1-1/8″ x 2-1/4″ (back top panel), 7/8″ x 1-7/8″ (label), 2-1/4″ x 4″ (faux side step)
- leafy panels – 7/8″ x 5-1/8″ (front step), 1″ x 2-1/8″ (back top panel)
- forest scene panels – two 2-5/8″ x 5-1/8″ panels (middle step and back panel), 2-1/8″ x 3-7/8″ panels (faux side step)
Stampin’ Up! products used in this project:
")

 Designer Series Paper")


")
 Specialty Designer Series Paper")
 Specialty Designer Series Paper")


 Specialty Pack")


")


 Shimmer Ribbon")


")


 Designer Series Paper")


 Metallic Woven Ribbon")


")


 Host Designer Series Paper")


 Open Weave Ribbon")


")
")


 Designer Series Paper")


 Bordered Ribbon")


 Gingham Ribbon")
")


 Designer Series Paper")

 Specialty Designer Series Paper")
 Specialty Paper")


 Woven Metallic Ribbon")


")
")

 Specialty Designer Series Paper")
 Specialty Paper")


