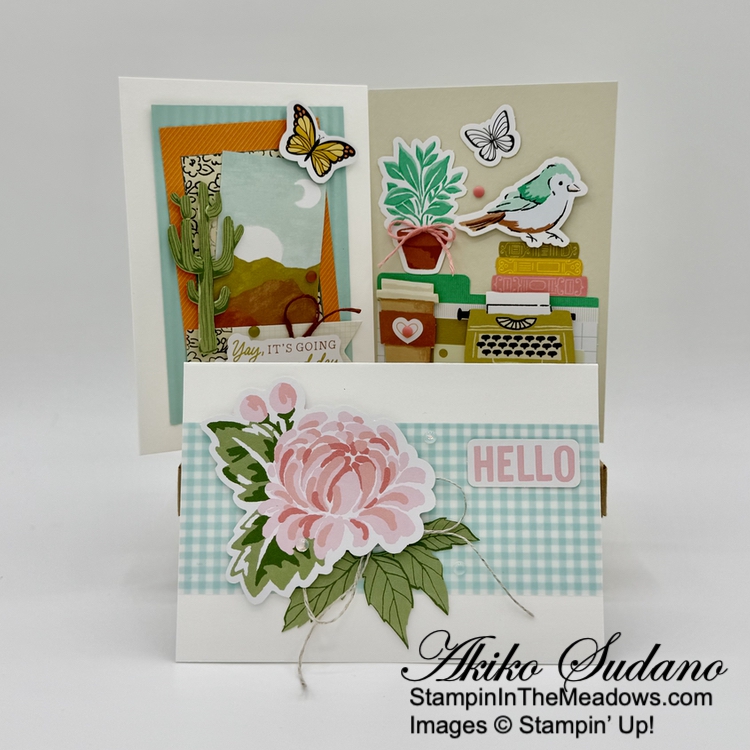
Good Morning! Sorry it’s been a while since I posted, I’ve been busy playing with Grandkids, traveling and cleaning. So I pulled out my Stampin’ Up! Mix & Match Ephemera Packs and put together some quick and fun note cards to slowly get back into the swing. You can find the products I used at the bottom of my post along with the card stock sizes.
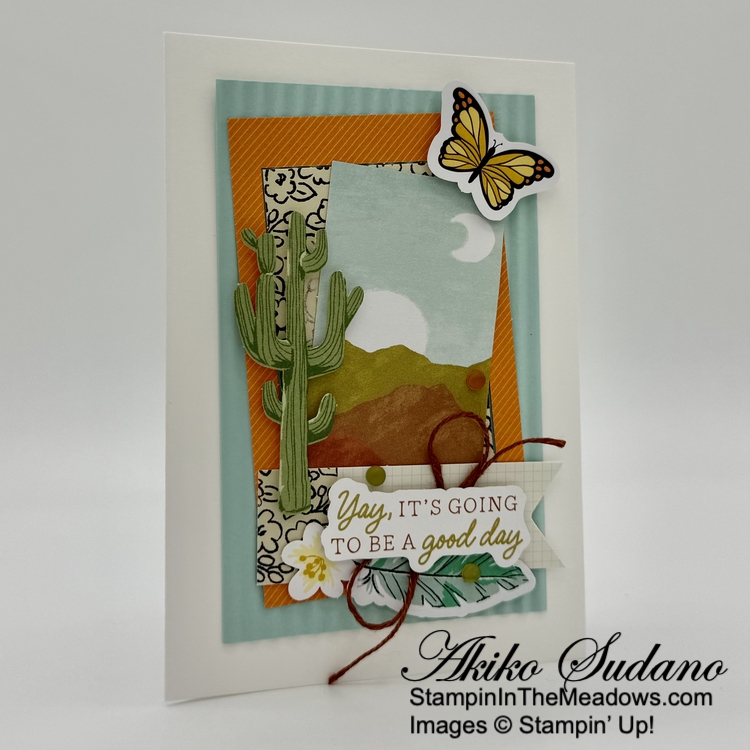
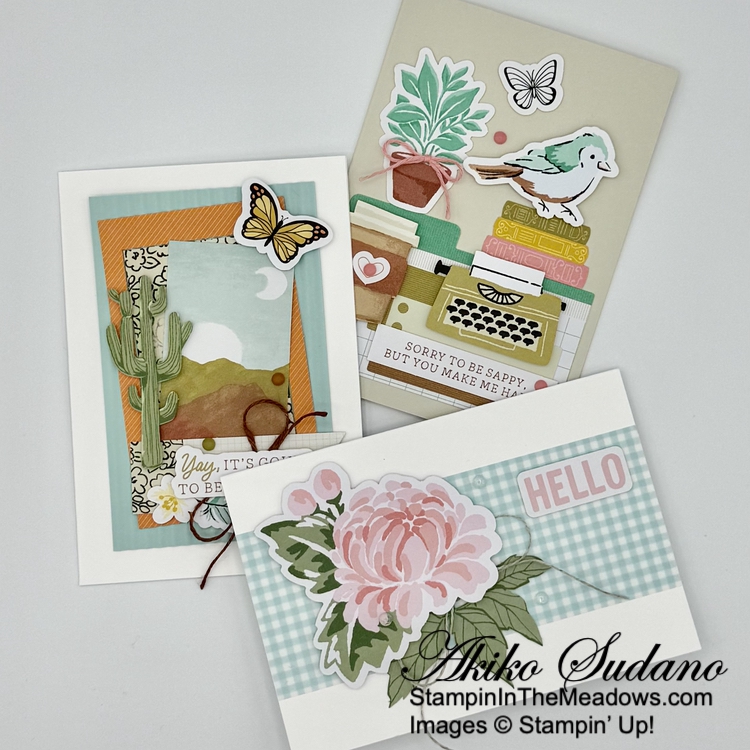
The first card is a homage to Tucson, AZ, where we just spent the last few weeks. I embossed a pool Party panel with the Mini Corrugated 3D embossing folder and adhered it to a Basic White Note Card. I layered it with pieces from the Something For Everything and Labels & Layers ephemera packs – they capture the beauty of the mountains and of course I had to use the saguaro cactus!! And the sentiment is perfect – every day is a good day in the Southwest! I finished with a Copper Clay baker’s twine bow and Faux Glass dots.
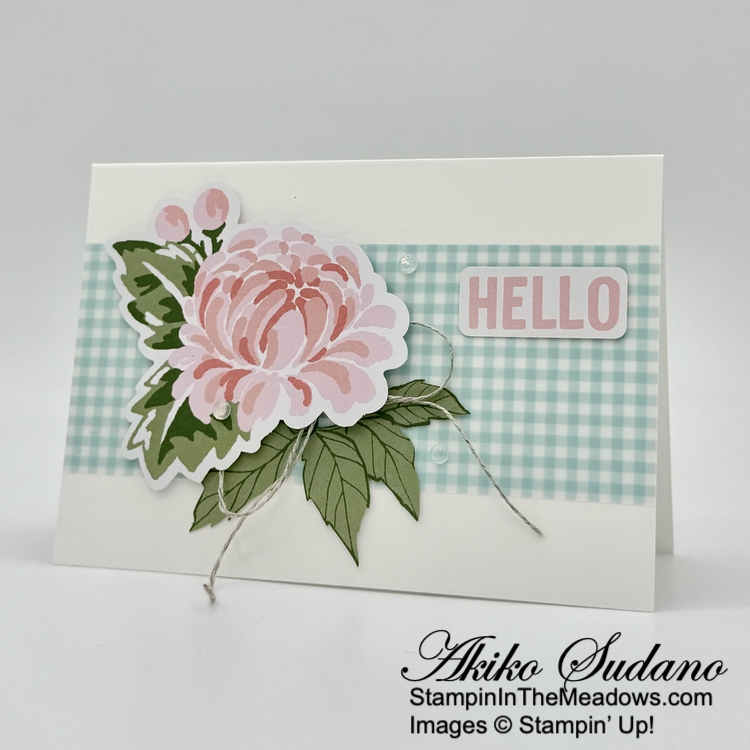
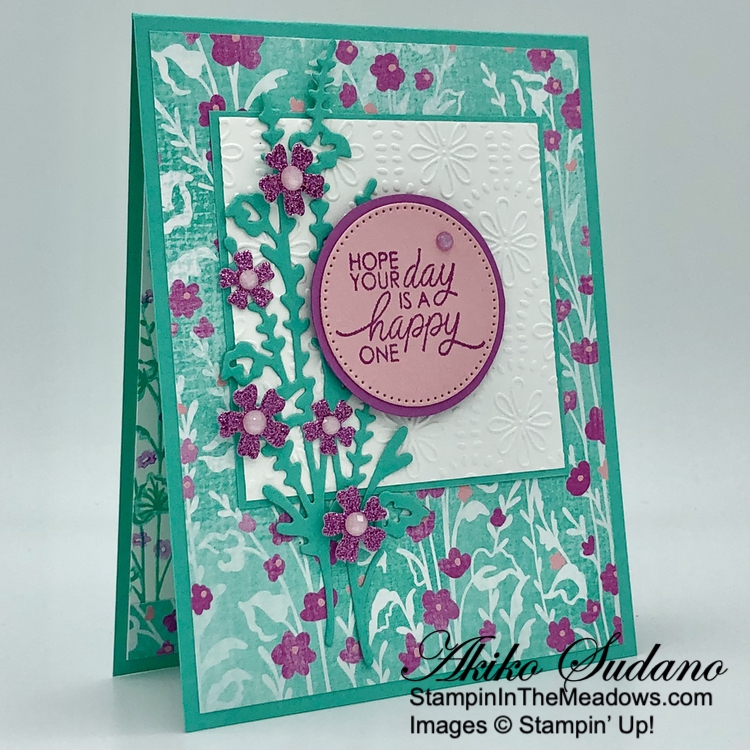
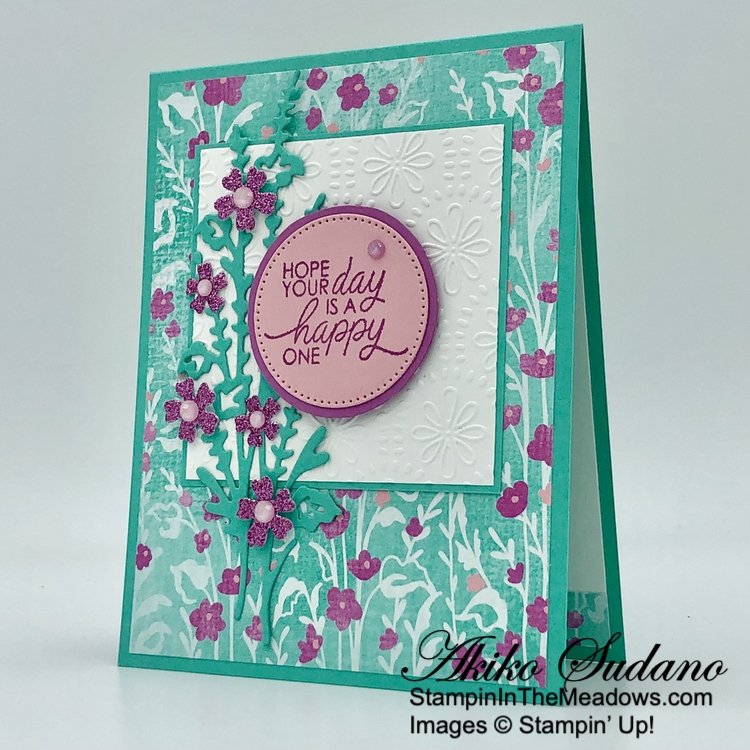
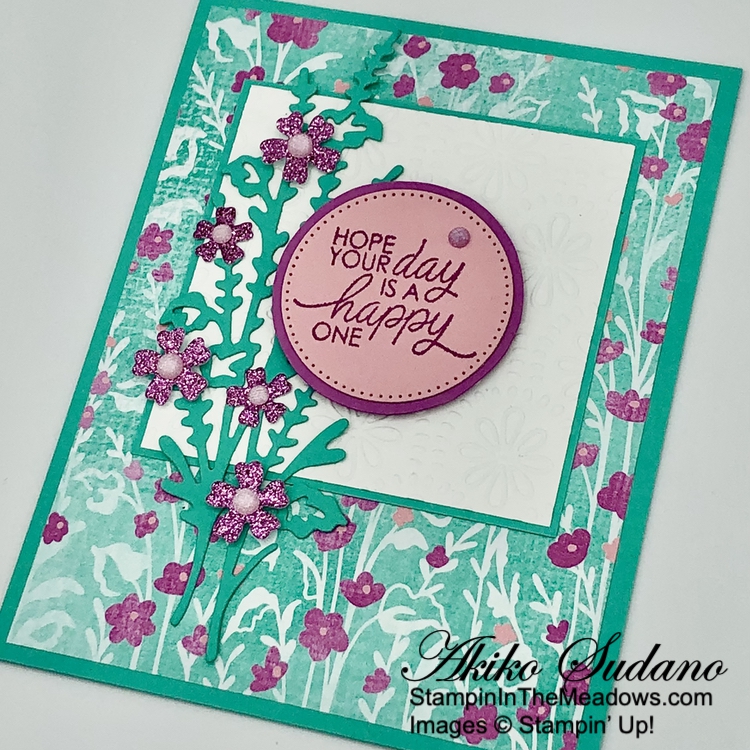
My second card is simpler, using the pretty flower and leaves from the Fully Flowering ephemera pack and a simple hello from the Saying Something ephemera pack. I just adhered a panel of Pool Party vellum gingham to a Basic White Note card and adhered everything on top with glue dots and dimensionals. I finished with a loopy linen thread bow and clear Opal Gems.
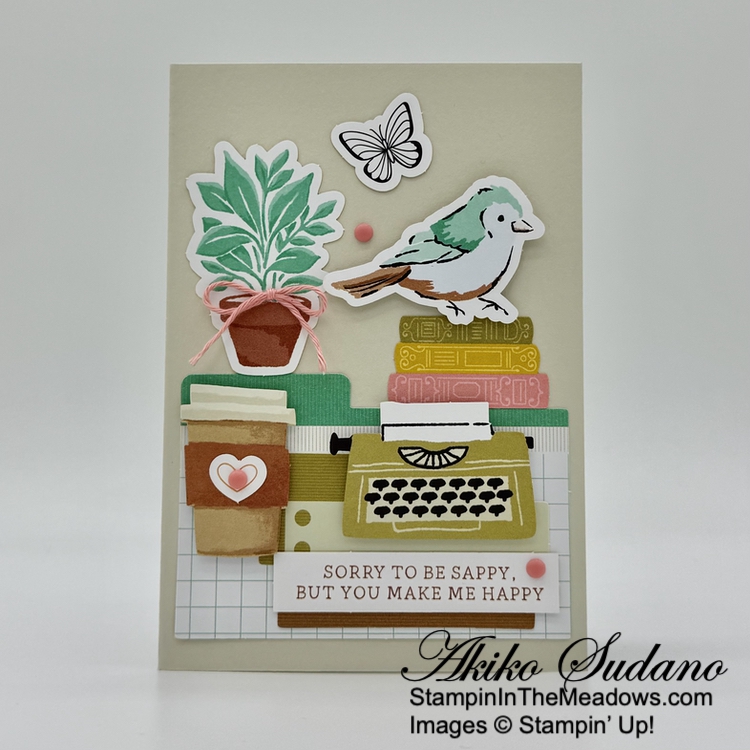
For my last card, I used a Basic Beige card base and piled on some things on from the Labels & Layers and Something For Everything ephemera packs. Kind of making it look like a messy desk with a throwback typewriter instead of computer. But I don’t really have a bird on my desk, I just thought it was cute. But I love that sentiment from the Saying Something ephemera pack. I finished with a Flirty Flamingo baker’s twine bow and dots.
All the cards are different and yet since they use Stampin’ Up! Colors, you can easily find ribbons, paper and embellishments to coordinate. There is so much variety in themes and occasions so you can really express your creativity!
The Stampin’ Up! Mix & Match Ephemera Packs first came out in the current Annual Catalog and I’m so happy that they will continue in the upcoming Stampin’ Up! 2025-2026 Annual Catalog in May. The Fully Flowering and Saying Something ephemera packs will be carried over in the new Annual Catalog and there will be additional new packs, too!
If you need any stamping supplies, I’d be very happy to be your Demonstrator. Just click on the Shop Now Button on the right side of the screen to go directly to my Online store or contact me if you have any questions. Happy Stamping!
Thanks for stopping by and have a great day!
Akiko
- Visit my online store here
- See the current Stampin’ Up! Last Chance items here
- Have any questions? I’d be happy to help, click here to contact me.
Cardstock Cuts for this project:
- Pool Party – 3″ x 4-1/2″ (card #1 embossed panel)
- Gingham Vellum – 2″ x 5″ (card #2 stripe)
- Basic Beige – 5″ x 7″ card base scored at 3-1/2″ (card #3 card base)
- Basic White Note Cards – card #1 & #2 card bases
- Various die cuts from the ephemera packs
Stampin’ Up! products used in this project:

")


")


 Designer Series Paper")


 Specialty Paper")