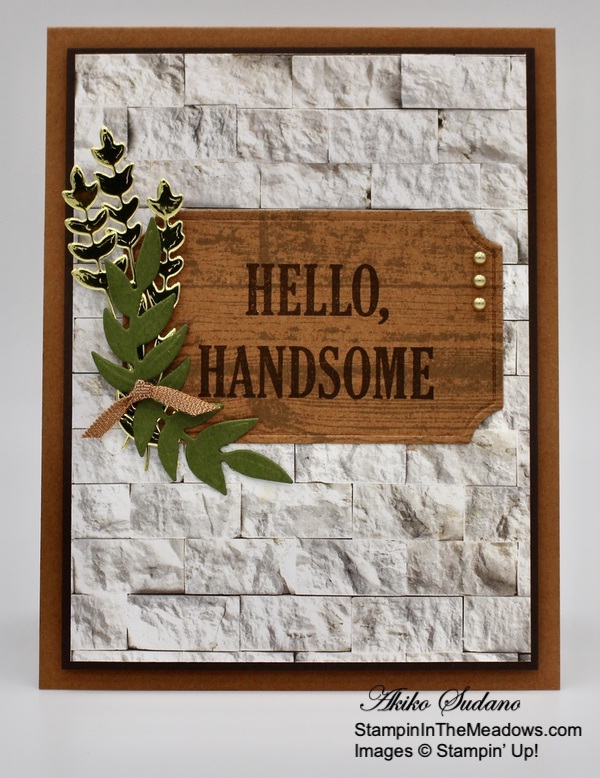
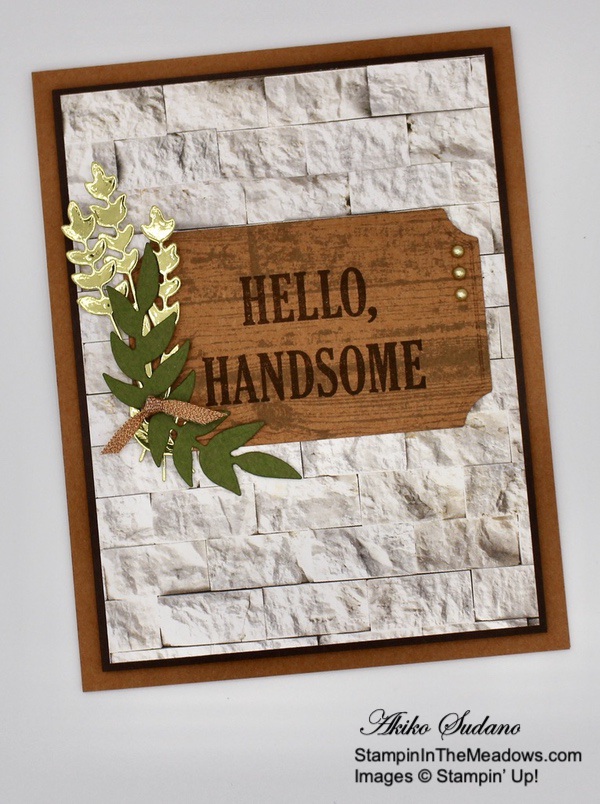
Good Morning! Today I want to share a fun card made with lots of different dies but features one of the pretty sentiments from the Stampin’ Up! Lovely You bundle. This stamp set has so many different sentiments, but the fonts are perfect for the light hearted, fun nature of the card design. You can find the list of supplies supplies I used to create this card at the bottom of my post along with the sizes of cardstock used.

I cut the two funky birds from the Birds & More dies from red Felt from the Festive Felt pack. I ran it through the die cutting machine about 4 times to get a good cut, but there were still a few places where I had to trim some felt with my snips. These dies are pretty detailed, and my cutting plate is pretty well used, but I was still pretty happy to be able to get crisp die cuts from the felt!! Yay!
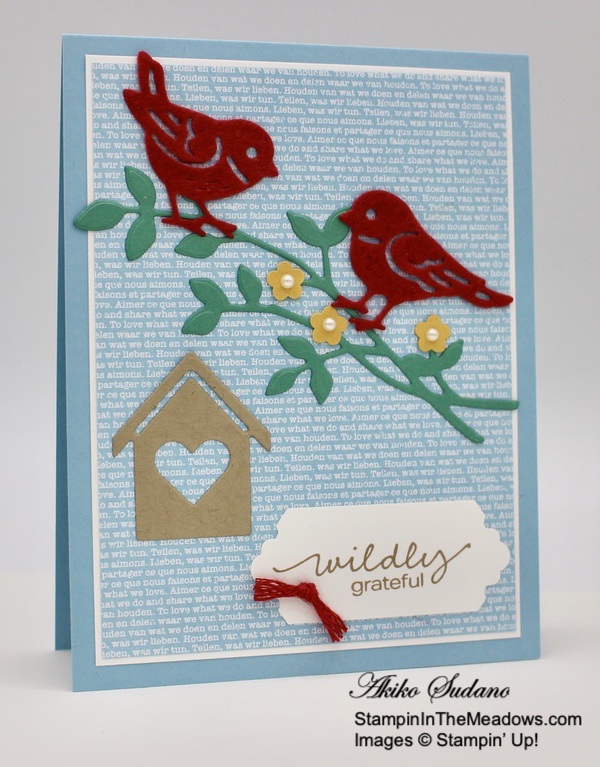
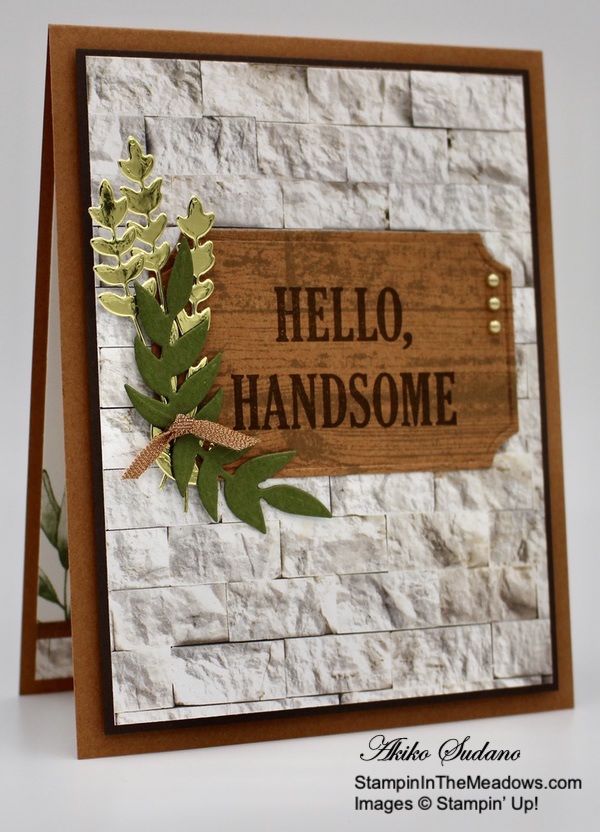
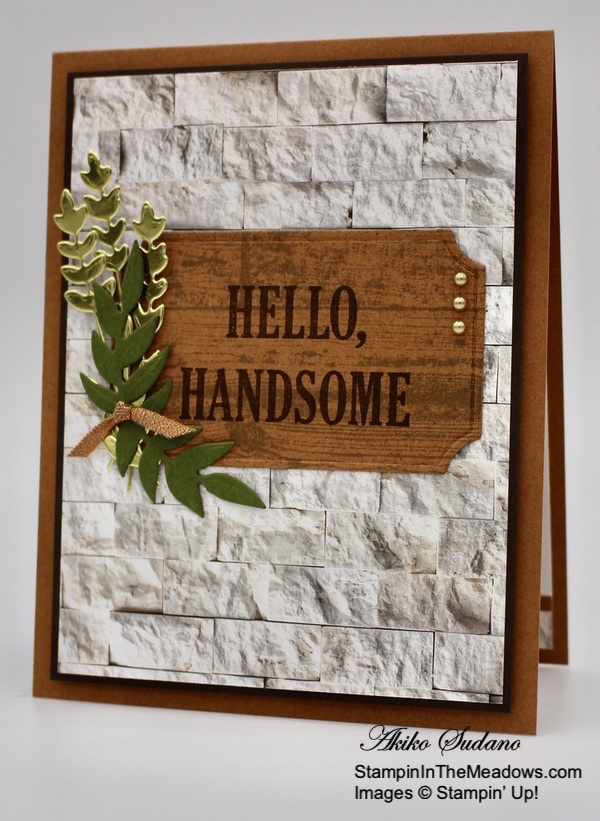
I cut the branch from the Birds & More dies and Just Jade card stock. I cut the bird house from the Home Together dies and Crumb Cake card stock. Then I punched the flowers from Bumblebee card stock with the Confetti Flowers border punch and added pearls to the largest three flowers. I adhered these to the branch with liquid glue. Then I assembled my card base by adhering a panel of Balmy Blue Subtles 6″ x 6″ designer series paper to a Whisper White mat and then to the front of a Whisper White card base with liquid glue.
I punched the ends of the Whisper White panel with the Lovely Labels Pick a Punch and stamped the sentiment from the Stampin’ Up! Lovely You cling stamp set in Crumb Cake ink. I positioned the elements on the card front and adhered them to the front with liquid glue, starting with the label and finishing with the birds. I was careful to apply the liquid glue to the back of the birds in small dots and tried to get good coverage – I wanted good adhesion, but no gushing glue, because it would be much messier with felt than with paper. I finished the card front with a short length of red braided trim knotted and adhered to the label.

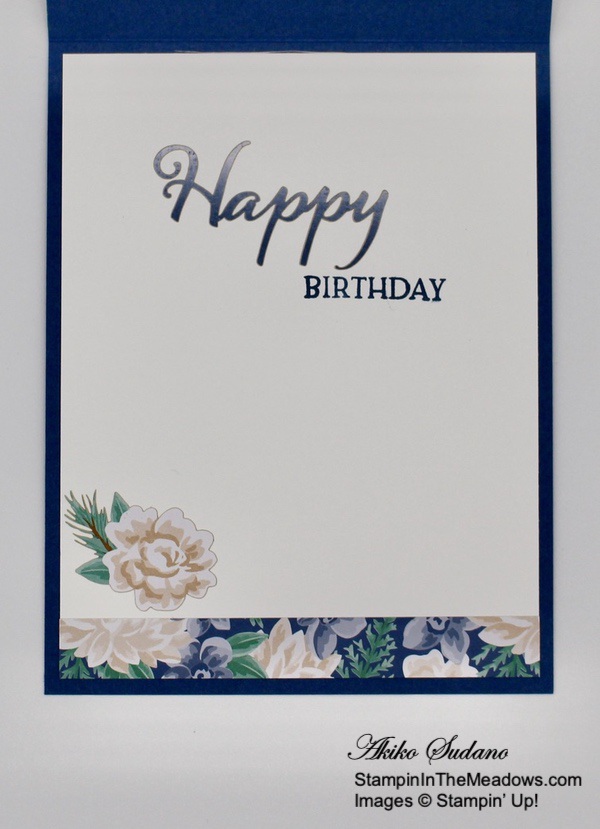
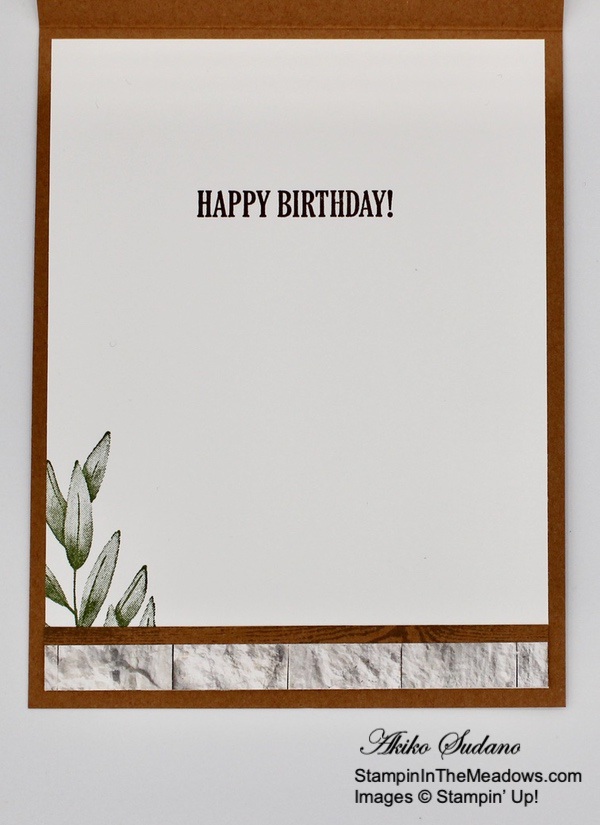
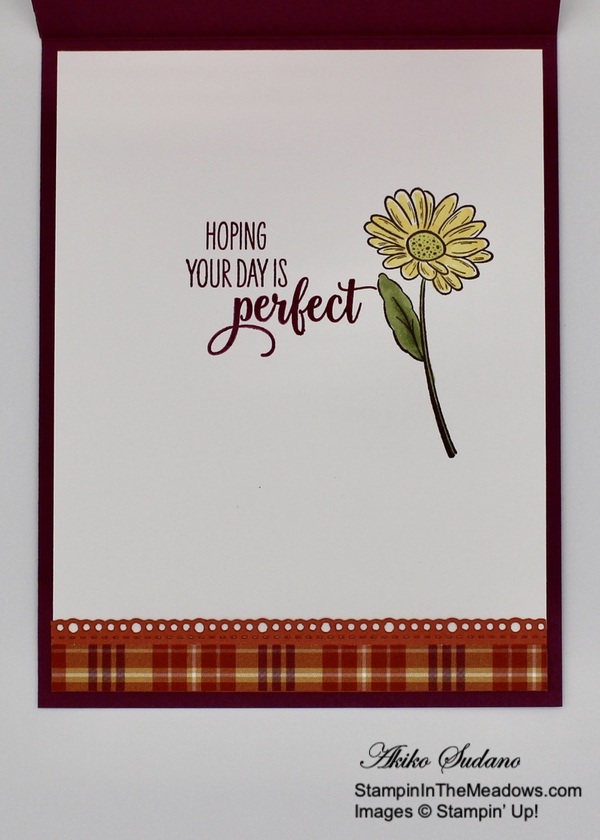
I left the inside pretty simple so that there is plenty of room to write a message. I trimmed the bottom of a Whisper White panel with a strip of the Balmy Blue Subtles 6″ x 6″ DSP and adhered it to the inside of the card.
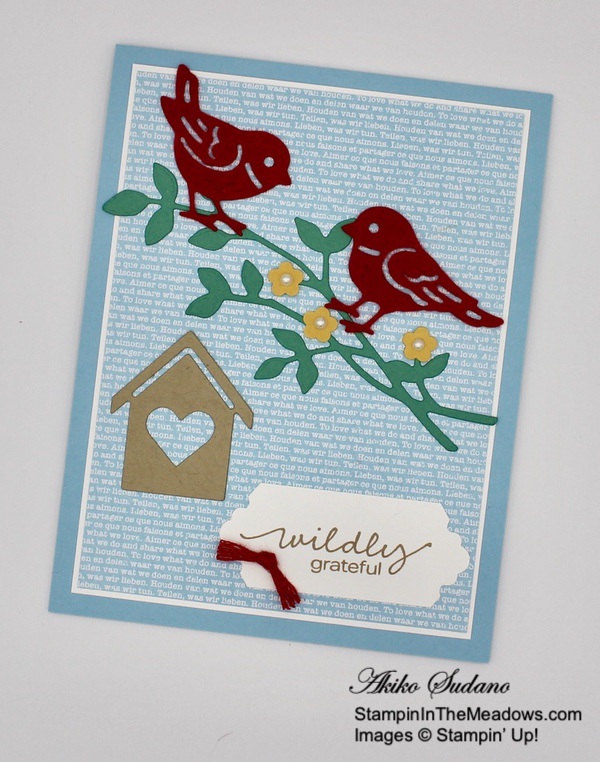
The Stampin’ Up! Lovely You stamp set has so many different sentiments, and I think that any of them would be perfect for this card. And I’m so glad that the bird die cuts worked so well on the felt – it really makes this card special!
Stampin’ Up! Designer Series Paper Sale Going on Now!
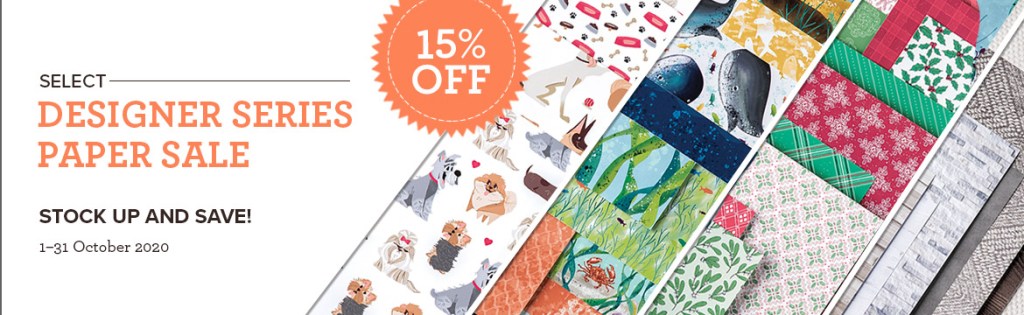
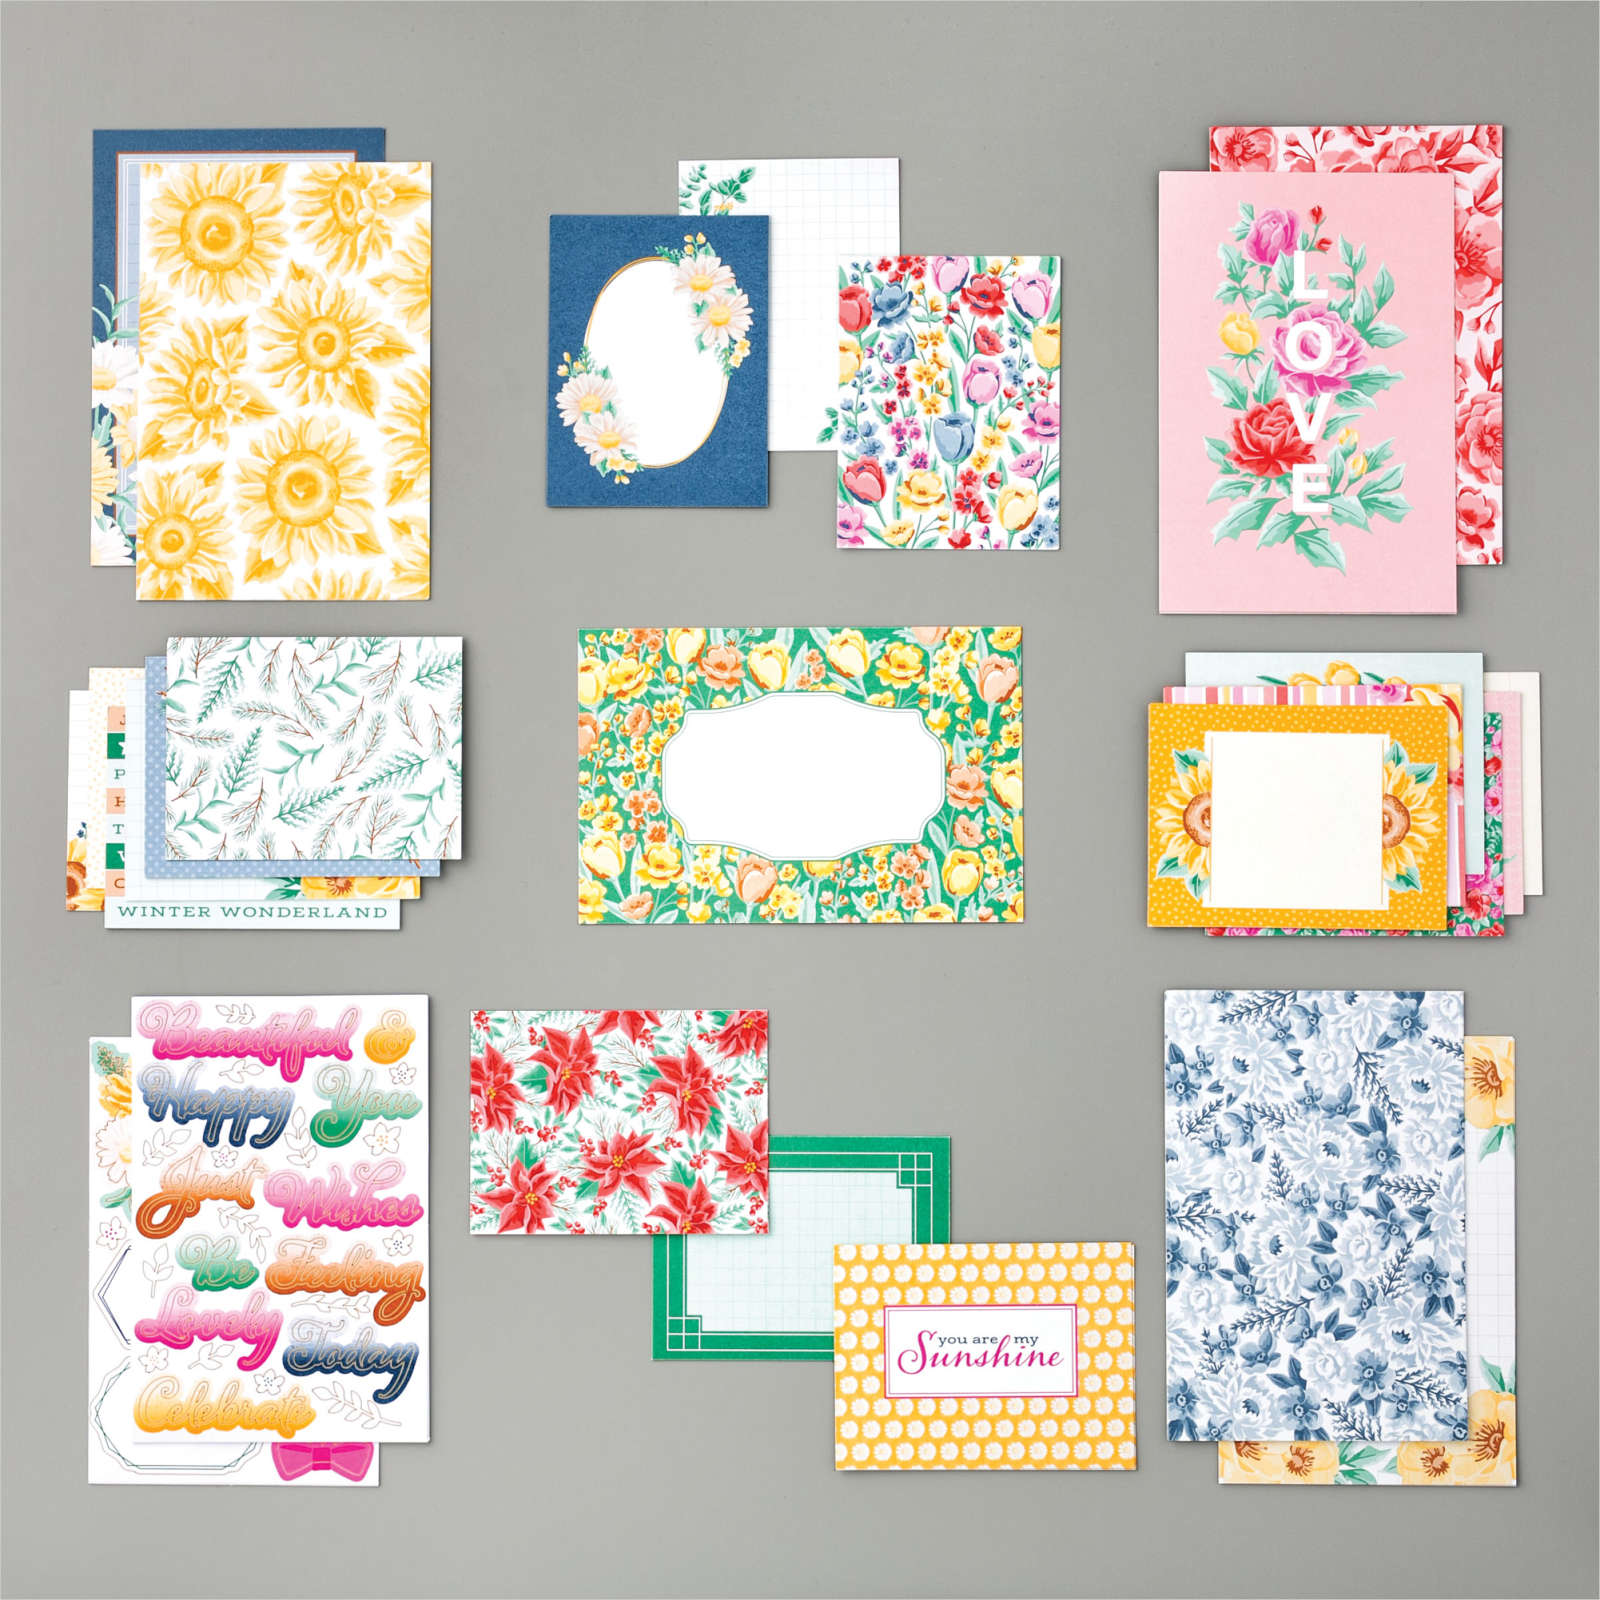
Stampin’ Up! has beautiful Designer Series Paper and during the Month of October they’re putting a select list of those on sale with a 15% discount! This is a fantastic opportunity for you to stock up and save on paper. And the sale includes some of the designs from the August-December 2020 Mini Catalog too! Get the details on my Promotions Page or click on the image above to download a printable PDF with all the selections. Click Here to shop the Designer Series Paper Sale in My Online Store now!
The November Paper Pumpkin Kit is Jolly Gingerbread!
The Paper Pumpkin kit for November is a cute, gingerbread-themed kit with enough supplies to make 15 gift card carriers. The kit’s contents can also be used to make traditional cards or gift tags. This kit allows you to customize your Christmas crafting to create one-of-a-kind Christmas crafts!
If you’re interested in subscribing to Paper Pumpkin, you can either sign up for a subscription where you are billed monthly for your kit or you can purchase a prepaid subscription in my online store. To see more information and to sign up for the monthly subscription click here. To see the options for prepaid subscriptions in my online store, click here.
Get the complete details about the November Paper Pumpkin Kit on my Promotions Page. Sign up deadline for the November 2020 kit is November 10, 2020. Supplies may be limited toward the end of the subscription period.
October 16-31 Host Code: 3VJWYCTP
Use this host code when you order $50 or more and receive a free gift from me! The gift is your choice of any item valued up to $10.00 in the 2020-21 Annual Catalog or the Aug – Dec 2020 Mini Catalog. This includes some of the host exclusive sets!
If your order is over $150, please do not use the host code since you’ll receive your own Host Dollars plus I’ll still send you the free gift! This host code can be used by anyone, no commitment required. Let me know if you have any questions.
If you need any stamping supplies, I’d be very happy to be your Demonstrator. Just click on the Shop Now Button on the right side of the screen to go directly to my Online store or contact me if you have any questions. Happy Stamping!
Thanks for stopping by and have a great day!
Akiko
- Visit my Online store here
- See the current Stampin’ Up! clearance rack specials here
- Earn FREE Stampin’ Up! products through my Wildflower Frequent Shopper Program – my way of saying thank you to my frequent shopper online customers.
- Sign up for my monthly newsletter here
- Have any questions? I’d be happy to help, click here to contact me.
Cardstock Cuts for this project:
- Balmy Blue – 4-1/4″ x 11″ card base scored at 5-1/2″
- Just Jade – 2″ x 5″ (branch)
- Crumb Cake – 1-1/2″ x 2″
- Bumblebee – 1/2″ x 4″ (punched flowers)
- Whisper White – 3-3/4″ x 5″ (inside panel), 1″ x 3″ (label), 3-7/8″ x 5-1/8″ (front mat)
- Subtles 6″ x 6″ DSP – 3-3/4″ x 5″ (front background), 1/2″ x 3-3/4″ (inside trim)
- Festive Felt – 1-1/2″ x 4″ (red birds)
Stampin’ Up! products used in this project:
")


 Designer Series Paper")


 Braided Linen Trim")


 Designer Series Paper")


")

 Designer Series Paper")


 2020–2022 In Color Ribbon")


 Braided Linen Trim")


")

")


 Designer Series Paper")


")


")


 Sheer Ribbon")


")


 Sheer Ribbon")


