
Good Morning and welcome to the Happy Inkin’ Thursday Blog Hop! When I saw today’s sketch, I remembered some pretty cards on Pinterest made by Stampin’ Up! Demonstrator Loni Spendlove using a technique called Fault Line cards. I’m using her technique with the Stampin’ Up! Thoughtful Wishes bundle and the Thoughtful Journey designer series paper to make a Missing You card. You can find the supplies I used along with card stock cuts at the bottom of my post.

We have a fun sketch challenge this week:

I embossed an Lost Lagoon panel of Thoughtful Journey 6″ x 6″ designer series paper with the Plaster Painting 3D embossing folder. Some of the DSP ripped, but no worries because I applied some Lost Lagoon ink with a sponge dauber to cover it and enhance the embossing. I selected a light strip of the DSP and laid it on top of the embossed panel and ripped them both with my fingers. I adhered both panels of the lighter DSP to the back of the embossed DSP with liquid glue so that there was just a bit peeking out. I adhered the layered, torn DSP to the top and bottom of a panel of Thoughtful Journey DSP with the pretty wildflowers. I adhered the layered DSP panel to the front of a Pretty Peacock card base.

I used my fingertips to gently roll the torn edges of the DSP away from the center, giving it more dimension and texture. I stamped the leafy stalk from the Stampin’ Up! Thoughtful Wishes stamp set using Versamark ink on a mostly greenish panel of Thoughtful Journey DSP. I sprinkled it with white embossing powder, shook off the excess and heat set it until the powder was bright and shiny. I cut it out with the coordinating die and cut a Lost Lagoon panel with the same die. I adhered the stalk to the backing with liquid glue and popped it on the card with dimensionals.
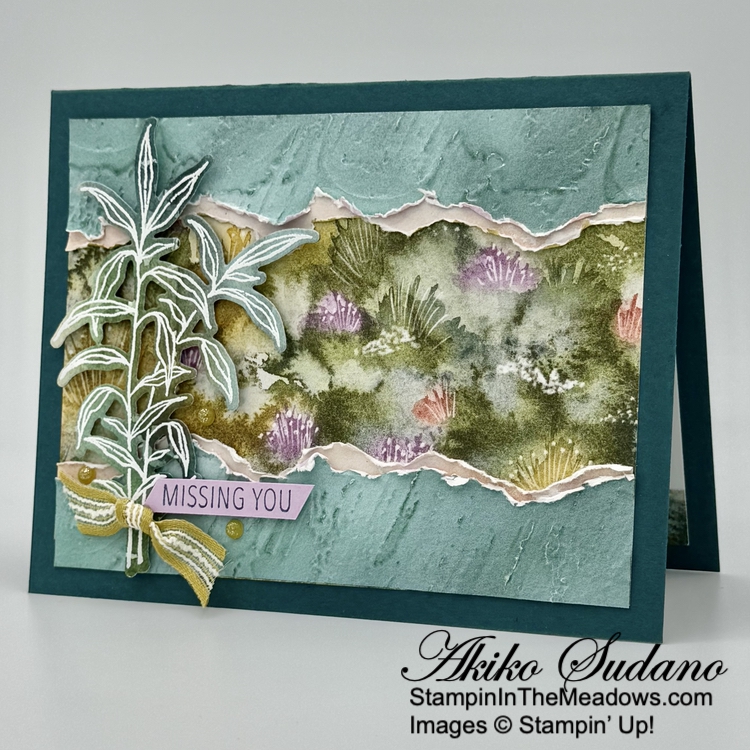
I stamped the sentiment from the Stampin’ Up! Thoughtful Wishes stamp set using Pretty Peacock ink on Fresh Freesia and and trimmed it with my paper snips. I adhered it to the card with glue dots and dimensionals and finished the card with Wild Wheat ribbon and dots.
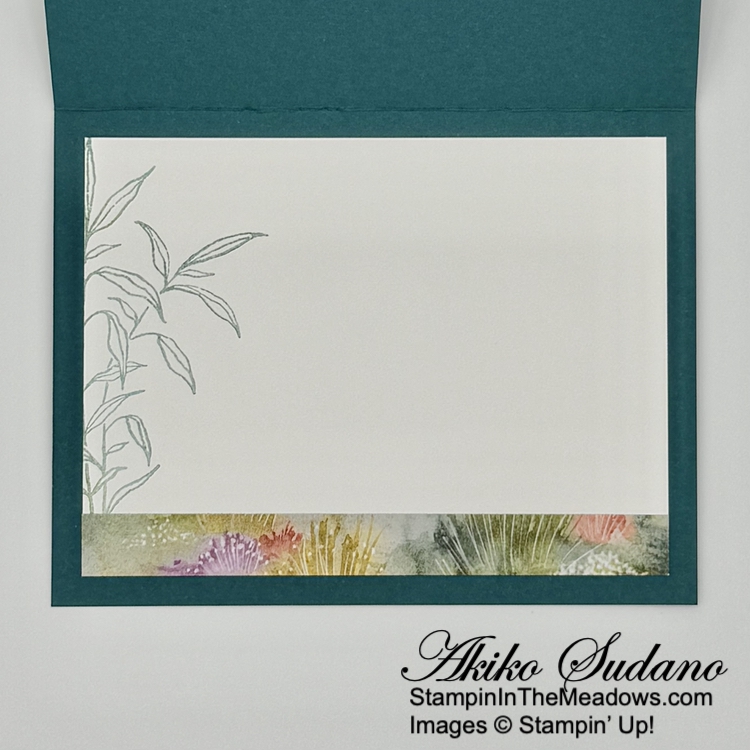
For the inside, I inked up the leafy stalk stamp from the Stampin’ Up! Thoughtful Wishes stamp set with Lost Lagoon ink. I applied some Mossy Meadow and Pretty Peacock ink to the stamp with a sponge dauber and stamped it off before stamping the side of a Basic White panel. I trimmed the bottom with DSP and adhered the panel to the inside of the card with Stampin’ Seal.
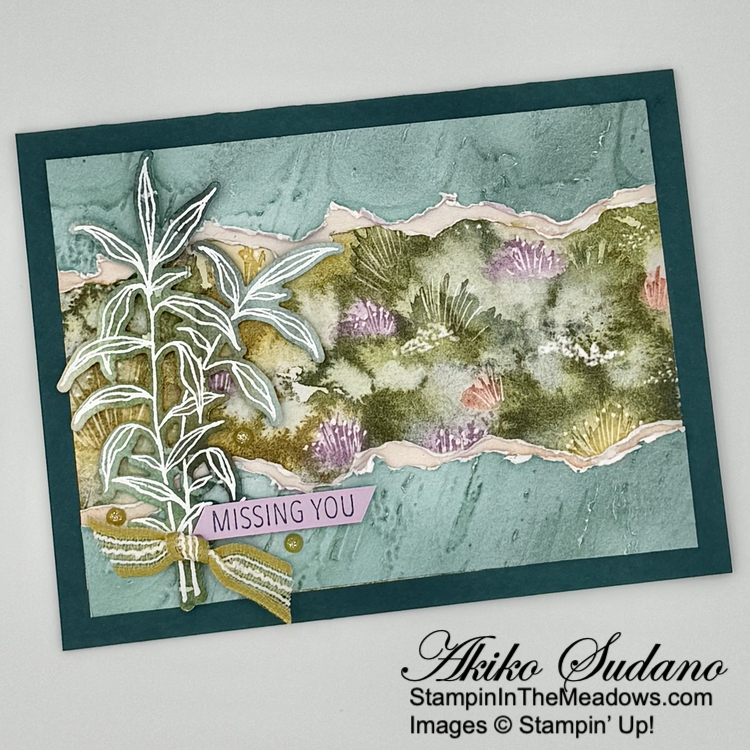
The pretty Stampin’ Up! Thoughtful Wishes bundle and Thoughtful Journey DSP are from the current Annual Catalog. These are some of my favorites and it’s nice to use them again. And I love how the Fault Line technique shows the pretty wildflowers peeking through the textured frame!
On with the Hop! Click on the Next Blog button to move forward to see the beautiful project Karen Ksenzakovic has created.

If you get lost along the way, here are the participants for the hop:
- Amy Koenders
- Mary Deatherage
- Karen Finkle
- Akiko Sudano <– You Are Here
- Karen Ksenzakovic
- Tara Carpenter
- Terry Lynn Bright