Happy Valentine’s Day! The Stampin’ Up! Meant To Bee bundle is from the new Scrapbooking Brochure and it coordinates with the fun Bee My Valentine stamp set and punch from last year. I used both of them for today’s card along with the new Cute As Can Be designer series paper. You can find the products I used at the bottom of my post along with the card stock sizes.

I adhered a strip of Cute As Can Be DSP to another panel of the DSP and then adhered the layered panel to the front of a Petunia Pop card base. I used the small octagon die from the Stampin’ Up! Meant To Bee bundle to cut a Petunia Pop panel and a plaid DSP panel and adhered them to the card with liquid glue – the DSP in the middle with the card stock around it.
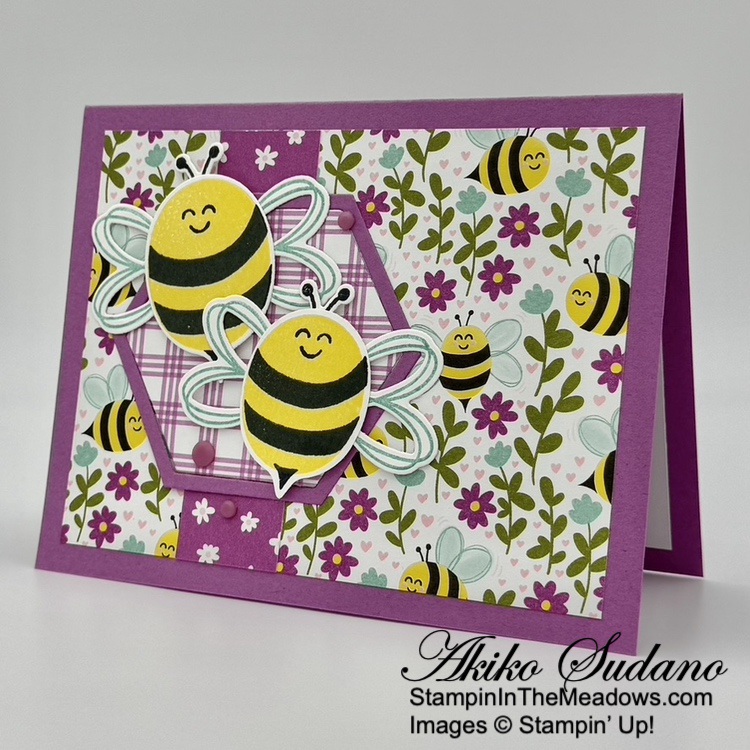
I stamped the large bee from the Stampin’ Up! Meant To Bee stamp set using Daffodil Delight and Memento Tuxedo Black inks and cut it out with the coordinating die. I stamped the bee from the Stampin’ Up! Bee My Valentine stamp set in the same colors and punched it out with the coordinating punch. Between the two stamp sets, you can create three different sized bees!
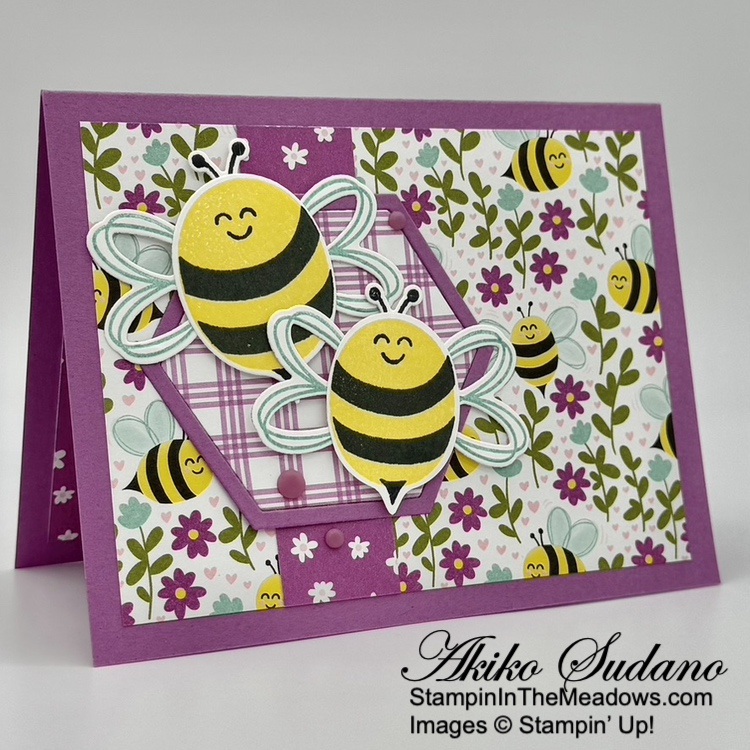
I stamped the bee faces and antenna for both bees using the stamps from the Stampin’ Up! Meant To Bee stamp set in Memento Tuxedo black ink. I stamped the wings (I used the small wings) using Pool Party. I cut the antenna and wings out with the coordinating dies and adhered them to the back of the bees with liquid glue. I adhered the bees to the front of the card with dimensionals and finished it with Petunia Pop dots.
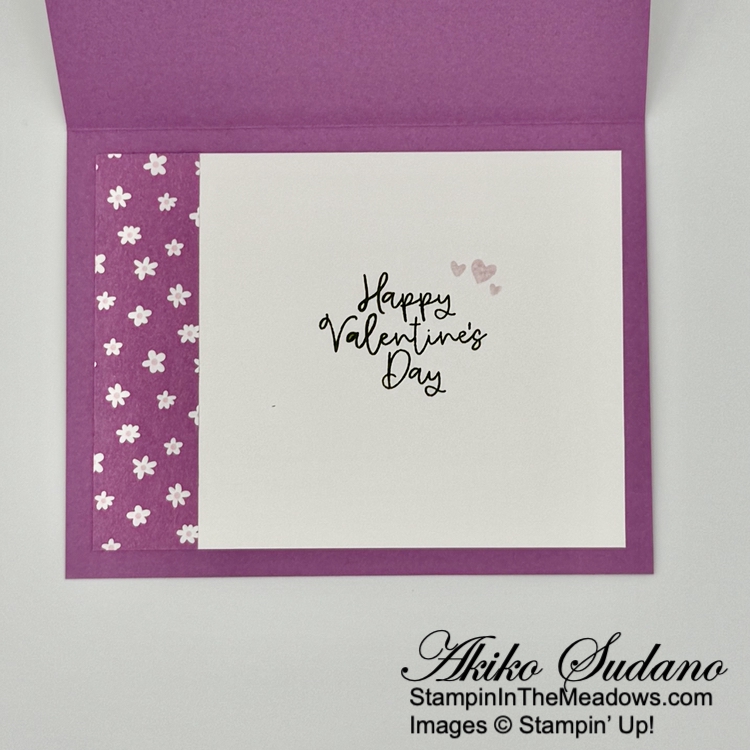
For the inside panel, I stamped the sentiment from the Bee My Valentine stamp set using Old Olive ink and the little hearts in Bubble Bath. I trimmed the side with DSP and adhered the panel to the inside of the card with Stampin’ Seal.
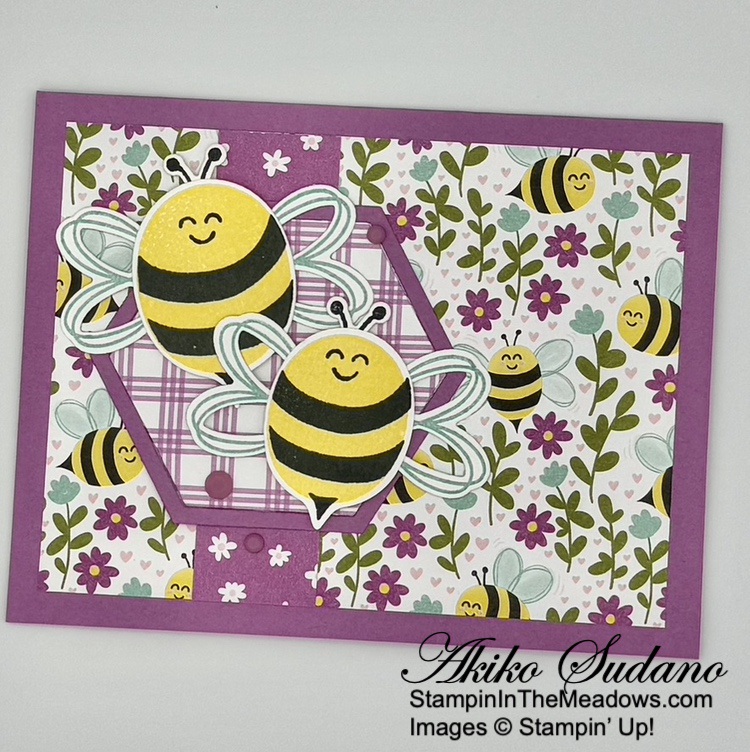
The Stampin’ Up! Meant To Bee bundle has a great set of nested octagon dies and sentiments that are wonderful for memory keeping and scrapbooking. Everything can be used for card making too and I love how it coordinates with last year’s Bee My Valentine bundle. The Cute As Can Bee DSP designs are the same as last years with the fresh new colors. And I love how it all coordinates for Valentines Day and Spring!
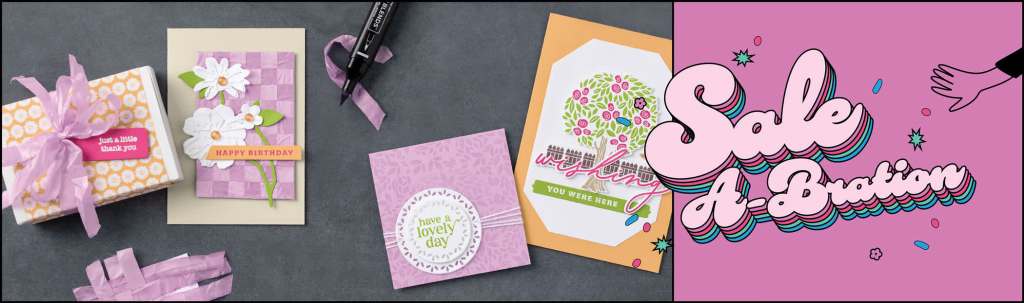
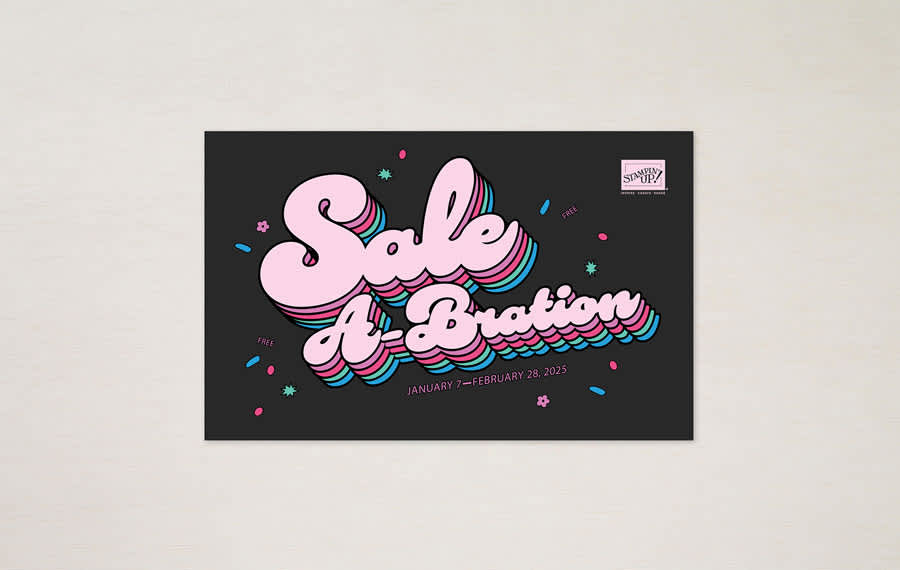
Sale-A-Bration Is Going On Now!!
Sale-A-Bration is the biggest Stampin’ Up! promotion of the year. The best part of Sale-A-Bration is that you earn FREE items for every $60 worth of products you purchase. There are items that you get for $60 and there are items you can get for $120. All the details are in the Sale-A-Bration Brochure. Click on the picture of the brochure below to download a copy to view the items and details.
Another benefit of Sale-A-Bration is when you host a workshop with sales over $300 or have an individual order over $300, you get to choose an additional $30 worth of products from the Stampin’ Up! catalog or Online Store for FREE!
And Sale-A-Bration is the best time to join Stampin’ Up! as a new Demonstrator. During Sale-A-Bration, new Demonstrators who purchase a starter kit by choosing $125 worth of products for only $99 (includes shipping) have two FREE bonus options to add to your starter kit.
- Option 1: Your choice of TWO marker sets from our Stampin’ Write Marker Assortments (Brights, Neutrals, Regals, Subtles), PLUS the Handmade Designs stamp set, a beautiful stamp set exclusively designed to work with them.
- Option 2: Your Choice of an additional $30 in FREE products
Sale-A-Bration runs through February 28, 2025. Visit my Online Store to start shopping now.
Current Host Code: FYMGA4AN
Use this host code when you order $50 or more and receive a Thank You gift from me! The free gift is your choice of any item currently available valued up to $10.00.
If your order is over $150, please do not use the host code since you’ll receive your own Host Dollars plus I’ll still send you the Thank You gift! This host code can be used by anyone, no club or commitment required. Let me know if you have any questions.
If you need any stamping supplies, I’d be very happy to be your Demonstrator. Just click on the Shop Now Button on the right side of the screen to go directly to my Online store or contact me if you have any questions. Happy Stamping!
Thanks for stopping by and have a great day!
Akiko
- Visit my online store here
- See the current Stampin’ Up! Last Chance items here
- Earn FREE Stampin’ Up! products through my Wildflower Frequent Shopper Program – my way of saying thank you to my online frequent shopper customers.
- Have any questions? I’d be happy to help, click here to contact me.
Cardstock Cuts for this project:
- Petunia Pop – 5-1/2″ x 8-1/2″ card base, scored at 4-1/4″, 3-1/4″ x 3-1/4″ (octagon frame)
- Basic White – 3-3/4″ x 5″ (inside panel), 3″ x 3″ (bees), 1-1/2″ x 4″ (bee wings), 1″ x 2″ (bee antennae)
- Cute As Can Bee DSP – 3-3/4″ x 5″ (front background), two 1″ x 3-3/4″ strips (inside trim and front strip), 3″ x 3″ (plaid octagon)
Stampin’ Up! products used in this project:
")
")

 Designer Series Paper")


")


 Designer Series Paper")


 Bordered Ribbon")


")


 Designer Series Paper")


")

 Designer Series Paper")


 Metallic Woven Ribbon")


")

 Designer Series Paper")


")
 Designer Series Paper")

 Specialty Paper")


")
 Designer Series Paper")


")


 Designer Series Paper")


")
")

 Designer Series Paper")
 Designer Series Paper")


