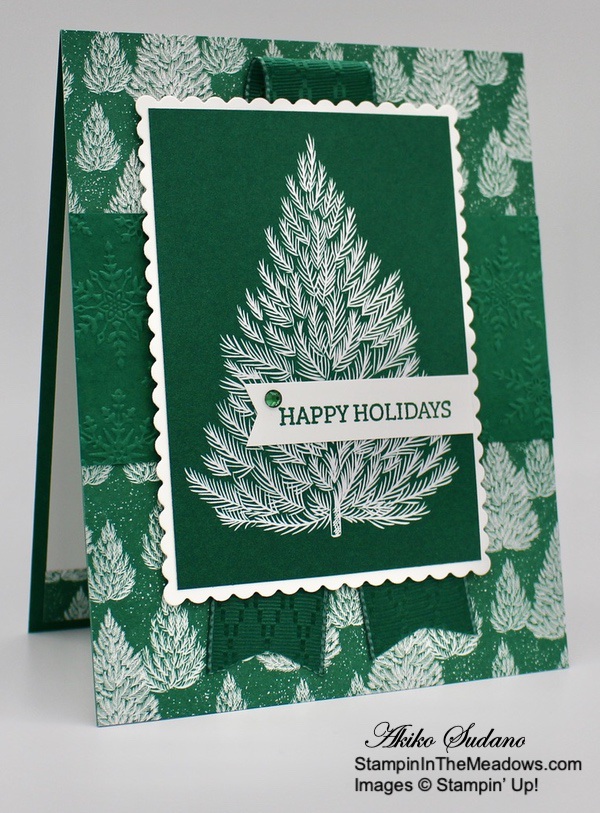
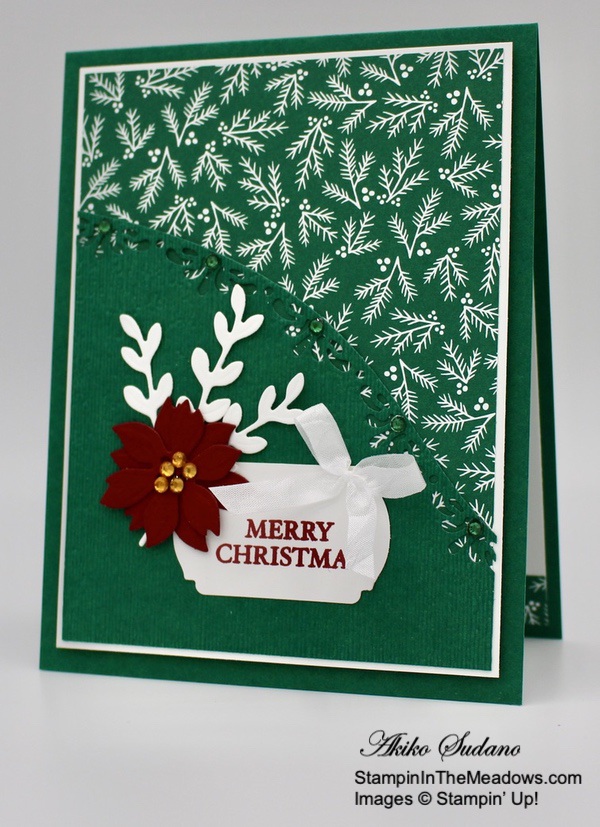
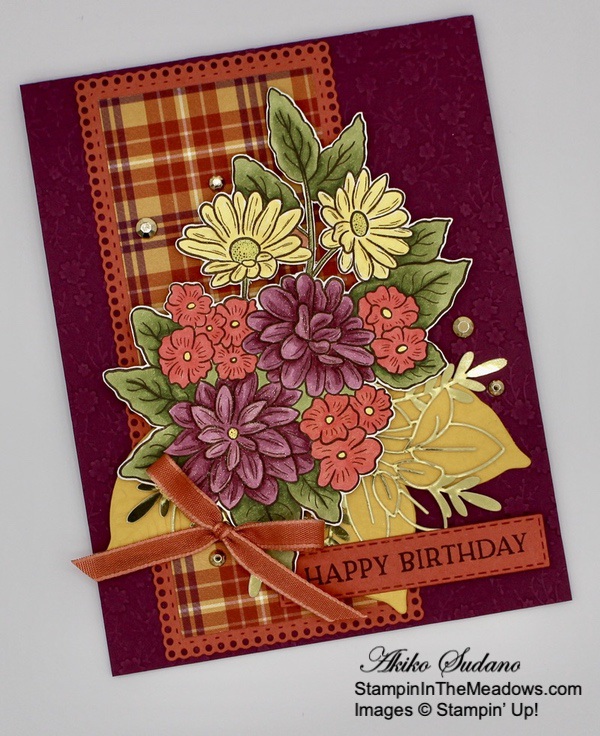
Good Morning! Today I made a Christmas card with the Stampin’ Up! Wishes & Wonder cling stamp bundle. The reindeer in this bundle are so cute, both the stamped version and the die cut one. Today’s card features the stamped deer. You can find the supplies used to create this card at the bottom of my post along with the sizes of cardstock used.

Emboss a panel of Cherry Cobbler with the Winter Snow embossing folder and adhere it to the front of a Cherry Cobbler card base. Cut the plaid panel of the ‘Tis The Season 6″ x 6″ designer series paper with the third largest Stitched Rectangles Die and adhere it to a Shaded Spruce mat. Adhere a folded piece of Shaded Spruce ribbon to the top right corner and adhere the panel to the card front with dimensionals.
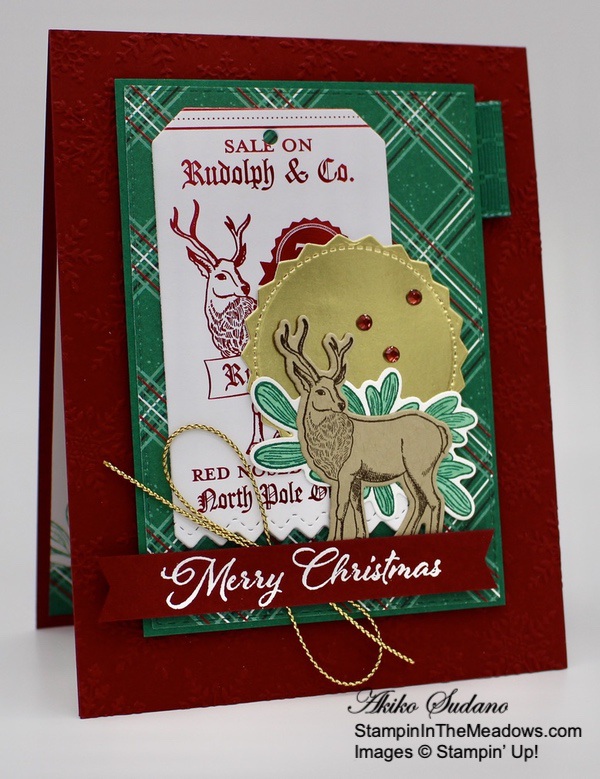
Cut a panel of Wonder of the Season specialty designer series paper with the tag die from the North Pole Wonder Dies from the Stampin’ Up! Wishes & Wonder bundle and adhere it to the panel. I used a piece with the Rudolph feed image in red foil. Cut a gold foil circle with the North Pole Dies. Stamp the mistletoe from the Stampin’ Up! Wishes & Wonder cling stamp set in Shaded Spruce ink on a small Whisper White panel and color it with the Light Shaded Spruce Stampin’ Blend. Cut it out with the coordinating die and adhere it to the bottom of the gold circle.
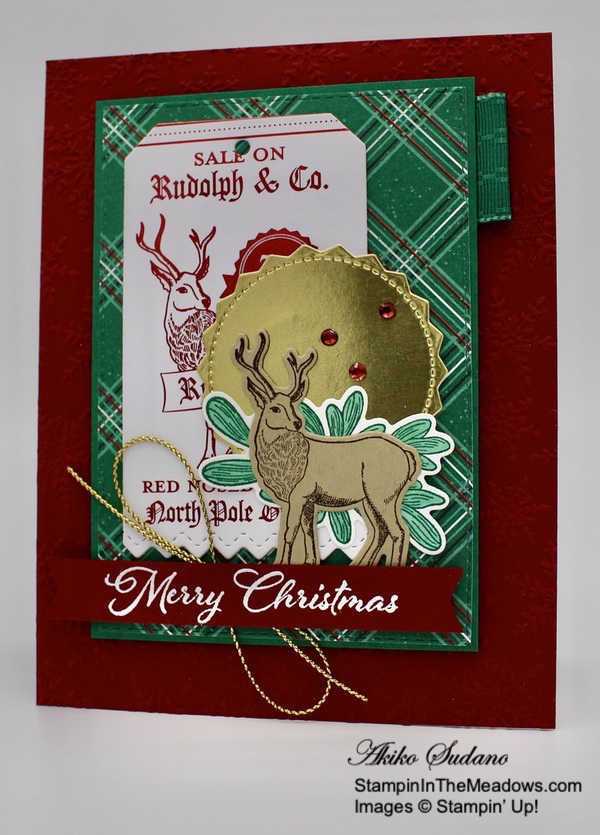
Stamp the reindeer from the Stampin’ Up! Wishes & Wonder stamp set in Early Espresso ink on Crumb Cake and cut it out with the coordinating die. Adhere it to the mistletoe and adhere the layered piece to the card front. Adhere a gold trim loopy bow to the front. Stamp the sentiment from the Cherish the Season stamp set in Versamark ink on a Cherry Cobbler strip and heat emboss it with white embossing powder. Trim the ends with the Banners Pick A Punch and adhere it to the card front with dimensionals. Finish the card front with three red rhinestones.

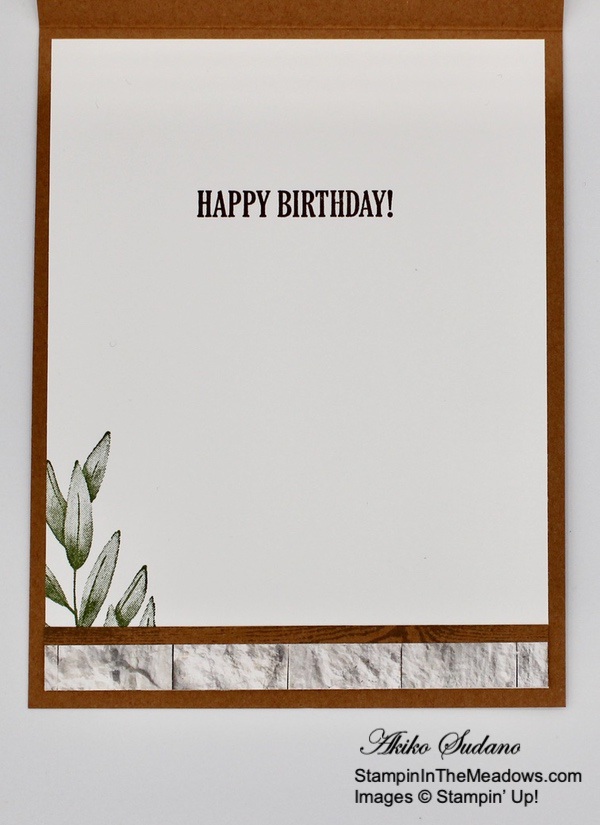
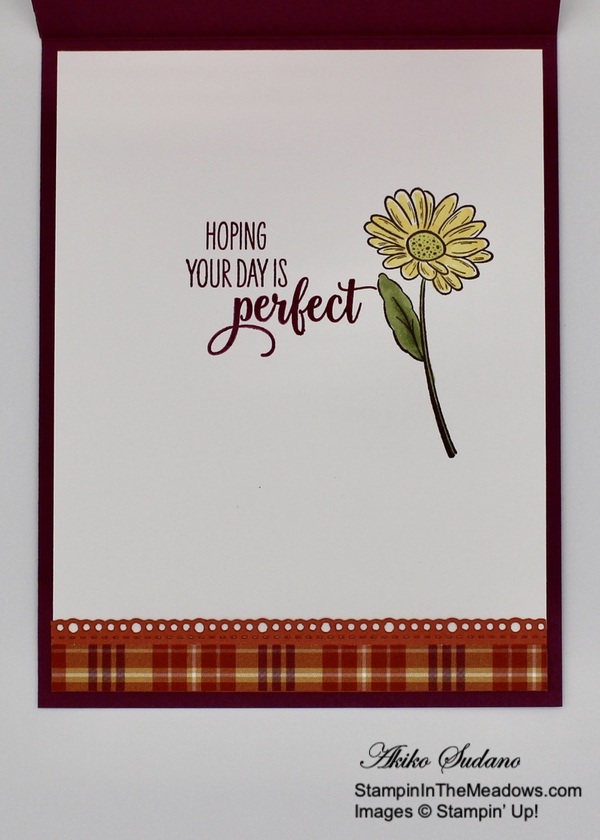
Stamp the sentiment from the Stampin’ Up! Wishes & Wonder cling stamp set in Cherry Cobbler ink on a Whisper White panel. Stamp the mistletoe in Shaded Spruce ink in the corners and trim the bottom of the panel with a strip of the plaid paper from the ‘Tis The Season 6″ x 6″ designer series paper. Adhere the panel to the inside of the card.

The Stampin’ Up! Wishes & Wonder stamp bundle has a number of unique nostalgic Christmas images and the wonderful reindeer. Click on the image below to shop for this bundle in my Online Store.
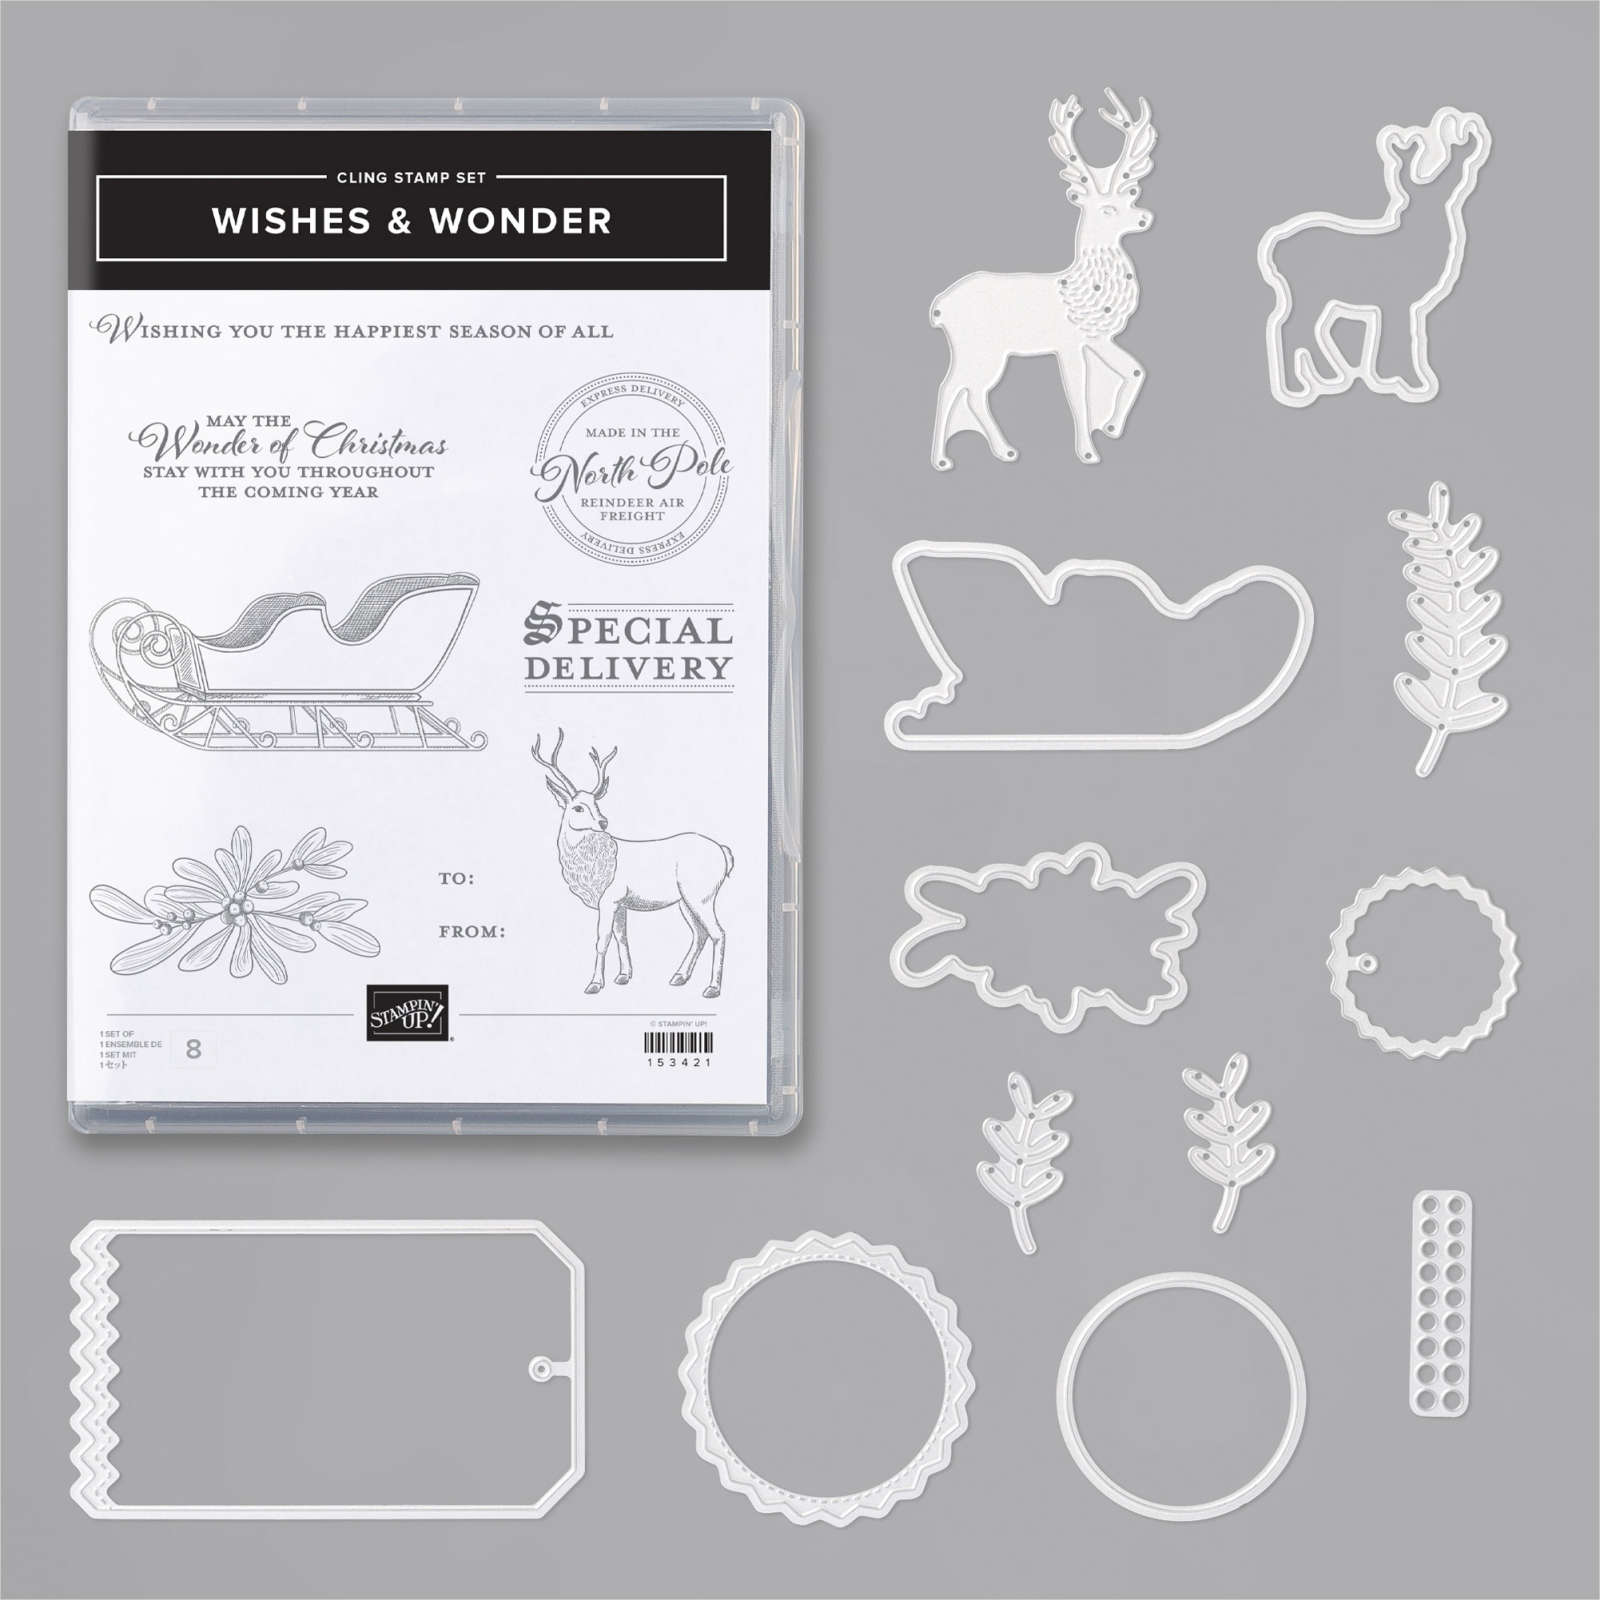
The images coordinate nice with the Wonder of the Season specialty designer series paper. And the pretty ‘Tis The Season 6″ x 6″ designer series paper is on sale this month at a 15% discount!!
Stampin’ Up! Designer Series Paper Sale Going on Now!
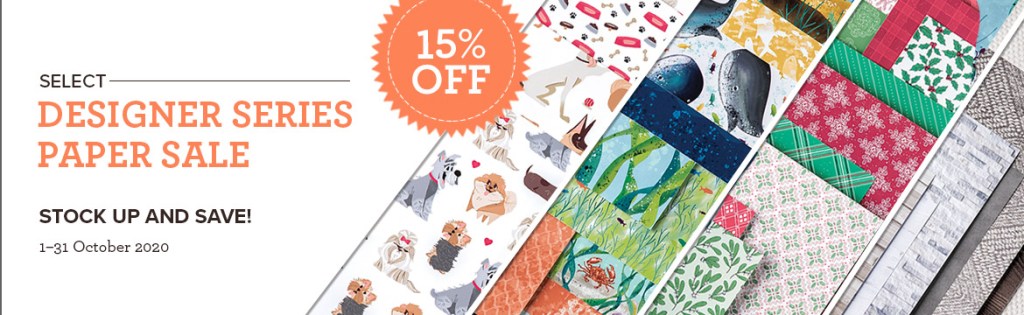
Stampin’ Up! has beautiful Designer Series Paper and during the Month of October they’re putting a select list of those on sale with a 15% discount! This is a fantastic opportunity for you to stock up and save on paper. And the sale includes some of the designs from the August-December 2020 Mini Catalog too! Get the details on my Promotions Page or click on the image above to download a printable PDF with all the selections. Click Here to shop the Designer Series Paper Sale in My Online Store now!
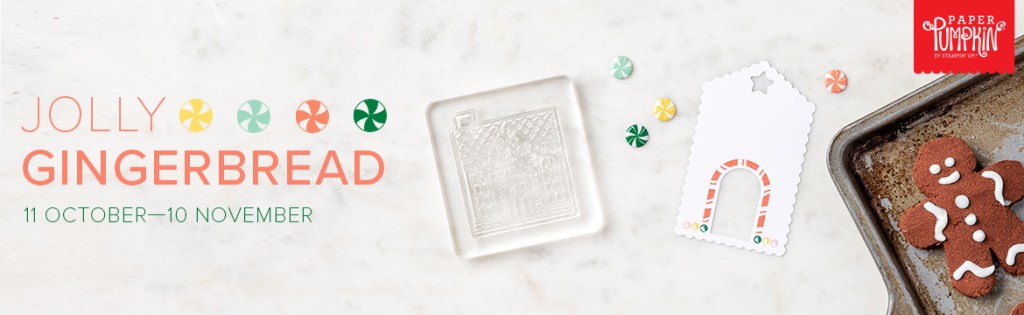
The November Paper Pumpkin Kit is Jolly Gingerbread!
The Paper Pumpkin kit for November is a cute, gingerbread-themed kit with enough supplies to make 15 gift card carriers. The kit’s contents can also be used to make traditional cards or gift tags. This kit allows you to customize your Christmas crafting to create one-of-a-kind Christmas crafts!
If you’re interested in subscribing to Paper Pumpkin, you can either sign up for a subscription where you are billed monthly for your kit or you can purchase a prepaid subscription in my online store. To see more information and to sign up for the monthly subscription click here. To see the options for prepaid subscriptions in my online store, click here.
Get the complete details about the November Paper Pumpkin Kit on my Promotions Page. Sign up deadline for the November 2020 kit is November 10, 2020. Supplies may be limited toward the end of the subscription period.
October 16-31 Host Code: 3VJWYCTP
Use this host code when you order $50 or more and receive a free gift from me! The gift is your choice of any item valued up to $10.00 in the 2020-21 Annual Catalog or the Aug – Dec 2020 Mini Catalog. This includes some of the host exclusive sets!
If your order is over $150, please do not use the host code since you’ll receive your own Host Dollars plus I’ll still send you the free gift! This host code can be used by anyone, no commitment required. Let me know if you have any questions.
If you need any stamping supplies, I’d be very happy to be your Demonstrator. Just click on the Shop Now Button on the right side of the screen to go directly to my Online store or contact me if you have any questions. Happy Stamping!
Thanks for stopping by and have a great day!
Akiko
- Visit my Online store here
- See the current Stampin’ Up! clearance rack specials here
- Earn FREE Stampin’ Up! products through my Wildflower Frequent Shopper Program – my way of saying thank you to my frequent shopper online customers.
- Sign up for my monthly newsletter here
- Have any questions? I’d be happy to help, click here to contact me.
Cardstock Cuts for this project:
- Cherry Cobbler – 4-1/4″ x 11″ card base scored at 5-1/2″, 1/2″ x 2″ (label), 4-1/4″ x 5-1/2″ (embossed front background)
- Shaded Spruce – 3-1/8″ x 4-1/2″ (DSP mat)
- Crumb Cake – 2″ x 2-1/2″ (die cut reindeer)
- Gold Foil – 2-1/4″ x 2-1/4″ (gold circle)
- Whisper White – 4″ x 5-1/4″ (inside panel), 3-1/4″ x 4-1/4″ (scalloped rectangle), 1/2″ x 3″ (label)
- ‘Tis The Season DSP – 3-1/4″ x 4-5/8″ (front panel), 1/2″ x 4″ (inside trim)
- Wonder of the Season Specialty DSP – 2-1/4″ x 4″ (tag)
Stampin’ Up! products used in this project:
")


 Designer Series Paper")


 Braided Linen Trim")


")
")


")


 Designer Series Paper")
 Designer Series Paper")


 Crinkled Seam Binding Ribbon")


 Designer Series Paper")


")


")

 Ribbon")


")
")


 Sheer Ribbon")


