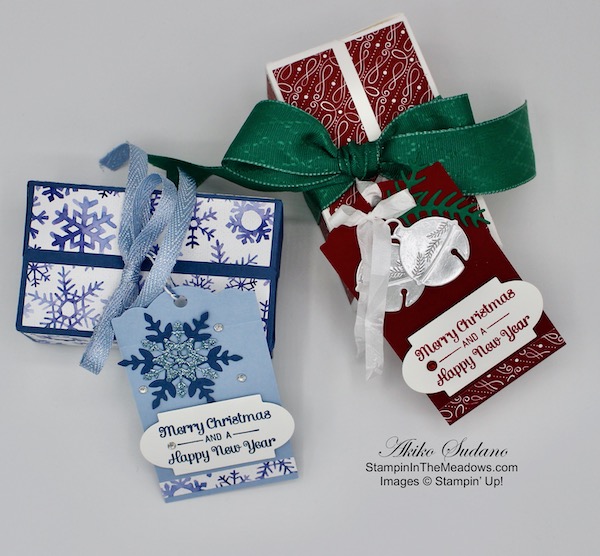
Good Morning! Today I’m sharing a Christmas card made with the Stampin’ Up! Snowflake Wishes bundle that I made during my Facebook Live video tutorial yesterday afternoon. This is such a simple card, but is amazing because of the touches of silver foil card stock. You can find the supplies used to create this card at the bottom of my post along with the sizes of cardstock used.

Here is the Facebook Live video showing how I made the card. Note that in the video, I did a lot of prep work ahead of time to move things along:
I will also edit and post a concise tutorial on my YouTube Channel, so look for that soon. You can now view it here.

I embossed a panel of Seaside Spray card stock with the Winter Snow embossing folder and adhered it to a silver foil mat. I wrapped a length of Seaside Spray metallic ribbon around the panel about 1″ from the bottom. I stamped the Merry Christmas sentiment from the Cherish the Season cling stamp set using Versamark ink on a strip of Seaside Spray. I sprinkled it with Silver embossing powder and heat set until shiny. I cut it out with a die from the Ornate Labels Dies.

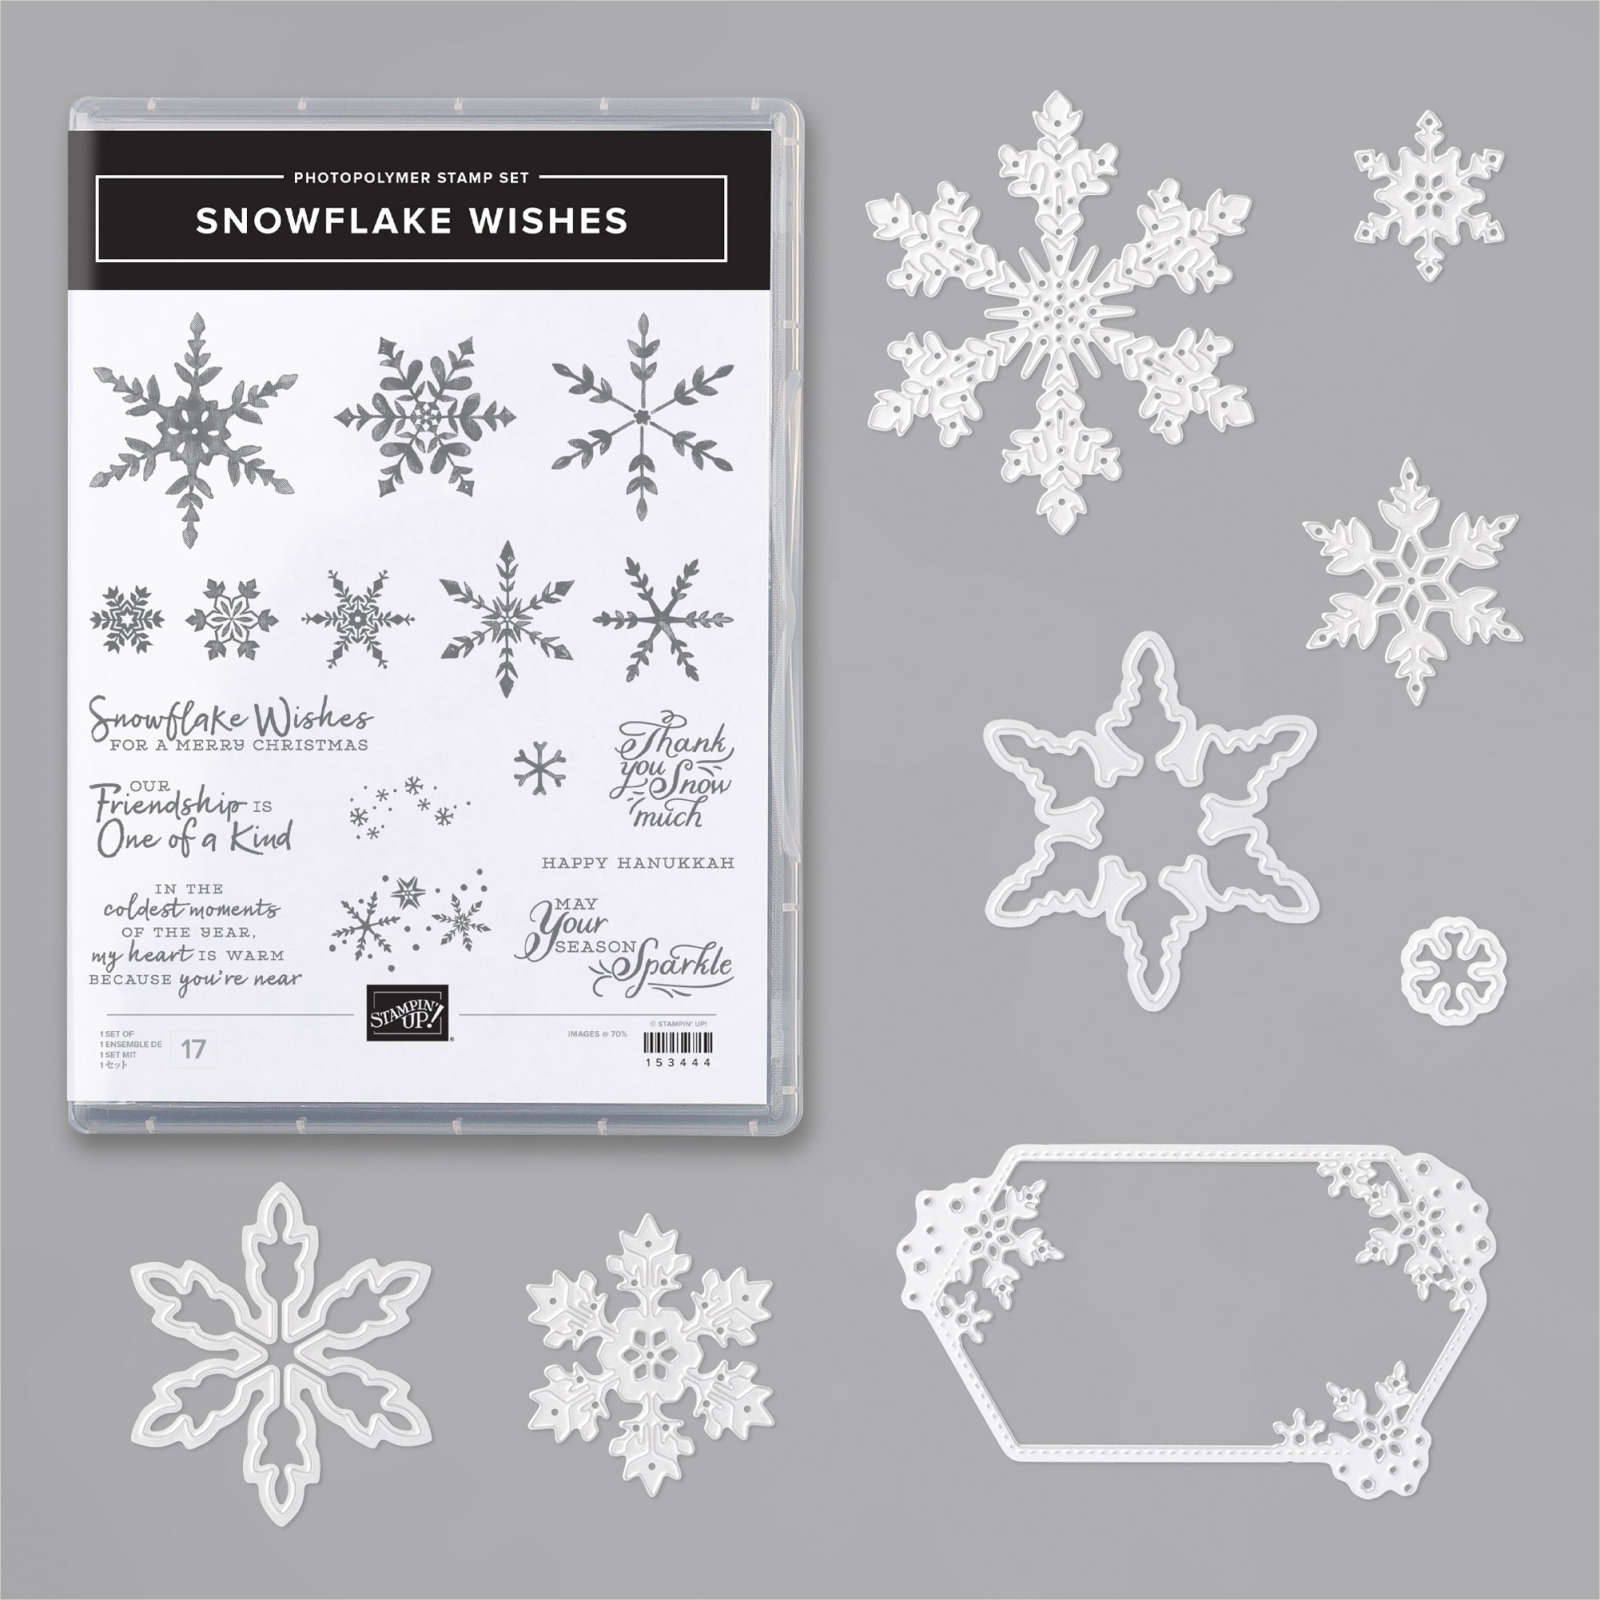
I cut out the snowflakes from silver foil using the So Many Snowflakes Dies from the Stampin’ Up! Snowflake Wishes bundle. I cut one of the large snowflakes and two of the small snowflakes. I also cut two of the smallest snowflakes from the Christmas Layers Dies. I placed the label on the ribbon and arranged the silver foil die cut snowflakes on the panel, adhering them with liquid glue. I adhered the label with glue dots and added some rhinestones.

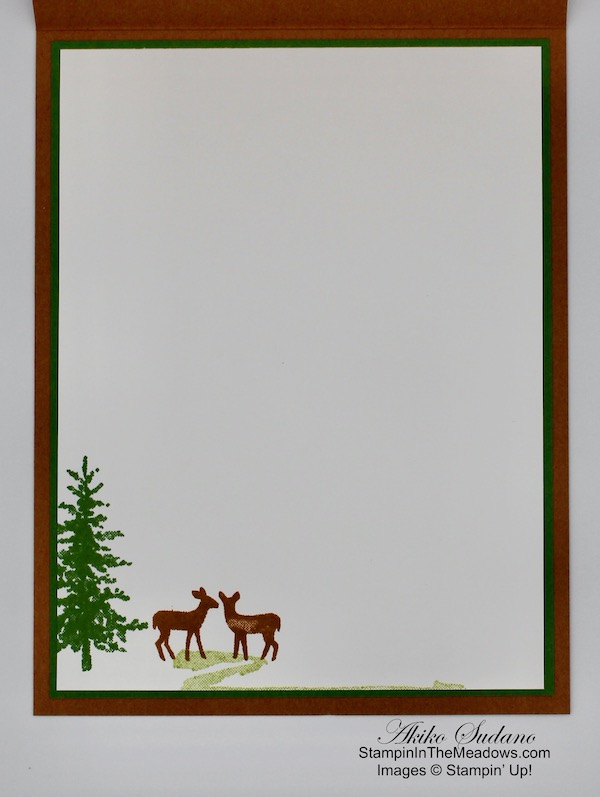
I stamped the sentiment from the Cherish the Season stamp set in Seaside Spray ink and stamped some snowflakes in Seaside Spray ink around a Whisper White panel. I adhered the panel to the inside of the card.

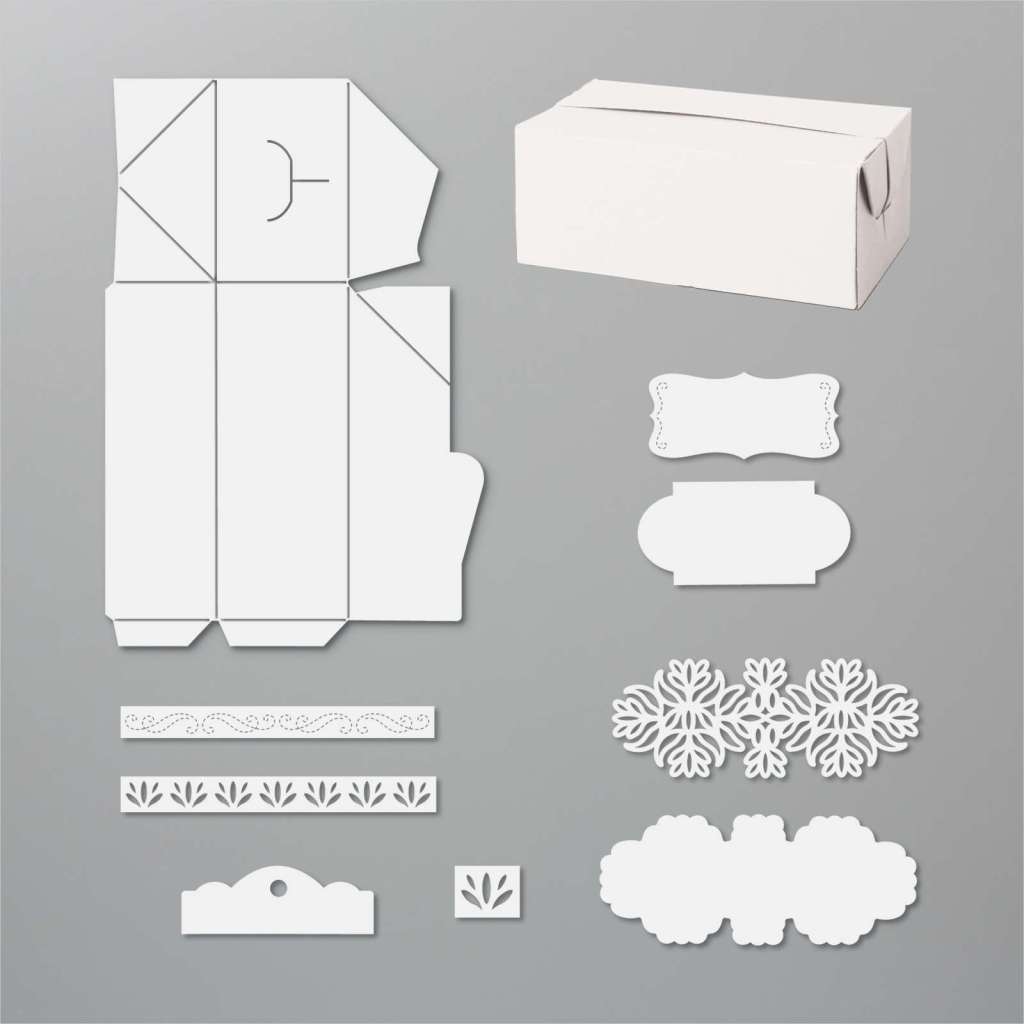
The Stampin’ Up! Snowflake Wishes bundle is so versatile for creating snowflake cards for Christmas and for the winter with intricate die cuts that make beautiful snowflakes and other die cuts that cut out stamped snowflakes! The hex frame is also perfect for making a shaker card – you can see one that I made a while back here. Click the image below to get the full details of this bundle in my Online Store.
The Stampin’ Cut & Emboss Machine is Here!
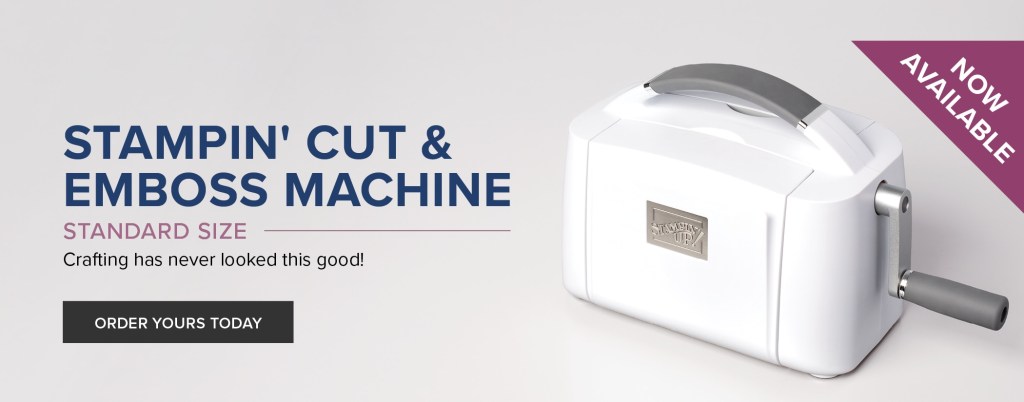
If you need a new die cutting machine, check out the new Stampin’ Cut & Emboss machine! This is a well built, smooth running machine and I used it on today’s project! Details are on my Promotions page.
The October Paper Pumpkin Kit is Joy to the World!

This holiday season, share the joy of Paper Pumpkin! The Joy to the World Paper Pumpkin Kit is an exclusive holiday kit that provides a specially-designed box, enough supplies to create eight elegant cards, and an opportunity to connect with the Stampin’ Up! global community.
With October’s magical kit, not only will you get a head start on holiday crafting—you’ll get to create Christmas cards, share project ideas, and spread holiday cheer with Stampin’ Up! customers and demonstrators around the world! And after you subscribe to the October kit, be sure to join the Paper Pumpkin Joy To The World Facebook Group to make the most of your kit.
Here are the Details:
- Kit contains enough supplies to create eight cards—four each of two designs—and coordinating envelopes.
- Kit includes die-cut pieces in English, French, and German. This will allow you to create cards you can use to connect with other customers and demonstrators around the world—in their language!
- Card size: 4-1/4″ x 5-1/2″
- Envelope size: 4-1/2″ x 5-3/4″
Coordinating Colors: Cherry Cobbler, Crumb Cake, Early Espresso, Just Jade, Soft Sea Foam
If you’re interested in subscribing to Paper Pumpkin, you can either sign up for a subscription where you are billed monthly for your kit or you can purchase a prepaid subscription in my online store. To see more information and to sign up for the monthly subscription click here. To see the options for prepaid subscriptions in my online store, click here.
Sign up deadline for the October 2020 kit is October 10, 2020. Supplies may be limited toward the end of the subscription period.
September 1 – 15 Host Code: 9UZFD3BH
September 16 – 30 Host Code: V9FPKC9R
Use this host code when you order $50 or more and receive a free gift from me! The free gift is your choice of any item valued up to $10.00 in the 2019 – 2020 Annual Catalog or in the 2020 Mini Catalog! That includes some of the Host Exclusive stamp sets!
If your order is over $150, please do not use the host code since you’ll receive your own Host Dollars plus I’ll still send you the free gift! This host code can be used by anyone, no club or commitment required. Let me know if you have any questions.
If you need any stamping supplies, I’d be very happy to be your Demonstrator. Just click on the Shop Now button on the right side of the screen to go directly to my online store or contact me if you have any questions. Happy Stamping!
Thanks for stopping by and have a great week!
Akiko
- Visit my online store here
- See the current Stampin’ Up! clearance rack specials here
- Earn FREE Stampin’ Up! products through my Wildflower Frequent Shopper Program – my way of saying thank you to my online frequent shopper customers.
- Sign up for my weekly newsletter here
- Have any questions? I’d be happy to help, click here to contact me.
Cardstock Cuts for this project:
- Seaside Spray – 4-1/4″ x 11″ card base scored at 5-1/2″, 3/5/8″ x 4-7/8″ (embossed background), 1-1/4″ x 3-1/4″ (label)
- Silver Foil – 3-3/4″ x 5″ (front mat), 2-1/4″ x 2-1/2″ (snowflake die cuts)
- Whisper White – 4″ x 5-1/4″ (inside panel)
Stampin’ Up! products used in this project:
")


 Metallic Ribbon")


")
")


")
")


")


")


 Designer Series Paper")


 Designer Series Paper")


 Crinkled Seam Binding Ribbon")


")


 Polka Dot Tulle Ribbon")


 Ribbon")


 Designer Series Paper")


