Good Morning! Have you seen the Stampin’ Up! Delicate Dahlias photopolymer stamp set? This is a real pretty stamp set and it’s a Sale A Bration Level 2 item – this means that it is one of the items you can select for FREE with a $100 order before shipping and taxes.
Dahlias are one of my favorite summer flowers and this new Sale A Bration stamp set makes beautiful flowers. So I’m glad I was able to finally pull it out and make today’s card. You can find the supplies I used at the bottom of my post along with the sizes of cardstock used.
Today’s card was inspired by the pretty sketch in TGIF Challenges 329 – #TGIFC329:

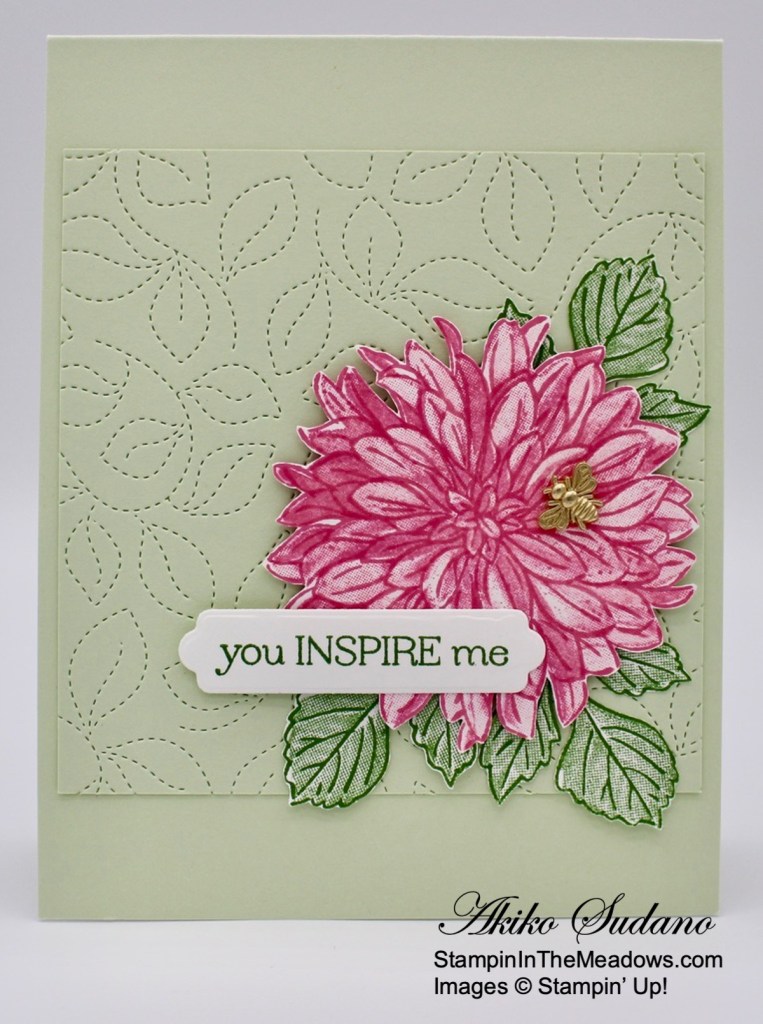
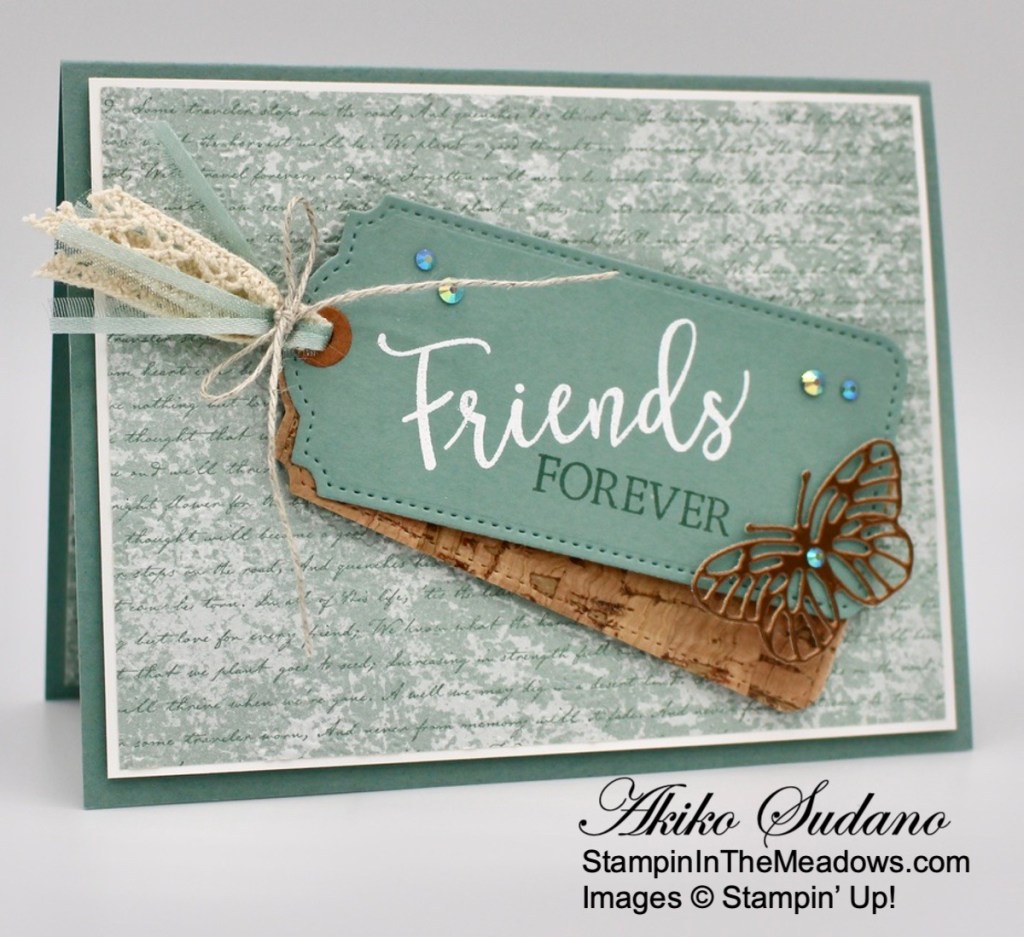
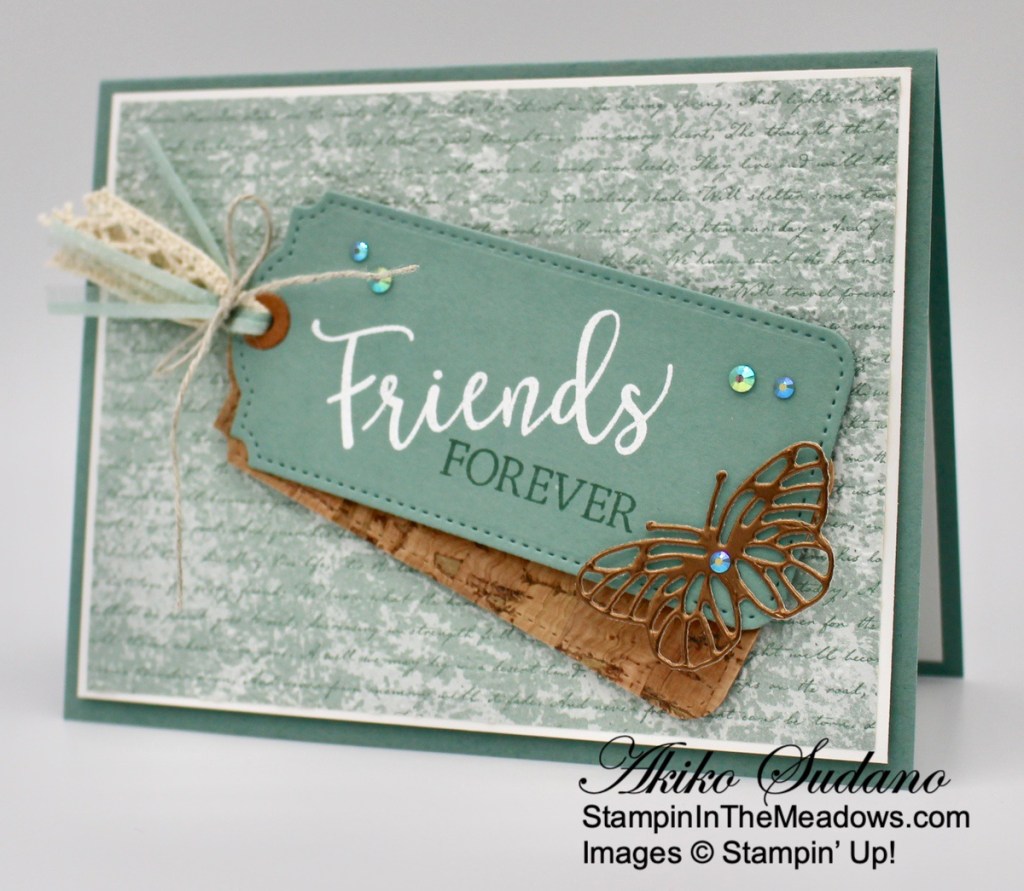
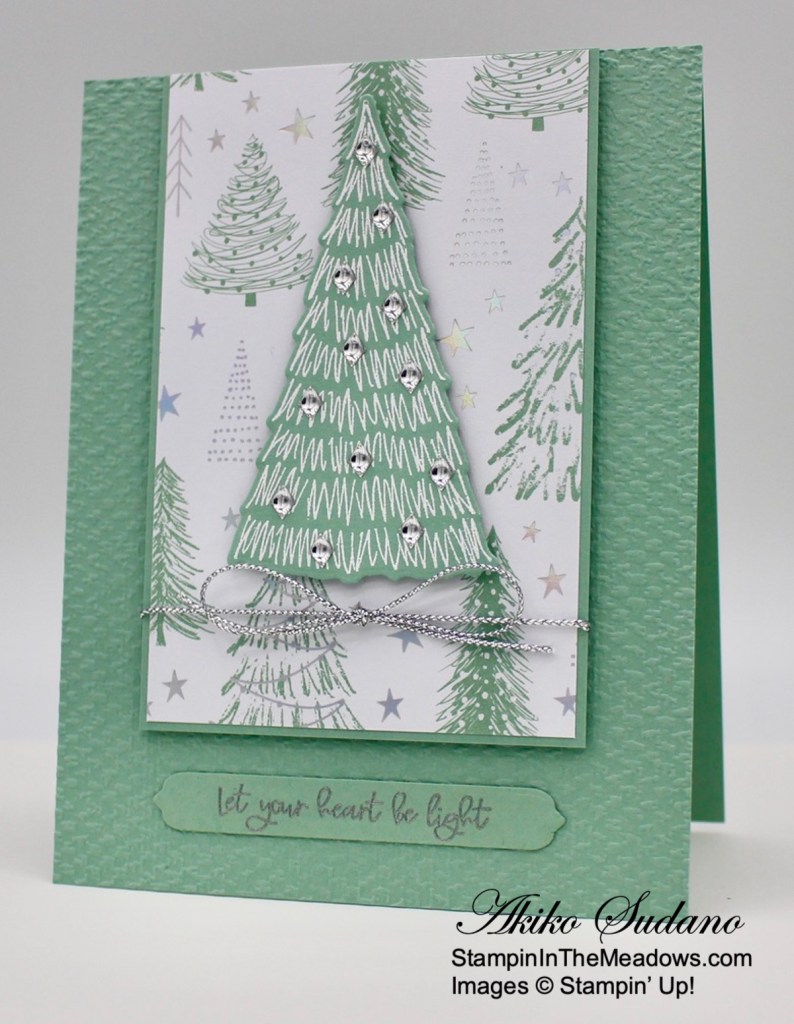
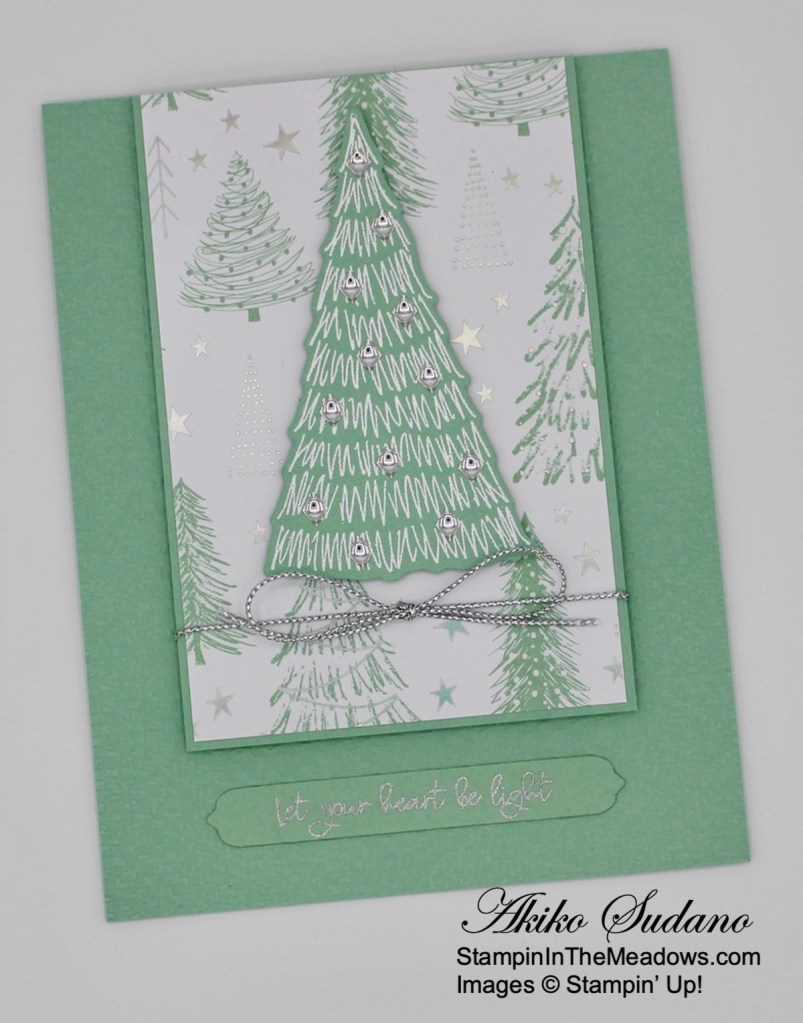
I started by embossing a panel of Soft Sea Foam card stock with the pretty Stitched Greenery embossing folder and adhering it to the front of a Soft Sea Foam card base.

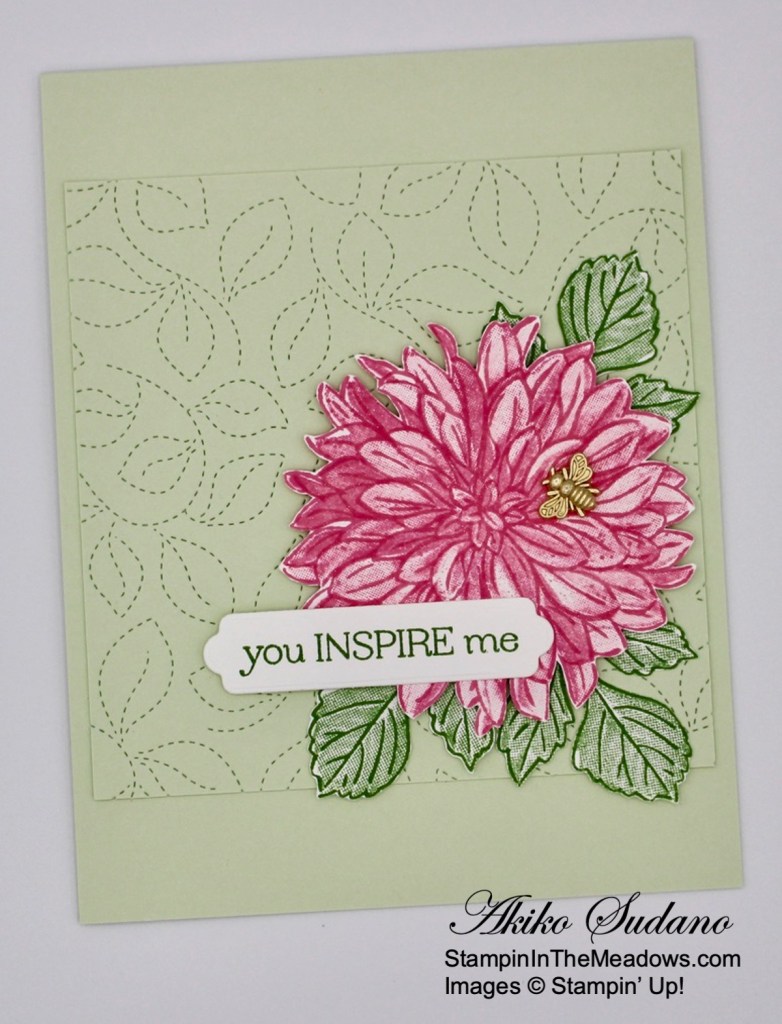
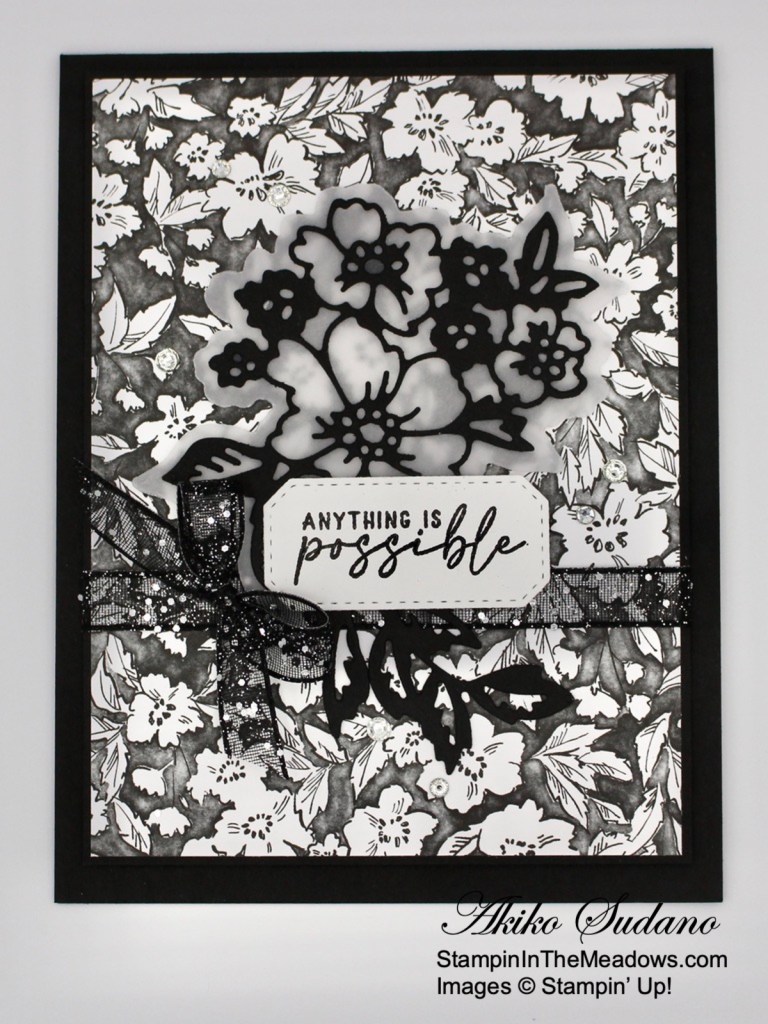
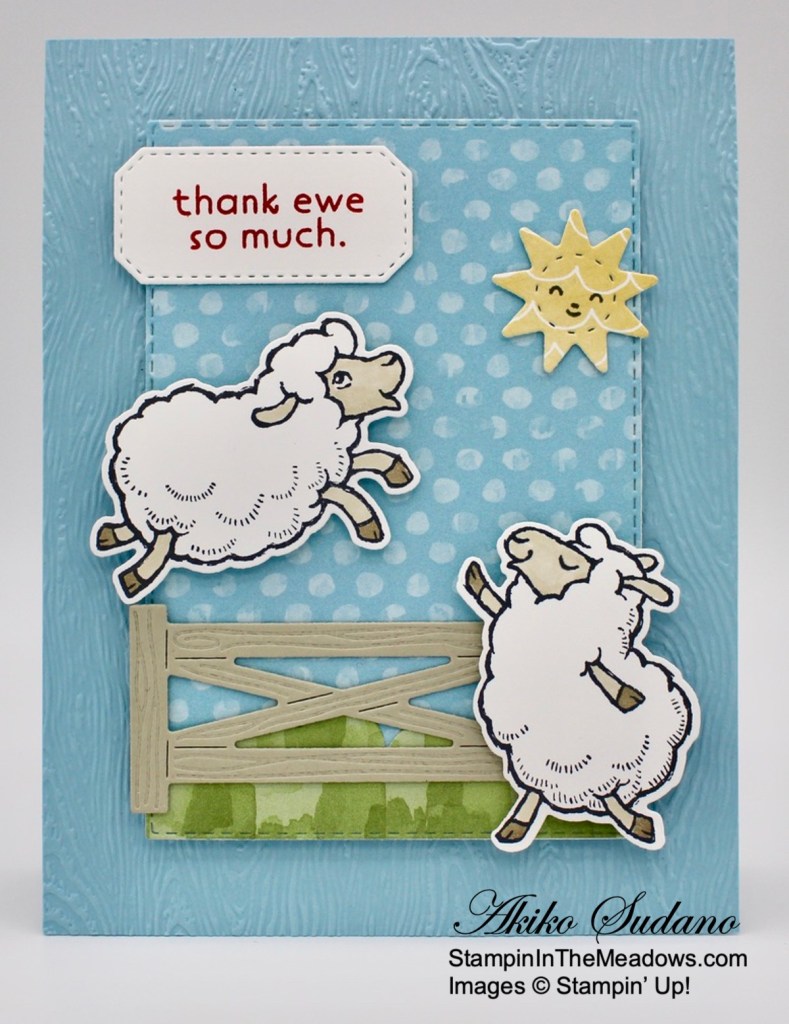
I stamped the large outline dahlia from the Stampin’ Up! Delicate Dahlias stamp set in Polished Pink ink on Basic White. I stamped the large fill dahlia stamp with stamped off Polished Pink over the outline image. Isn’t the shading beautiful? I fussy cut the image and covered it with clear Wink of Stella. I stamped three of the outline large leaf clusters in Garden Green ink on Basic White and stamped the fill in stamped off Garden Green. I fussy cut the leaves and adhered them to the card front with glue dots.
I adhered the dahlia flower over the leaves with dimensionals. I stamped the sentiment from the Stampin’ Up! Delicate Dahlias stamp set in Garden Green ink on Basic White and cut it out with the die from the Seasonal Labels dies. I adhered the label with dimensionals and glue dots over the bottom of the flower. I finished the flower with a bumblebee trinket applied with a glue dot.

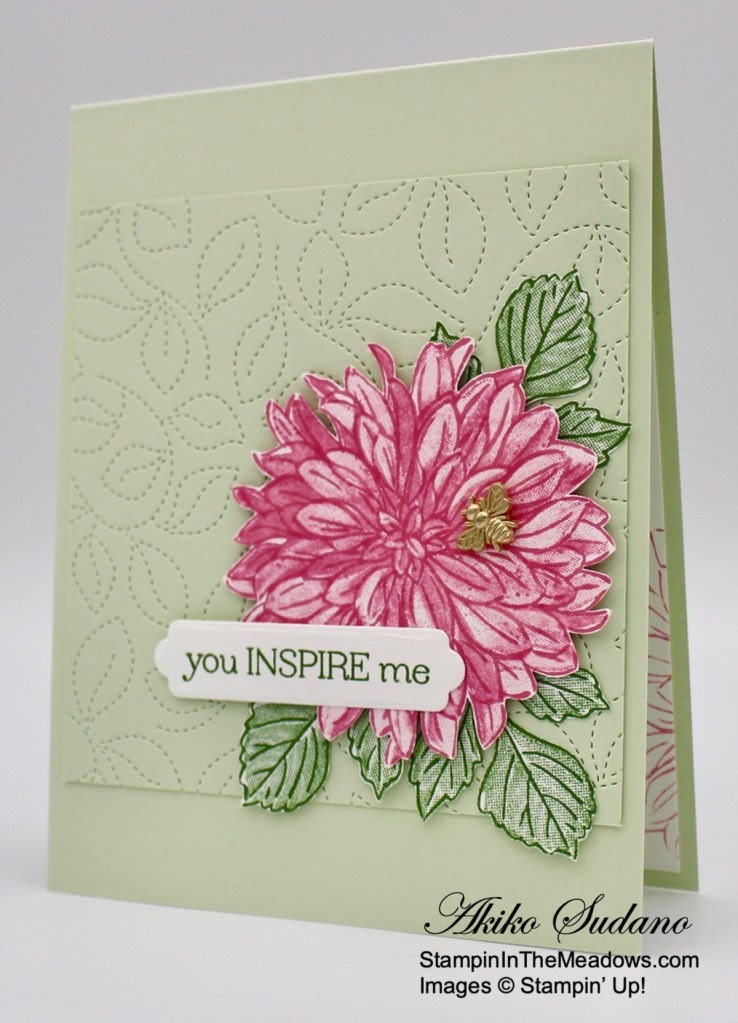
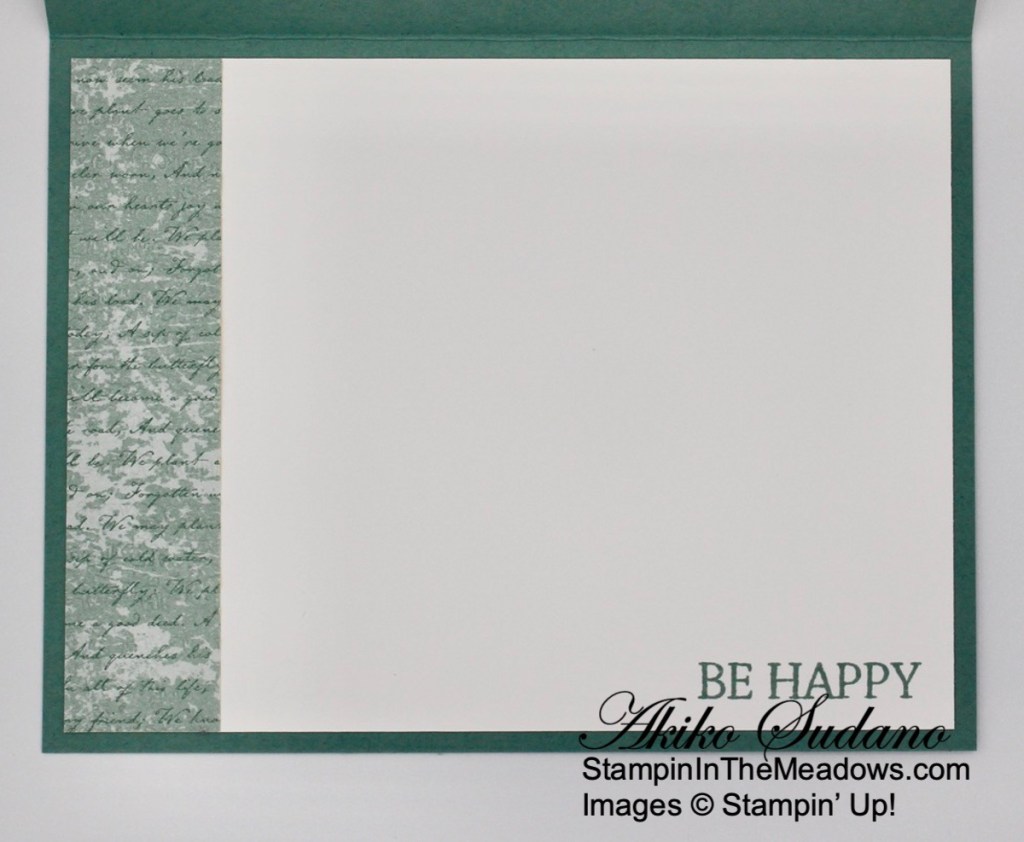
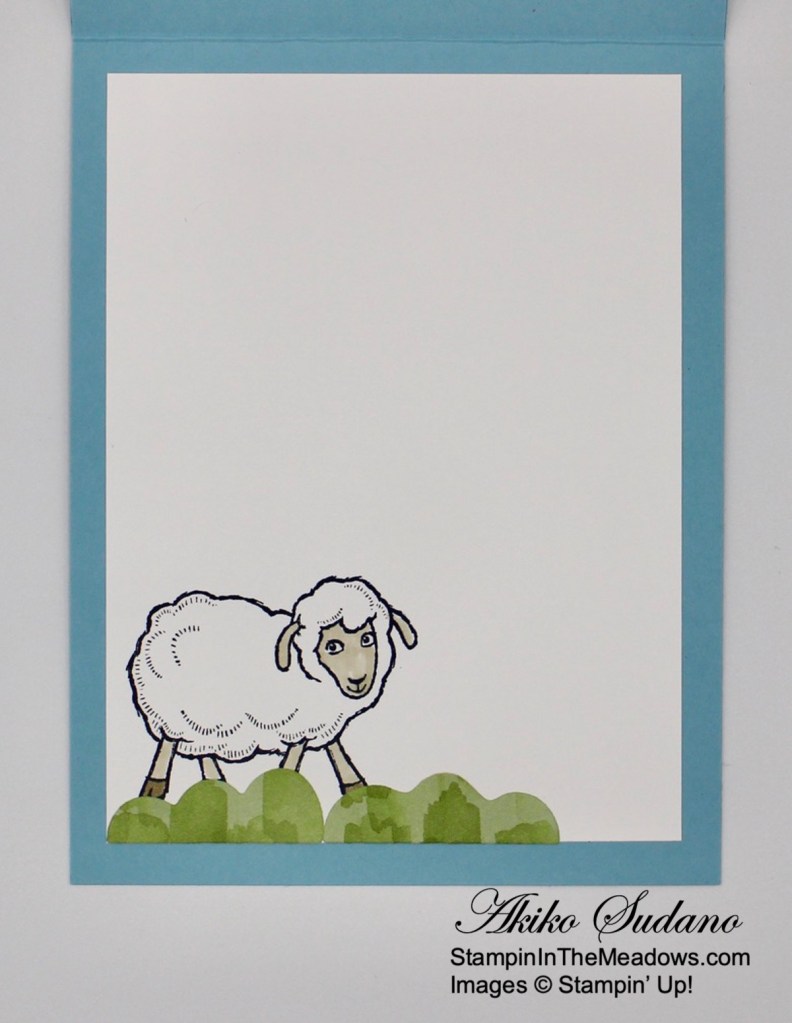
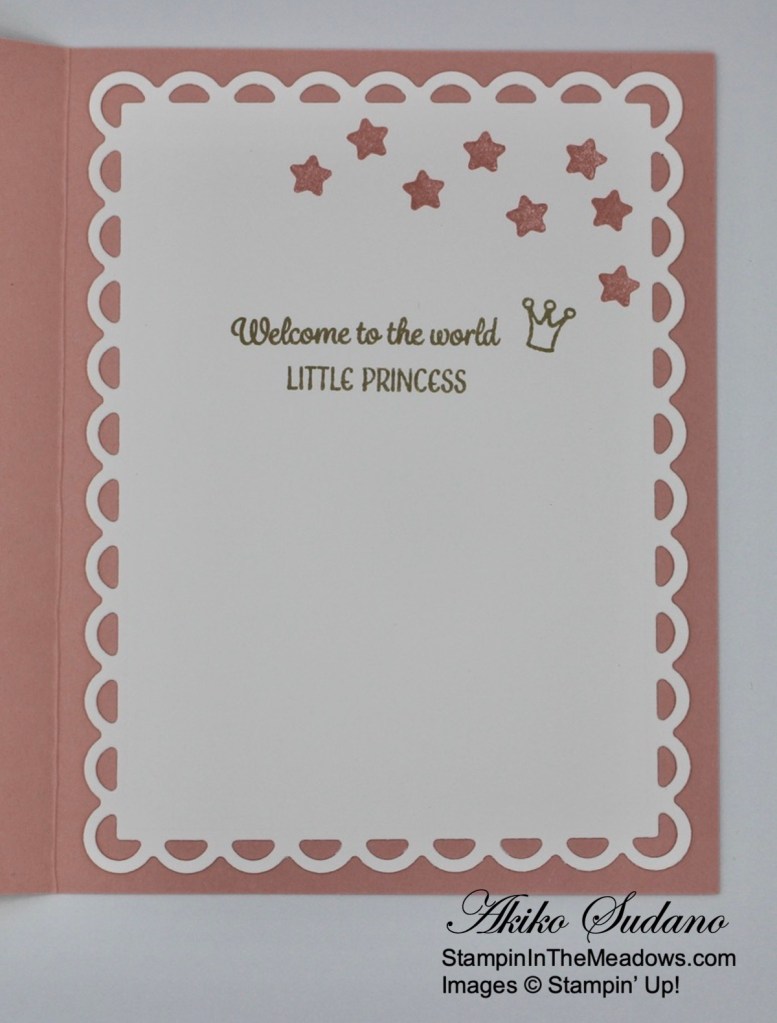
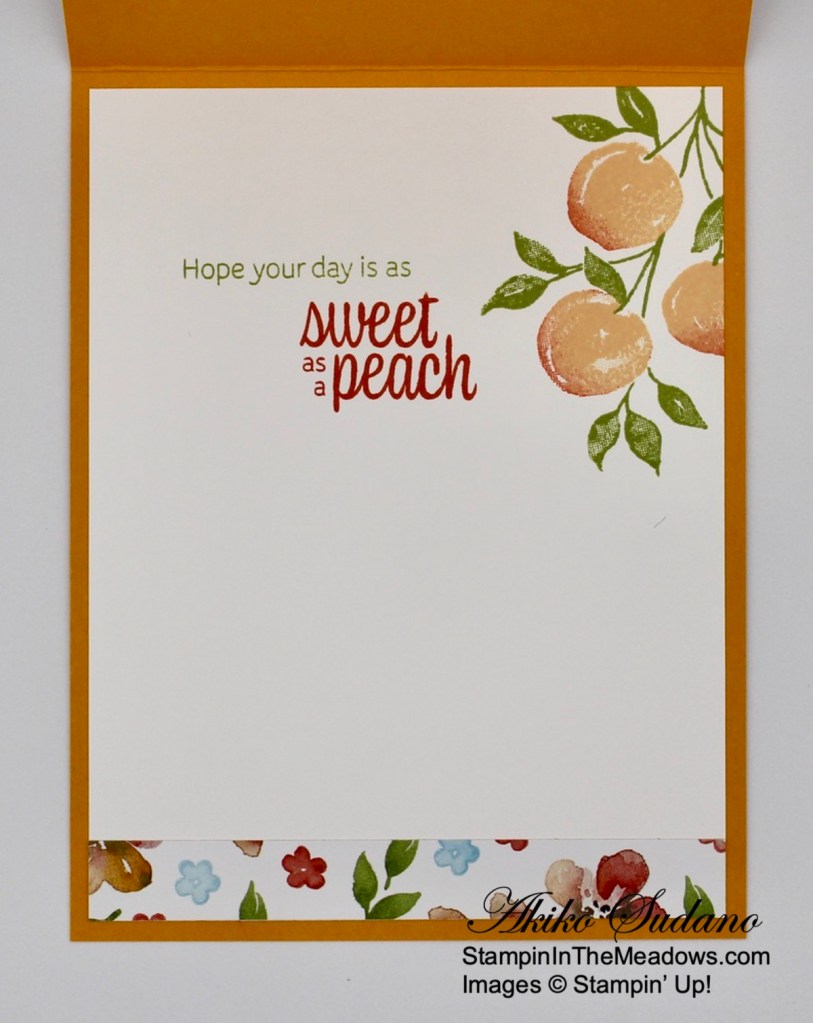
For the inside of the card, I stamped the large outline flower three times in stamped off Polished Pink on the borders of a Basic White panel. I adhered the panel to the inside of the card.
Did I say how much I love dahlias? They come in so many sizes and colors and bloom all summer long! The pretty two step flowers and leaves in the Stampin’ Up! Delicate Dahlias stamp set captures the beauty of these flowers so well.
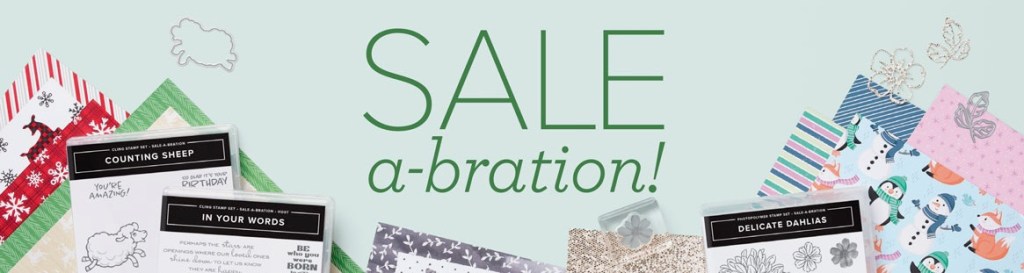
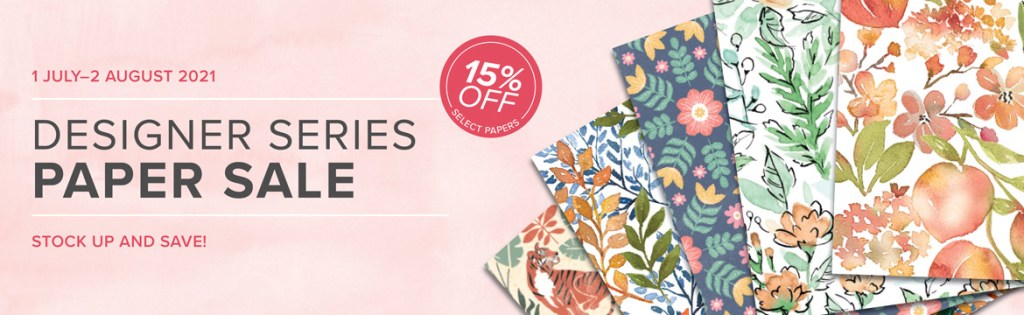
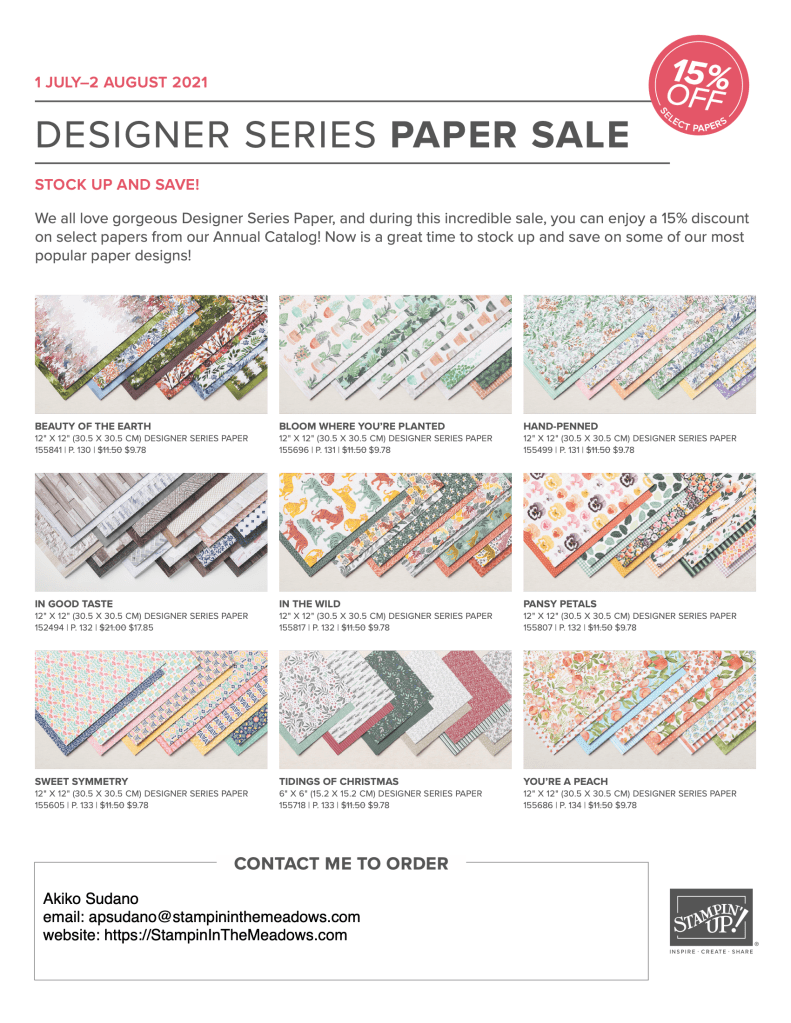
Sale A Bration is going on Now!
Sale A Bration has BUY, HOST and JOIN specials that run through September 30. Click on the picture below to view the Sale A Bration brochure:

SHOP
There are 8 new products (4 stamp sets, 3 paper packs and a die set!) that are available as free items to chose from with a level 1 order (free with an order of $50+) and 2 new items (1 stamp set and 1 die set) that are available as free choices with a level 2 order (free with an order of $100+). So many good things to pick from!
HOST
There is also a great new host exclusive stamp set called In Your Words that will be available for FREE with either a personal order of $300+ or a party with sales totaling $300+! Drop me an email at apsudano@stampininthemeadows.com if you are interested in setting up a host code for yourself to see if you can collect $300 in orders from yourself and your stamping friends to get that FREE stamp set! I’m happy to set up a code just for you!
JOIN
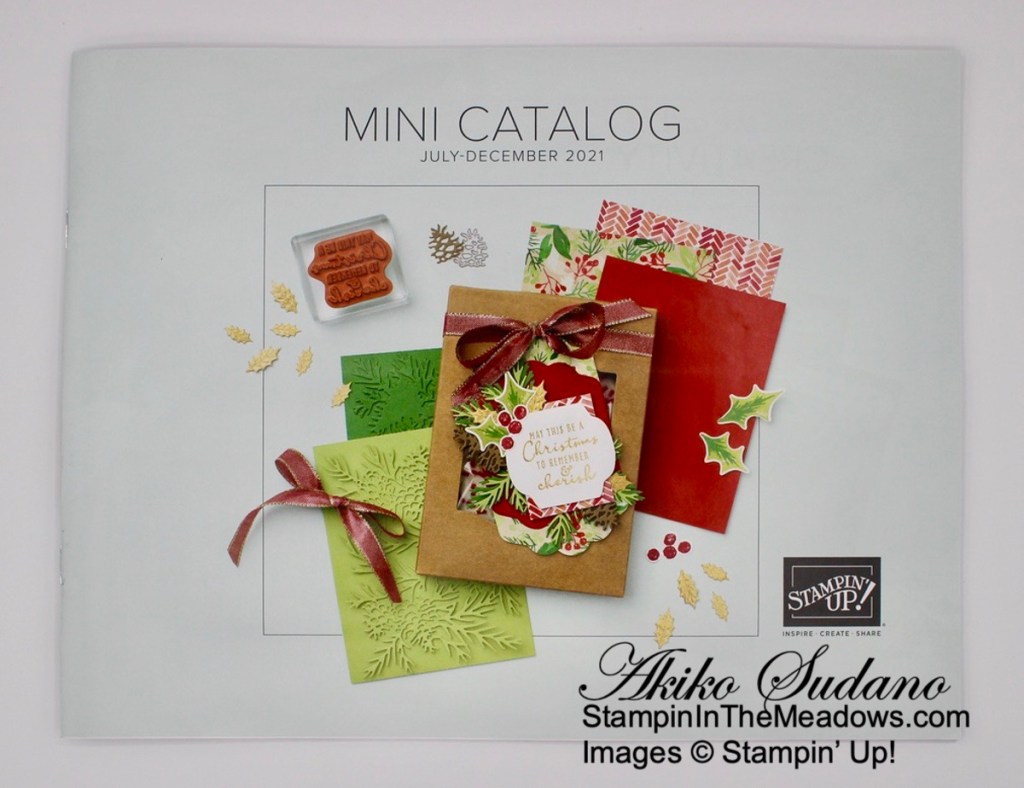
And there is an awesome joining promotion during Sale A Bration! When you join, you pay $99 for your starter kit and you get to choose $125 in product from any current catalog and your starter kit ships for free! And if you join between August 3 and September 30, you get to pick an additional qualifying bundle from the July – December 2021 Mini Catalog to add to your starter kit for free! There couldn’t be a better time to join the Stampin’ Up! family. Contact me if you have any questions about joining and I’ll be happy to tell you more!
Current Host Code: UDT2QRD7
Use this host code when you order $50 or more and receive a free gift from me! The free gift is your choice of any item valued up to $10.00 in the 2021 – 2022 Annual Catalog or the July – December 2021 Mini Catalog!
If your order is over $150, please do not use the host code since you’ll receive your own Host Dollars plus I’ll still send you the free gift! This host code can be used by anyone, no club or commitment required. Let me know if you have any questions.
If you need any stamping supplies, I’d be very happy to be your Demonstrator. Just click on the Shop Now button on the right side of the screen to go directly to my online store or contact me if you have any questions.
Thanks for stopping by and Happy Stamping!
Akiko
- Visit my online store here
- See the current Stampin’ Up! clearance rack specials here
- Earn FREE Stampin’ Up! products through my Wildflower Frequent Shopper Program – my way of saying thank you to my online frequent shopper customers.
- Have any questions? I’d be happy to help, click here to contact me.
Cardstock Cuts for this project:
- Soft Sea Foam – 4-1/4″ x 11″ card base scored at 5-1/2″, 4″ x 4″ (embossed panel)
- Basic White – 4″ x 5-1/4″ (inside panel), 3-1/4″ x 3-1/4″ (flower), 2″ x 5″ (leaves), 3/4″ x 2-3/4″ (label)
Stampin’ Up! products used in this project:
")


 Designer Series Paper")

 Specialty Paper")


 Diamond Weave Ribbon")
 Open Weave Ribbon")


")


")
 Designer Series Paper")


 Specialty Designer Series Paper")


")
")


 Specialty Designer Series Paper")


")


 Designer Series Paper")

 Glittered Organdy Ribbon")


")

 Designer Series Paper")
 Designer Series Paper")


")


 Designer Series Paper")


