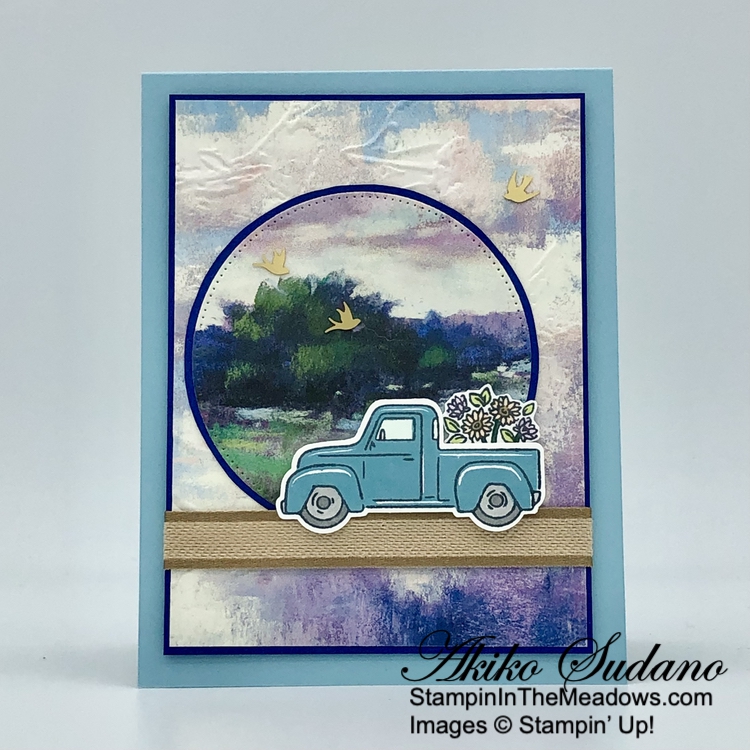
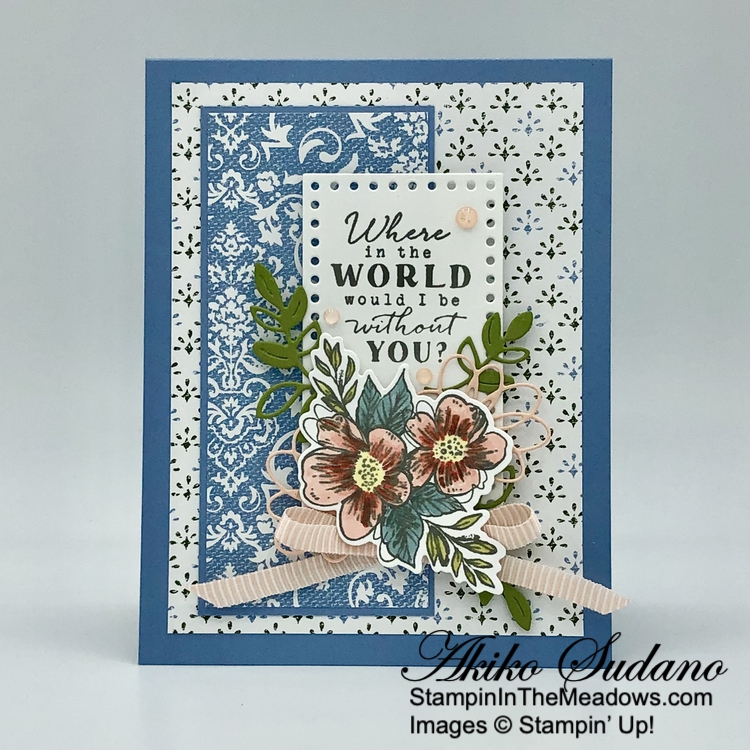
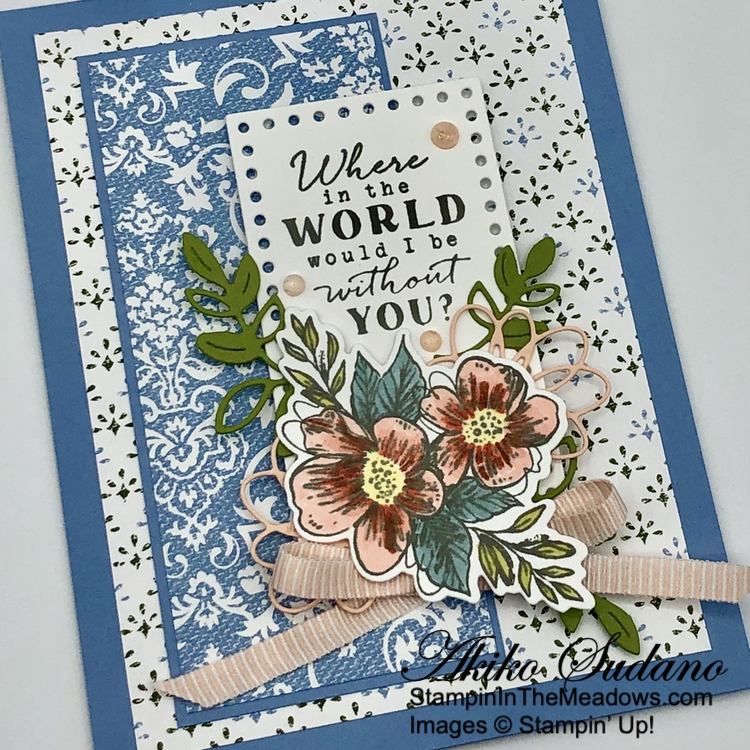
Happy St. Patrick’s Day! Last weekend we had our quarterly Inkin’ Krew Team meeting and Carol Buckalew demonstrated a beautiful Center Pop Out card made with the pretty Simply Zinnia bundle (you can see her pretty card here). I CASE’d her card and used the Stampin’ Up! Cheerful Daisies bundle with the Fresh As A Daisy designer series paper to make a Mother’s Day card. You can find the products I used at the bottom of my post along with the card stock sizes.

I carefully scored a Thick Basic White card base and burnished the score lines and adhered the panels of Fresh As A Daisy designer series paper to Garden Green mats with liquid glue. I adhered each layered DSP panel to the front center and side panels of my card base.

I adhered panels of Delightfully Eclectic DSP to the middle panels to add some interest because the white was too stark. Then I cut out all the flower dies from the Stampin’ Up! Cheerful Daisies dies from Basic White. I made each flower three layers, so I cut one of each of the dies and I cut one large center and two small ones. I used the light Lemon Lolly and Dark Daffodil Delight Stampin’ Blends to color the centers so that they looked like the DSP flowers. Then I used the Early Espresso Stampin’ Write Marker make highlights on the top, detailed die cuts for each flower. I cut off the leaves from the center section with my paper snips and adhered the detailed die cuts to the top and the larger die cuts to the back of each flower. I trimmed one of the small flower centers with my paper snips and popped them on the flowers with dimensionals.

I used the medium rectangle label die from the Something Fancy dies to cut a Garden Green panel for the label mat. I stamped the sentiment from the Flower Cart stamp set in Early Espresso ink on Daffodil Delight and cut it out with the smallest rectangle label die from the Something Fancy dies. I adhered the labels together and adhered it to the center section of the card base.

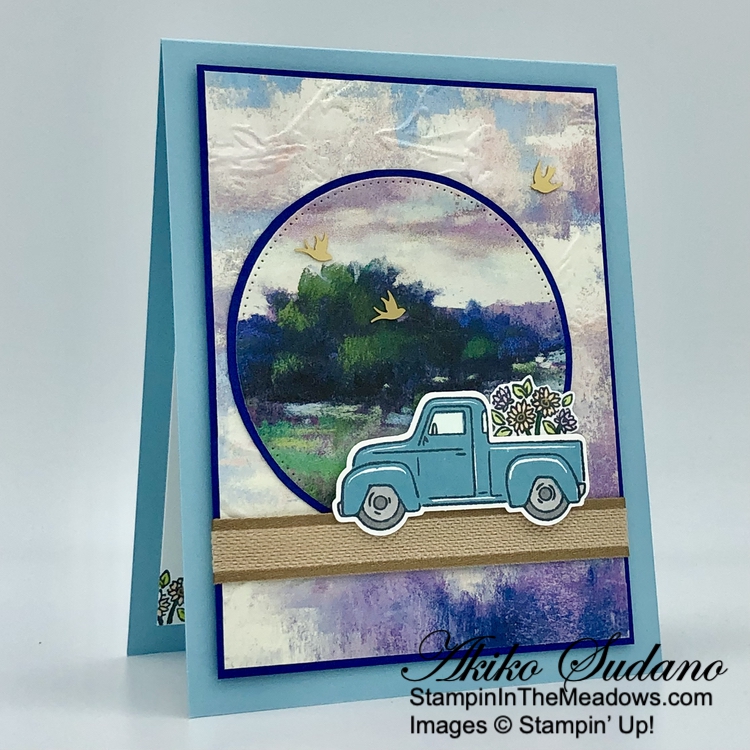
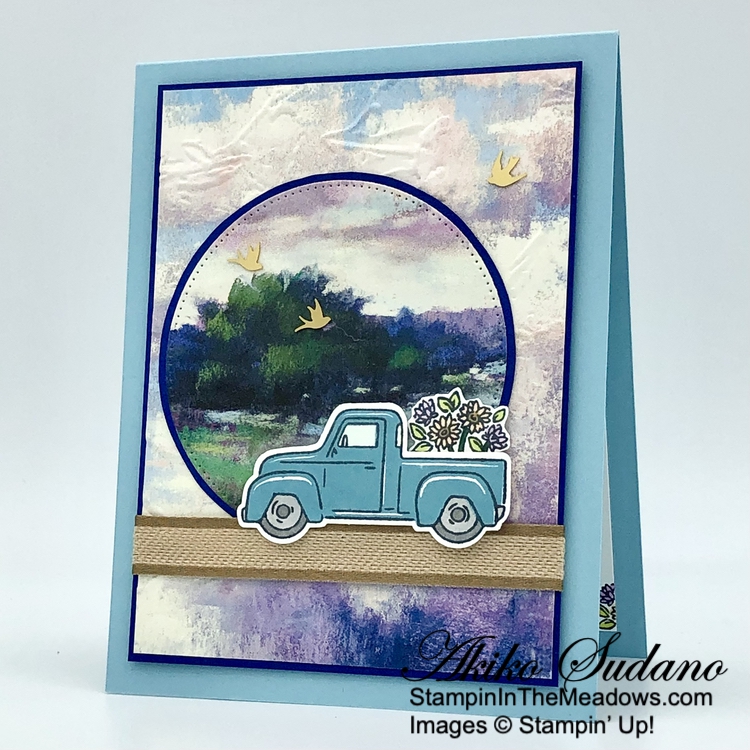
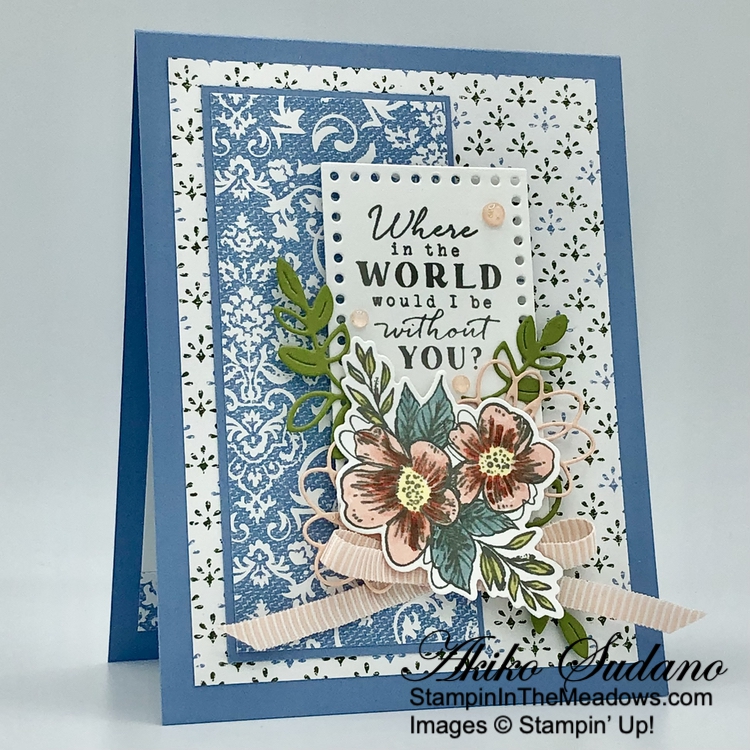
I cut three twig clusters using the Stampin’ Up! Cheerful Daisies dies and adhered them to the top of the center section of the card with tiny dots of liquid glue. I adhered the flowers with dimensionals. I used the leaf cluster section of the large die to cut out four sets of leaves from Garden Green. I adhered the leaves to the card, tucking them under the flowers. I finished with a Parakeet Party metallic bow and three Daffodil Delight glossy dots.

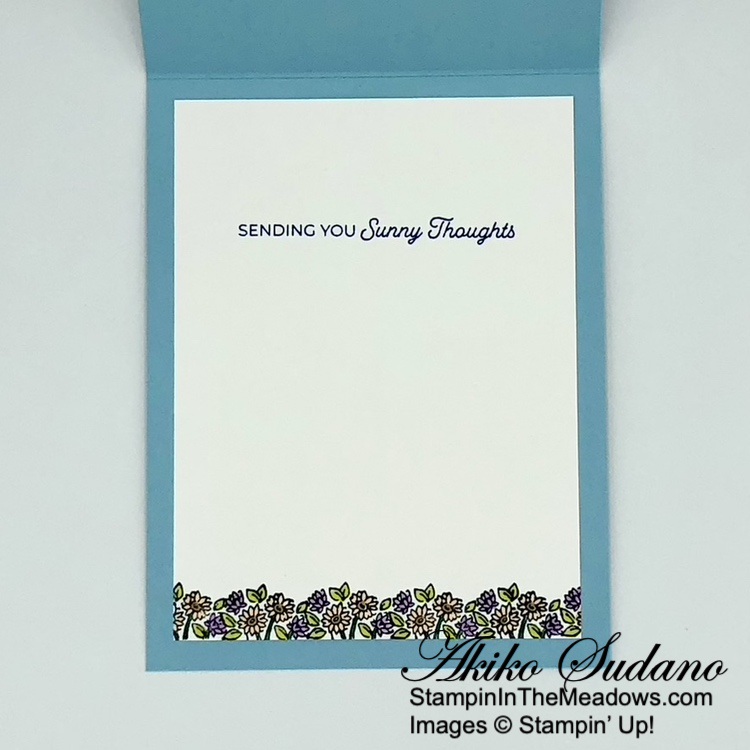
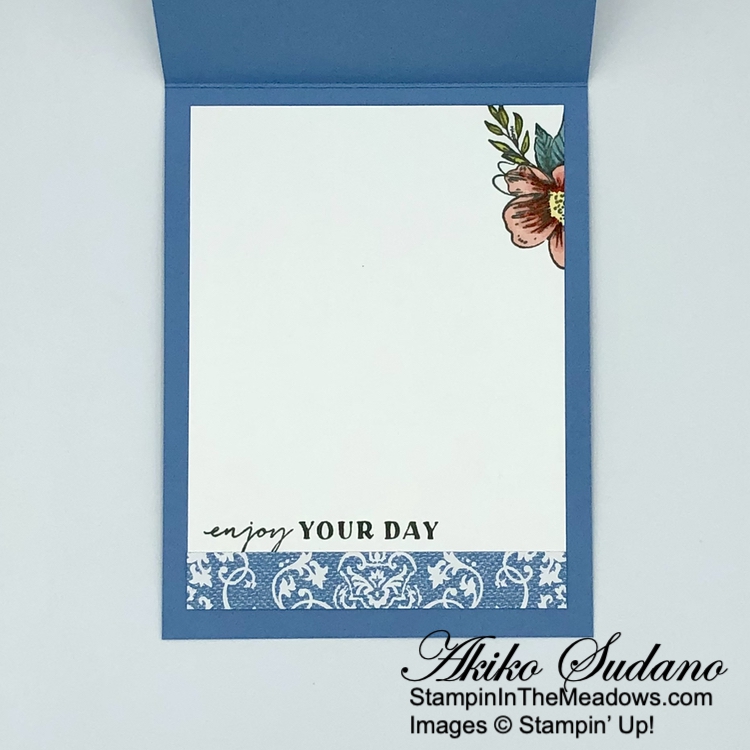
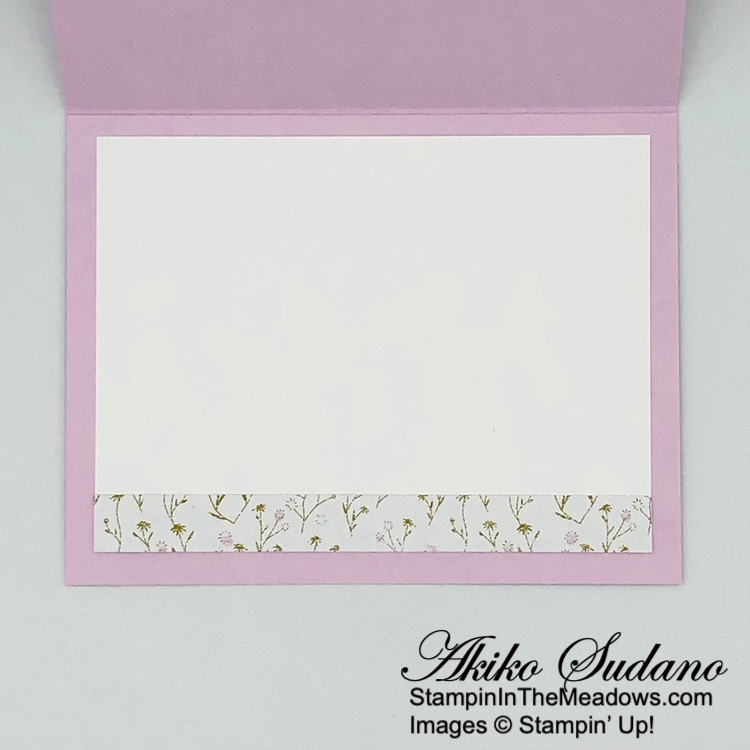
For the inside of the card, I used the back of the center section. I stamped the sentiment from the Flower Cart stamp set in Early Espresso ink on a Basic White panel. I stamped the flower cluster from the Stampin’ Up! Cheerful Daisies stamp set in Daffodil Delight ink. I accented the centers with my Early Espresso Stampin’ Write marker and cut out a mask using the coordinating die. I covered the flowers with the mask and stamped two leaves using Garden Green ink. I adhered the panel to a Garden Green mat and then adhered it to the center space in the back. I finished by adhering panels of Delightfully Eclectic DSP to the remaining back panels.
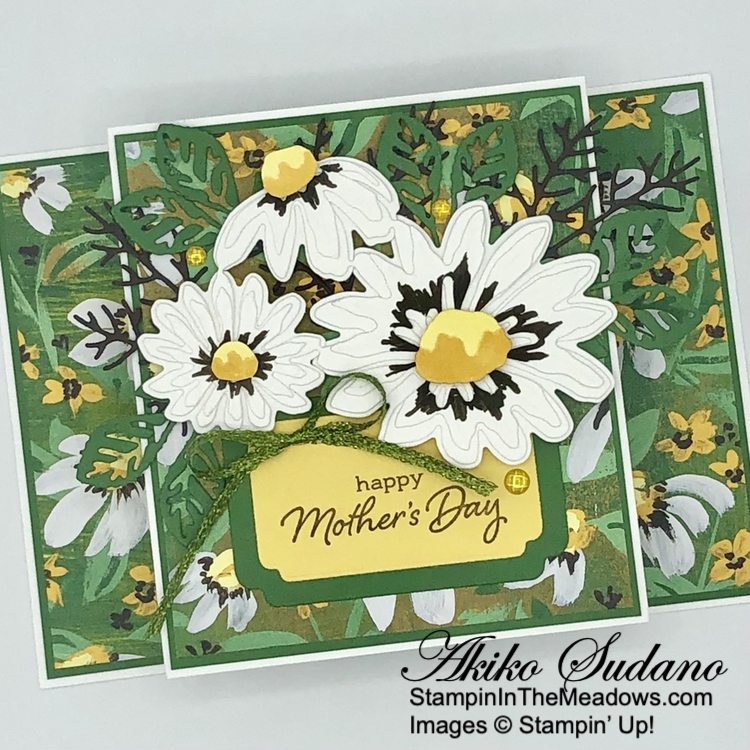
I loved making this fun fold card and it was really pretty simple. I was happy to pull out the beautiful Stampin’ Up! Cheerful Daisy bundle and Fresh As A Daisy DSP to make it. Daisies are simple flowers, so they’re perfect to give on Mother’s Day. And there’s so much green on this card that it’s perfect for St. Patrick’s Day! Enjoy!!

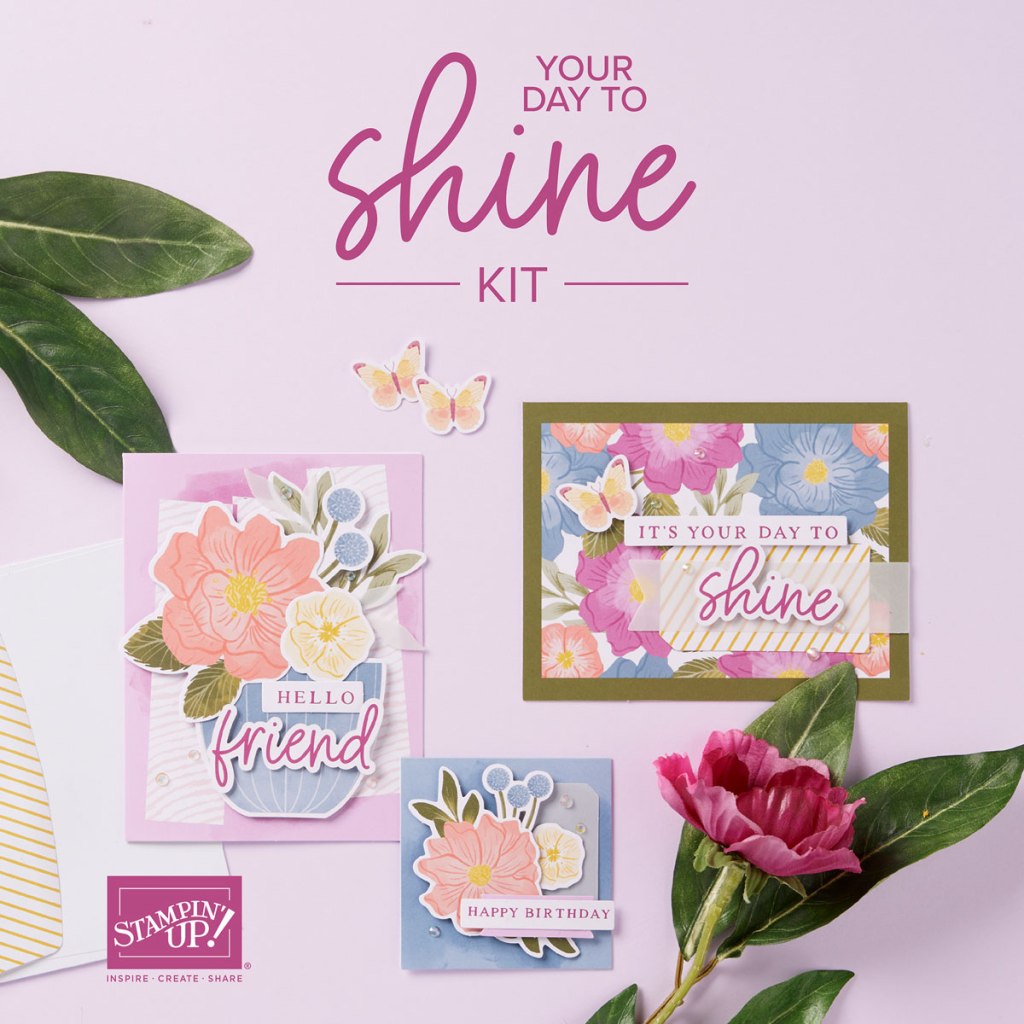
Your Day To Shine and Frog & Friends Added to Kits Collection!
The Kits Collection by Stampin’ Up! provides different options and a range of project types that allow you to choose the crafting experiences that best fits your style and needs. There’s a variety of kits to choose from and these all-inclusive project kits have everything you need in one box! You can Find these kits in the Online Store.
The new kits for March are the Your Day To Shine Kit and the Frog & Friends Kit. Click on the images below to see the details in the Online Store.

Current Host Code: XR9HAEK4
Use this host code when you order $50 or more and receive a Thank You gift from me! The free gift is your choice of any item currently available valued up to $10.00.
If your order is over $150, please do not use the host code since you’ll receive your own Host Dollars plus I’ll still send you the Thank You gift! This host code can be used by anyone, no club or commitment required. Let me know if you have any questions.
If you need any stamping supplies, I’d be very happy to be your Demonstrator. Just click on the Shop Now Button on the right side of the screen to go directly to my Online store or contact me if you have any questions. Happy Stamping!
Thanks for stopping by and have a great day!
Akiko
- Visit my online store here
- See the current Stampin’ Up! clearance rack specials here
- Earn FREE Stampin’ Up! products through my Wildflower Frequent Shopper Program – my way of saying thank you to my online frequent shopper customers.
- Have any questions? I’d be happy to help, click here to contact me.
Cardstock Cuts for this project:
- Thick Basic White – 4-1/4″ x 11″ card base scored at 2-1/4″, 3-5/8″, 7-3/8″ and 8-3/4″
- Garden Green – two 3-5/8″ x 4-1/8″ panels (front and back center panel mats), two 2-1/8″ x 4-1/8″ panels (side DSP mats), 2″ x 3″ (label mat), 1-1/2″ x 6″ (die cut leaves)
- Daffodil Delight – 1-3/4″ x 3″ (label)
- Early Espresso – 2-1/2″ x 4-1/2″ (die cut twigs)
- Basic White – 3-1/2″ x 4″ (back center panel), 4″ x 8″ panel (floral die cuts)
- Fresh As A Daisy DSP – 3-1/2″ x 4″ (center panel background), two 2″ x 4″ (side panels)
- Delightfully Eclectic DSP – four 1-1/4″ x 4-1/8″ panels (front and back middle panels), two 2-1/8″ x 4-1/8″ panels (back side panels)
Stampin’ Up! products used in this project:
")
")

 Designer Series Paper")
 Designer Series Paper")


 Metallic Woven Ribbon")


")
")
")


")


 Designer Series Paper")


 Bordered Ribbon")


")

 Designer Series Paper")


")
 Designer Series Paper")


")


 Sheer Ribbon Combo Pack")
")


")


")
")

 Designer Series Paper")


 Textured Ribbon")


