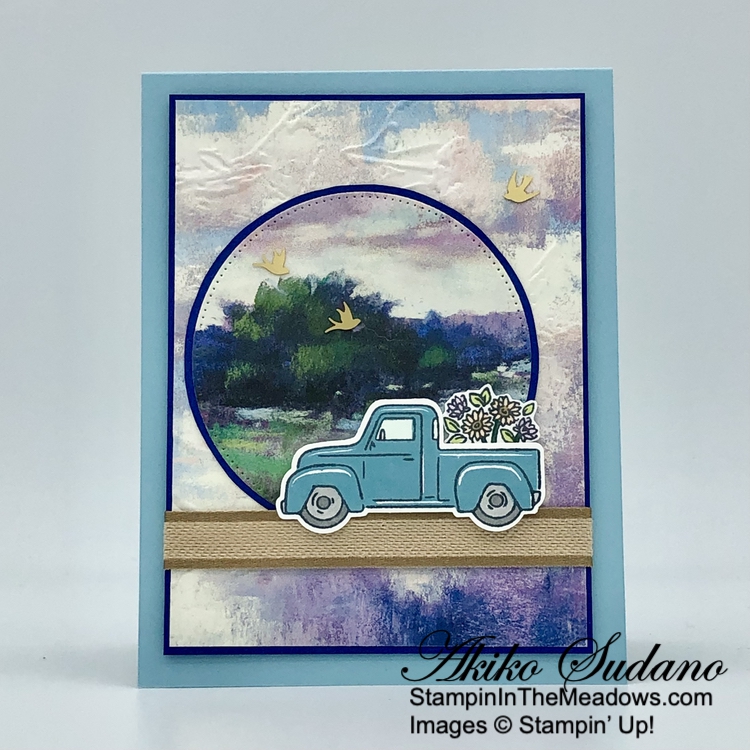
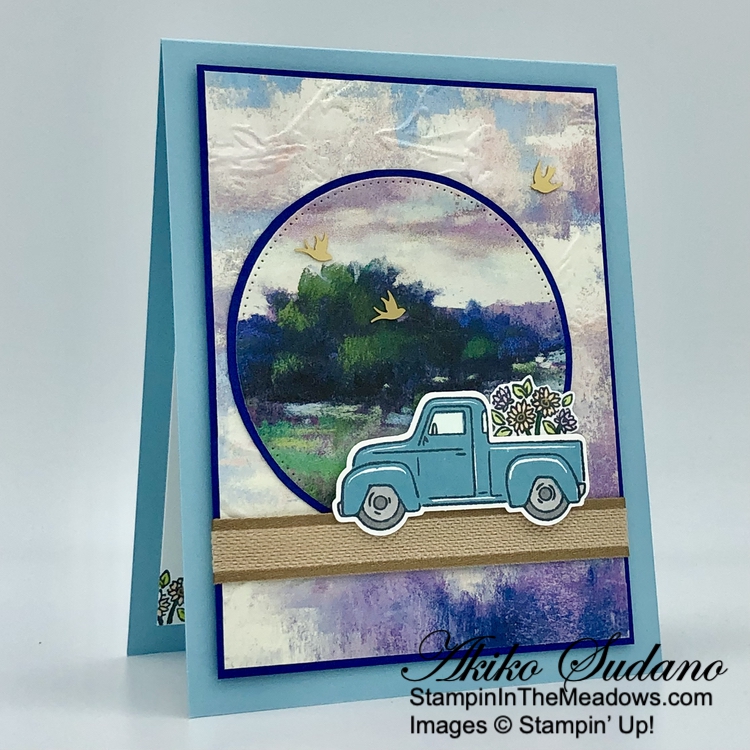
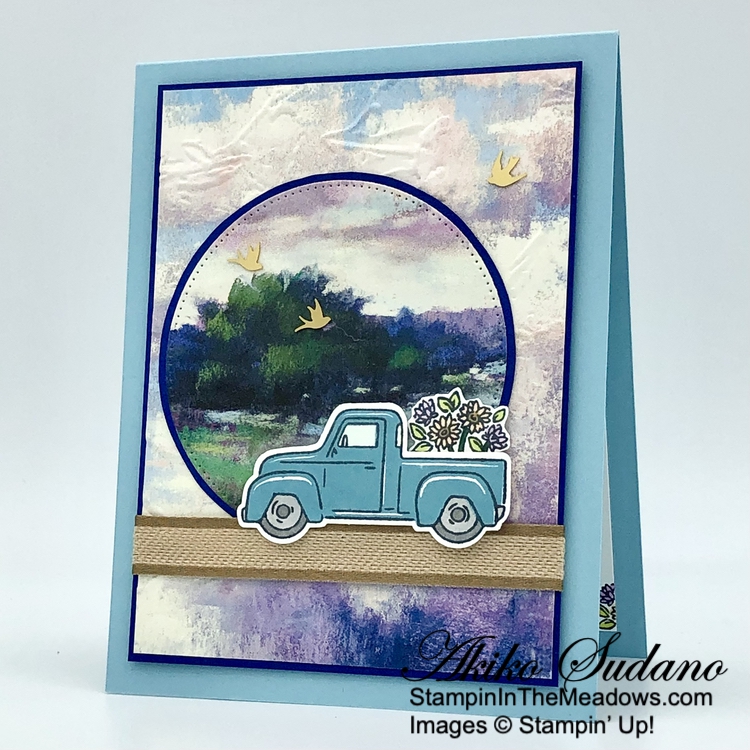
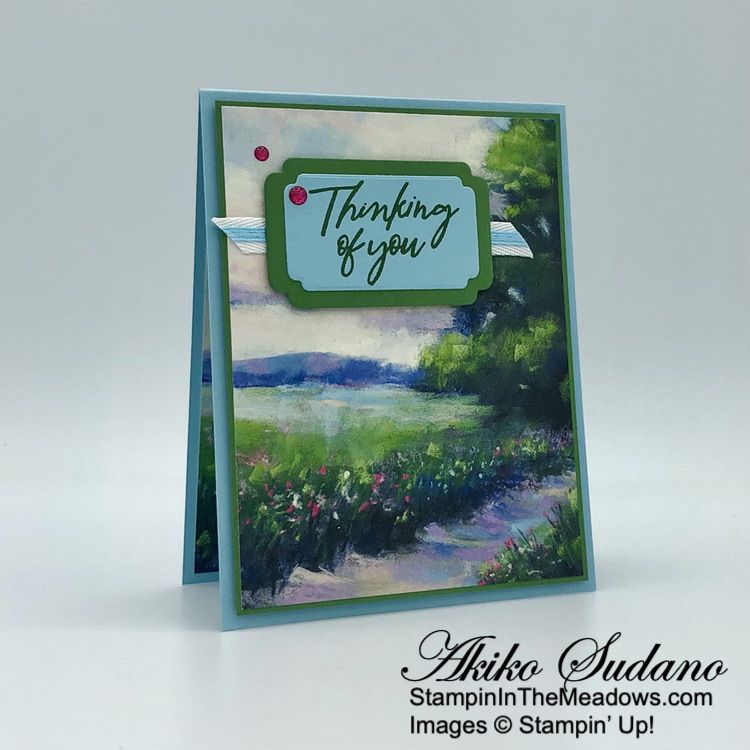
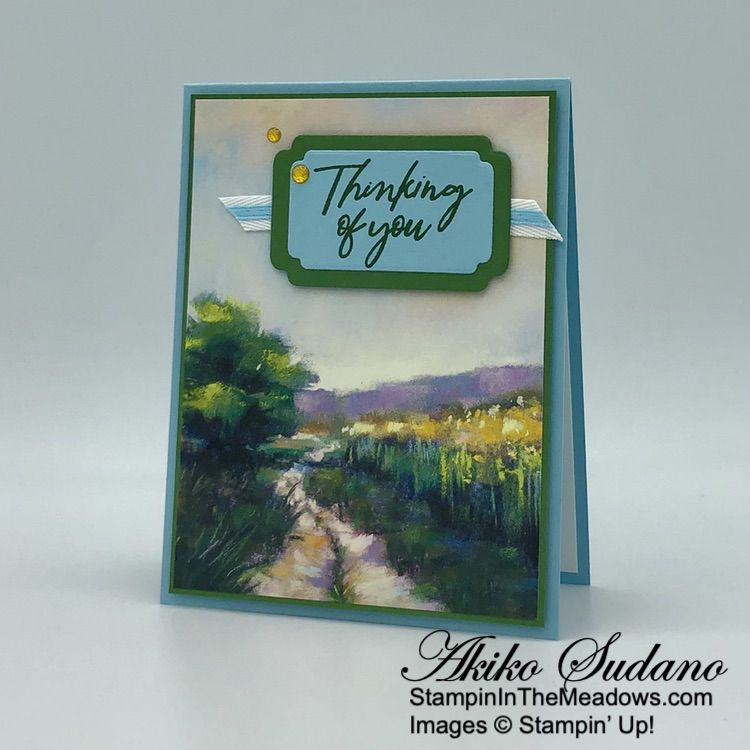
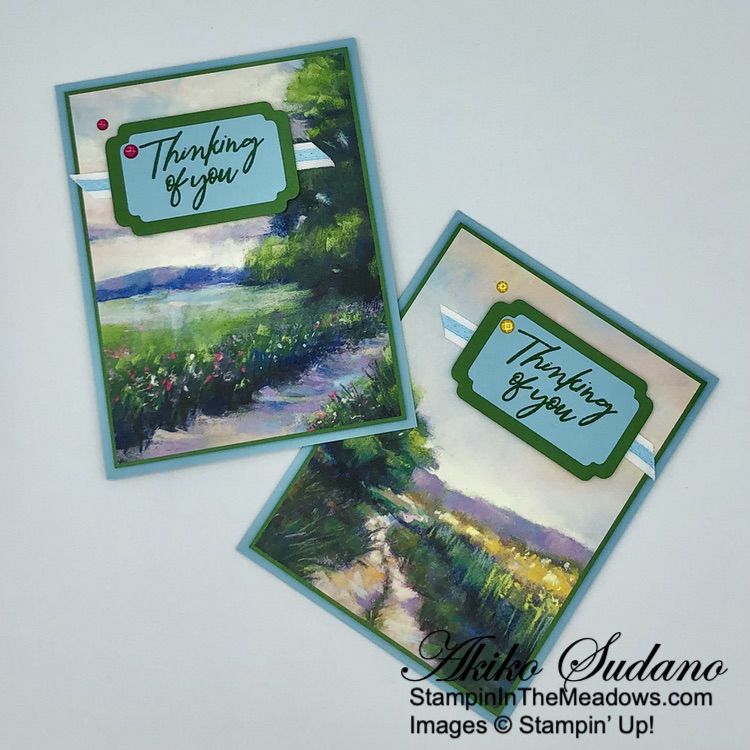
Good morning! Today I have a simple Hello card made with the Stampin’ Up! Garden Meadow stamp set and the pretty Meandering Meadows 6″ x 6″ designer series paper. You can find the products I used at the bottom of my post along with the card stock sizes.

I adhered a panel of the Garden Meadow 6″ x 6″ designer series paper to Daffodil Delight and Shaded Spruce mats and popped them on the front of a Parakeet Party card base with dimensionals.

I stamped the sentiment from the Stampin’ Up! Garden Meadow stamp set in Shaded Spruce ink on a Parakeet Party panel and cut it out with the large circle die from the Radiating Stitches dies.

I tied a length of Parakeet Party metallic ribbon in a bow and adhered it to the back of the label with a glue dot and popped the label on the card front with dimensionals. I finished the card with three Parakeet Party iridescent pearls.

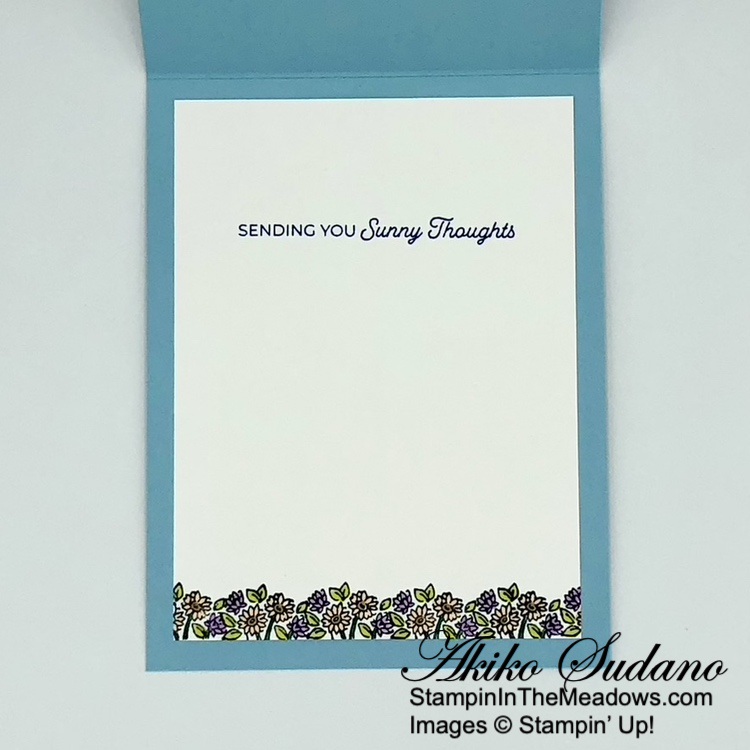
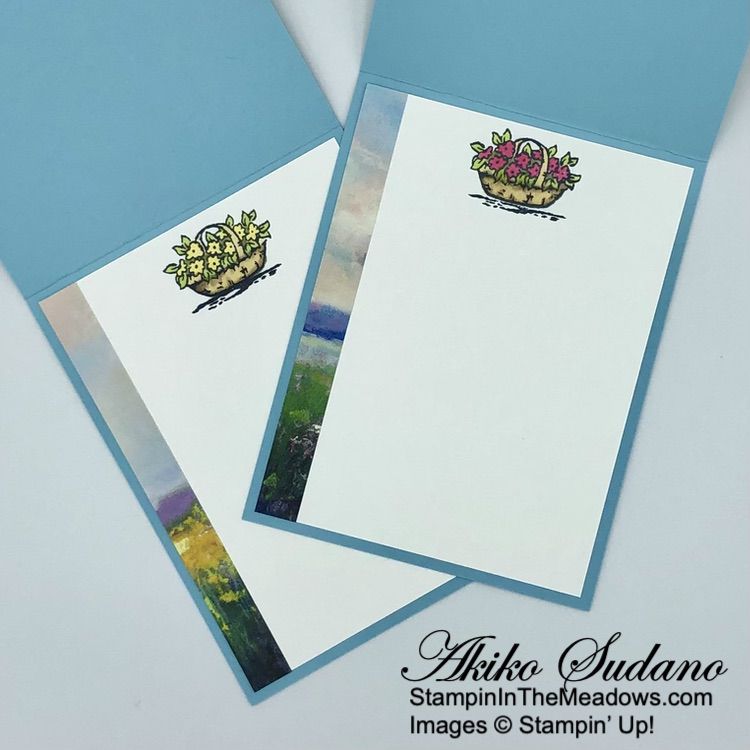
For the inside of the card, I stamped the little wildflower image from the Stampin’ Up! Garden Meadow stamp set in Shaded Spruce ink on a Basic White panel. I used the Daffodil Delight Stampin’ Blends to color the flower and dabbed the dark Mossy Meadow and Dark Fresh Freesia Stampin’ Blends around the flowers to add interest and match the front DSP. I trimmed the bottom with DSP and adhered the panel to the inside of the card with Stampin’ Seal.

The Stampin’ Up! Garden Meadow bundle has sweet garden themed images and pretty sentiments. The beautiful Meandering Meadows 6″ x 6″ DSP has gorgeous woodland and wildflower images that make beautiful scenic cards quite easily. Both of these products are part of the Online Exclusive collection so will be around for a while. But the pretty Parakeet Party products are part of the 2022-2024 In Color collection that is retiring at the end of the month.

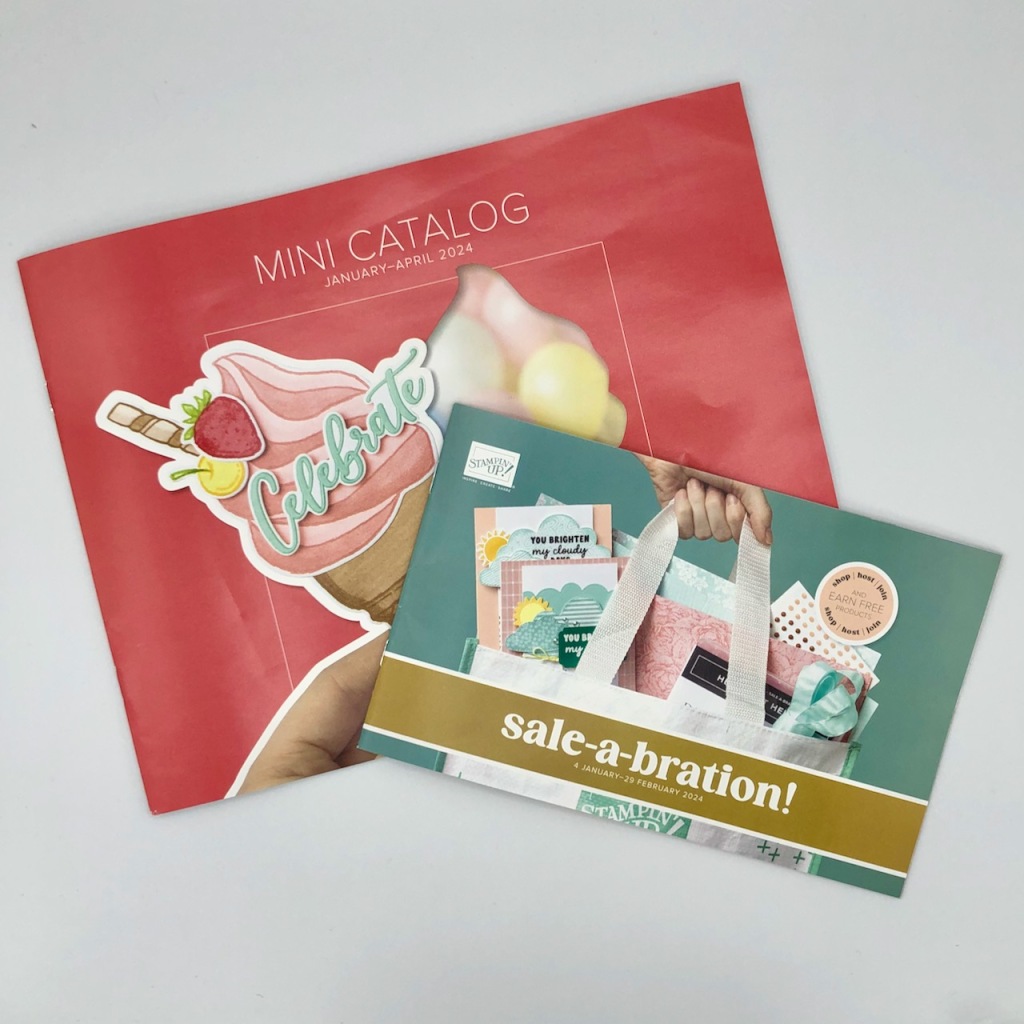
Current Catalogs Retiring Lists Announced!
There is a retiring list for the 2023-2024 Annual Catalog and the January-April 2024 Mini Catalog and annual catalog. These lists detail the products that will no longer be available once the catalogs are gone on April 30. Items are only available while supplies last. Note – The Sale Prices don’t start until April 9th.
Click HERE to download a PDF of the retiring items from the Annual Catalog.
Click HERE to download an excel spreadsheet of the Annual Catalog retiring items.
Click HERE to download a PDF of the retiring items from the Mini Catalog.
Click HERE to download an excel spreadsheet of the Mini Catalog retiring items.
Click HERE to go to my online store to shop now.
Introducing the new 2024-2026 In Colors: Peach Pie, Petunia Pop, Pretty In Pink, Shy Shamrock and Summer Splash.


The April Paper Pumpkin Kit is Delicate Wings!
Send elegant words of encouragement and support to those you love.
- Makes 9 cards: 3 each of 3 designs with 9 coordinating envelopes
- Precut paper pieces & butterfly designs
- Champagne foil images, sentiments, and labels
- Basic Gray Classic Stampin’ Spot
Coordinating Colors: Lost Lagoon, Moody Mauve, Basic Beige, Basic Gray, Basic Black, champagne foil
And there’s a new coordinating add-on – the Thanks and Beyond dies. These dies coordinate with the Delicate Wings kit and will also coordinate with the May and June kits.

If you’re interested in subscribing to Paper Pumpkin, you can either sign up for a subscription where you are billed monthly for your kit or you can purchase a prepaid subscription in my Online Store. To see more information and to sign up for the monthly subscription click here. To see the options for prepaid subscriptions in my Online Store, click here.
Sign up deadline for the April 2024 kit is April 10, 2024. Note: Supplies may be limited toward the end of the subscription period.
Current Host Code: 9WAA9JP9
Use this host code when you order $50 or more and receive a Thank You gift from me! The free gift is your choice of any item currently available valued up to $10.00.
If your order is over $150, please do not use the host code since you’ll receive your own Host Dollars plus I’ll still send you the Thank You gift! This host code can be used by anyone, no club or commitment required. Let me know if you have any questions.
If you need any stamping supplies, I’d be very happy to be your Demonstrator. Just click on the Shop Now Button on the right side of the screen to go directly to my Online store or contact me if you have any questions. Happy Stamping!
Thanks for stopping by and have a great day!
Akiko
- Visit my online store here
- See the current Stampin’ Up! clearance rack specials here
- Earn FREE Stampin’ Up! products through my Wildflower Frequent Shopper Program – my way of saying thank you to my online frequent shopper customers.
- Have any questions? I’d be happy to help, click here to contact me.
Cardstock Cuts for this project:
- Parakeet Party – 5-1/2″ x 8-1/2″ card base, scored at 4-1/4″, 1-3/4″ x 1-3/4″ (label)
- Daffodil Delight – 3-5/8″ x 4-7/8″ (front mat)
- Shaded Spruce – 3-3/4″ x 5″ (front mat)
- Basic White – 4″ x 5-1/4″ (inside panel)
- Meandering Meadow 6″ x 6″ DSP – 3-1/2″ x 4-3/4″ (front background), 1/2″ x 5-1/4″ (inside trim)
Stampin’ Up! products used in this project:
Product List")

 Designer Series Paper")


 Metallic Woven Ribbon")


")

 Designer Series Paper")


 Specialty Paper")


")
")
")


")


 Bordered Ribbon")


")


")
 Specialty Designer Series Paper")

 Specialty Paper")


")


 Designer Series Paper")


 Trim Combo Pack")
")

")
 Designer Series Paper")


 Grosgrain Ribbon")


