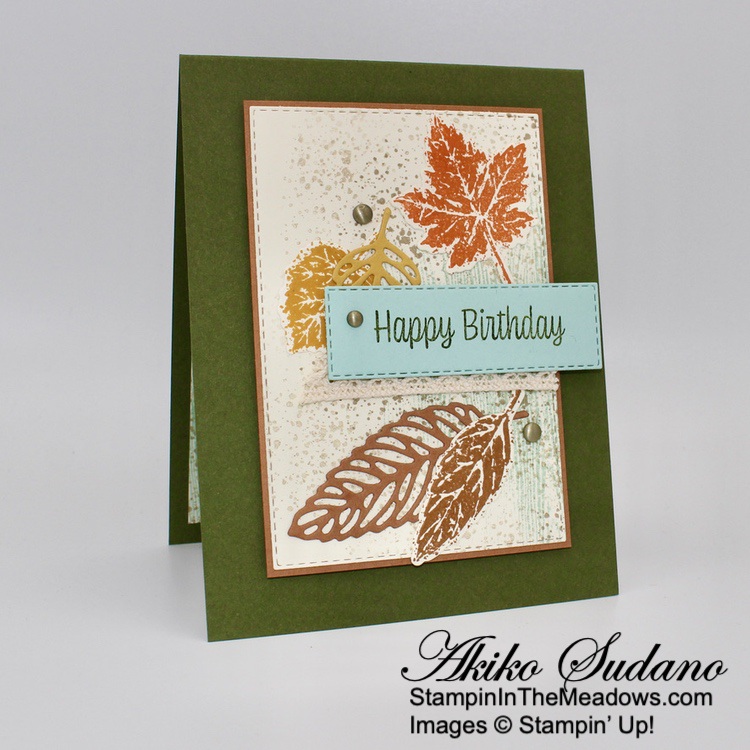
Good Morning! Oh My Gosh – the Stampin’ Up! Nuts About Squirrels photopolymer stamp set is the cutest squirrel stamp set ever! For today’s card, I made a Fall hello card with one of the little guys and used and embossed Pumpkin Pie panel as the background and I just love how it came out. You can find the currently available supplies I used at the bottom of my post along with the sizes of cardstock used.

I embossed a panel of Pumpkin Pie with the Bark 3D embossing folder (this embossing folder shrinks a little, so I embossed a panel 1/8″ wider and cut it to size after embossing). I adhered a strip of Beauty of the Earth designer series paper to the front and adhered the panel to an Early Espresso mat. I wrapped it with Crumb Cake baker’s Twine and made a bow, then adhered it to the front of a Sahara Sand card base.
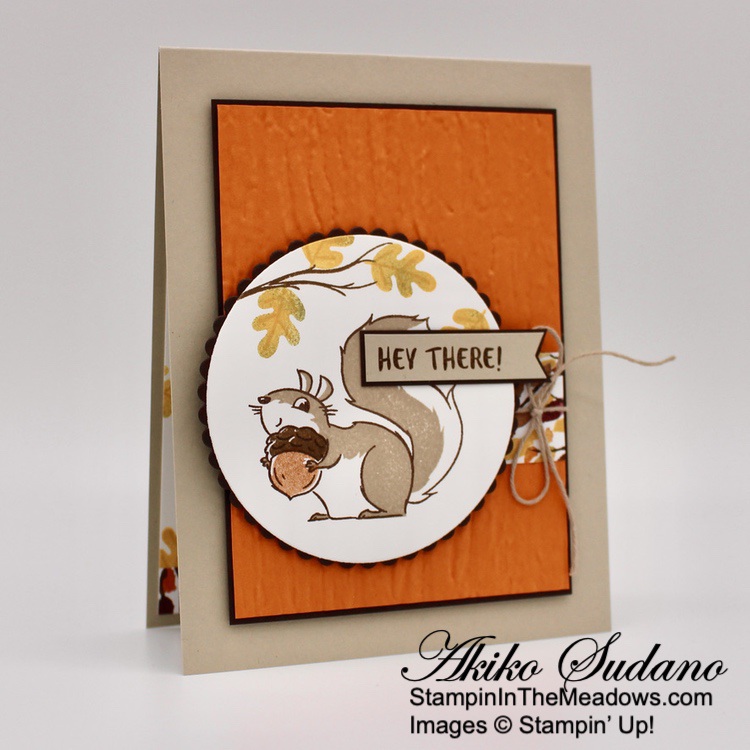
I stamped the outline squirrel from the Stampin’ Up! Nuts About Squirrels stamp set in Early Espresso on a Basic White panel and stamped the filler in Sahara Sand. I am amazed at how wonderful this two step process turns out! I stamped the bottom of the acorn in stamped off Cinnamon Cider and the acorn top in Soft Suede. I stamped the tree branch in Soft Suede and inked the leaves in bumblebee and used a sponge dauber to add touches of Old Olive (I cleaned off the stamp each time to keep my Bumblebee ink pad green-free). After all the leaves were stamped, I stamped the leaf veins in Bumblebee. I cut the little guy out with the largest Layering Circle die and cut out a scalloped circle from Early Espresso to adhere to the back.
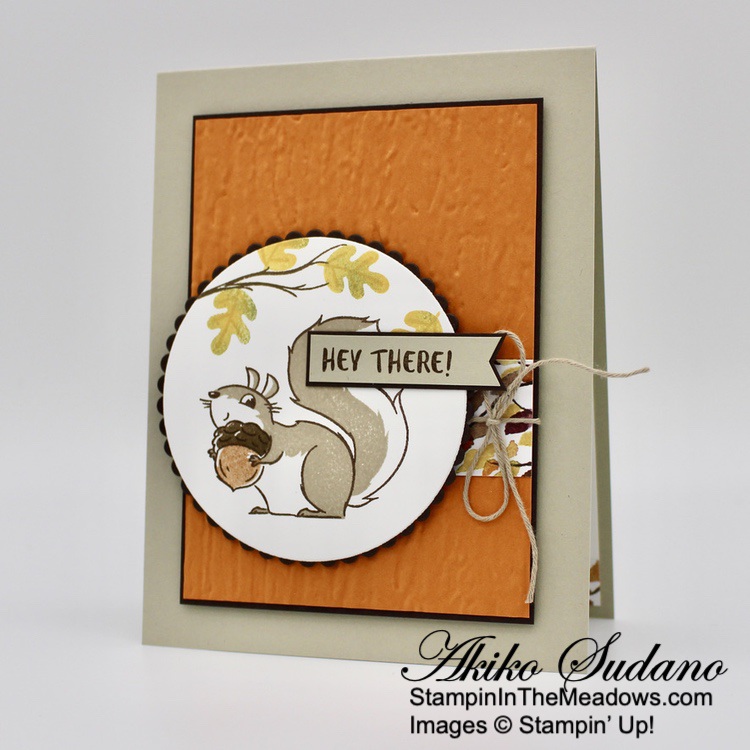
I stamped the sentiment from the Stampin’ Up! Nuts About Squirrels stamp set in Early Espresso on Sahara Sand and hand trimmed a banner flag end with my paper snips. I adhered it to an Early Espresso mat and trimmed the banner end before adhering it to the squirrel with glue dots. I adhered the little squirrel to the card front with dimensionals.

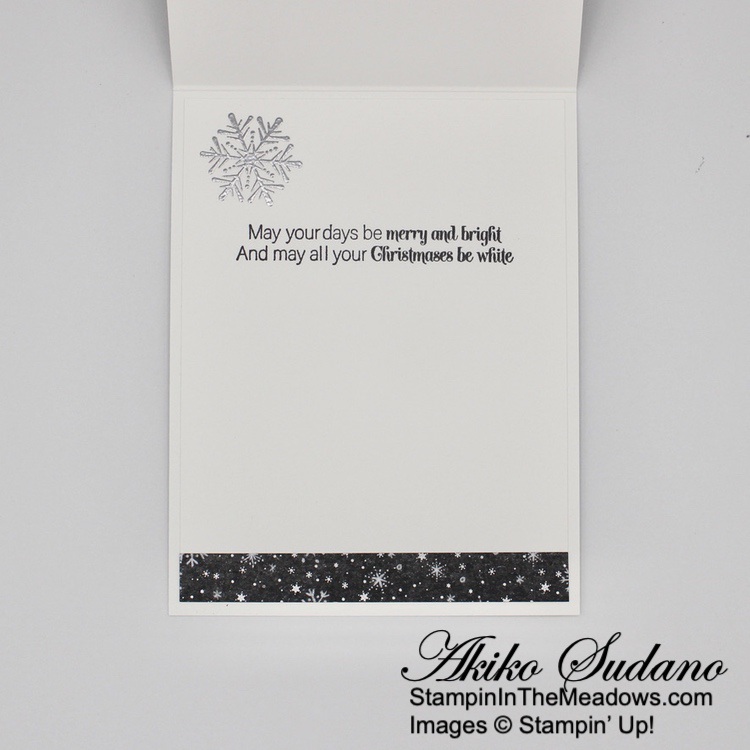
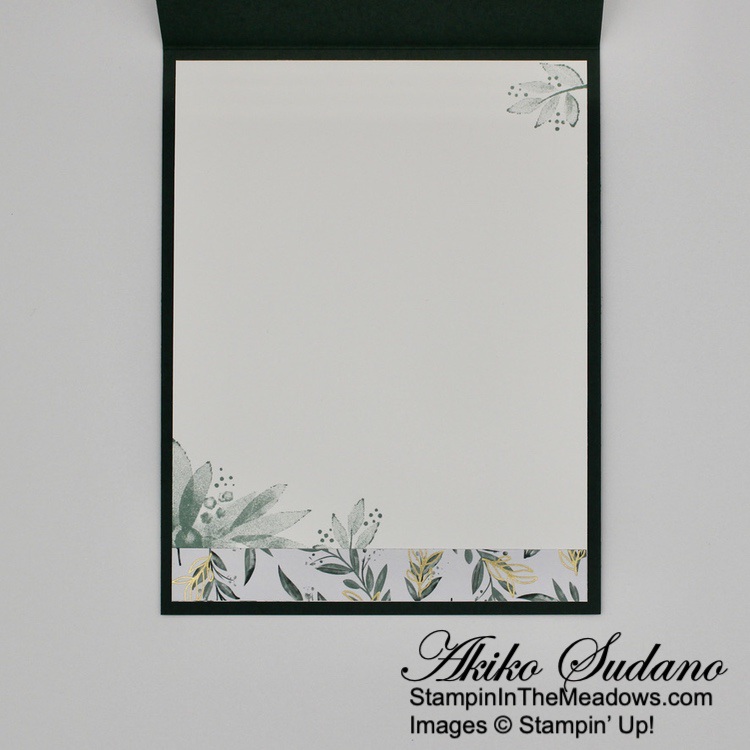
For the inside of the card, I stamped a couple of tree branches in Soft Suede and a bunch of falling leaves in Bumblebee and Old Olive on a Basic White panel, just like the front. And of course I had to stamp the cute little sentiment from the Banner Year photopolymer stamp set in Early Espresso! I trimmed the bottom with Beauty of the Earth DSP before adhering the panel to the inside of the card.

The little squirrel from the Stampin’ Up! Nuts About Squirrels stamp set is so cute and mischievous! It’s perfect for sending some cheerful Fall greetings to, well everyone! The two step stamping process works wonderfully for the images, but you can also color these little guys with markers or watercolors
Join me for a Facebook Live this Afternoon!
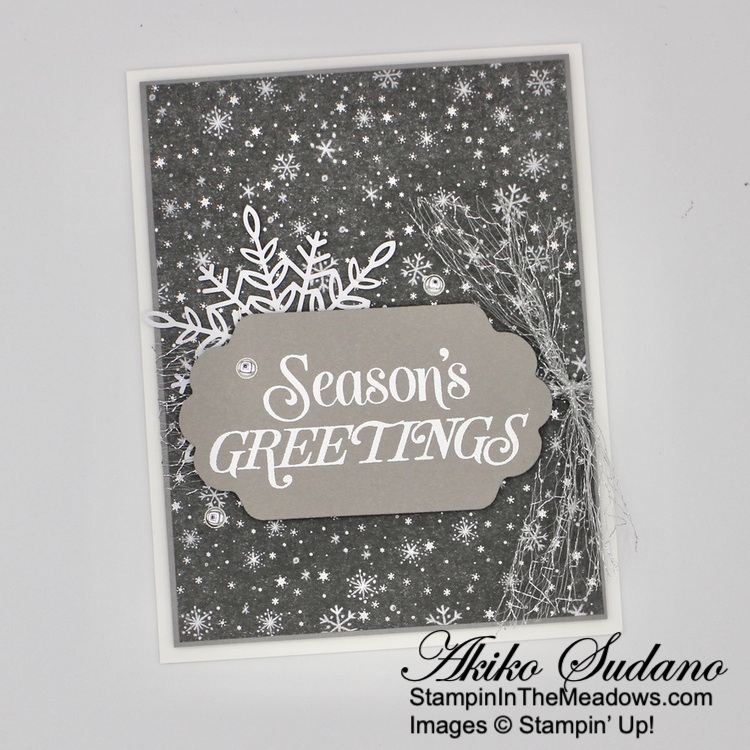
I’m planning to go live on my Facebook Page at 1:00 ET this afternoon to make a Christmas card with the Inspired Thoughts stamp set and the beautiful Peaceful Place specialty designer series paper. Look forward to seeing you then!


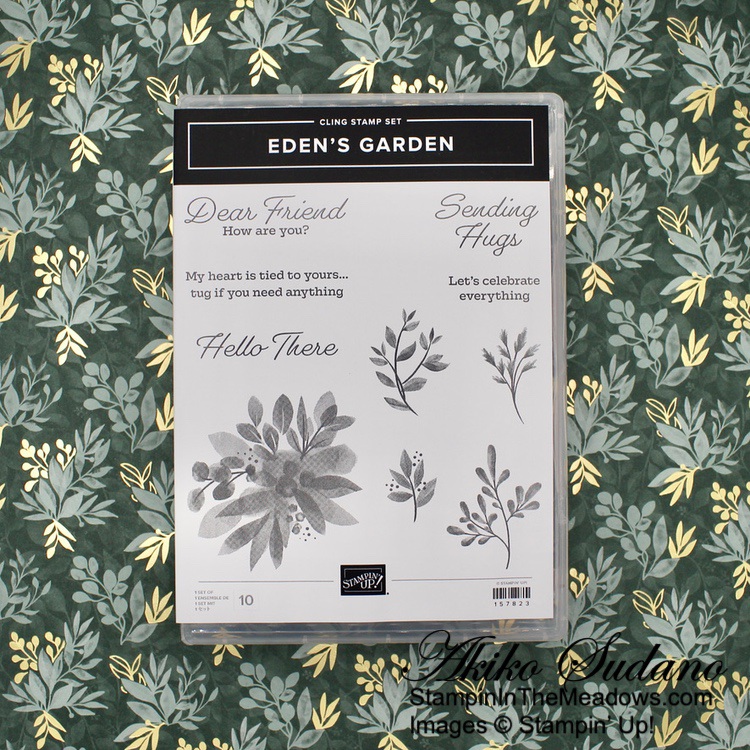
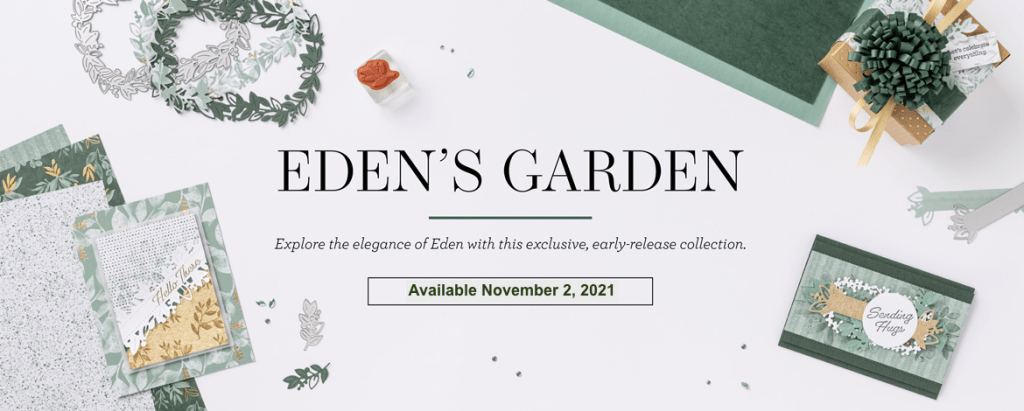
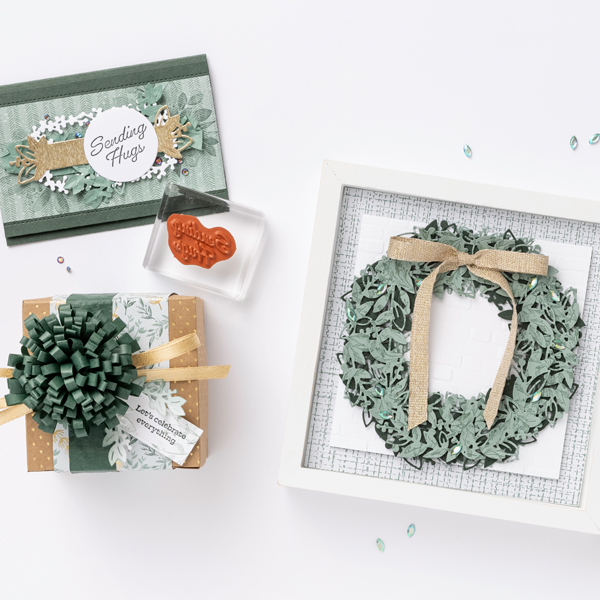
Enter and explore Eden with the Eden’s Garden Collection! This delightful and desirable collection includes early-release products from the January–June 2022 Mini Catalog—a bundle of stamps and dies that’s blooming with beauty and bounty. Plus, exclusive products you can’t uncover anywhere else—a pack of paper patterned with green and gold, a set of specialty sheets for gift-giving and textured touches, and a sparkling set of gleaming gems!
Click on the image below to download a flyer with all the details or click HERE to shop the Eden’s Garden Collection now in my Online Store.

Jump for join! There’s no better time than November to begin your Stampin’ Up! business. Why? If you sign up to be an Independent Stampin’ Up! demonstrator before the end of the month, you’ll get the $99 Starter Kit—filled with your pick of products—for only $75! Start your Stampin’ Up! business strong with big savings!
Enjoy early access to our amazing products, exclusive perks, an opportunity to earn additional income, and an incredible community of crafters. Whether you want to make the most of your papercrafting passion or build a business, there’s so much in store for you with Stampin’ Up! Check out my Join My Team Page to see more benefits and join now or contact me if you have any questions and I’ll be happy to tell you more!
Current Host Code: PYA3MMQ6
Use this host code when you order $50 or more and receive a free gift from me! The free gift is your choice of any item valued up to $10.00 in the 2021-2022 Annual Catalog or the July – December 2021 Mini Catalog!
If your order is over $150, please do not use the host code since you’ll receive your own Host Dollars plus I’ll still send you the free gift! This host code can be used by anyone, no club or commitment required. Let me know if you have any questions.
If you need any stamping supplies, I’d be very happy to be your Demonstrator. Just click on the Shop Now button on the right side of the screen to go directly to my online store or contact me if you have any questions. Happy Stamping!
Thanks for stopping by and have a great week!
Akiko
- Visit my online store here
- See the current Stampin’ Up! clearance rack specials here
- Earn FREE Stampin’ Up! products through my Wildflower Frequent Shopper Program – my way of saying thank you to my online frequent shopper customers.
- Have any questions? I’d be happy to help, click here to contact me.
Cardstock Cuts for this project:
- Sahara Sand – 4-1/4″ x 11″ card base scored at 5-1/2″, 3/8″ x 2″ (label)
- Pumpkin Pie – 3-1/4″ x 4-1/2″ (embossed background)
- Early Espresso – 3-3/8″ x 4-5/8″ (front mat), 1/2″ x 2-1/8″ (label mat), 3-1/2″ x 3-1/2″ (scalloped circle)
- Basic White – 4″ x 5-1/4″ (inside panel), 3-1/2″ x 3-1/2″ (squirrel circle)
- Beauty of the Earth DSP – 1″ x 3-1/4″, 1/2″ x 4″ (inside trim)
Stampin’ Up! products used in this project:
")


 Designer Series Paper")


")
")


 Specialty Designer Series Paper")
 Cotton Paper")


 Chevron Weave Ribbon")
 Open Weave Ribbon")


")
")

 Specialty Designer Series Paper")


")


")


 Designer Series Paper")


 Designer Series Paper")


 Glittered Organdy Ribbon")


 Diamond Weave Ribbon")


")
")


 Specialty Designer Series Paper")


")


