
Good morning and welcome to the Happy Inkin’ Thursday Blog Hop! I used the Stampin’ Up! Pretty Pumpkins bundle for today’s card, and I wanted to do something different. So I pulled out a mask and my blending brushes to create a background on Very Vanilla card stock. You can find the supplies I used at the bottom of my post along with the sizes of cardstock used.
We have a sketch challenge this week and here is the pretty sketch we are using:

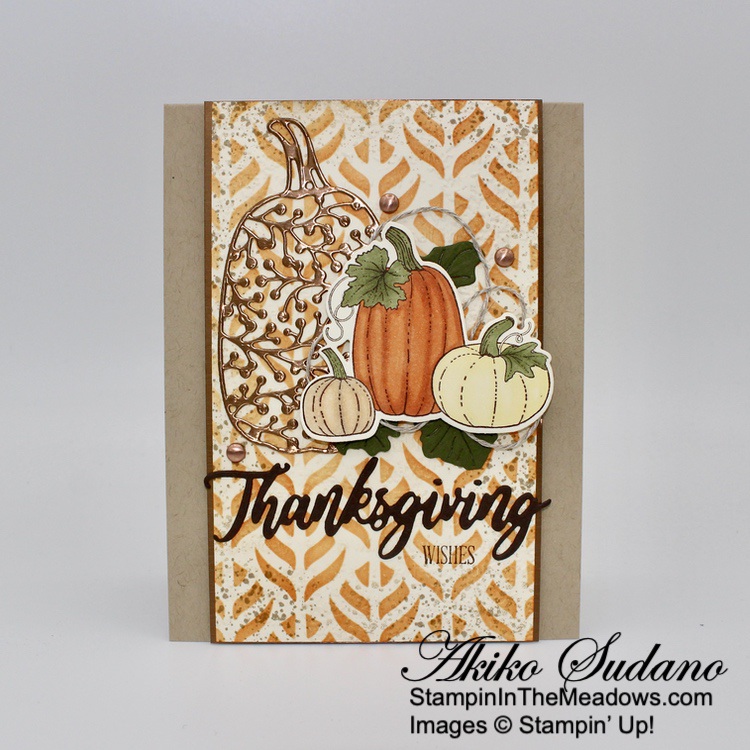
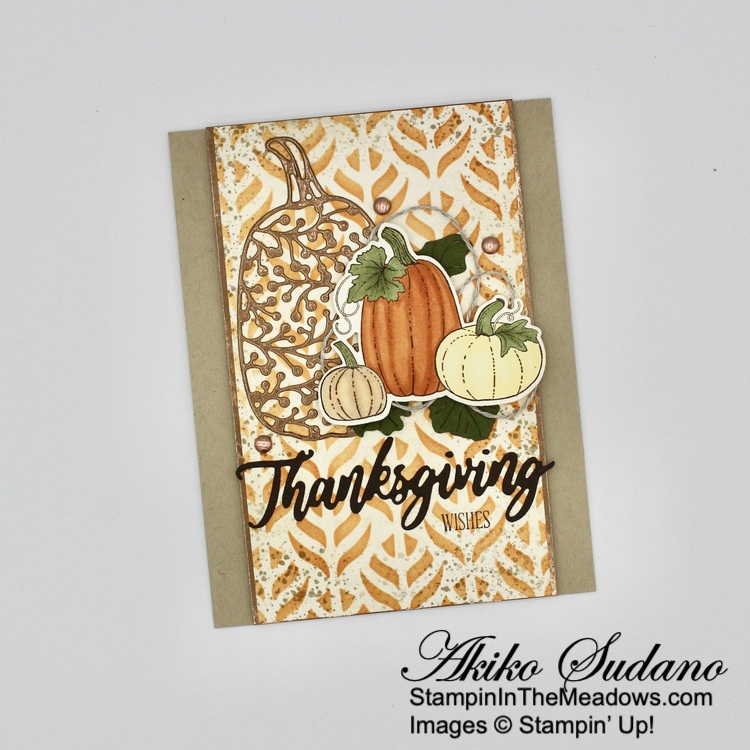
I secured a panel of Very Vanilla under the leaf mask in the Basic Masks and applied Pumpkin Pie ink on it with a Blending Brush. I stamped the spatter from the Gorgeous Leaves stamp set around the edge in Crumb Cake ink using first and second generation stamping. I stamped the “Wishes” sentiment from the A Wish For Everything cling stamp set in Early Espresso ink at the bottom. I embossed the panel with the Timeworn Type 3D embossing folder and lightly brushed the top and edges with more Crumb Cake ink. I adhered the panel to a brushed copper metallic sheet with liquid glue.

I stamped the pumpkin trio from the Stampin’ Up! Pretty Pumpkins cling stamp set in Early Espresso ink on Very Vanilla. I colored the pumpkins with Stampin’ Blends – Pumpkin Pie, So Saffron, Ivory, Light Crumb Cake and light Mossy Meadow. I cut them out with the coordinating die. I also cut the large fancy pumpkin from Brushed copper metallic sheet and the leaves from Mossy Meadow. I cut the “Thanksgiving” word using the Word Wishes dies from Early Espresso – don’t forget to save the dots for the little i‘s.
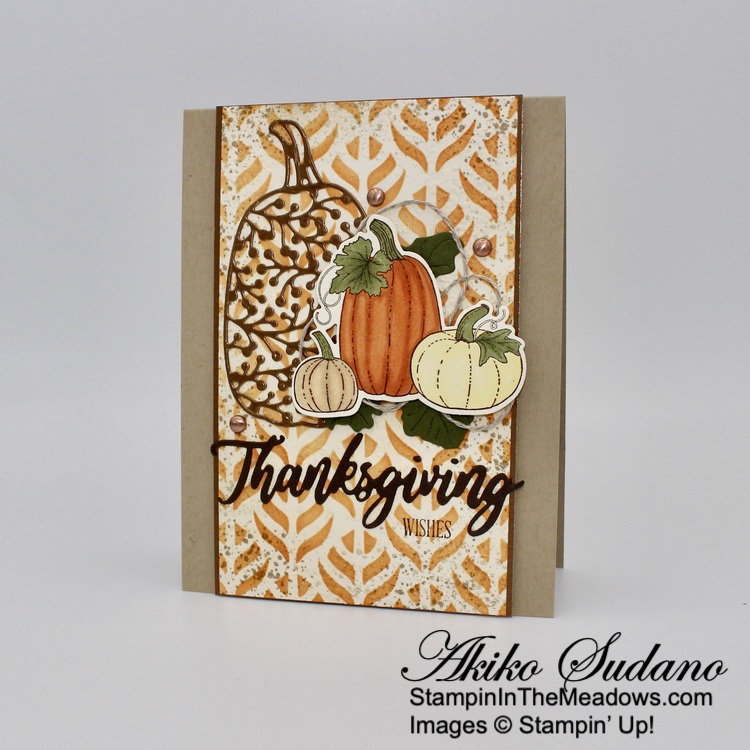
I adhered the “Thanksgiving” word across the layered embossed panel with dots of liquid glue, just above the stamped “Wishes” sentiment. I adhered the brushed copper detailed pumpkin above the sentiment with dots of liquid glue. I ran some Stampin’ Seal next to the pumpkin and wound some Linen Thread around it, securing it to the seal and popped the colored pumpkins on top with dimensionals, tucking the leaves behind, securing them with glue dots. I adhered the panel to the front of a Crumb Cake card base with dimensionals and finished the card with brushed copper metallic dots.
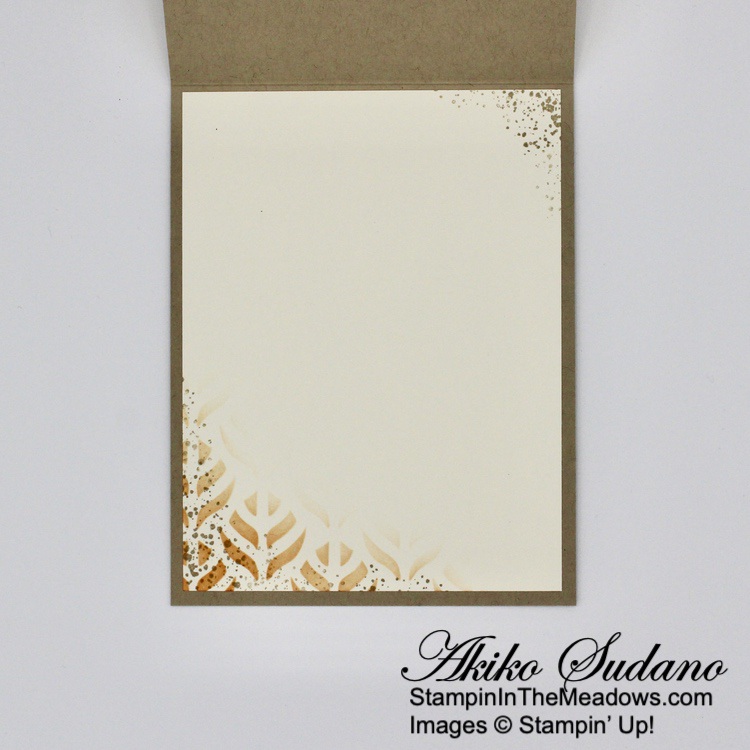
For the inside of the card, used the leaf mask, Pumpkin Pie ink and blending brush to add pattern to the lower corner of a Very Vanilla Panel. I stamped some spatter in Crumb Cake around the design and added a little to the top corner. I adhered the panel to the inside of the card.
The pumpkins in the Stampin’ Up! Pretty Pumpkins bundle are so pretty and I love mixing the stamped pumpkins with the different die cut pumpkins. And I love using the masks with the blending brushes – the results are so bold!
On with the Hop! Click on the Next Blog button to move forward to see the beautiful project Karen Ksenzakovic has created.

If you get lost along the way, here are the participants for the hop:
- Amy Koenders
- Mary Deatherage
- Kristi Gray
- Jaimie Babarczy
- Sue Prather
- Karen Finkle
- Akiko Sudano <– You Are Here
- Karen Ksenzakovic
- Tara Carpenter
- Terry Lynn Bright
Current Host Code: 29VEKU9M
Use this host code when you order $50 or more and receive a free gift from me! The free gift is your choice of any item valued up to $10.00 in the 2021 – 2022 Annual Catalog or the July – December 2021 Mini Catalog including some of the host stamp sets!
If your order is over $150, please do not use the host code since you’ll receive your own Host Dollars plus I’ll still send you the free gift! This host code can be used by anyone, no club or commitment required. Let me know if you have any questions.
If you need any stamping supplies, I’d be very happy to be your Demonstrator. Just click on the Shop Now button on the right side of the screen to go directly to my online store or contact me if you have any questions.
Thanks for stopping by and Happy Stamping!
Akiko
- Visit my online store here
- See the current Stampin’ Up! clearance rack specials here
- Earn FREE Stampin’ Up! products through my Wildflower Frequent Shopper Program – my way of saying thank you to my online frequent shopper customers.
- Have any questions? I’d be happy to help, click here to contact me.
Cardstock Cuts for this project:
- Crumb Cake – 4-1/4″ x 11″ card base scored at 5-1/2″
- Mossy Meadow – 1″ x 3″ (die cut leaves)
- Early Espresso – 1-1/4″ x 4″ (die cut ‘Thanksgiving‘)
- Brushed Copper Foil – 2″ x 3-1/2″ (die cut pumpkin), 3-3/8″ x 5-1/2″ (center panel mat)
- Very Vanilla – 4″ x 5-1/4″ (inside panel), 3-1/4″ x 5-1/2″ (front center panel), 2-1/4″ x 3-1/4″ (die cut pumpkins)
Stampin’ Up! products used in this project:


Great card!
Thank you!! 😊
Wow!! Just beautiful Akiko! Love the fall colors and your design is stunning! 🙂
Thank you!! 😊
WOW!!! This. Is. Gorgeous. Akiko!!!! Love everything about it
Thank you! 😊
OOOH! I Love this! Great masking background. Love your color choices.
Thank You!! 😊
Hello Akiko, I must tell you how much I look forward to your daily posts. I am a demonstrator but only for my own financial gain as I do not sell anything. Unfortunately I found you after I had signed up with Patty Bennet as a demonstrator. I am in my seventies and do not use social media to post things I make. I have been following your posts for a little over a year and have often wanted to say hello and let you know your work is appreciated. This morning I awoke early and had the time to send you a note. You often inspire me and I felt you would enjoy hearing it. Wishing you all the best! Linda Dolan Feldman
Thank you so much!! You’ve made my day!! 😊 ❤️
Wow – this is wonderful. And thanks for reminding me of the Word Wishes die set – I keep forgetting how cool it is! 🙂
Thanks! Yes – It’s a good one! 😊
I love everything about your card, Akiko! I’m impressed with your background art—it makes a perfect base for the pretty pumpkins. TFS
Thank you so much!! 😊
Akiko, this is perfect!
Thank you!! 😊