
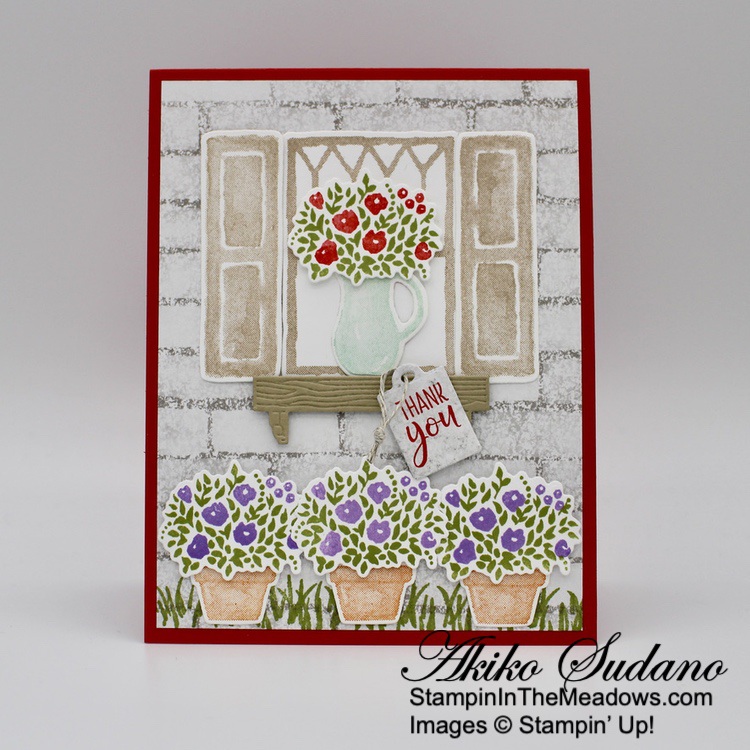
Happy St. Patrick’s Day and welcome to the Happy Inkin’ Thursday Blog Hop! Today I used the pretty Stampin’ Up! Boughs and Blossoms bundle to make a little miss you card. This bundle comes with a pretty set of cling floral stamps with sweet sentiments and a two sided punch that punches out leaves on one side and flowers on the other. You can find the supplies I used along with card stock cuts at the bottom of my post.

We have a Sketch Challenge this week and here’s the pretty sketch that inspired my card:

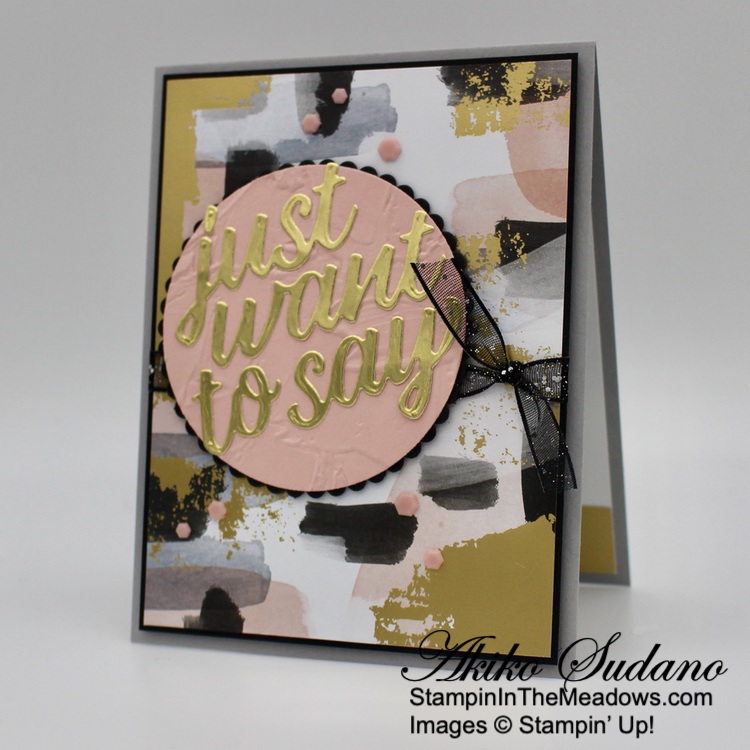
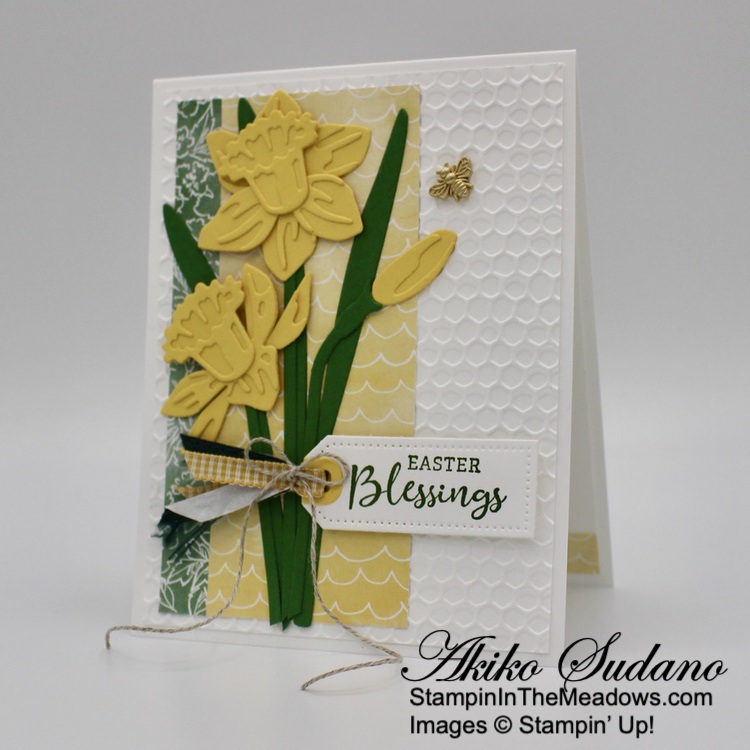
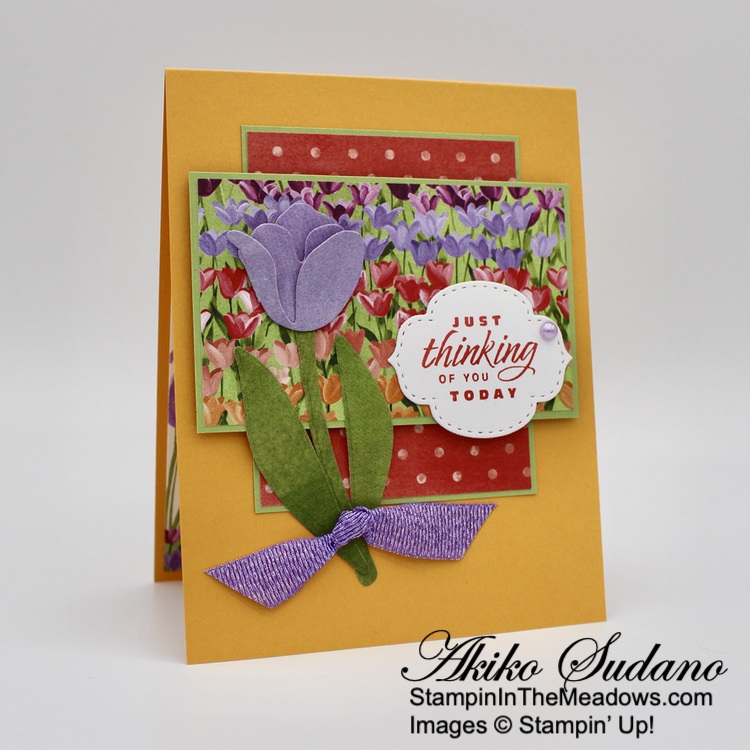
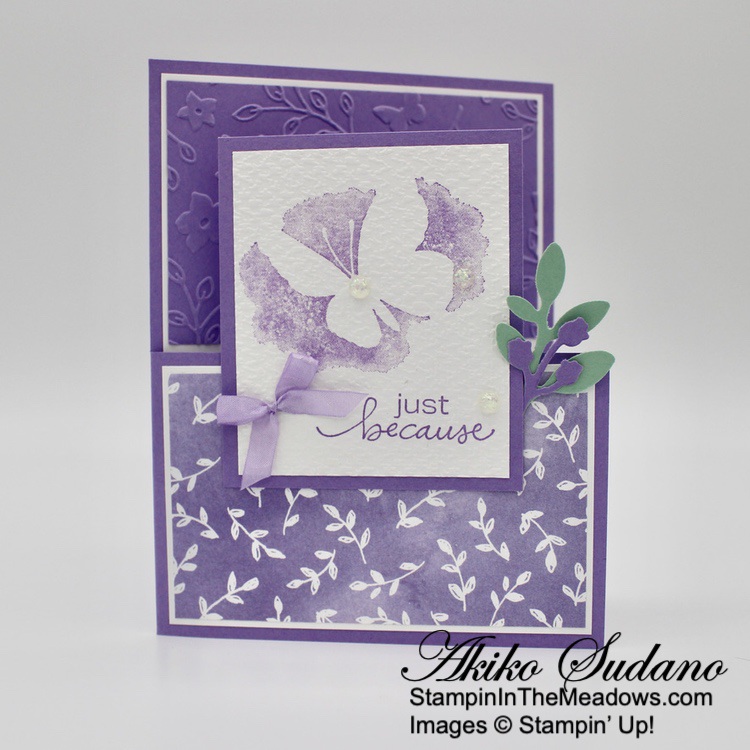
I used the fourth largest die from the Stitched Rectangles Dies to cut out a panel of the pretty Abstract Beauty 4″ x 6″ specialty designer series paper and adhered it to a Just Jade mat. I punched two leaves with the Bough Punch from the Stampin’ Up! Boughs and Blossoms bundle from Mint Macaron and adhered them to the panel with glue dots. I punched three flowers and adhered them to the panel with glue dots. I adhered the panel to the front of a Balmy Blue card base with dimensionals.

I stamped the large flower from the Stampin’ Up! Boughs and Blossoms stamp set in Polished Pink and fussy cut it out with a thin white edge. I adhered the flower to the card with dimensionals and made a double bow with white crinkle ribbon and tucked it under the flower, adhering it with a glue dot.

I stamped the sentiment from the Stampin’ Up! Boughs and Blossoms stamp set in Versamark ink and sprinkled it with white embossing powder. I shook off the excess powder and heat set the sentiment until it was shiny. I cut the sentiment out with the second smallest long skinny rectangle from the Stitched Rectangles dies and adhered it to a Just Jade mat. I popped it on the card front with dimensionals and finished the card front off with adhesive sequins.
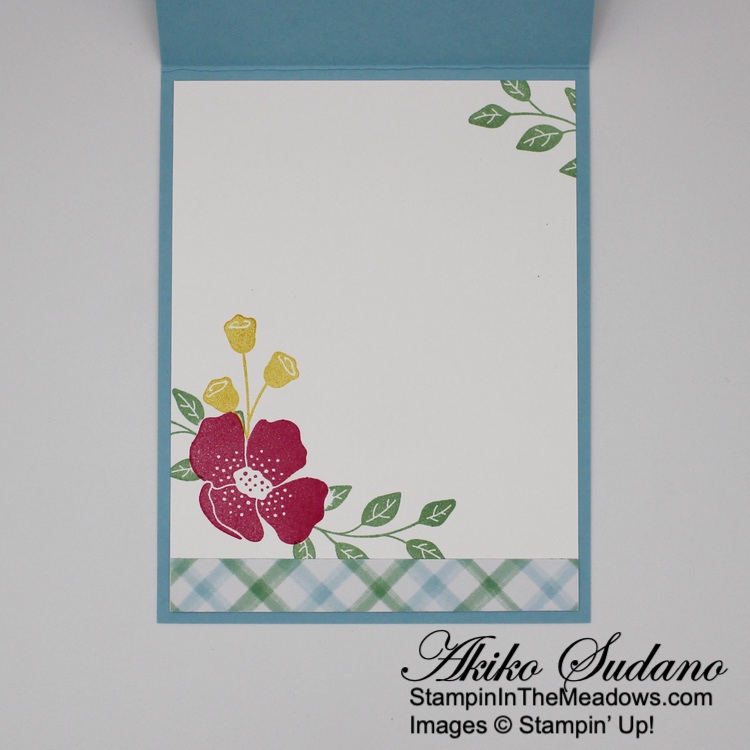
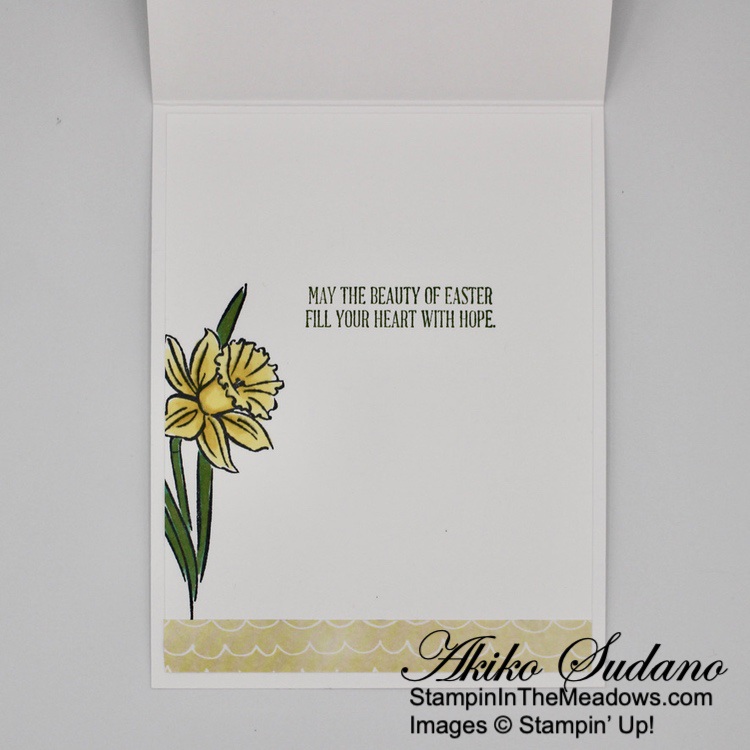
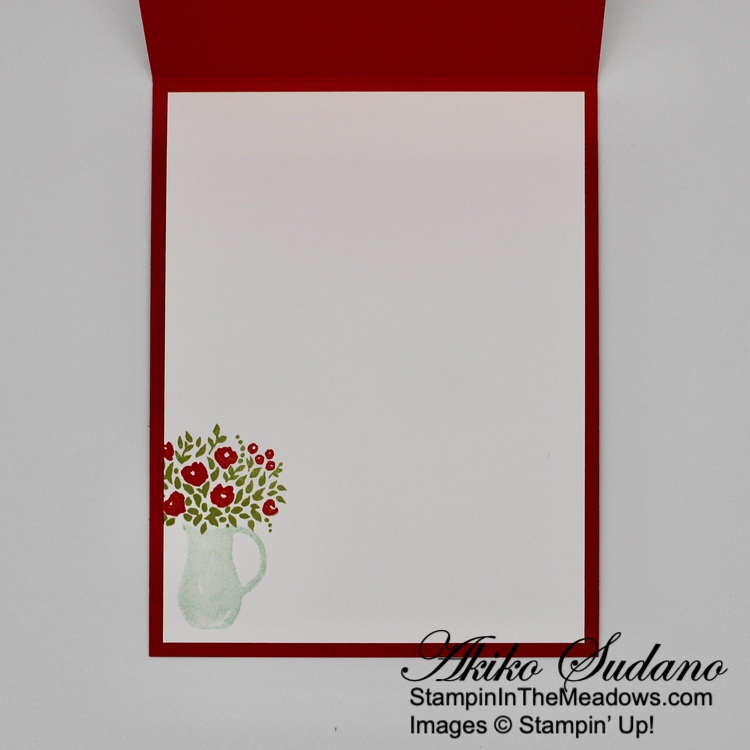
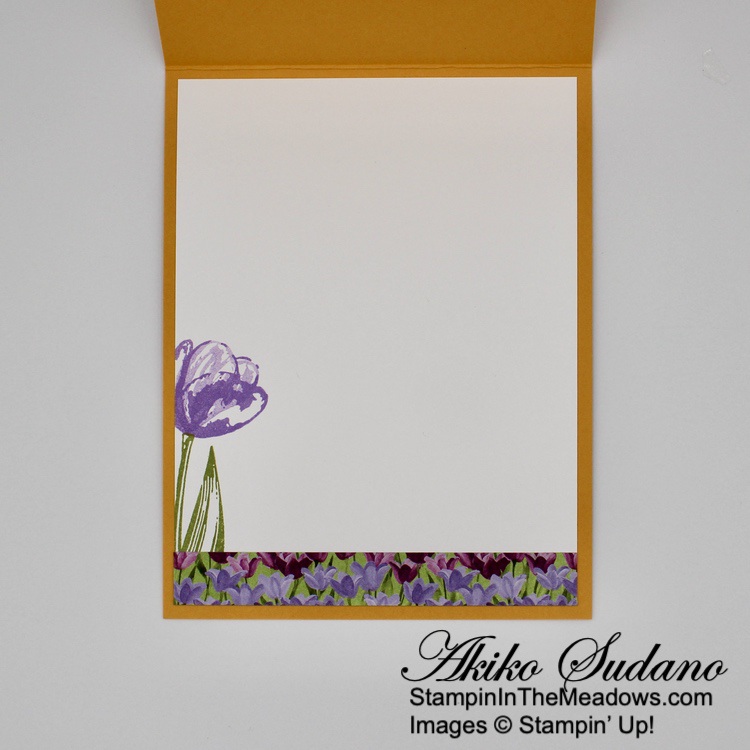
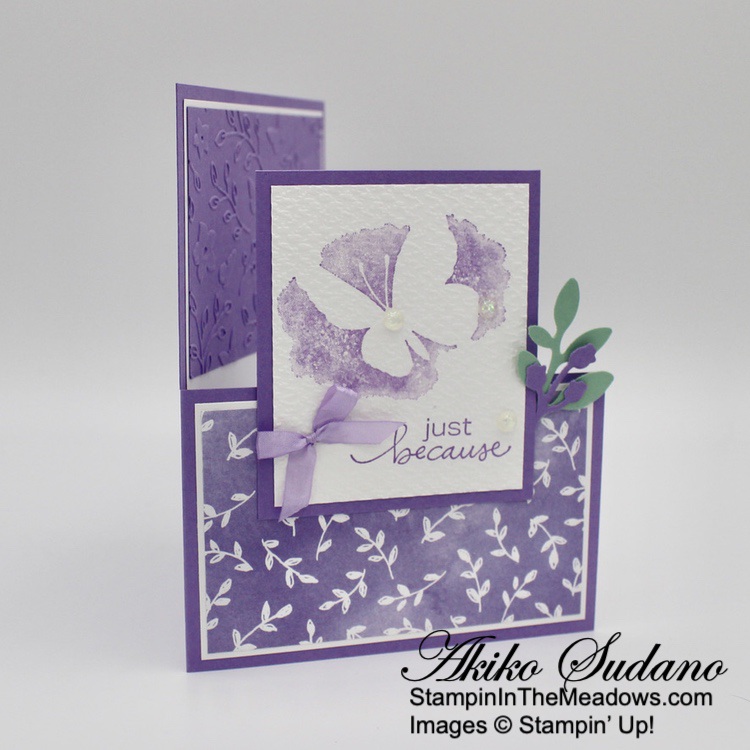
For the inside, I stamped the large flower from the Stampin’ Up! Boughs and Blossoms stamp set in Polished Pink in the corner of a Basic White panel. I made a mask from copy paper and covered the flower and stamped the leaves in Mint Macaron and the small flowers in daffodil delight. I trimmed the bottom with a strip of Abstract Beauty DSP and adhered the panel to the inside of the card.

The Stampin’ Up! Boughs and Blossoms bundle is really sweet and the perfect set for making springtime floral cards for every occasion.
On with the Hop! Click on the Next Blog button to move forward to see the beautiful project Karen Ksenzakovic has created.

If you get lost along the way, here are the participants for the hop:
- Amy Koenders
- Mary Deatherage
- Kristi Gray
- Jaimie Babarczy
- Sue Prather
- Karen Finkle
- Akiko Sudano <– You Are Here
- Karen Ksenzakovic
- Tara Carpenter
- Terry Lynn Bright

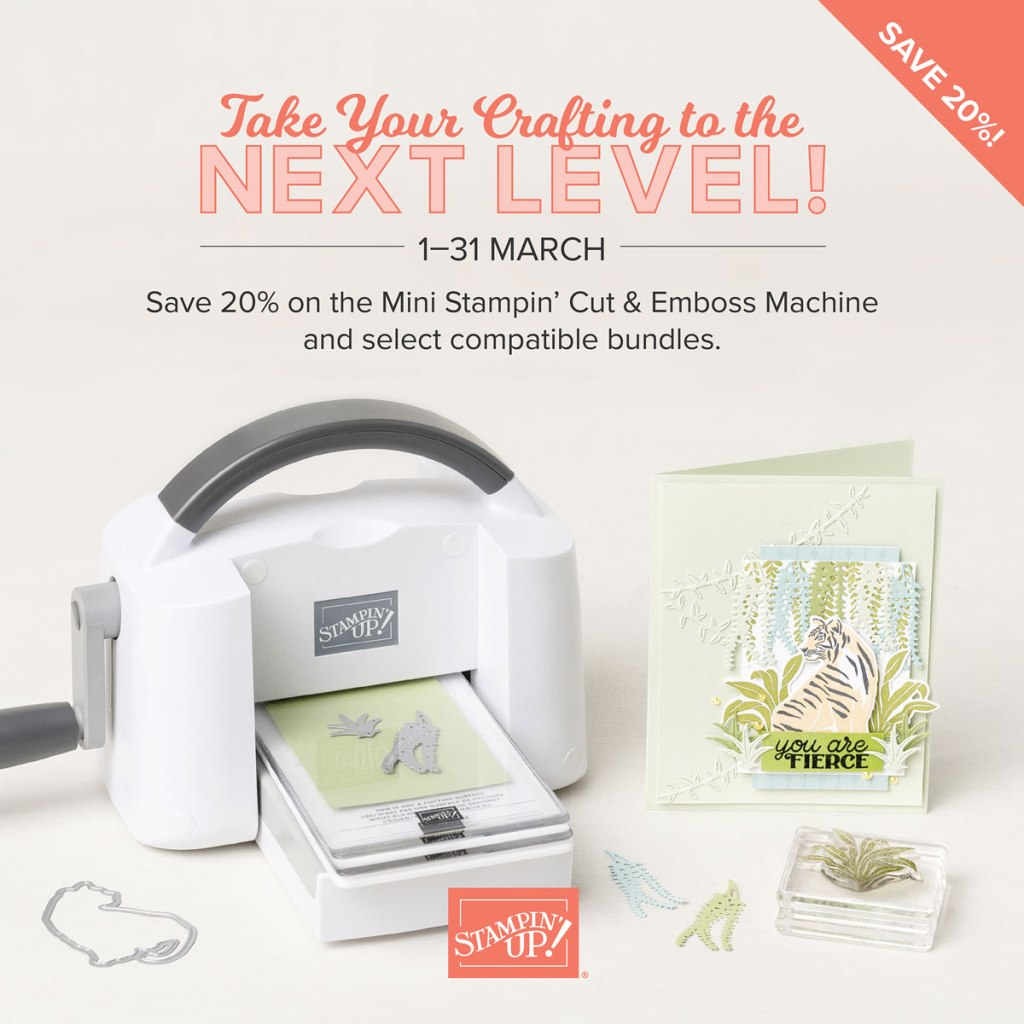
Savings Are In Bloom During March!
During the month of March, you can snag the Mini Stampin’ Cut & Emboss Machine at a 20% discount! This miniature machine is compatible with a large selection of Stampin’ Up! embossing folders and dies. Build your craft collection and combine the Mini Stampin’ Cut & Emboss Machine with any (or all!) of the select stamp-and-die bundles that are also available for 20% off during the month of March!
Click on the image below to download a PDF with all the details, including all the stamp bundles that will be on sale and the discounted prices! Click HERE to shop for these discounted items in my Online Store.
Current Host Code: MPMDW6BG
Use this host code when you order $50 or more and receive a free gift from me! The free gift is your choice of any item valued up to $10.00 in the 2021 – 2022 Annual Catalog or the January – June 2022 Mini Catalog!
If your order is over $150, please do not use the host code since you’ll receive your own Host Dollars plus I’ll still send you the free gift! This host code can be used by anyone, no club or commitment required. Let me know if you have any questions.
If you need any stamping supplies, I’d be very happy to be your Demonstrator. Just click on the Shop Now button on the right side of the screen to go directly to my online store or contact me if you have any questions.
Thanks for stopping by and Happy Stamping!
Akiko
- Visit my online store here
- See the current Stampin’ Up! clearance rack specials here
- Earn FREE Stampin’ Up! products through my Wildflower Frequent Shopper Program – my way of saying thank you to my online frequent shopper customers.
- Have any questions? I’d be happy to help, click here to contact me.
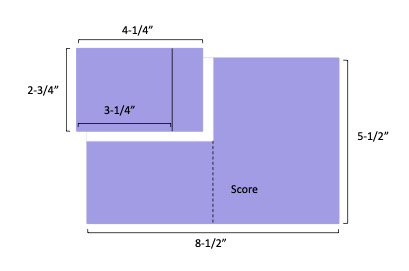
Cardstock Cuts for this project:
- Balmy Blue – 4-1/4″ x 11″ card base scored at 5-1/2″, 1-1/4″ x 4″ (label)
- Just Jade – 2-3/4″ x 4-1/4″ (DSP mat), 1″ x 3″ (label mat)
- Mint Macaron – 1-1/2″ x 4″ (punched leaves)
- Daffodil Delight – 1″ x 4-1/2″ (punched flowers)
- Basic White – 4″ x 5-1/4″ (inside panel), 2″ x 2″ (fussy cut flower)
- Abstract Beauty 4″ x 6″ specialty DSP – 3″ x 4-1/8″ (die cut background), 1/2″ x 4″ (inside trim)
Stampin’ Up! products used in this project:
")
")


 Specialty Designer Series Paper")


 Crinkled Seam Binding Ribbon")


")


")
")
")


 Designer Series Paper")
 Specialty Paper")


 Cotton Ribbon Combo Pack")


 Glittered Organdy Ribbon")


")


 Designer Series Paper")


 Chevron Weave Ribbon")


")
")

 Designer Series Paper")


 Frayed Ribbon")
 Satin Shimmer Ribbon")


")

 Designer Series Paper")


 Grosgrain Ribbon")


 Specialty Paper")


 Sheer Ribbon")


")
")


 Braided Ribbon")


")


