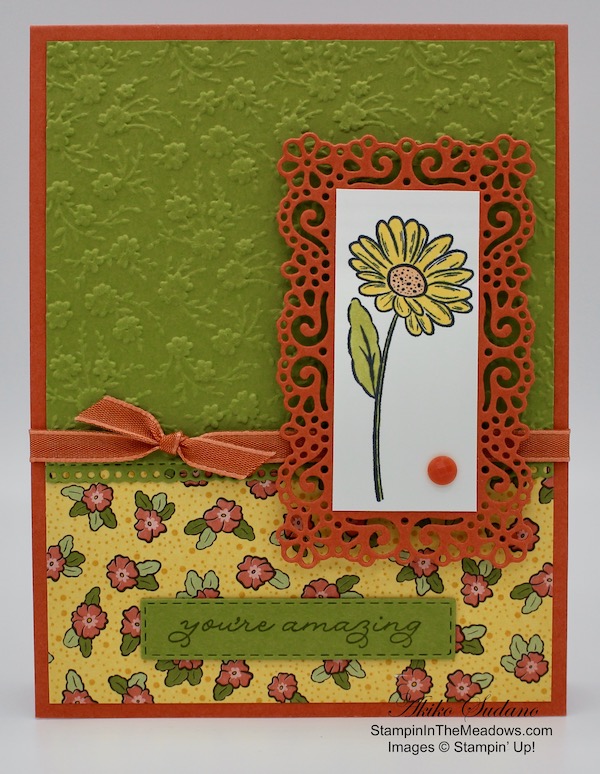
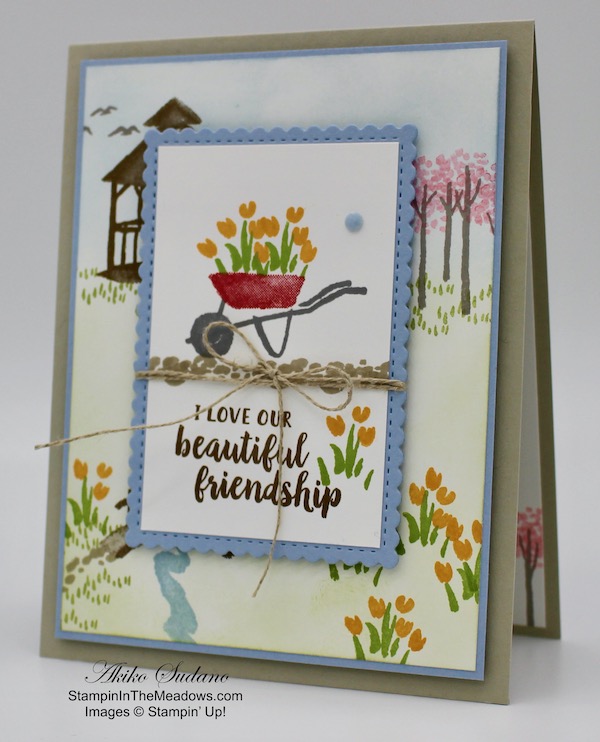
There are so many exciting things going on today beginning with the opening of the Inkin’ Krew Ornate Garden Facebook group.
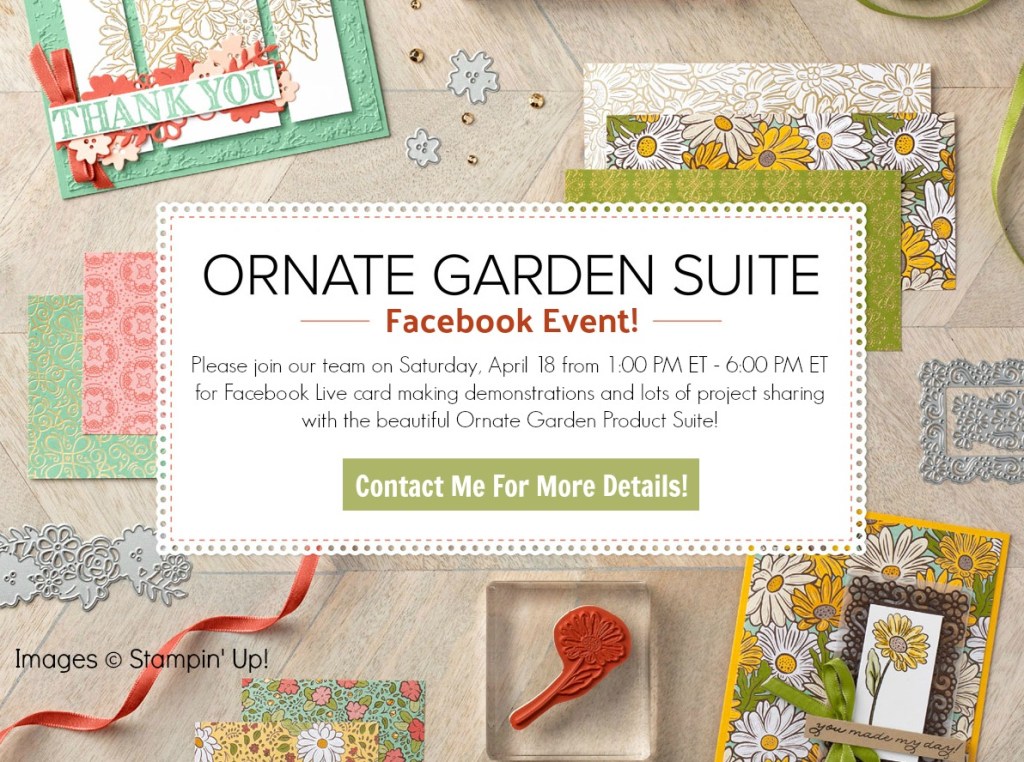
Our Facebook page is all set up for the event and it’s open for joining! Click this link to go to the group and then click the “join” button and we’ll get you approved ASAP: https://www.facebook.com/groups/1833741716756137/
We already have a few projects posted and folks have started joining. But the main event is Saturday Afternoon, and we’ve got a few prizes to give away too!! Here is the schedule:

Contact me if you have any questions.
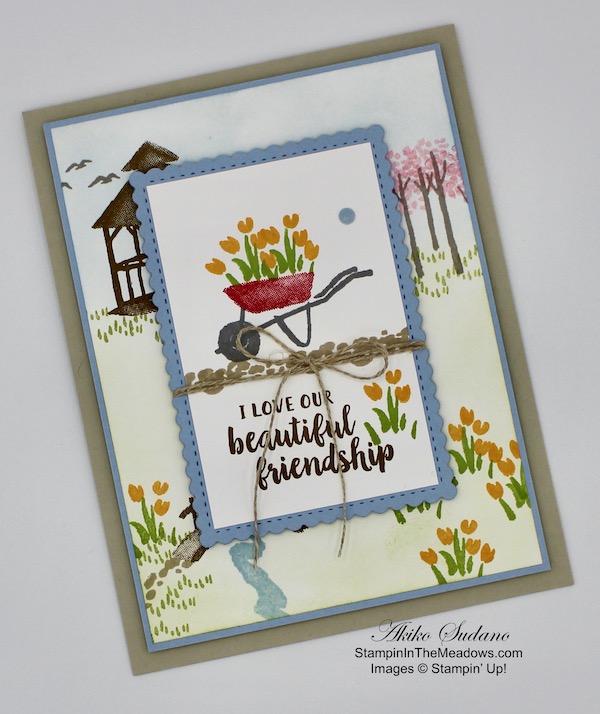
Stampin’ Up!’s Honey Bee, Painted Poppies, Peaceful Moments, Bonanza Buddies & Grace’s Garden Dies Are BACK!!
Yay!! These have been turned off for a while now due to shipping problems, but they are back in stock now and turned on for ordering!! So if you’ve been waiting to get any of these bundles, you can order them now!


")

")
Basket Weave 3D Embossing Folder Turned OFF!
Stampin’ Up! has run out of the Basket Weave 3D Embossing Folder! Since it is retiring with the current catalog and they cannot get more before the end of the catalog sales period they made the decision to turn it off. This embossing has been a favorite for a while now and it is sad to see it go.

Clearance Rack has been updated
And finally, the Stampin’ Up! Clearance Rack was updated earlier this week with lots of pretty items from the Holiday Catalog. These items are only available while supplies last. It’s nice when you find good bargains on items that you always wanted to round out your stash!
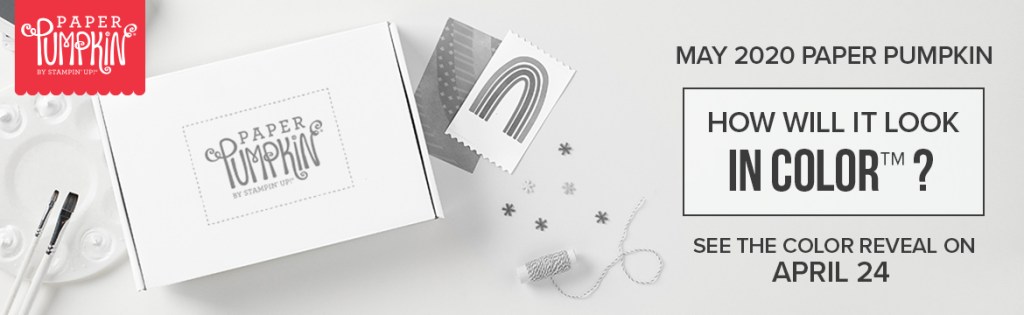
May 2020 Paper Pumpkin: A Kit In Color
The Paper Pumpkin team loves planning fun surprises, so they’ve been VERY excited to let you know what is in store for the month of May: a fabulous kit featuring 2020–2022 In Colors, plus Purple Posy, an In Color from the 2019–2021 collection. This means that as Paper Pumpkin subscribers, you will be first to get your hands on new In Color products. And that’s just the beginning of things to love about this kit! The In Color reveal happens April 24, so stay tuned!
Here are the Details:
- Kit contains supplies for 12 cards and envelopes
- 8 cards are traditional size
- Card size: 4-1/4″ x 5-1/2″
- Envelope size: 4-1/2″ x 5-3/4″
- 4 cards are note card size
- Notecard size: 5″ x 3-1/2″
- Envelope size: 5-1/8″ x 3-5/8″
Coordinating Colors: Four NEW In Colors plus Purple Posy from the 2019–2021 In Color collection. (The new In Colors will be introduced on April 24.)
If you’re interested in subscribing to Paper Pumpkin, you can either sign up for a subscription where you are billed monthly for your kit or you can purchase a prepaid subscription in my online store. To see more information and to sign up for the monthly subscription click here. To see the options for prepaid subscriptions in my online store, click here.
Sign up deadline for the May 2020 kit is May 10, 2020. Supplies may be limited toward the end of the subscription period.
April 16 – 30 Host Code: SJ9ZJ46Z
Use this host code when you order $50 or more and receive a free gift from me! The gift is your choice of any item valued up to $10.00 in the 2019-20 Annual Catalog or in the 2020 January-June Mini Catalog! That includes some of the Host Exclusive stamp sets!
If your order is over $150, please do not use the host code since you’ll receive your own Host Dollars plus I’ll send you the free gift! This host code can be used by anyone, no commitment required. Let me know if you have any questions.
If you need any stamping supplies, I’d be very happy to be your Demonstrator. Just click on the Shop Now button on the right side of the screen to go directly to my online store or contact me if you have any questions. Happy Stamping!
Thanks for stopping by and have a great day!
Akiko
- Visit my online store here
- See the current Stampin’ Up! clearance rack specials here
- Earn FREE Stampin’ Up! products through my Wildflower Frequent Shopper Program – my way of saying thank you to my frequent shopper online customers.
- Sign up for my weekly newsletter here
- Have any questions? I’d be happy to help, click here to contact me.


")

")

 Vellum Cardstock")


 Crinkled Seam Binding Ribbon")


 Designer Series Paper")


 Ruched Ribbon")


")

 Cardstock")


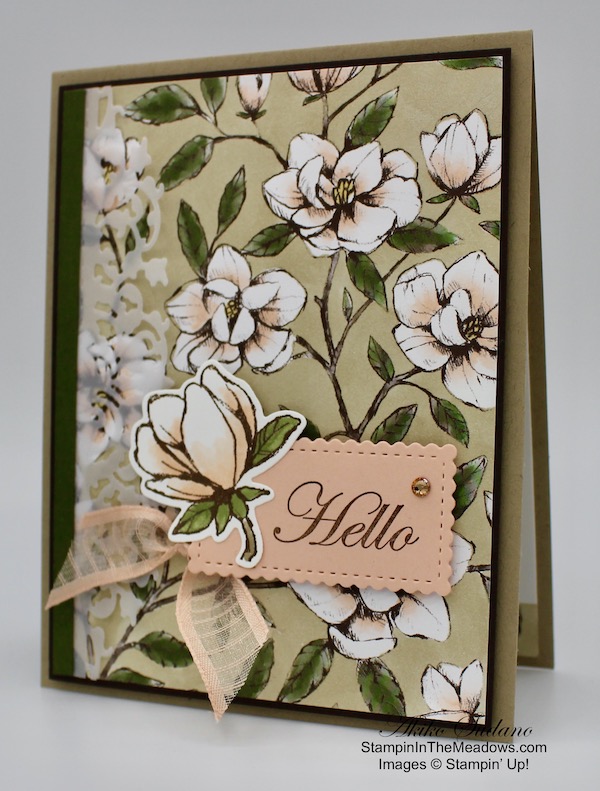


 Organdy Striped Ribbon")


