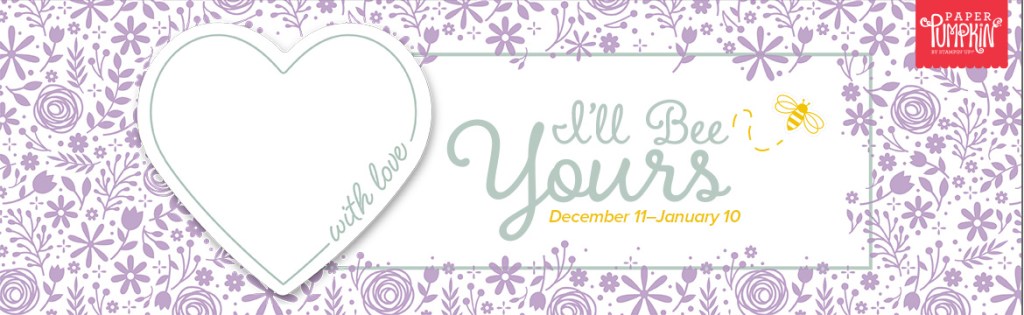
Good Morning! Today I am sharing another Paper Pumpkin Kit video that I did yesterday during my Sunday Facebook Live session. The Stampin’ Up! January Paper Pumpkin kit is fun for Valentine’s Day and goes with many other Stampin’ Up! products.
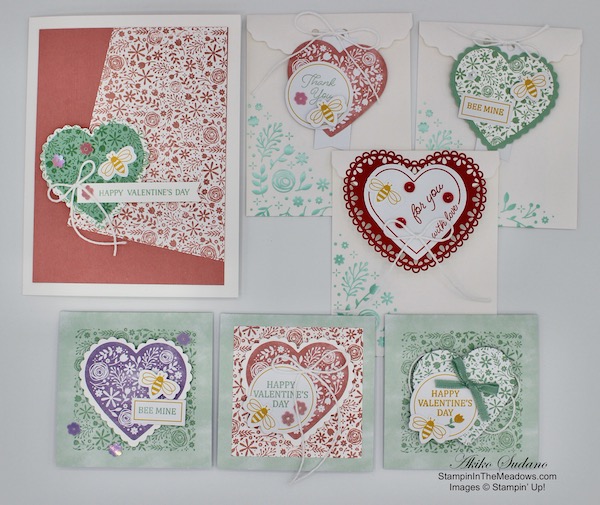
These are the items I have made with the kit:
Here’s the Facebook Live video where I put together a note card and a gift bag. I also showed the contents of the kit and some of the projects that I made during the week. I also talked about my 5 favorite things about the kit.
I also posted the video to my YouTube channel and you can view it here.
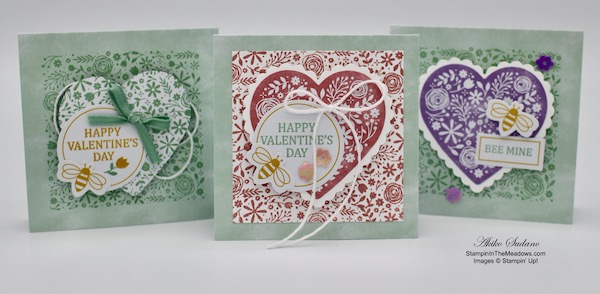
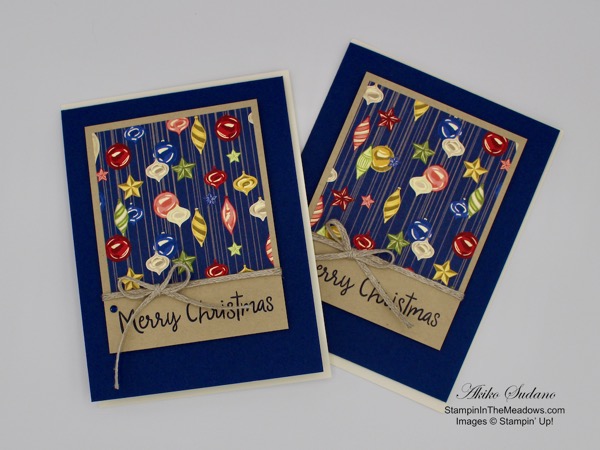
These are the note cards I made from the kit so far and the middle one is the one I made in the video. In addition to the fun embellishments, the stamps are wonderful. The small floral background stamp is the star here, used to stamp the background on the middle card and the Mint Macaron floral heart on the left.

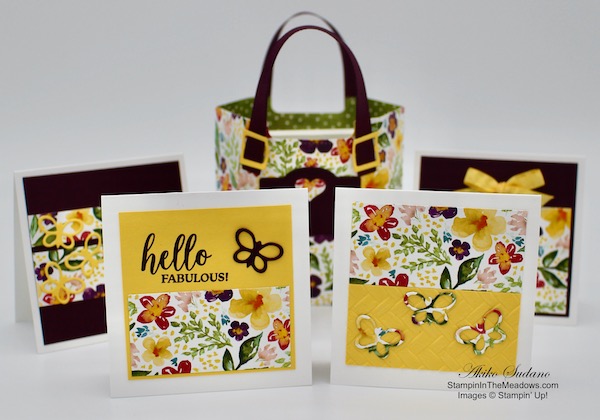
These are the gift bags I made to show off the features of the kit. The bottom one is the one I did in the video. I wanted to show how versatile the kit elements are for combining with other items you have in your own stash and how the Mint Macaron ink spot and background colors can be combined with your favorite non-kit items. In the bottom gift bag, I used the stamps from the kit to stamp on the back of one of the heart cut outs in Real Red ink. I backed it with one of the Real Red Heart doilies, and three red sequins from the Peaceful Poppies sequins. I finished it off with one of the cute bees and a bow with the Whisper White baker’s twine included in the kit. This shows how the Mint Macaron can be used with any other colors you have in your stash.

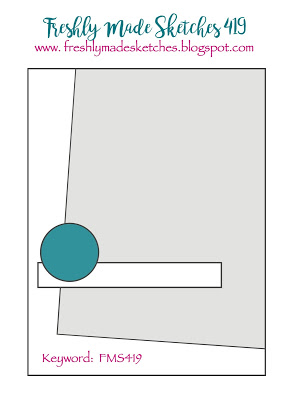
This is a card I made using the elements in the kit and there’s a surprise inside. The sketch is from Freshly Made Sketches #419 – A Sketch by Lee Ann, which is wonderful!
Can you tell I’m in love with the little floral background stamp in the kit? I stamped it on Mint Macaron card stock and Whisper White card stock in Mint Macaron Ink before cutting it out with the Heart punches. I stamped it in Rococo Rose in a continuous fashion to make the angled background paper before cutting it out with the large Stitched Rectangle die. It does make a pretty background handmade DSP paper and is easier to do than I originally thought (but you do have to take your time). Of course I had fun decorating the heart with elements from the Stampin’ Up! January Paper Pumpkin kit. The sentiment is from the Stampin’ Up! Forever Lovely stamp set.
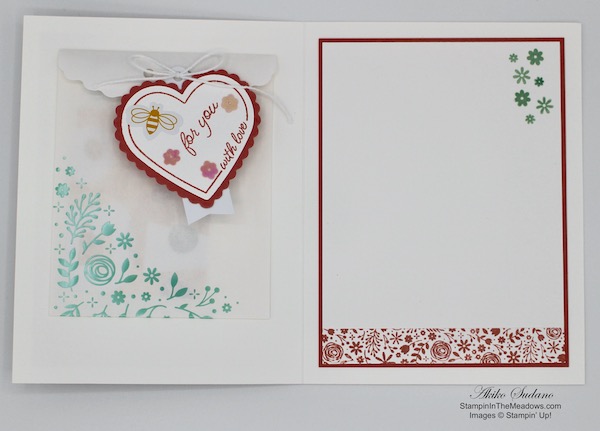
And on the inside I added one of the little gift bags and a decorated heart. These little bags are perfect for holding gift cards – and that’s what’s inside!
And here are my 5 favorite things about this kit:
- The kit coordinates with so many other products that are currently available from Stampin’ Up!
- The kit would be great to do with children – so many elements to decorate the hearts and simple stamp designs
- You easily combine it with many different ink and card stock colors – not just the ones used in the kit (although they are beautiful too if you are fortunate enough to have them all).
- I love that the gift bags are perfect for gift cards – and they are shiny too!
- It is fun, relaxing stamp therapy to decorate the hearts with stamps and embellishments in the kit
I hope you enjoy your Stampin’ Up! January Paper Pumpkin kit as much as I did!

February 2020 Paper Pumpkin: The Lovely Day
February’s Paper Pumpkin kit is coming, and love is in the air! The Lovely Day kit is versatile, elegant, and the perfect way to help your customers celebrate birthdays and other grand occasions.
- Kit details: Makes nine cards and envelopes
- Card size: 4-1/4” x 5-1/2” (10.8 x 14 cm)
- Envelope size: 4-1/2” x 5-3/4” (11.4 x 14.6 cm)
- Coordinating Stampin’ Up! colors: Petal Pink, Pool Party, Pretty Peacock, Rich Razzleberry, Rococo Rose, and Old Olive
AND … the February Paper Pumpkin kit coordinates perfectly with the Happy Birthday to You Stamp Set (item 152308), which is available as part of Stampin’ Up!’s Sale-A-Bration promotion. You can get it for FREE by reaching the qualifying purchase amount of $50.
If you’re interested in subscribing to Paper Pumpkin, you can either sign up for a subscription where you are billed monthly for your kit or you can purchase a prepaid subscription in my online store. To see more information and to sign up for the monthly subscription click here. To see the options for prepaid subscriptions in my online store, click here.
As a bonus during Sale-A-Bration, purchasing a 3-month or longer prepaid subscription qualifies for FREE Sale-A-Bration products!
Sign up deadline for the February 2020 kit is February 10, 2020.
January 16 – 31 Host Code: EFVWTZUQ
Use this host code when you order $50+ and receive a free gift from me! If your order is over $150, please do not use this code, but you’ll still get the free gift. The free gift is your choice of any item valued up to $10.00 in the 2018-19 Annual Catalog or in the 2019 Occasions Catalog! That includes some of the Host Exclusive stamp sets!
If your order is over $150, please do not use the host code since you’ll receive your own Host Dollars plus I’ll send you the free gift! This host code can be used by anyone, no club or commitment required. Let me know if you have any questions.
If you need any stamping supplies, I’d be very happy to be your Demonstrator. Just click on the Shop Now button on the right side of the screen to go directly to my online store or contact me if you have any questions. Happy Stamping!
Thanks for stopping by and have a great week!
Akiko
- Visit my online store here
- See the current Stampin’ Up! clearance rack specials here
- Earn FREE Stampin’ Up! products through my Wildflower Frequent Shopper Program – my way of saying thank you to my online frequent shopper customers.
- Have any questions? I’d be happy to help, click here to contact me.
Stampin’ Up! products used in this project:


")
")


 Cotton Ribbon")


")


")


 Designer Series Paper")


 Envelopes")


")


 Polka Dot Tulle Ribbon")


")


")
")
 Designer Series Paper")


 Braided Linen Trim")


