
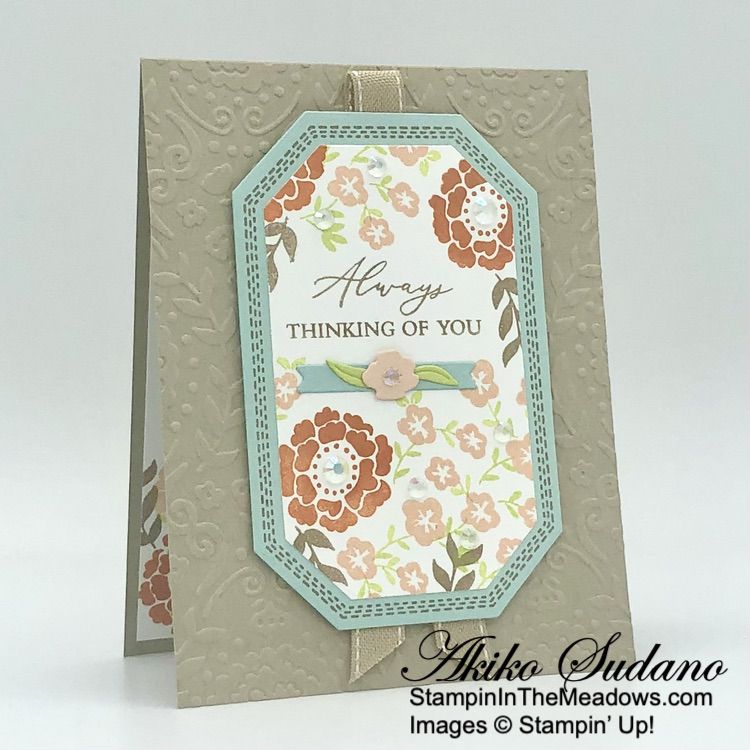
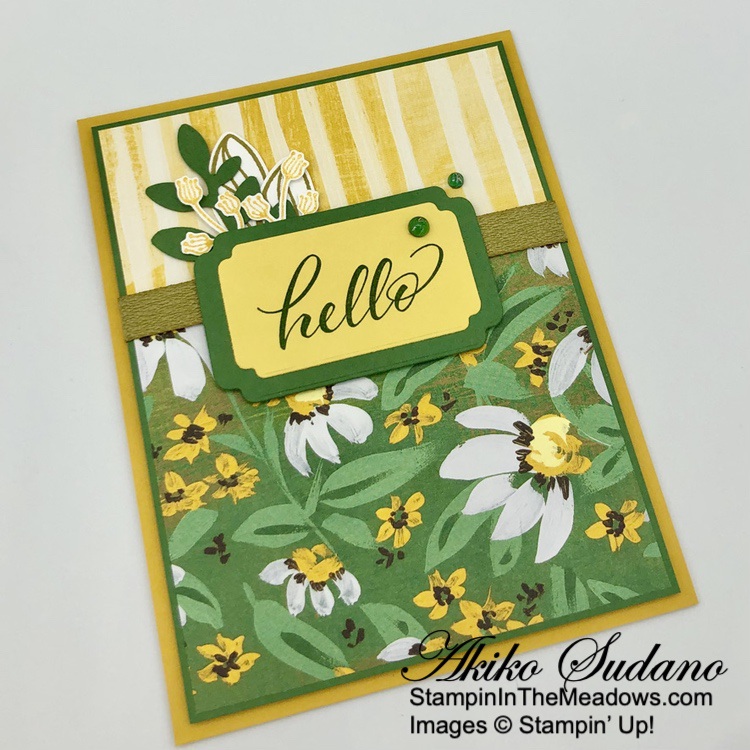
Good Morning and welcome to the Happy Inkin’ Thursday Blog Hop! I pulled out the beautiful Countryside Inn designer series paper and used it with the Stampin’ Up! Countryside Corners, Lasting Joy and Petal Park stamp sets and bundles to make a sweet birthday card in pretty shades of blue. You can find the supplies I used along with card stock cuts at the bottom of my post.

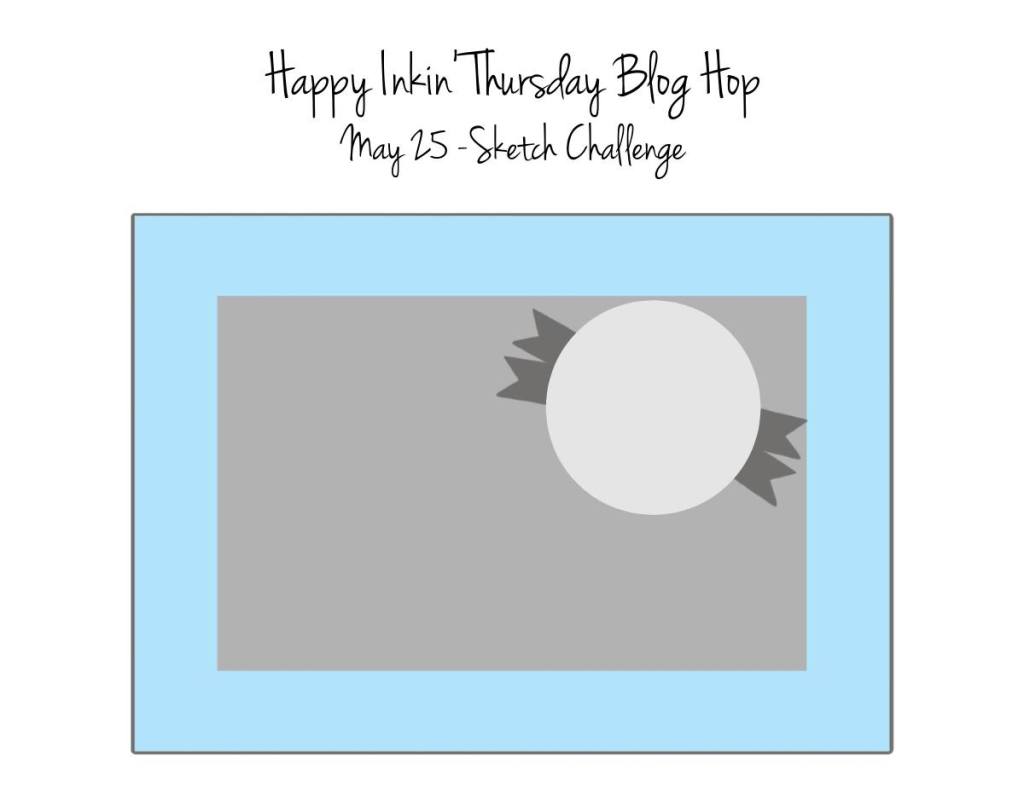
We have a sketch challenge for our Blog Hop this week:

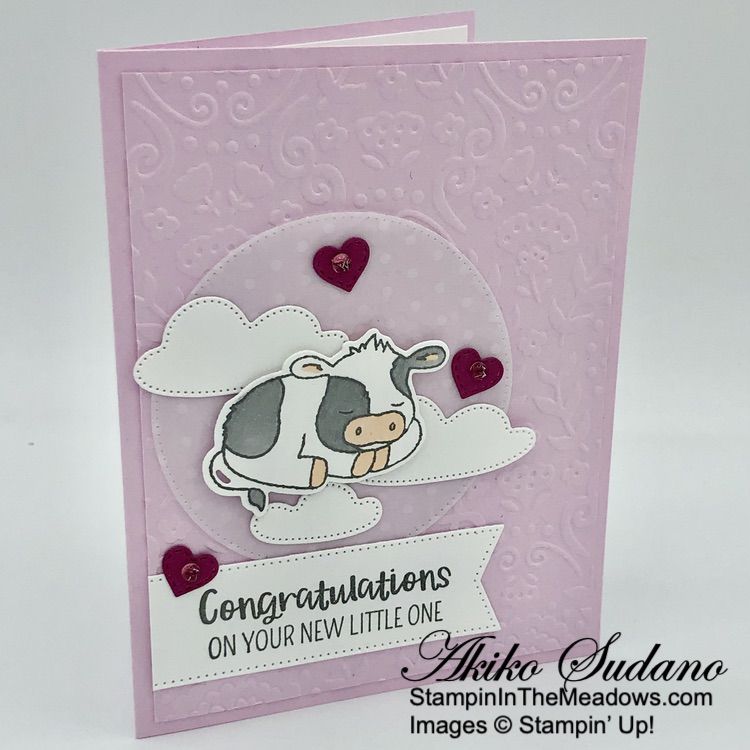
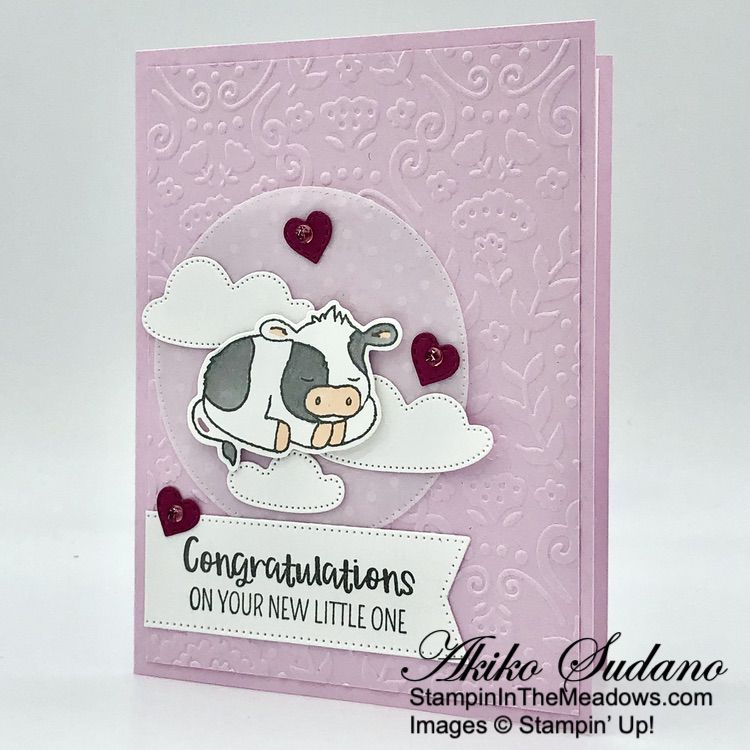
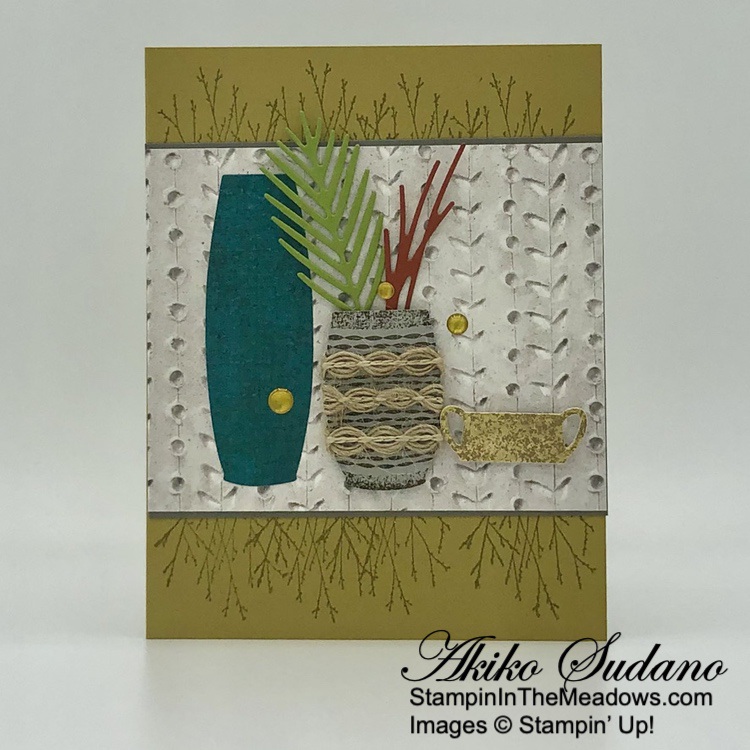
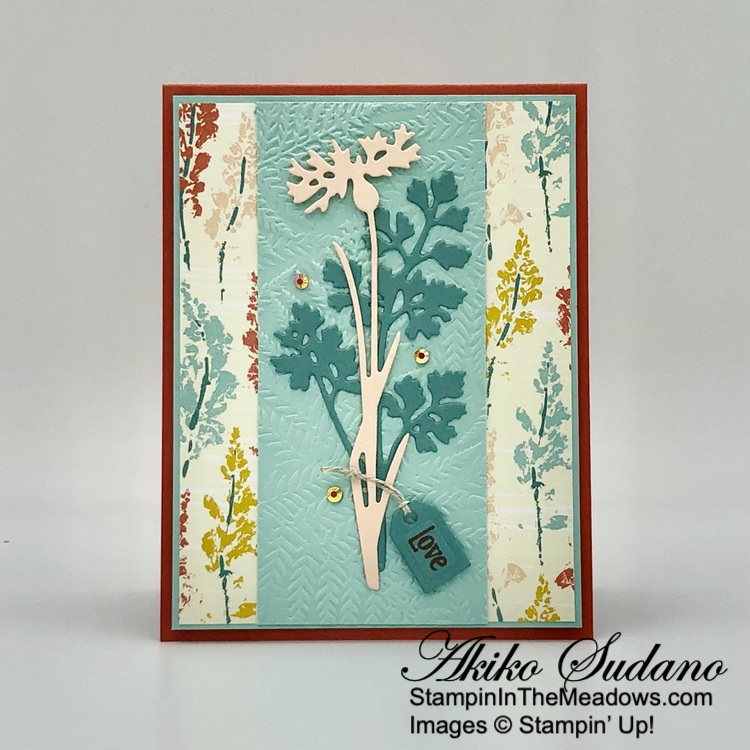
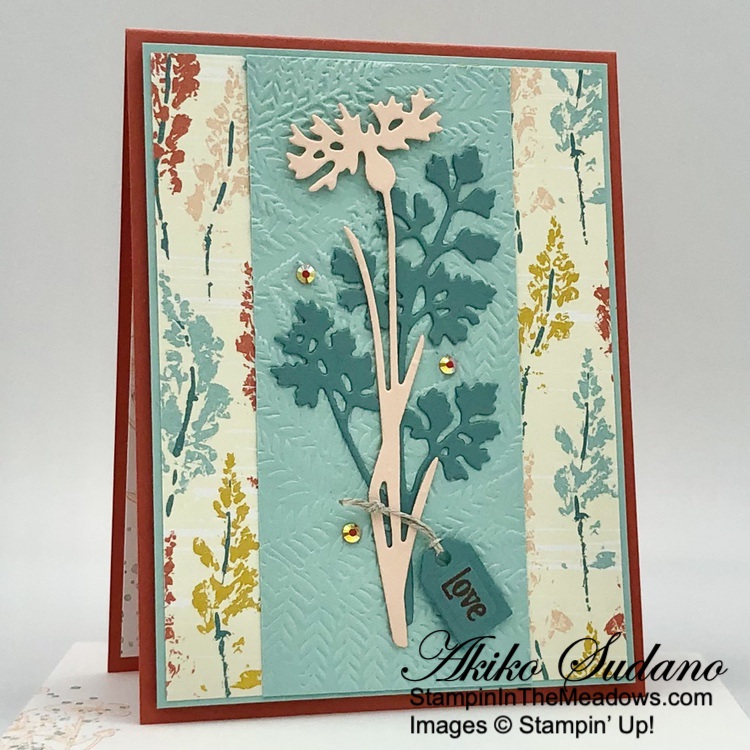
I adhered a strip of the pretty Countryside Inn designer series paper to a Boho Blue mat with liquid glue and adhered it to another panel of Countryside Inn DSP. I adhered the layered panel to the front of a Boho Blue card base. I stamped the large image from the Stampin’ Up! Countryside Corners cling stamp set in Night of Navy ink on a Boho Blue panel and cut it out with the third largest die.
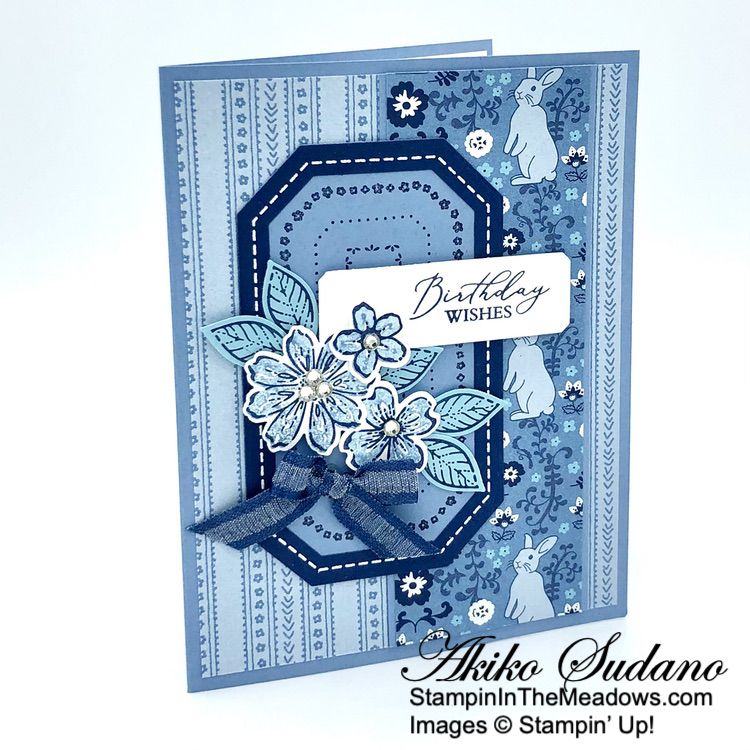
I stamped the image from the Stampin’ Up! Countryside Corners stamp using Versamark ink on Night of Navy card stock. I sprinkled it with white embossing powder and shook off the excess. I heated the powder with my heat tool until it was bright and shiny and cut a frame using the third and fourth largest dies. I adhered the frame around the Boho Blue image with liquid glue and adhered it to the card front. I stamped the sentiment from the Lasting Joy stamp set in Night of Navy on Basic White and cut it out with the second smallest die from the Stampin’ Up! Countryside Corners dies. I adhered the label to the card with dimensionals.

I stamped the detailed flowers trio from the Petal Park photopolymer stamp set in Night of Navy ink on Basic White. I stamped the filler using stamped off Boho Blue ink and punched the flowers out with the Petal Park punch. I adhered the flowers to the card with glue dots and dimensionals. I stamped five of the detailed leaves using Night of Navy ink on Balmy Blue and punched them out with the Petal Park punch and adhered them to the card using glue dots. I adhered rhinestones to the flower centers and a Night of Navy Bow to finish the card.

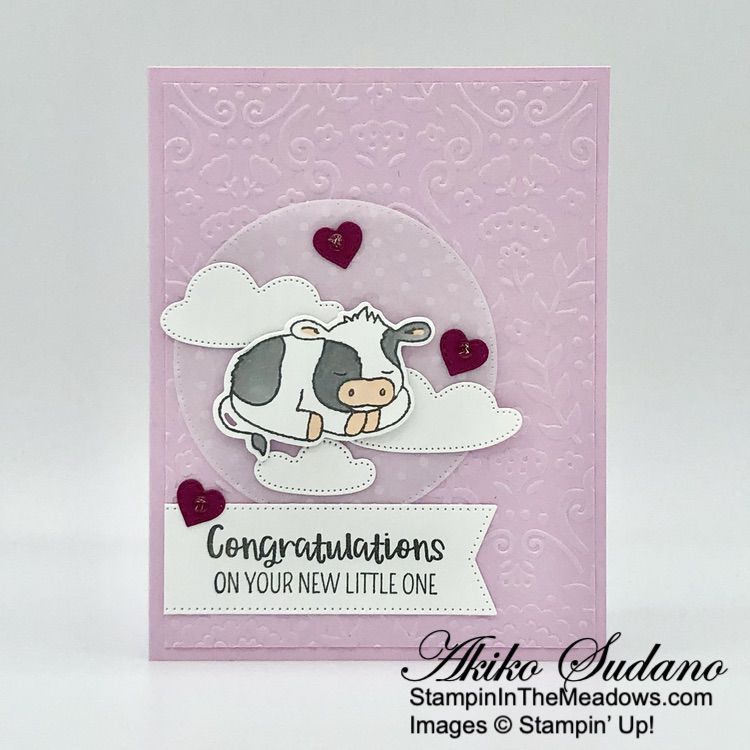
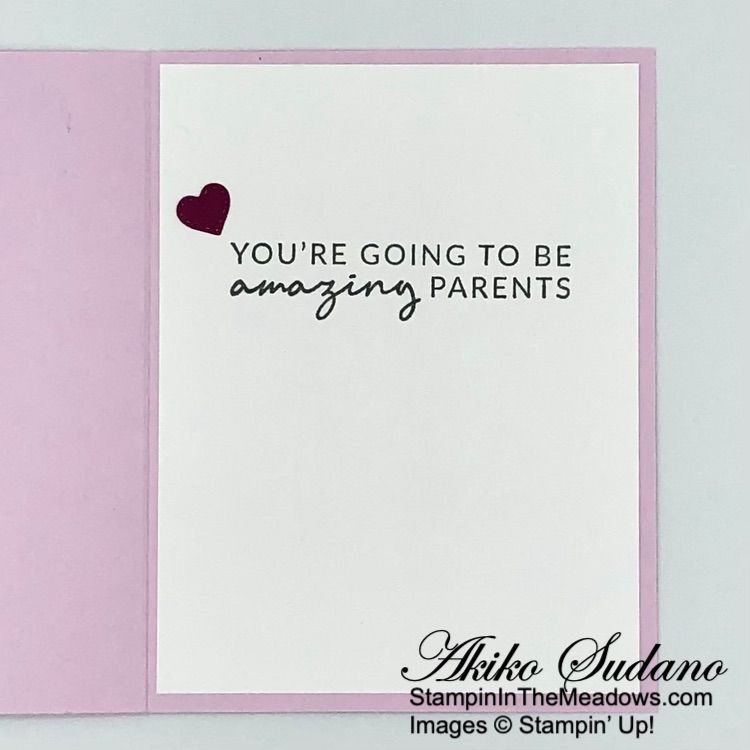
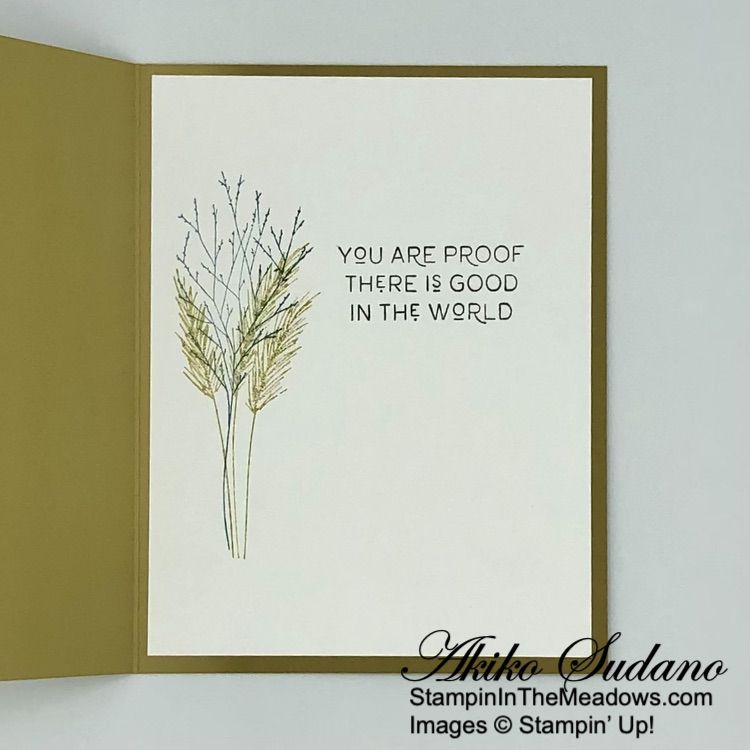
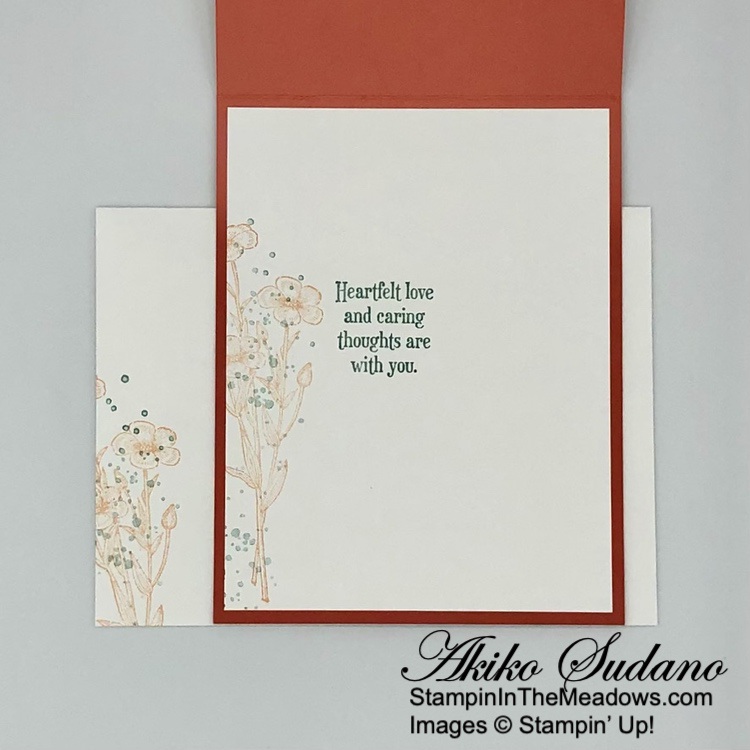
For the inside of the card, I stamped the sentiment from the Charming Sentiments stamp set in Night of Navy ink on a Basic White panel. I stamped the Petal Park Detailed Flowers in Boho Blue ink and the filler in stamped off Boho Blue ink. I stamped the leaves inn Balmy Blue and adhered the panel to the inside of the card with Stampin’ Seal.

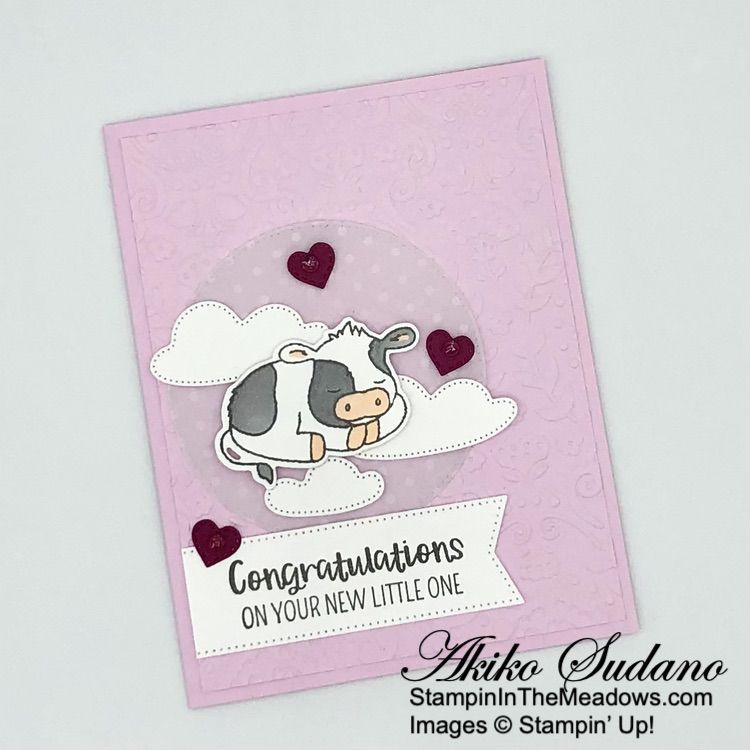
The octagon dies from the Stampin’ Up! Countryside Corners bundle are a perfect backdrop for floral arrangements and the Petal Park flowers are pretty with the Countryside Inn DSP. The DSP is so sweet, it will go well with lots of different stamped or die cut flowers.
On with the Hop! Click on the Next Blog button to move forward to see the beautiful project Karen Ksenzakovic has created.

If you get lost along the way, here are the participants for the hop:
- Amy Koenders
- Mary Deatherage
- Jaimie Babarczy
- Karen Finkle
- Akiko Sudano <– You Are Here
- Karen Ksenzakovic
- Tara Carpenter
- Terry Lynn Bright
- Carol Buckalew
Designer Series Paper Sale Going on Now!
We all love beautiful Designer Series Paper, and in June, you can enjoy a 15% discount on select Designer Series Papers from our new 2023–2024 Annual Catalog and Online Exclusives. Whether you’re a scrapbooker, a card maker or simply a paper lover, this is a great time to stock up and save on gorgeous paper so you have artistic and versatile paper designs on hand for your next projects!
Here are the Details:
- Sales Period: June 1, 2021 – June 30, 2023
- All order types qualify for this promotion.
- There is no limit to how many packages of Designer Series Paper may be purchased during this promotion.
- Only select Designer Series Papers are available at a 15% discount during this promotion.
- Orders must be placed—and closed—during the promotion period for the 15% discount to apply.
- Designer Series Paper ordered as part of a Starter Kit or with Stampin’ Rewards qualify for the 15% discount.
- Designer Series Papers are from the new 2023–2024 Annual Catalog (p. 129–132) and Online Exclusives
Click on the image below to download a PDF with the list of designer series papers that are on sale and their sale prices:

Starter Kit+ Joining Special Going on Now!
It’s a fabulous time to join Stampin’ Up! New team members will get even more FREE products in their customizable Starter Kit. Between 1–30 June, those who sign up can get $125 $155 USD worth of products for only $99 + free business supplies + free shipping + all the fun being a part of Stampin’ Up!
Starter Kit+ Promotion Details:
- Promotion Dates: 1–30 JUNE 2023
- When new team members purchase their Starter Kit, they will be able to redeem
$125$155 of Starter Kit eligible products for just $99. - New demonstrators who submit their Independent Demonstrator Agreement (IDA) before June 1 or after June 30 will not be eligible for this offer.
You can read about the benefits of being a Demonstrator on my Join My Team page. These include a minimum 20% discount on products and access to new products a month before the catalog release. Contact me if you have any questions about the benefits of being a Demonstrator and I’ll be happy to tell you all about it!
Current Host Code: 9SKETT74
Use this host code when you order $50 or more and receive a free gift from me! The free gift is your choice of any item valued up to $10.00 from the 2023-2024 Annual Catalog!
If your order is over $150, please do not use the host code since you’ll receive your own Host Dollars plus I’ll still send you the free gift! This host code can be used by anyone, no club or commitment required. Let me know if you have any questions.
If you need any stamping supplies, I’d be very happy to be your Demonstrator. Just click on the Shop Now button on the right side of the screen to go directly to my online store or contact me if you have any questions.
Thanks for stopping by and Happy Stamping!
Akiko
- Visit my online store here
- See the current Stampin’ Up! clearance rack specials here
- Earn FREE Stampin’ Up! products through my Wildflower Frequent Shopper Program – my way of saying thank you to my online frequent shopper customers.
- Have any questions? I’d be happy to help, click here to contact me.
Cardstock Cuts for this project:
- Boho Blue – 5-1/2″ x 8-1/2″ card base scored at 4-1/4″, 3-1/2″ x 5″ (stamped die cut), 2″ x 5-1/4″ (DSP mat)
- Night of Navy – 3-1/2″ x 5″ (die cut frame)
- Balmy Blue – 1″ x 5″ (punched leaves)
- Basic White – 4″ x 5-1/4″ panel (inside panel), 2-1/2″ x 2-3/4″ (punched flowers), 1″ x 2-3/4″ (label), 4″ x 5-1/4″ (inside panel)
- Countryside Inn DSP – 4″ x 5-1/4″ (front background), 1-7/8″ x 5-1/4″ (front strip)
Stampin’ Up! products used in this project:

")

")

 Designer Series Paper")


 Bordered Ribbon")


")


 Designer Series Paper")


 Ribbon Combo Pack")

")


 Specialty Designer Series Paper")


")


")


")
 Designer Series Paper")


 Specialty Paper")


 Wavy Trim")


")


 Designer Series Paper")


 Textured Ribbon")


")


 Designer Series Paper")


 Designer Series Paper")


")


 Metallic Woven Ribbon")

