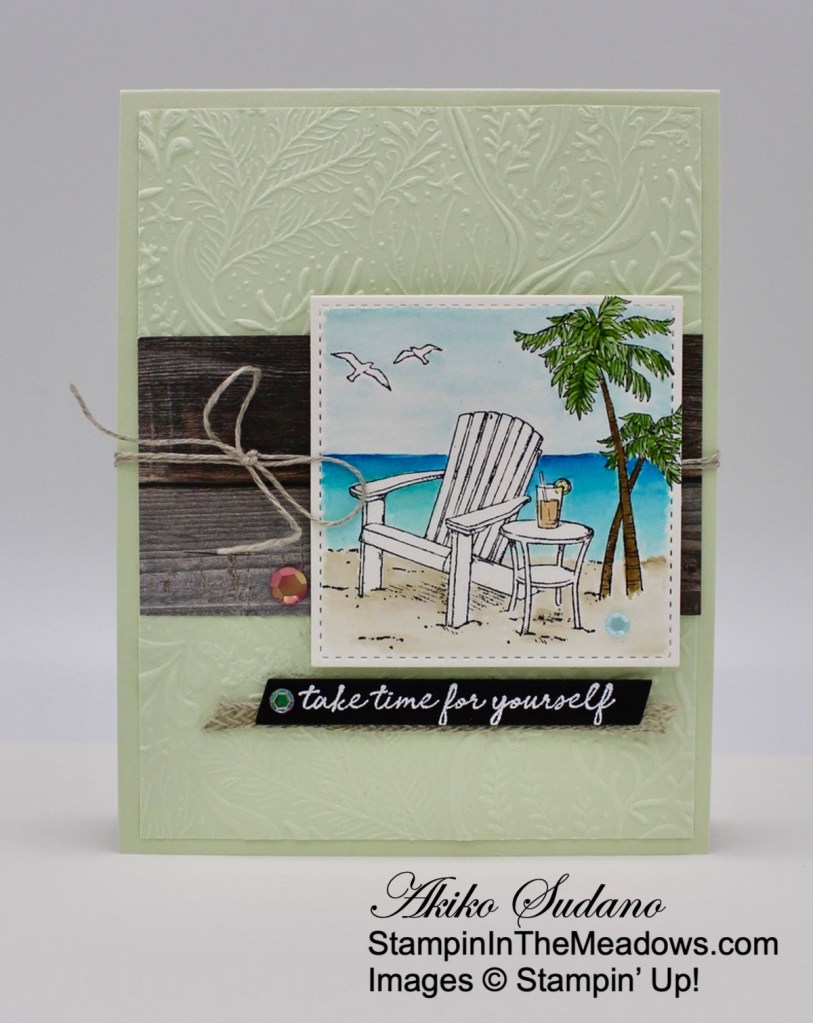
Happy February! This is the card I made during my Facebook Live video tutorial yesterday afternoon featuring the Stampin’ Up! Seaside View cling stamp set in a card with a watercolor technique on the pretty image. And it was a perfect time for a dreamy beach scene, as it started snowing just before I went live. You can find the supplies I used at the bottom of my post along with the sizes of cardstock used.
Here is the Facebook Live video showing how I made the card:
I posted a copy of the video in my YouTube channel here so you can view it there if you prefer.
I embossed a Soft Sea Foam panel with the Seabed 3D embossing folder and adhered it to the front of a Soft Sea Foam card base. I adhered a panel of weathered wood from the In Good Taste designer series paper across the front and wrapped it twice with linen thread and made a bow.
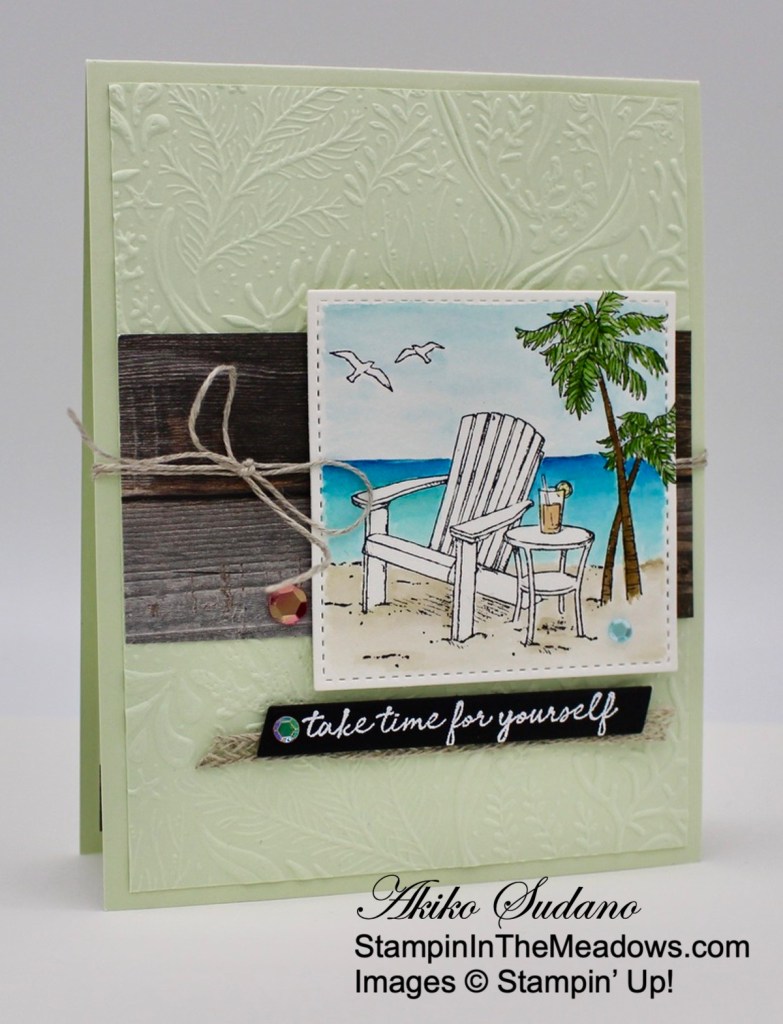
I stamped the chair, trees and birds from the Stampin’ Up! Seaside View stamp set using Stazon ink on watercolor paper. I cut it out with the largest stitched square from the Stitched Shapes dies. I drew a line with a pencil for the horizon and colored the image in sections with the small water painter and inks. For the sand, sea and sky, I first brushed the section with the water painter to moisten the watercolor paper. Then I dabbed the ink on a stamp block and pulled some ink to mix with water from the water painter. The ink comes out dark at first and then lightens as more water flows through the water painter. I used Sahara Sand on the sand, Balmy Blue on the sky and Pacific Point and Bermuda Bay for the water. When I painted the water, I started with a dark Pacific Point line over the pencil line on the horizon and gradually shifted to Bermuda Bay by the shore. I also used Garden Green and Soft Suede inks for the trees and Cinnamon Cider and Daffodil Delight inks for the drink
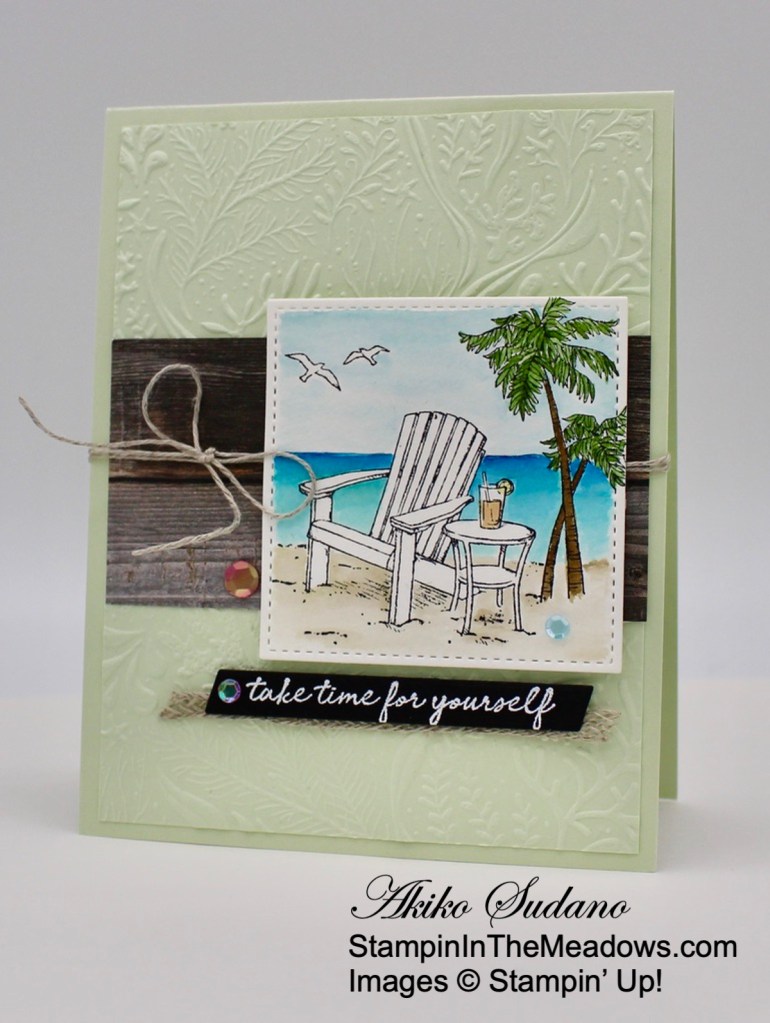
I adhered the dried image to the card front with dimensionals. I stamped the sentiment from the Stampin’ Up! Seaside View stamp set in Versamark Ink and sprinkled it with white embossing powder. I heat set the embossing powder until it was shiny and cut the sentiment out with the long sentiment die from the Always dies. I pulled some Braided linen trim widthwise so it would be thicker and adhered it to the back of the label with glue dots. I adhered the layered label to the front of the card with dimensionals and finished off the card front with some sequins.
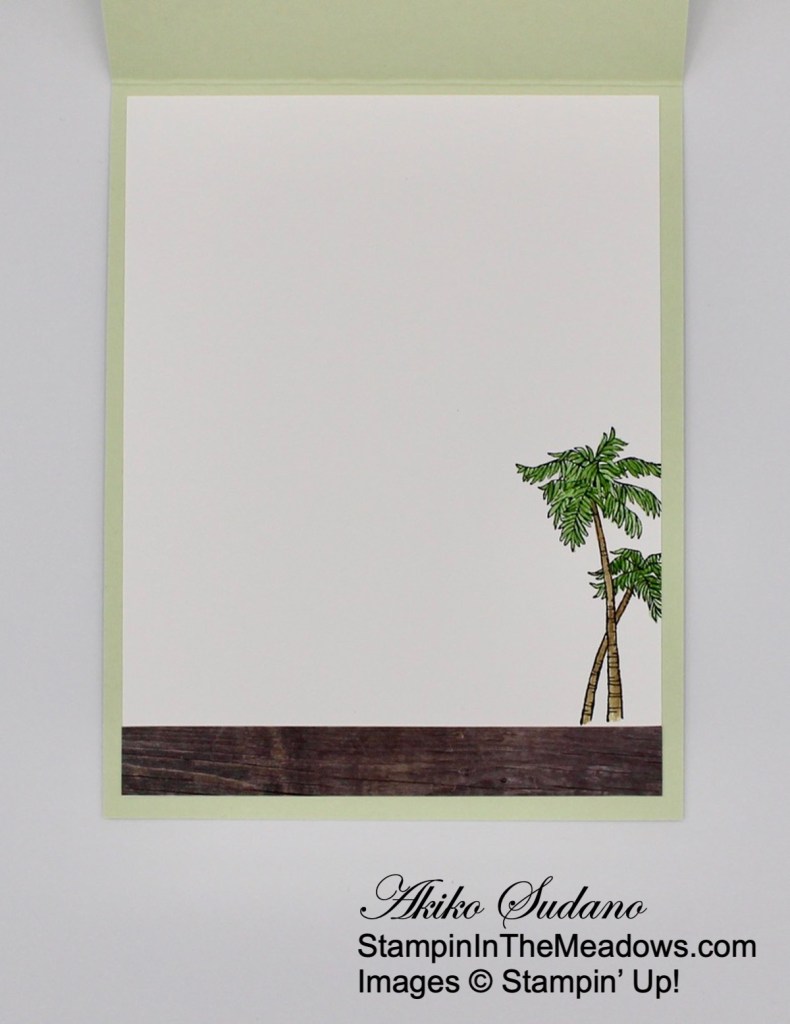
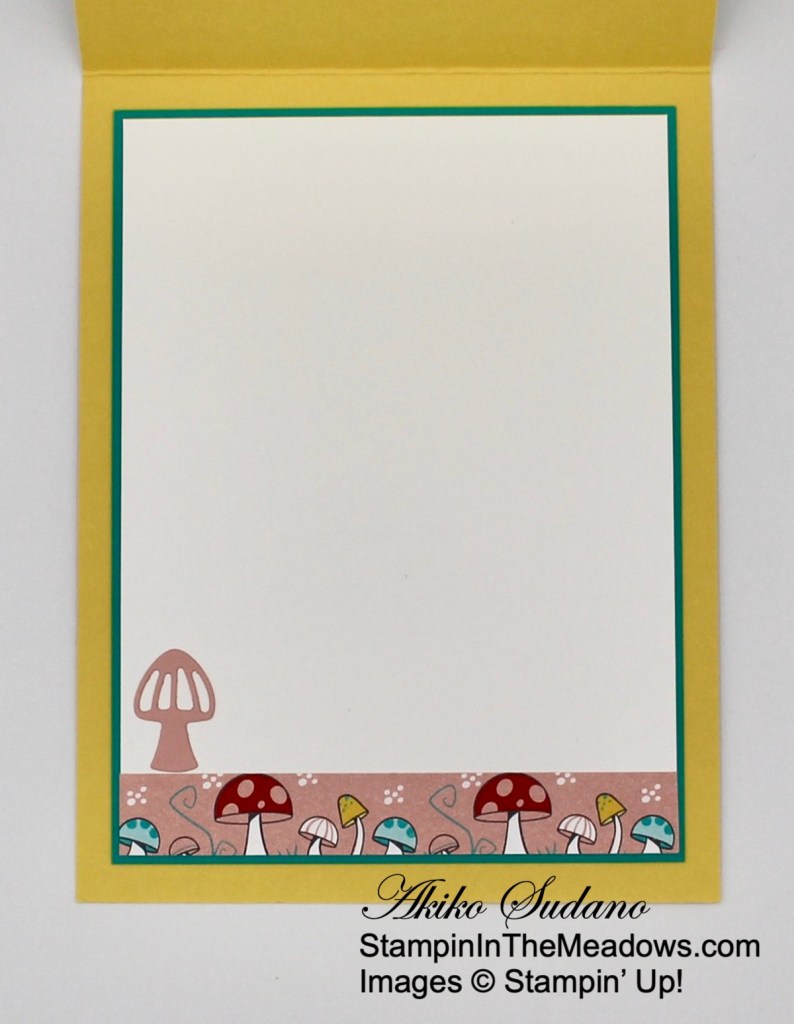
For the inside, I stamped the tree in Stazon ink on a Basic White panel. I colored the tree like the card front, but used my blender pen instead of the water painter, as I wanted the color to be more intense and I didn’t want to mess up the card stock. I adhered a strip of In Good Taste DSP to the bottom and adhered the panel to the inside of the card.
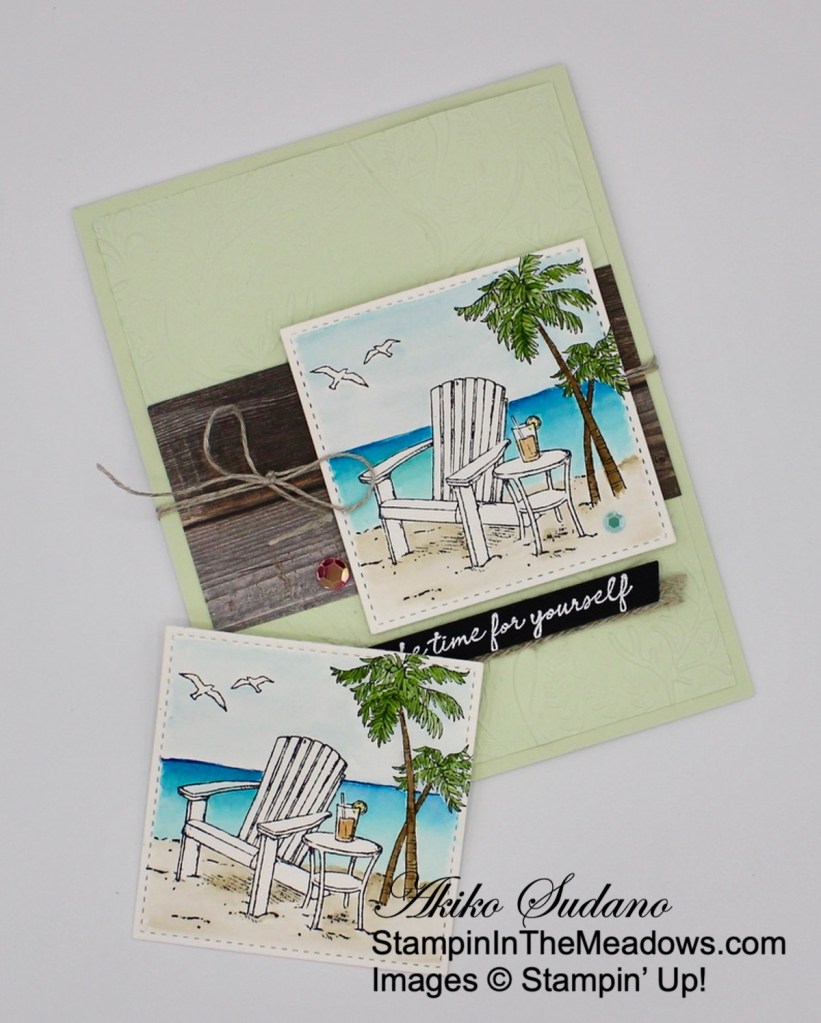
The water coloring is slow, so I only colored portions of the image during the video. Afterwards, I finished the image I was working on, so I have it pictured here with the card I made. All the images in the Stampin’ Up! Seaside View stamp set would be great watercolored, and it’s relaxing and fun. Why not give it a try?
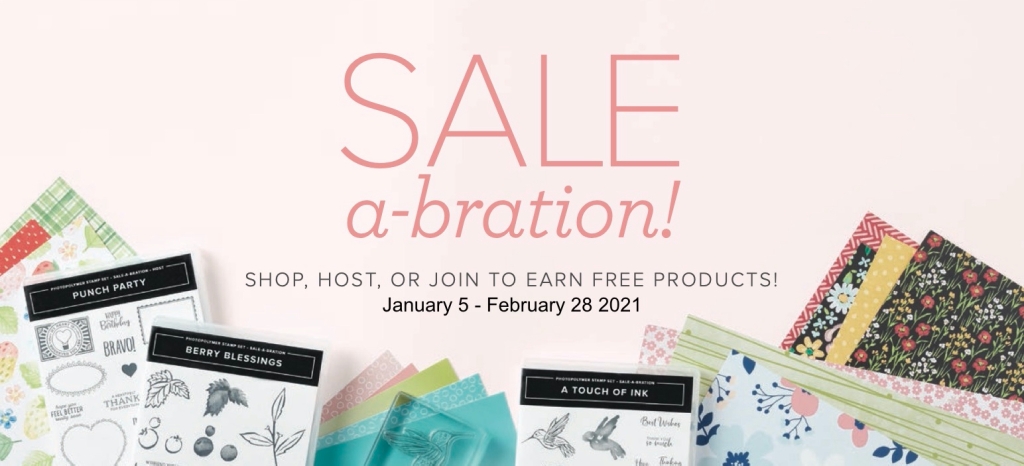
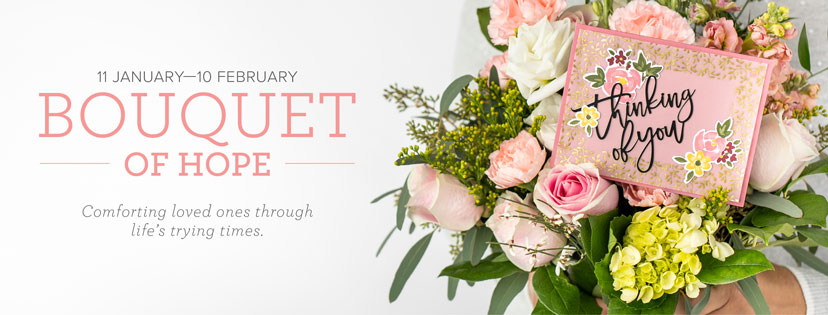
Stampin’ Up! Sale A Bration is going on Now!
Sale A Bration is Stampin’ Up!’s biggest event of the year with three ways to earn FREE products – SHOP – HOST – JOIN!
SHOP
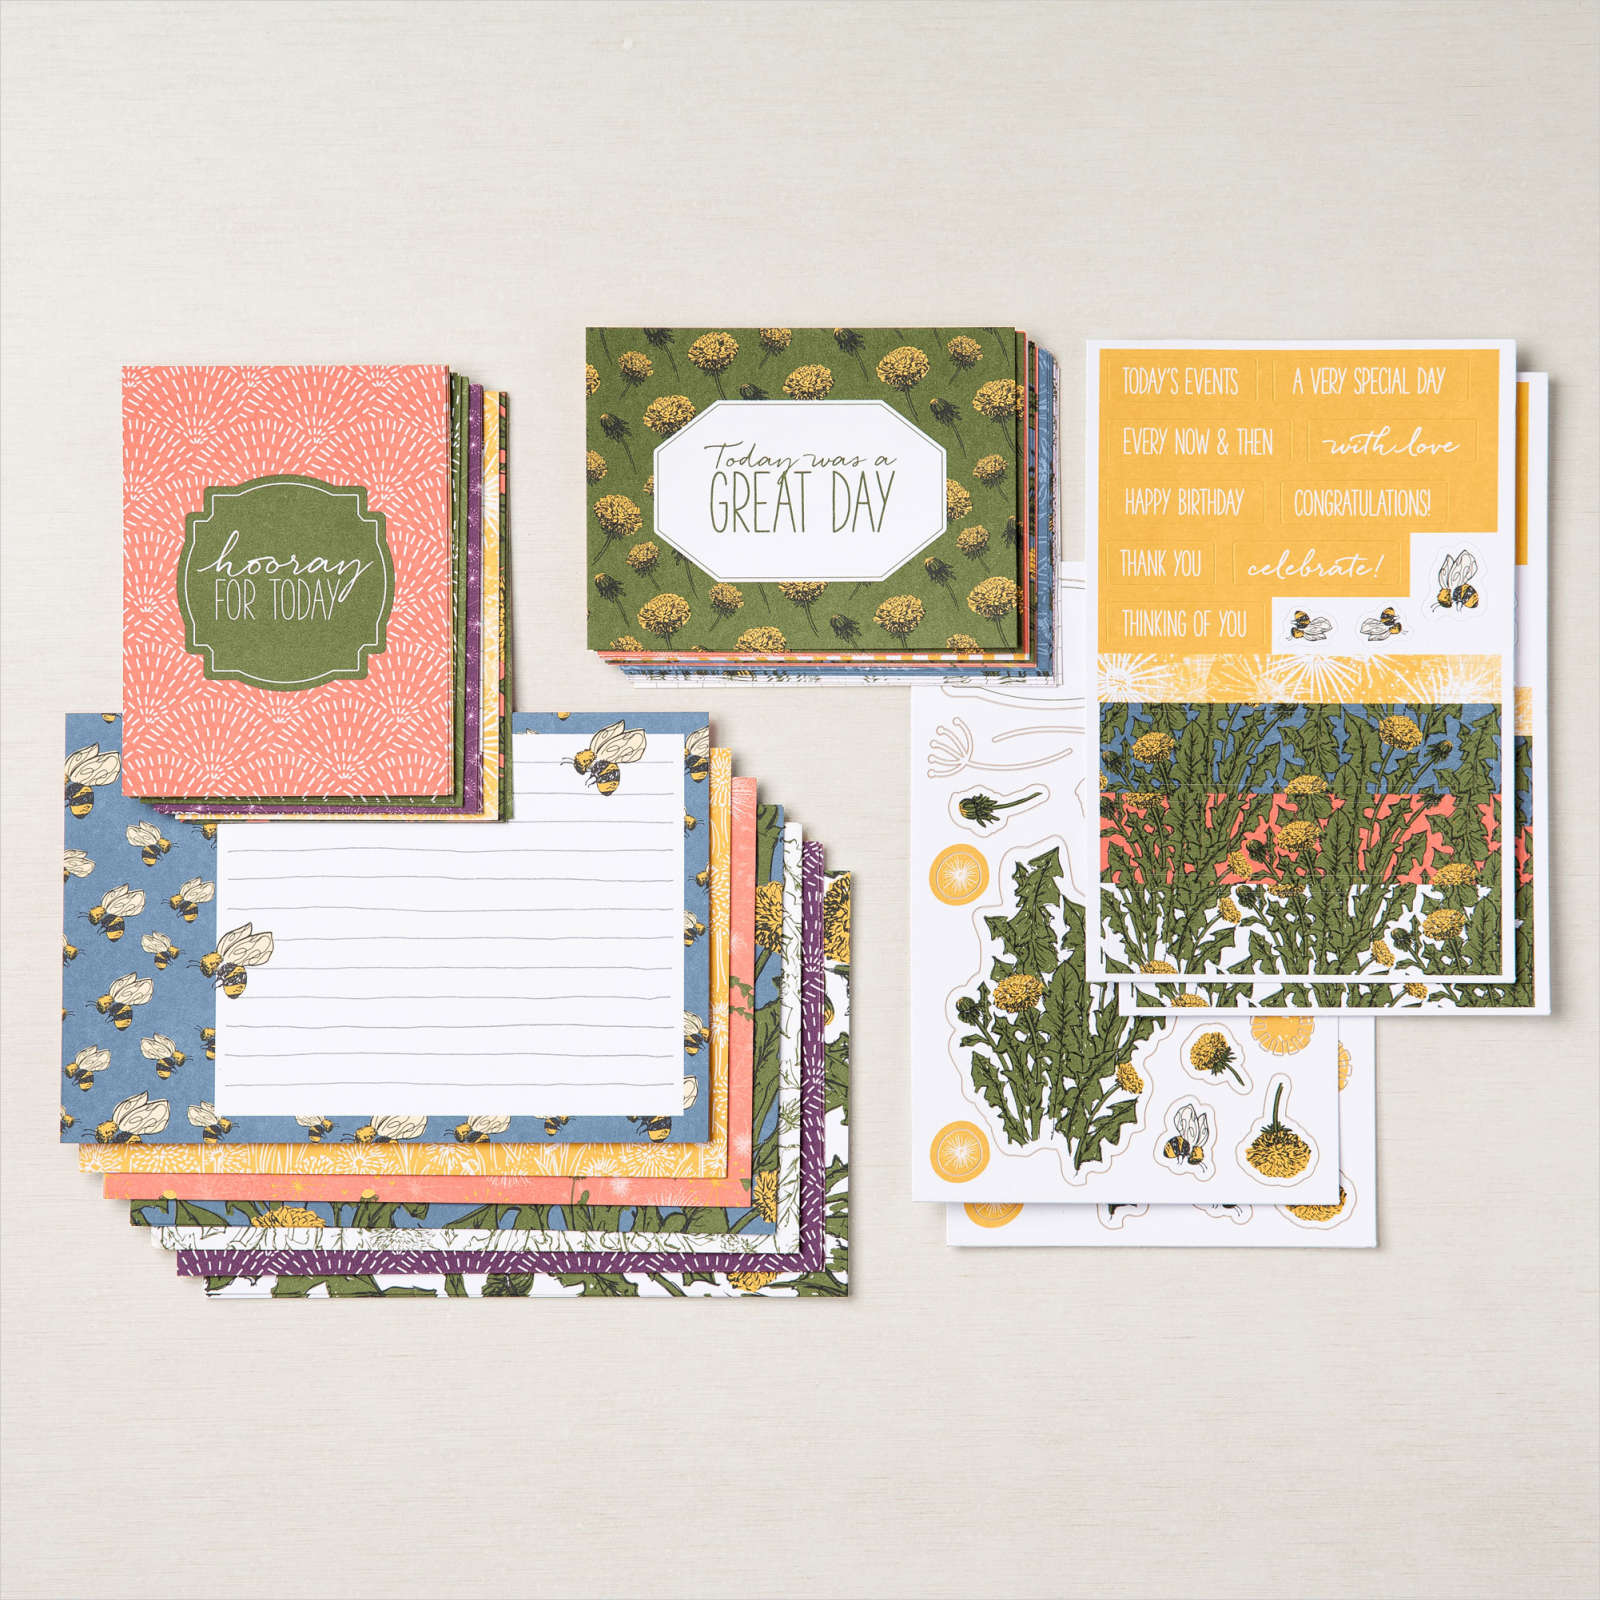
During Sale-A-Bration, for every $50 or $100 you spend, you can choose between two purchasing levels of free products! Depending on the amount you spend, you’ll be able to mix ‘n’ match the Sale-A-Bration items you earn and you can choose from stunning stamp sets and designer series papers. There are 8 free products available to pick from at the $50 level and 2 free products to pick from at the $100 level. Click on the Sale A Bration brochure to the right to see these products.
HOST
Stampin’ Up! is offering an exclusive host stamp set called Punch Party and you can get it for FREE with an order of $300 or greater placed during Sale-a-bration or by hosting a workshop with orders totaling $300 or greater during Sale-a-bration! And this is on top of the normal Stampin’ Rewards you get when you host a workshop!
JOIN
There’s no better time to Join Stampin’ Up! than during Sale A Bration! And joining is easy! You purchase your Starter kit for $99 by choosing $125 in Stampin’ Up! products (and shipping is FREE). If you join during Sale A Bration, you get an additional five FREE full size packs of 6″ x 6″ Designer Series Paper from the upcoming 2021-2022 Annual Catalog with your Starter Kit (the current 6″ x 6″ designer series paper goes for $11.50 per pack!).
See my Join My Team page for all the benefits starting with a minimum 20% discount! Contact me if you have any questions. Click here to purchase your Starter Kit.
Contact me if you need a copy of the new Jan-Jun Mini Catalog and Sale A Bration brochure, and I’ll be happy to send you one!

Stampin’ Up! Hey Chick and Hey Birthday Chick Bundles available Tomorrow!
The Hey Birthday Chick cling stamp set is a fun set that is a follow on to the Hey Chick stamp set that came out during Sale A Bration a few years ago. And tomorrow is the big day that the Hey Chick stamp set returns with coordinating dies for both sets! The bundles will be available through June 30 and if you already have the stamps, you can get the coordinating dies. And they are so cute!! Click on the image above to download a PDF with all the details.
February Host Code: JNWPB7A4
Use this host code when you order $50 or more and receive a free gift from me! The free gift is your choice of any item valued up to $10.00 in the 2019 – 2020 Annual Catalog or in the Aug-Dec 2020 Mini Catalog! That includes some of the Host Exclusive stamp sets!
If your order is over $150, please do not use the host code since you’ll receive your own Host Dollars plus I’ll still send you the free gift! This host code can be used by anyone, no club or commitment required. Let me know if you have any questions.
If you need any stamping supplies, I’d be very happy to be your Demonstrator. Just click on the Shop Now button on the right side of the screen to go directly to my online store or contact me if you have any questions. Happy Stamping!
Thanks for stopping by and have a great week!
Akiko
- Visit my online store here
- See the current Stampin’ Up! clearance rack specials here
- Earn FREE Stampin’ Up! products through my Wildflower Frequent Shopper Program – my way of saying thank you to my online frequent shopper customers.
- Sign up for my weekly newsletter here
- Have any questions? I’d be happy to help, click here to contact me.
Cardstock Cuts for this project:
- Soft Sea Foam – 4-1/4″ x 11″ card base scored at 5-1/2″, 4″ x 5-1/4″ (embossed background)
- Basic White – 4″ x 5-1/4″ (inside panel)
- Watercolor paper – 3-1/2″ x 3-1/2″ (stamped panel)
- Basic Black – 1″ x 3-1/2″(label)
- In Good Taste DSP – 2″ x 4″ (front accent), 1/2″ x 4″ (inside trim)
Stampin’ Up! products used in this project:


 Braided Linen Trim")


 Designer Series Paper")


 Designer Series Paper")


 Gorgeous Grape Sheer Ribbon")


")


 Designer Series Paper")


 2020–2022 In Color Ribbon")


")


")

 Crinkled Seam Binding Ribbon")

