Good Morning! Today I have a special Happy New Year Card using the Stampin’ Up! New Year Celebration stamp set. This is an exclusive set and this is the first time that it is available outside of Japan. New Years is a very big holiday in Japan, and since it’s part of my heritage and Stampin’ Up! made this set available in the US, I had to make a card with it. You can find the supplies used to create this card at the bottom of my post along with the sizes of cardstock used.

This is a simple, flat card, but I did a lot of stamping! Also, since many of the stamps are thick images, I pulled out my Stamparatus so that I would be able to get good alignment if I had to stamp an image again. Luckily, my stamp pads were pretty juicy too. I started by stamping the Mt. Fuji outline stamp from the Stampin’ Up! New Year Celebration stamp set in Pretty Peacock on a Whisper White panel. Then I stamped the inside of Mt. Fuji in Gray Granite. I love how it leaves a mountain snow cap! I mounted these two stamps on either side of my Stamparatus plate and practiced stamping on copy paper several times to get the alignment right, moving the inside stamp slightly each time until I was happy with the results.
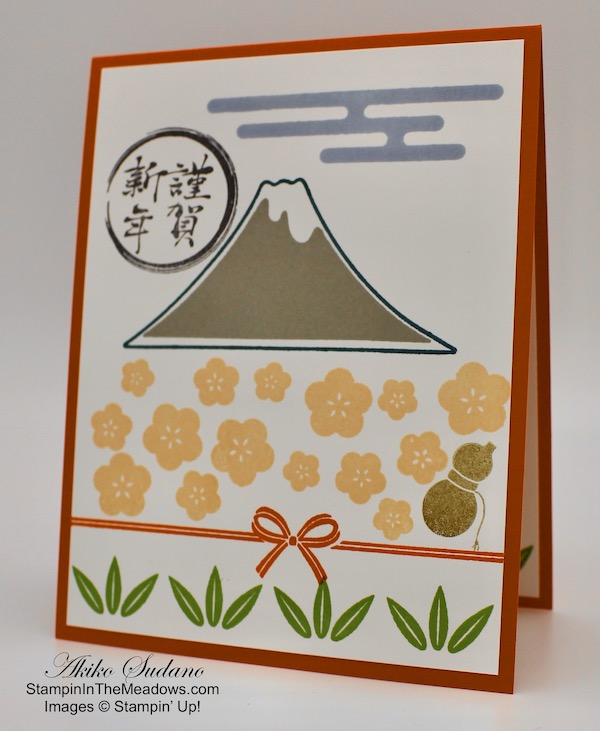
I stamped the leaves from the Stampin’ Up! New Year Celebration stamp set on the bottom in Granny Apple Green. Again, the Stamparatus was great because I moved my paper 1″ after each stamping, resulting in a neat row of 4 stamped leaf clusters. Then I stamped the ribbon and bow using Poppy Parade. I stamped the clouds in Seaside Spray.

I stamped the plum flowers in Petal Pink. I stamped them randomly in the space, and stamped a few single flowers to fill it up. I stamped the gourd in Soft Suede after stamping off. The gourd reminded me of one my Mother had on her knick knack shelf while I was growing up, so I had to use it. The last thing I stamped was the Kanji Happy New year symbol in Memento Tuxedo Black. When I finished stamping, I adhered the panel to a Poppy Parade card base with snail
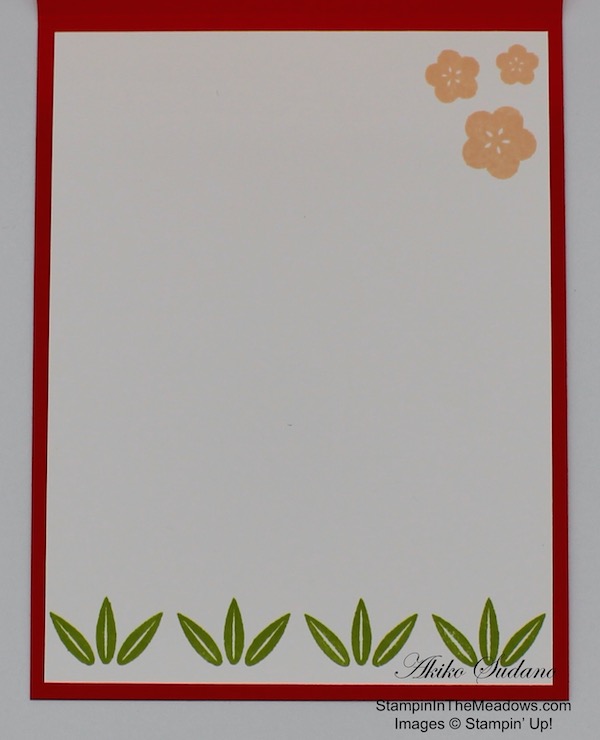
I stamped another row of leaf clusters using Granny Apple Green ink on a Whisper White panel for the inside of the card. I added a cluster of plum flowers in Petal Pink in the upper corner and then adhered it to the inside of the card with snail.
I hope you like this card – it’s a little different from my usual style with layers, die cuts and bling. Click on the picture below to open a flyer on this exclusive stamp set. I printed it out and inserted it in my stamp case so I would have a reference for all the stamps in this special set.

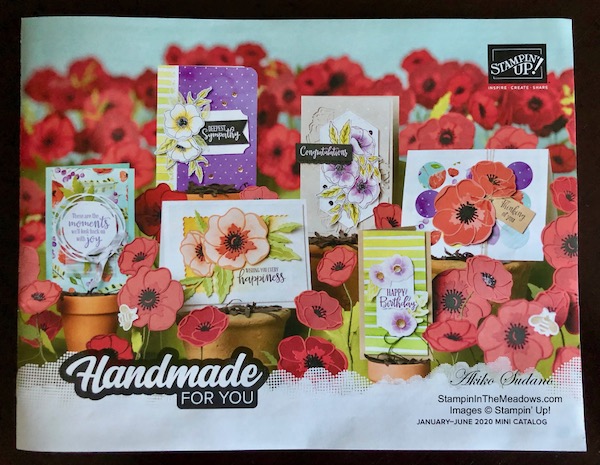
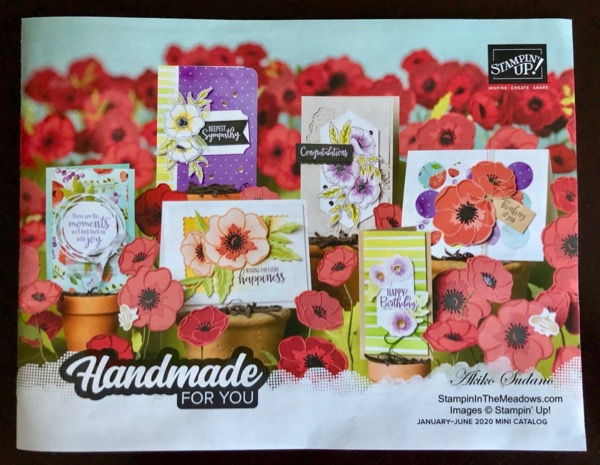
Stampin’ In The Meadows January – June 2020 Mini Catalog Product Shares
I’m doing my first Stampin’ Up! Product Share to get ready for the new January-June 1010 Mini Catalog and I invite you to join me! I’m placing an order early on January 3 and I’m going to use the expedited shipping option so I should be able to have the shares cut, bundled and back out to you during the week of January 13. I am doing a paper share and an ribbon & embellishments share. A share is a good way to get a sample of the new products before committing to purchase full packages of each product. See my New Mini Catalog Product Shares page to get a complete details of the options and their costs, a complete listing of all the products you will be getting, and how to sign up. Let me know if you have any questions.
Stampin’ In The Meadows Online Host Club Starting in January 2020
Starting in January, I am going to start the Stampin’ In The Meadows Online Host club. Club members commit to spending $25 on supplies each month for 6 months, Each club member gets to be the host for a month during the period. See my Online Host Club page for complete details. Contact me if you have questions.
December 16 – 31 Host Code: A99JPHA3
Use this host code when you order $50 or more and receive a free gift from me! The gift is your choice of any item valued up to $10.00 in the 2019-20 Annual Catalog or in the 2019 Holiday Catalog! That includes some of the Host Exclusive stamp sets!
If your order is over $150, please do not use the host code since you’ll receive your own Host Dollars plus I’ll send you the free gift! This host code can be used by anyone, no commitment required. Let me know if you have any questions.
If you need any stamping supplies, I’d be very happy to be your Demonstrator. Just click on the Shop Now button on the right side of the screen to go directly to my online store or contact me if you have any questions. Happy Stamping!
Thanks for stopping by and have a great day!
Akiko
- Visit my online store here
- See the current Stampin’ Up! clearance rack specials here
- Earn FREE Stampin’ Up! products through my Wildflower Frequent Shopper Program – my way of saying thank you to my frequent shopper online customers.
- Sign up for my weekly newsletter here
- Have any questions? I’d be happy to help, click here to contact me.
Cardstock Cuts for this project:
- Poppy Parade – 4 1/4″ x 11″
- Whisper White – (2) 4″ x 5 1/4″
Stampin’ Up! products used in this project:


")


 Cotton Ribbon")


 Metallic Ribbon")


")
")


 Specialty Designer Series Paper")


