Hello! Stampin’ Up! has several exciting new things starting today!
The New Stampin’ Cut & Emboss Machine is Here!
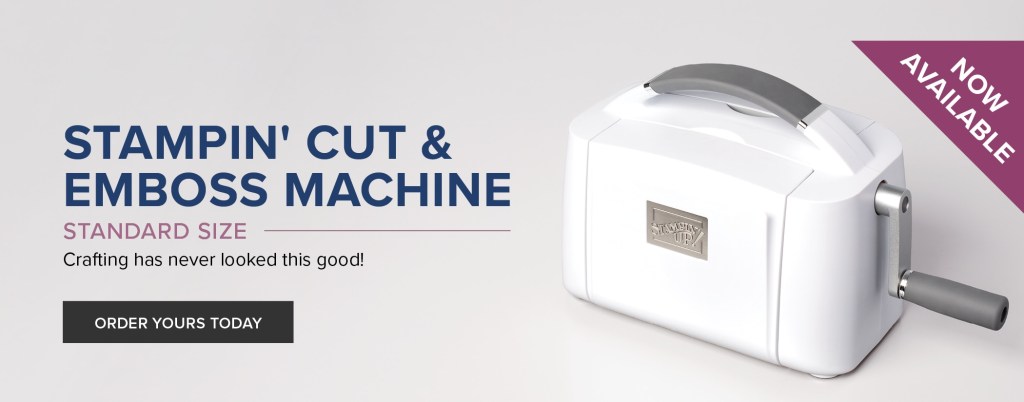
The brand new standard size Stampin’ Cut & Emboss Machine and Magnetic Plate are now available to order! Yay!! The machine has been in development for a while now and is finally ready. Tis is a durable, strong machine that is easy to use and the fold up plates make it simple to store and portable.

The new Stampin’ Cut & Emboss Machine (item 149653) comes with all the plates you need to get started: 1 Base Plate (Plate 1), 1 Die Plate (Plate 2), 2 Cutting Plates (Plate 3), and 1 Specialty Plate (Plate 4).
The new Magnetic Plate (item 150673)is a thin, fully magnetic sheet with a self-healing cutting surface and holds dies securely in place, even nested dies. This slim, portable sheet replaces a Cutting Plate in your sandwich, making it even easier to take with you!
Here’s a video introducing the new Stampin’ Cut & Emboss machine:
Note that the new Mini Stampin’ Cut & Emboss machine will be available later in the year.

Get & Go Starter Kit Joining Promotion
The Get & Go Starter Kit is a limited time promotion meant to give new Stampin’ Up! demonstrators additional products to help your get started right away. In addition to the already great valued Starter Kit, you recruits will receive precut paper, stamps, and embellishments to use in your first event.
Here are the details:
- Promotion Dates: September 1, 2020 – September 30, 2020
- New demonstrators who submit their Independent Demonstrator Agreement (IDA) before 1 September or after 30 September will not be eligible for this promotion.
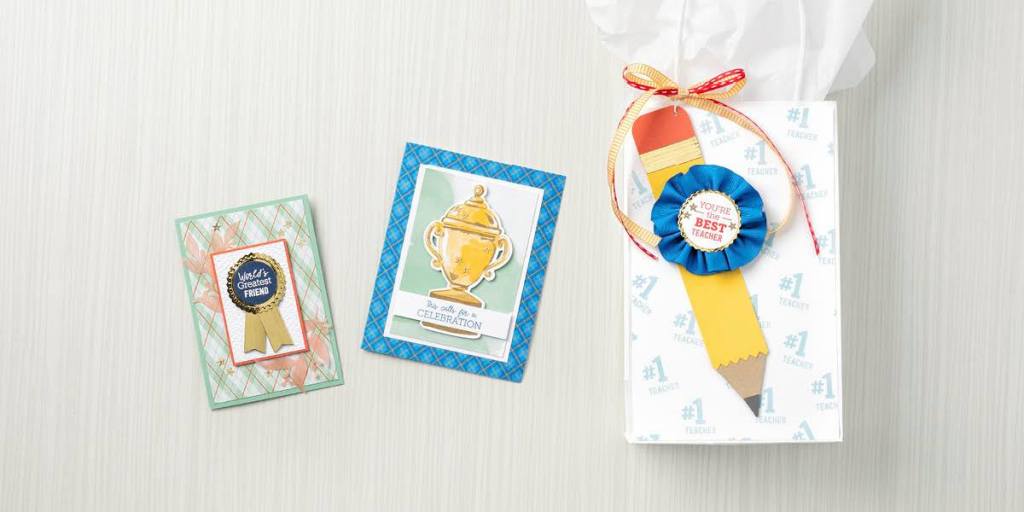
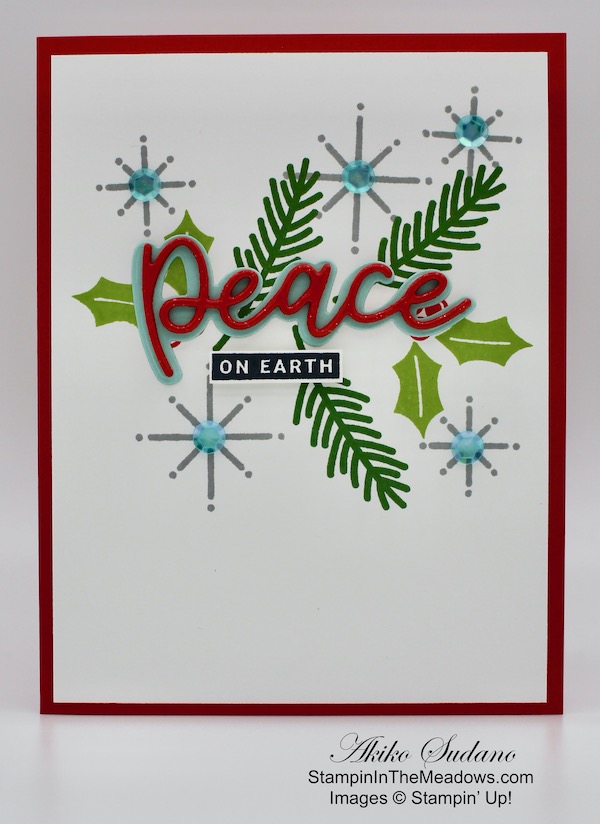
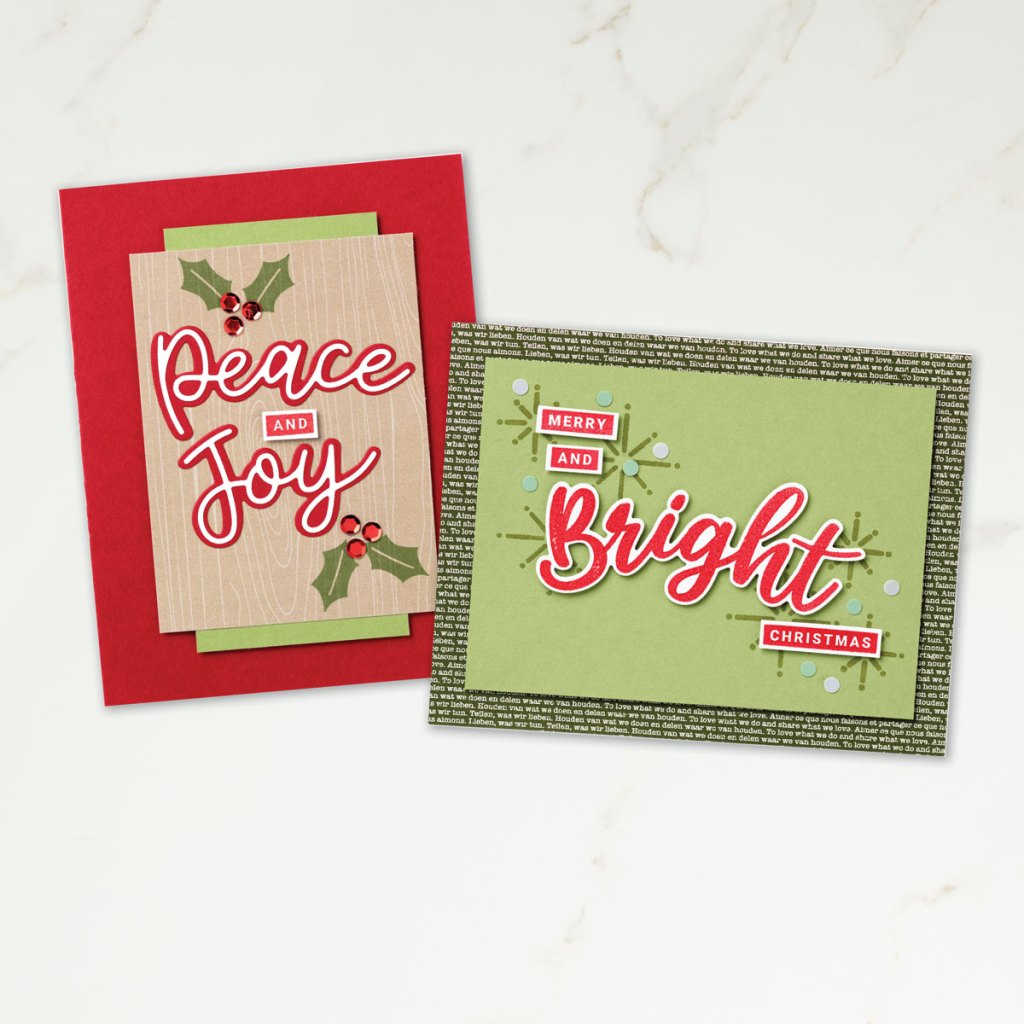
- In addition to the regular starter kit (choose $125 worth of products for $99) you will also receive enough cardstock pieces to make 16 cards, a pack of Rhinestone Basic Jewels, the So Much Love stamp set, and the Queen Anne’s Lace stamp set—all for your first event.
- 8 packs of precut cardstock of the coastal cabana pack will be provided, and 8 packs of precut cardstock of the Granny Apple Green pack, for a total of 16 cards (packs include envelopes). They even provide pictures of sample cards with recipes that you can use for your event. Click here to see the cards and recipes.
- Important note: Ink, adhesive, cutting tool, and clear block for stamping must be purchased separately. However, these products may be included as part of your Starter Kit product selection.
Here are the additional products that you’ll receive:

And the Stampin’ Up! Clearance Rack was Updated with Exciting New Savings!
Be sure to check it out!!

The September Paper Pumpkin Kit Celebrates Fall!
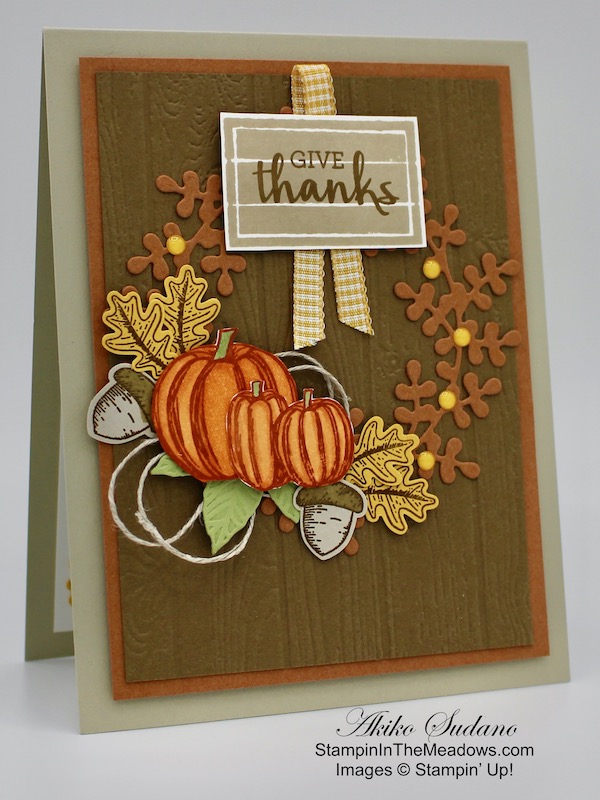
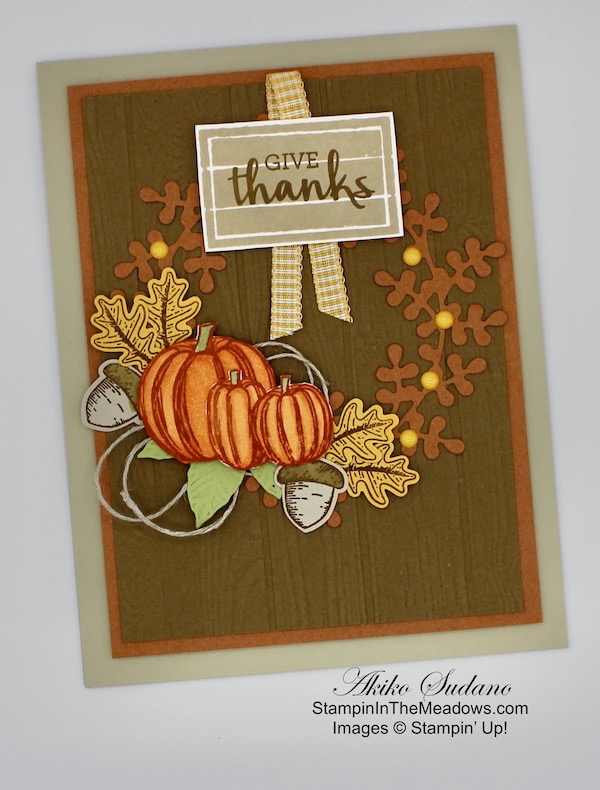
As the autumn season approaches, prepare to celebrate with the September Paper Pumpkin Kit! There’s so much to love about fall—some love the haunts of Halloween, many love the time to give thanks, and others love the changing colors and cooler temperatures. Whatever you love most about fall, September’s kit has everything you need to celebrate the season your way! Between a multi-occasion stamp set and enough supplies to design 20 cracker box treat packages, you can create custom fall crafts to celebrate Halloween, Thanksgiving, pumpkins, and leaves. Whether you make them all the same or mix ‘n’ match your crafts, there’s something for everyone in this kit!
Here are the Details:
- Kit contains enough supplies to create 20 cracker box treat packages.
- Each cracker box treat package can be customized to celebrate Halloween, Thanksgiving, the autumn season, or all three!
Coordinating Colors: Bumblebee, Basic Black, Cajun Craze, Cinnamon Cider, Mossy Meadow, Old Olive, Pumpkin Pie, white
If you’re interested in subscribing to Paper Pumpkin, you can either sign up for a subscription where you are billed monthly for your kit or you can purchase a prepaid subscription in my online store. To see more information and to sign up for the monthly subscription click here. To see the options for prepaid subscriptions in my online store, click here.
Sign up deadline for the September 2020 kit is September 10, 2020. Supplies may be limited toward the end of the subscription period.
September 1 – 15 Host Code: 9UZFD3BH
Use this host code when you order $50 or more and receive a free gift from me! The gift is your choice of any item valued up to $10.00 in the 2020-21 Annual Catalog or the Aug – Dec 2020 Mini Catalog. This includes some of the host exclusive sets!
If your order is over $150, please do not use the host code since you’ll receive your own Host Dollars plus I’ll still send you the free gift! This host code can be used by anyone, no commitment required. Let me know if you have any questions.
If you need any stamping supplies, I’d be very happy to be your Demonstrator. Just click on the Shop Now Button on the right side of the screen to go directly to my Online store or contact me if you have any questions. Happy Stamping!
Thanks for stopping by and have a great day!
Akiko
- Visit my Online store here
- See the current Stampin’ Up! clearance rack specials here
- Earn FREE Stampin’ Up! products through my Wildflower Frequent Shopper Program – my way of saying thank you to my frequent shopper online customers.
- Sign up for my monthly newsletter here
- Have any questions? I’d be happy to help, click here to contact me.


")
")


")


")


")


 Polka Dot Tulle Ribbon")


")


")


 Designer Series Paper")


 Designer Series Paper")


")


