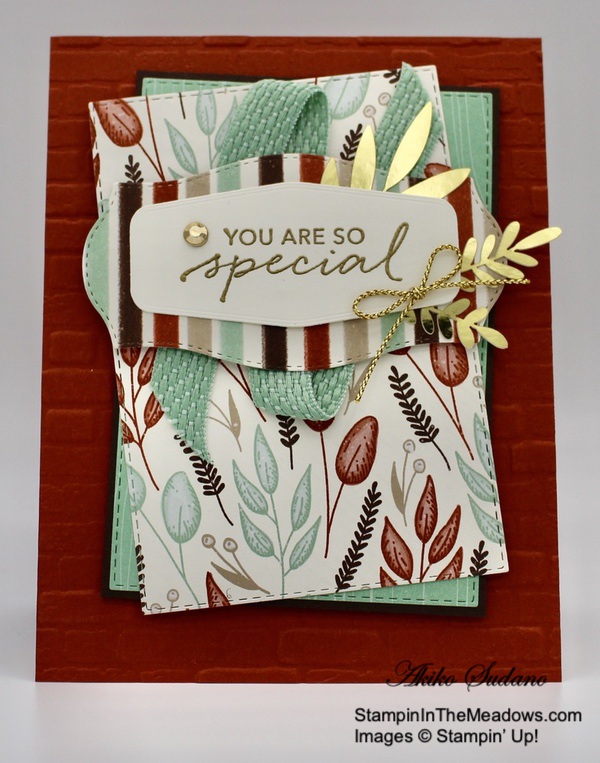
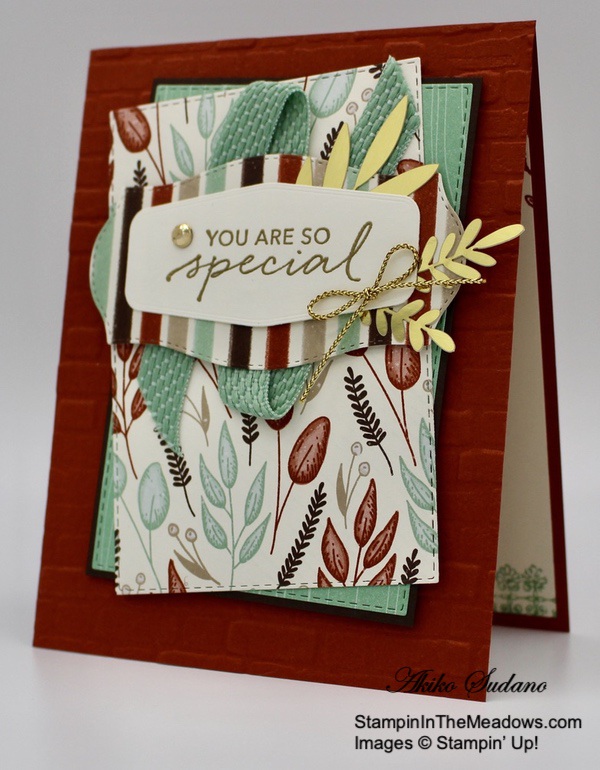
Good Morning! Today I have another Christmas Card made with the beautiful Stampin’ Up! Poinsettia Petals bundles. For this card, I used the petal stamps with the outline dies to give definition to the flower petals and I paired the Poinsettia with the Poinsettia Place designer series paper that has a similar floral pattern. You can find the supplies used to create this card at the bottom of my post along with the sizes of cardstock used.

Adhere the strip of wood grain Poinsettia Place DSP to the floral DSP and adhere them both to a Soft Suede mat. Pop it on the front of a Thick Whisper White card base. Stamp the sentiment from the Stampin’ Up! Poinsettia Petals photopolymer stamp set in Soft Suede ink and trim the end with the Banners Pick A Punch. Adhere the label to the bottom of the card
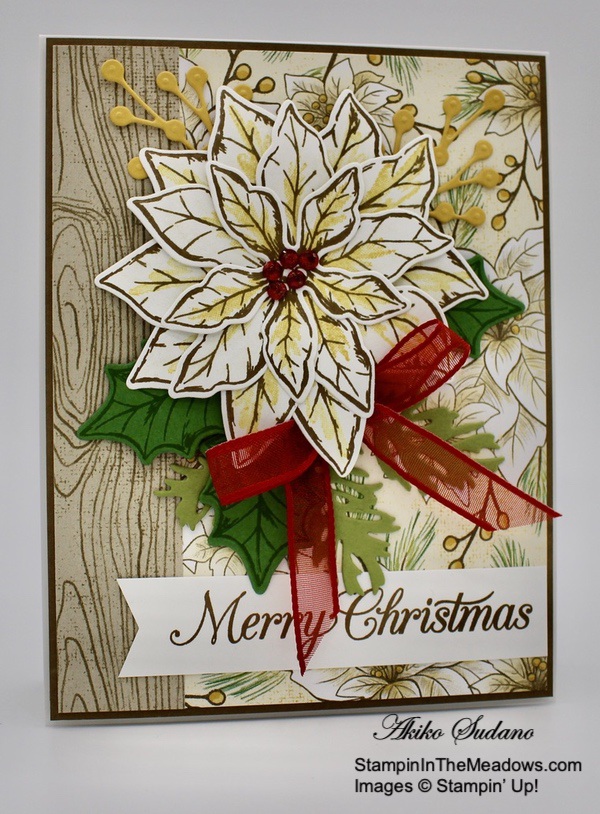
Cut the medium pine bough from Old Olive card stock using the Beautiful Boughs Dies and adhere the bough to the card. Stamp three leaves from the Stampin’ Up! Poinsettia Petals stamp set in Garden Green ink on Garden Green card stock and cut them out with the coordinating die. Stamp two berry branches from Bumblebee card stock using the Poinsettia Dies and adhere them to the card front.
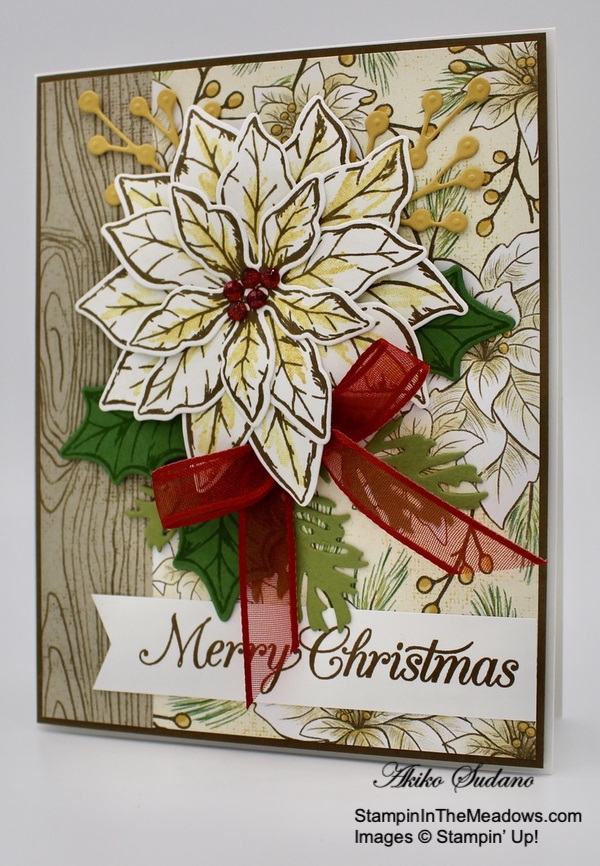
Stamp two of the large poinsettia petal clusters and one each of the small and medium cluster from he Stampin’ Up! Poinsettia Petals stamp set in Soft Suede ink on Whisper White. Stamp the inside accents in Bumblebee ink. Cut each cluster out with the coordinating die. Gently curl the petals down with your bone folder and adhere them together, with the smallest on top. Brush clear Wink of Stella on the petals to add some sparkle. Adhere the flower to the card front with glue dots. Accent the center with red Wonderful Gems. Make a Real Red bow and adhere it to the card, tucking it under the flower.
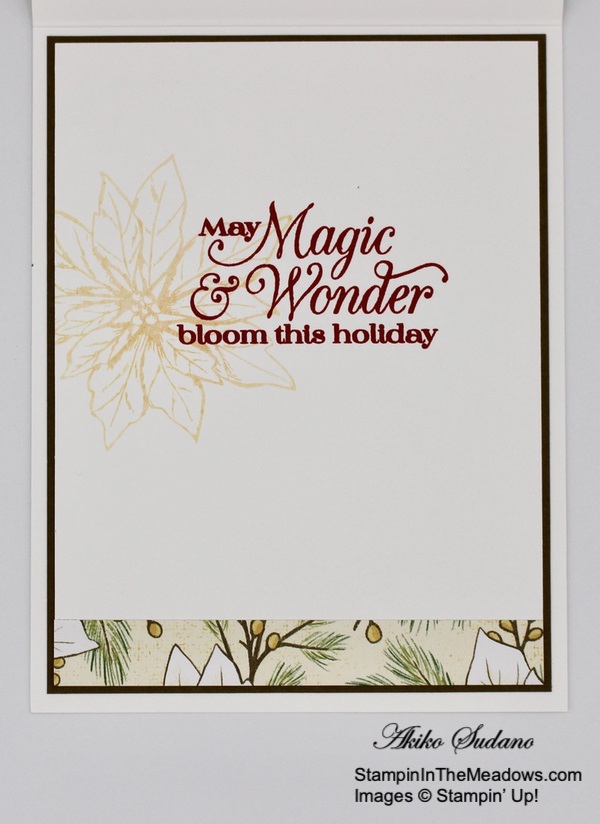
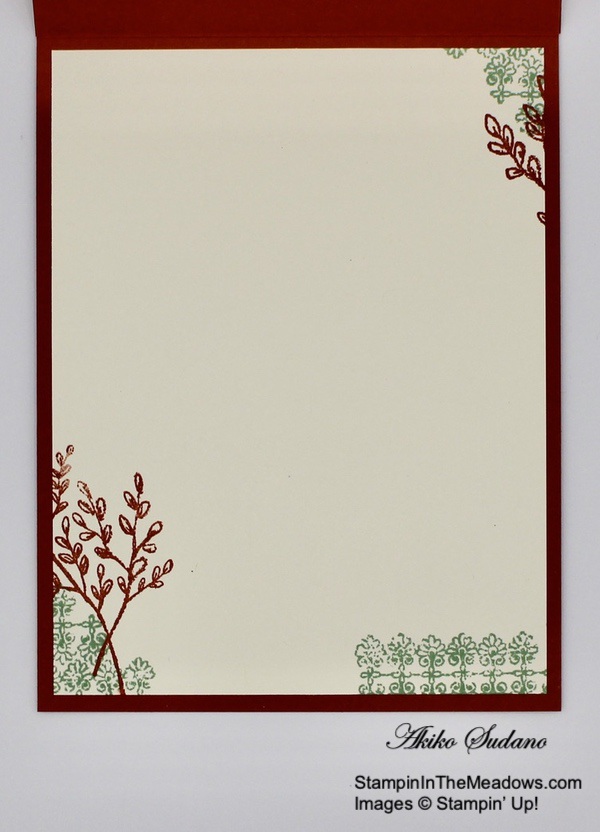
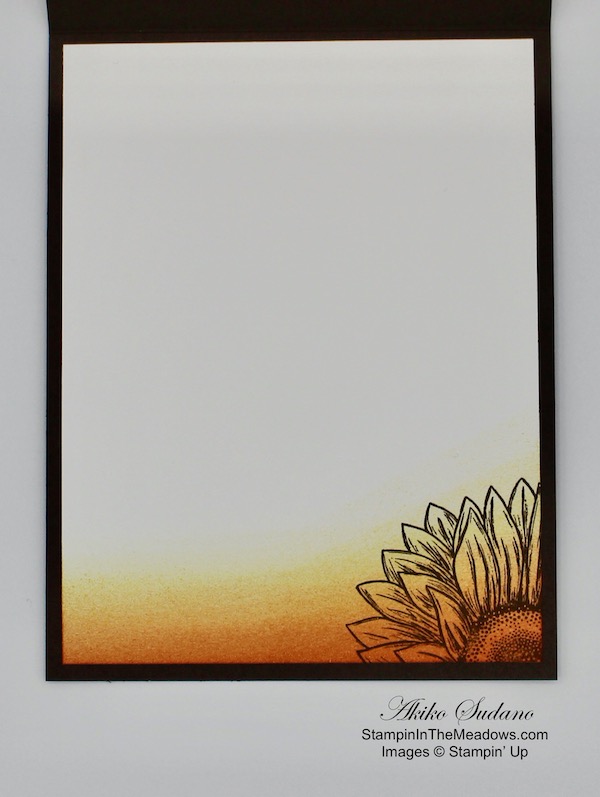
Stamp the sentiment from the Stampin’ Up! Poinsettia Petals in Real Red ink on a Whisper White panel. Stamp the Poinsettia flower next to the sentiment in Bumblebee ink and adhere a strip of floral Poinsettia Place DSP to the bottom. Adhere the panel to a Soft Suede mat and adhere it all to the inside of the card.

I’ve made a few other cards with this beautiful flower, but this is the first one that I have stamped. And this is the first one that I have paired with the beautiful Poinsettia Place DSP which is one of the DSP paper packs that is currently on sale at a 15% discount – YAY!!. Click on the picture below to check out the details of this beautiful bundle in my Online Store.

And click on the picture below to get a good look at all the beautiful papers in the Poinsettia Place designer series paper pack in my Online Store.

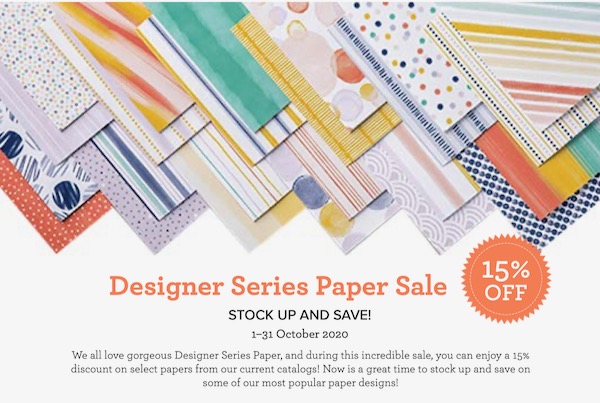
Stampin’ Up! Designer Series Paper Sale Going on Now!
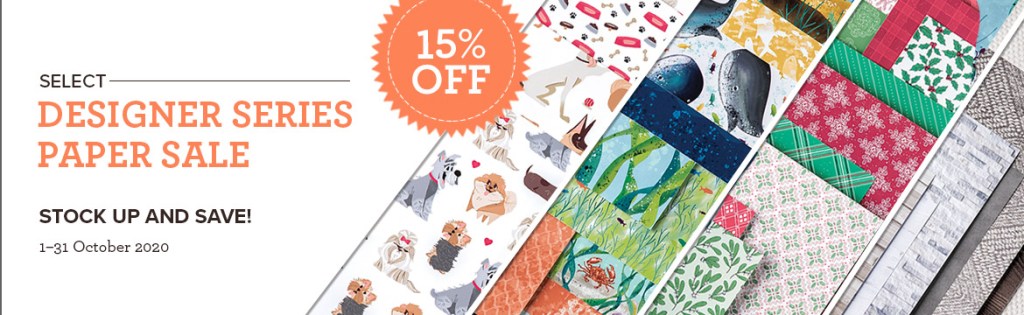
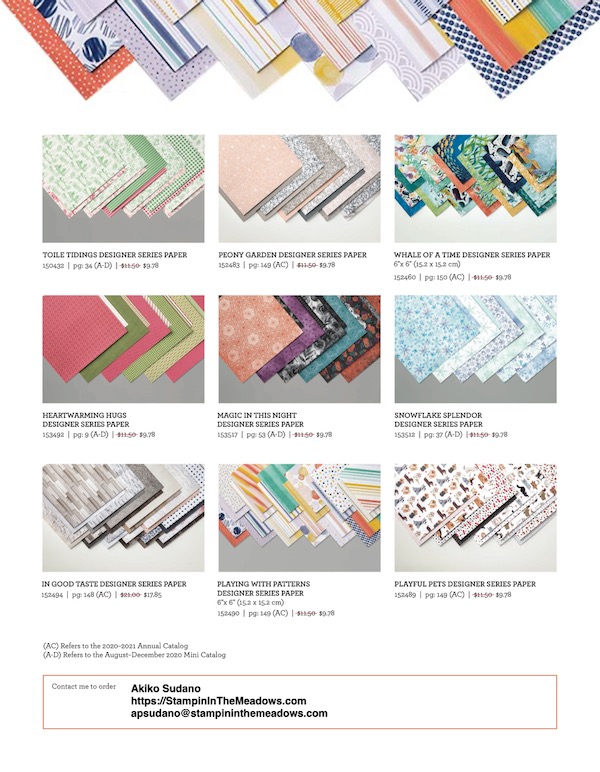
Stampin’ Up! has beautiful Designer Series Paper and during the Month of October they’re putting a select list of those on sale with a 15% discount! This is a fantastic opportunity for you to stock up and save on paper. And the sale includes some of the designs from the August-December 2020 Mini Catalog too! Get the details on my Promotion Page or click on the image above to download a printable PDF with all the selections.
October 1-15 Host Code: F4UK7V36
Use this host code when you order $50 or more and receive a free gift from me! The gift is your choice of any item valued up to $10.00 in the 2020-21 Annual Catalog or the Aug – Dec 2020 Mini Catalog. This includes some of the host exclusive sets!
If your order is over $150, please do not use the host code since you’ll receive your own Host Dollars plus I’ll still send you the free gift! This host code can be used by anyone, no commitment required. Let me know if you have any questions.
If you need any stamping supplies, I’d be very happy to be your Demonstrator. Just click on the Shop Now Button on the right side of the screen to go directly to my Online store or contact me if you have any questions. Happy Stamping!
Thanks for stopping by and have a great day!
Akiko
- Visit my Online store here
- See the current Stampin’ Up! clearance rack specials here
- Earn FREE Stampin’ Up! products through my Wildflower Frequent Shopper Program – my way of saying thank you to my frequent shopper online customers.
- Sign up for my monthly newsletter here
- Have any questions? I’d be happy to help, click here to contact me.
Cardstock Cuts for this project:
- Thick Whisper White – 4-1/4″ x 11″ card base scored at 5-1/2″
- Soft Suede – 4-1/8″ x 5-3/8″ (front mat), 4″ x 5-1/4″ (inside mat)
- Old Olive – 2-1/4″ x 3″ (pine bough die cut)
- Garden Green – 1-1/2″ x 7″ (die cut leaves)
- Bumblebee – 2-1/2″ x 2-1/2″ (berry sprigs)
- Whisper White – 3-7/8″ x 5-1/8″ (inside panel), 5-1/2” x 6” (poinsettia petals), 3/4″ x 3-3/4″ (label)
- Poinsettia Place DSP – 4″ x 5-1/4″ (front background), 1″ x 5-1/4″ (wood grain side trim), 1/2″ x 3-7/8″ (inside trim)
Stampin’ Up! products used in this project:
")


 Sheer Ribbon")


")


")


 Designer Series Paper")


")
")


 Designer Series Paper")


")


")
")

 Designer Series Paper")


