
Silver Bells, Silver Bells!!
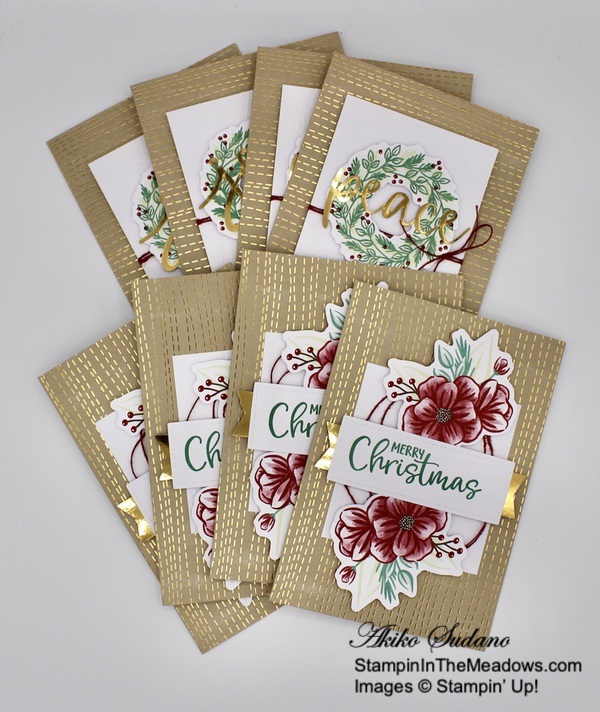
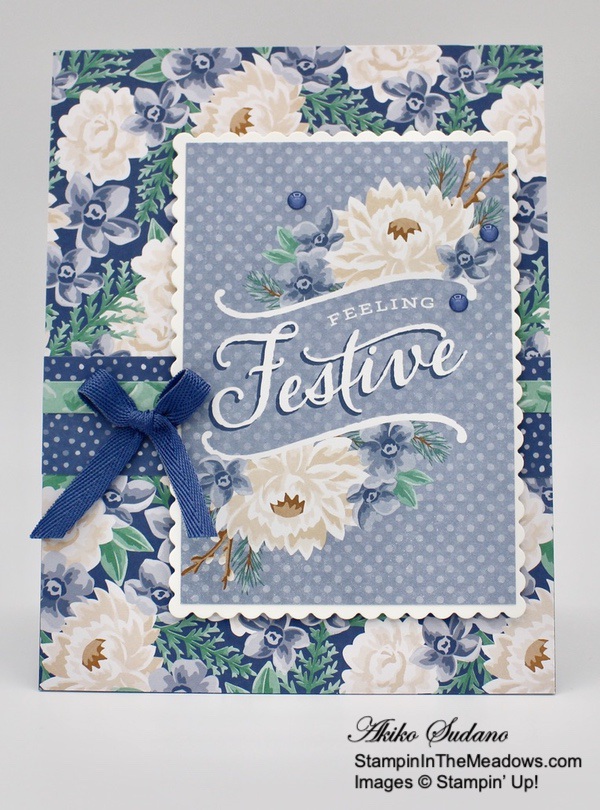
Hello and welcome to the Happy Inkin’ Thursday Blog Hop! I’m finally getting to make the Silver Bells from the Stampin’ Up! Cherish The Season bundle! These jingle bells are so pretty and really make a Christmas card cheerful! You can find the supplies used to create this card at the bottom of my post along with the sizes of cardstock used.

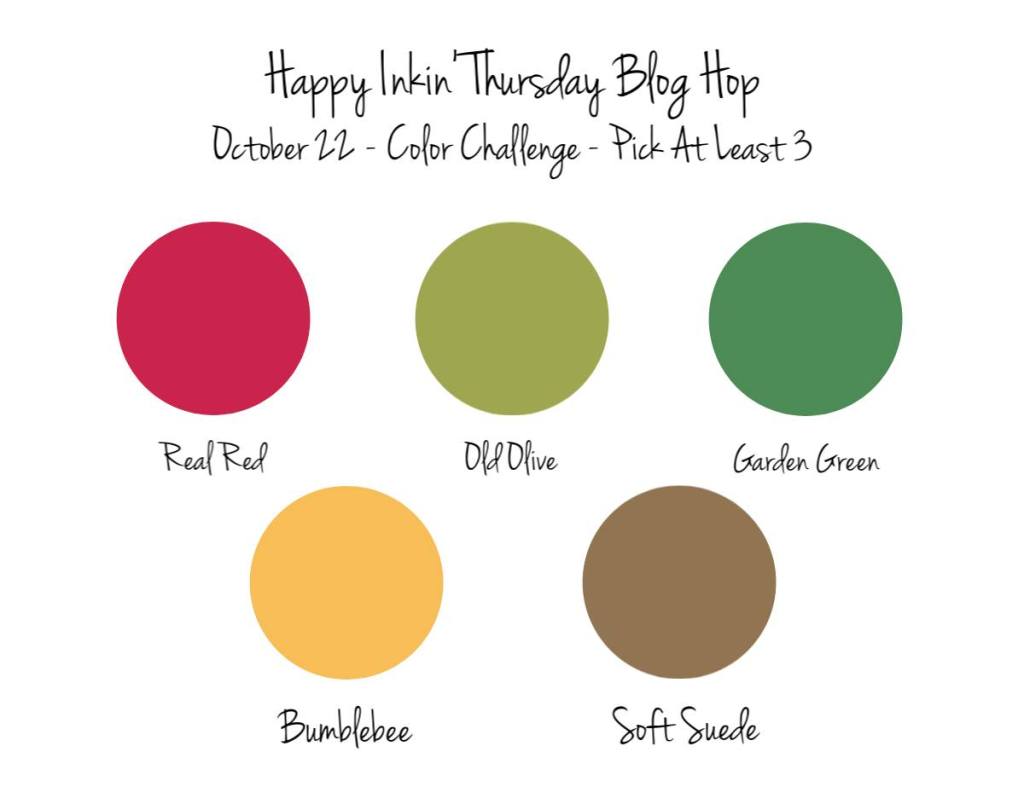
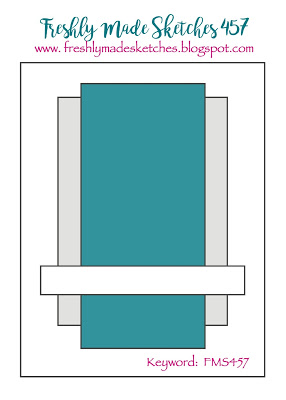
We have a sketch challenge this week, and here is the sketch we are using for our projects:

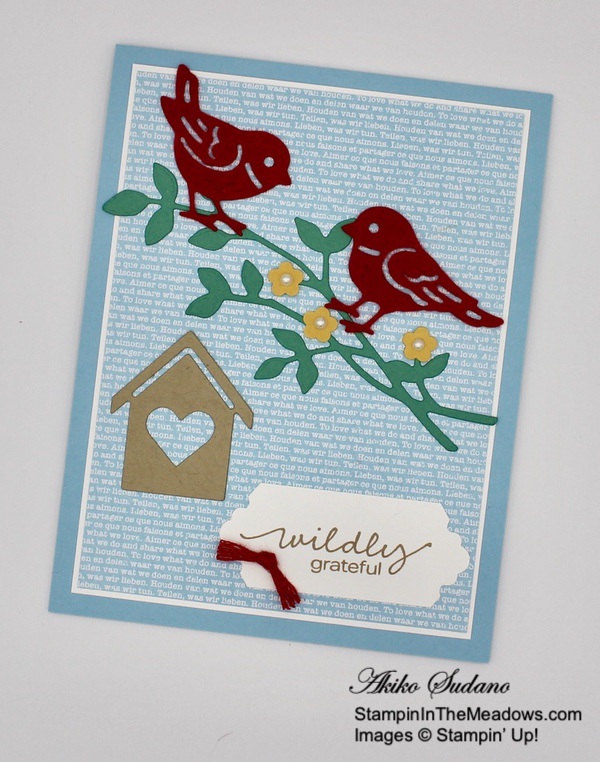
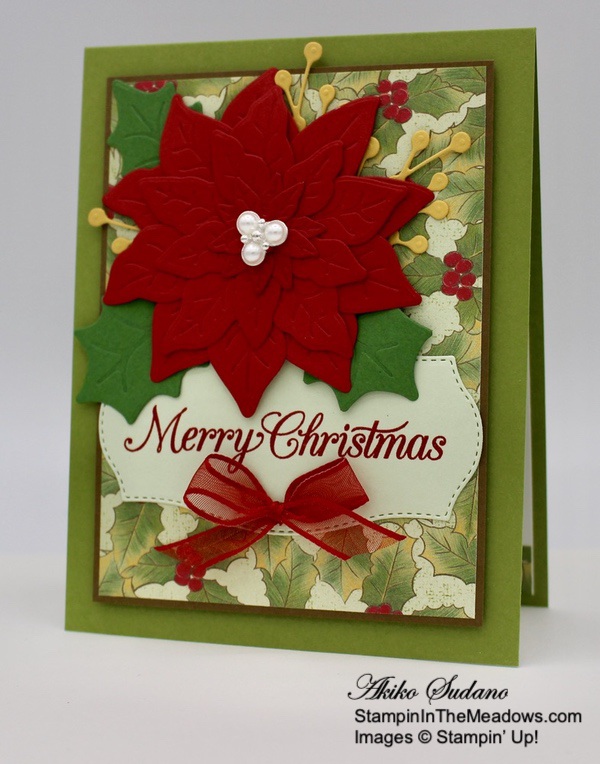
Adhere a panel of the holly ‘Tis The Season 6″ x 6″ designer series paper to the front of A Thick Whisper White card base. Use the Triple Banner punch to make a banner tail on the Shaded Spruce plaid ‘Tis The Season DSP panel and adhere it to the card front.

Cut a Real Red panel with a scalloped rectangle from the Stitched So Sweetly Dies. Adhere a red panel of the ‘Tis The Season DSP to the center. Cut out the two largest jingle bells from the Sounds of the Season Dies in the Stampin’ Up! Cherish the Season bundle from Silver Foil. Cut out the corresponding seam covers from Silver Foil and adhere them to the bells. I placed a piece of scotch tape behind the bells to keep the holly die cuts from falling out. Cut three of the large pine sprigs from Just Jade card stock and adhere them together with liquid glue. Adhere the sprigs to the scalloped rectangle with liquid glue. Adhere the bells using liquid glue for the small bell and dimensionals for the large bell.

Stamp the sentiment from the Itty Bitty Christmas stamp set in Real Red ink on the strip of Whisper White. Trim the end and adhere it to the scalloped rectangle with liquid glue. Adhere a Real Red braided linen trim bow to the bells with a glue dot.

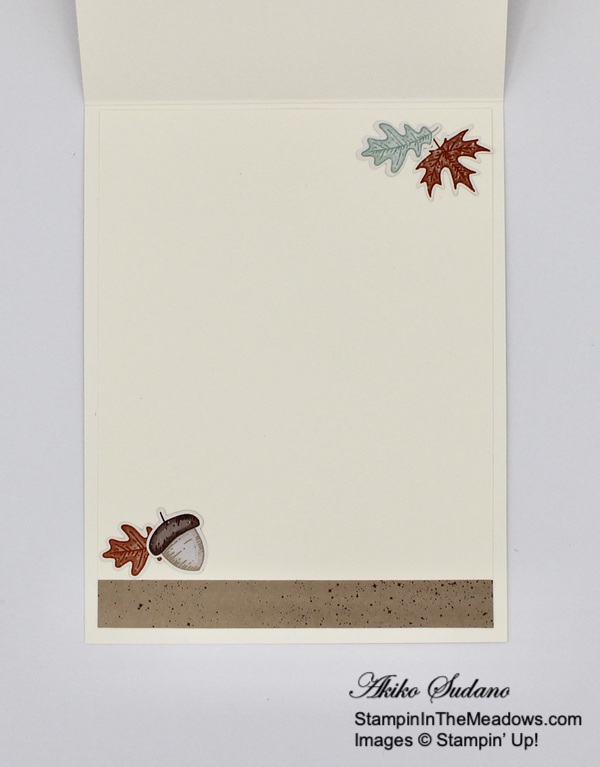
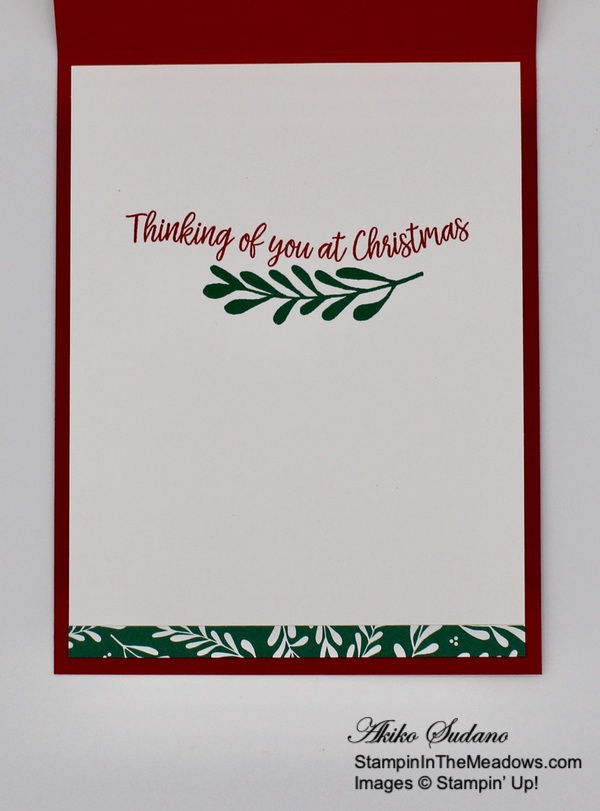
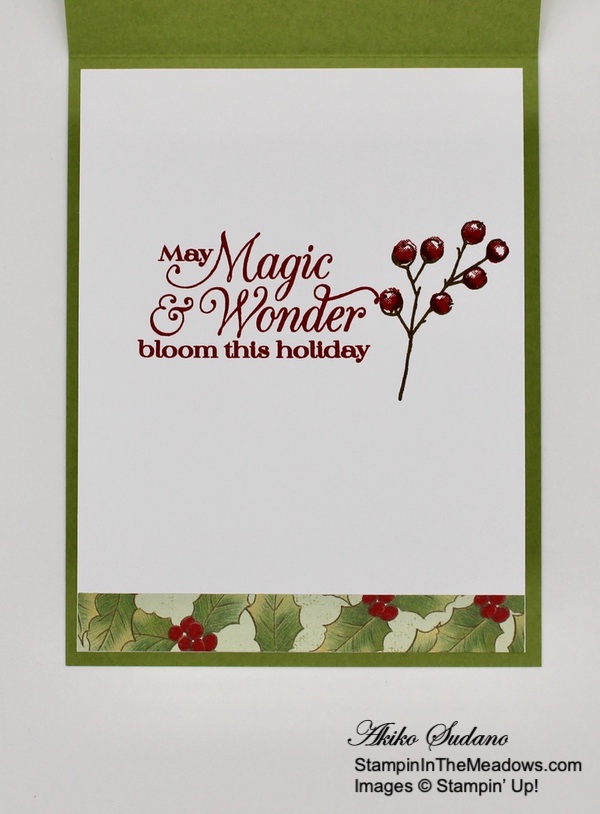
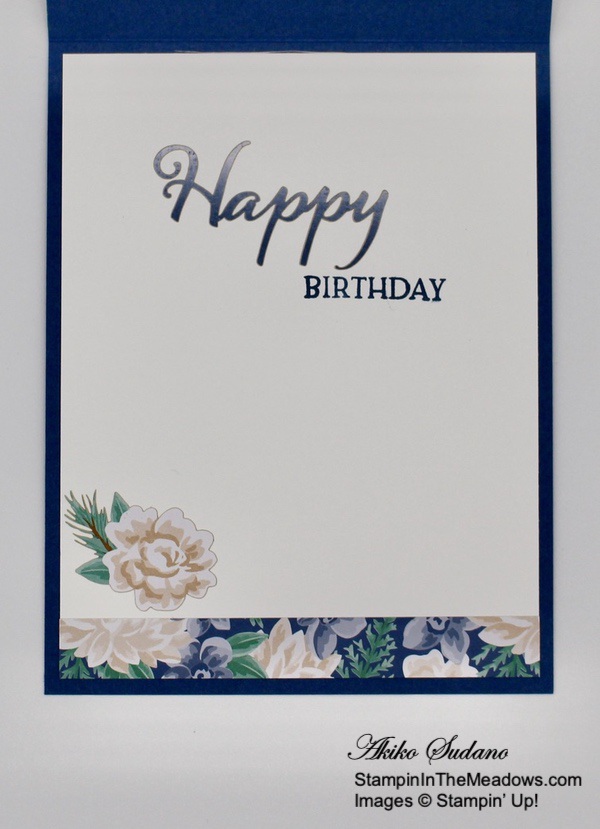
Stamp the sentiment from the Dove of Peace stamp set in Real Red ink on a Whisper White panel. Adhere a strip of the holly Tis The Season DSP to the bottom and a holly sticker from the Wonder of the Season Memories and More card pack to the top. Adhere the panel to a Real Red mat and then to the inside of the card with Stampin’ Seal.
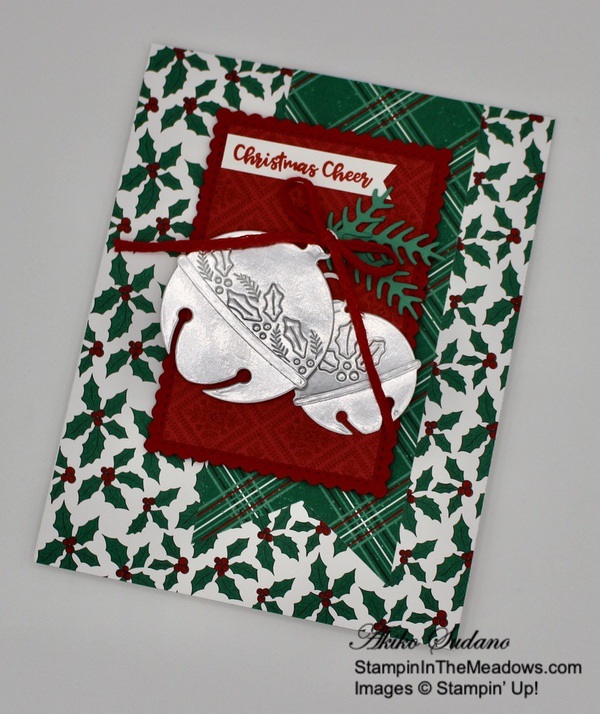
The Stampin’ Up! Cherish The Season stamp set is one of my favorites from the August – December 2020 Mini Catalog, and I’m so glad to use the pretty jingle bells. I can hear them now, and it really puts me in the mood for Christmas!
On with the Hop! Click the Next button below to visit Karen Ksenzakovic’s blog.

And just in case you get lost along the way, here’s a list of the team members participating in the hop today:
- Amy Koenders
- Mary Deatherage
- Kristi Gray
- Jaimie Babarczy
- Sue Prather
- Karen Finkle
- Akiko Sudano <– you are here
- Karen Ksenzakovic
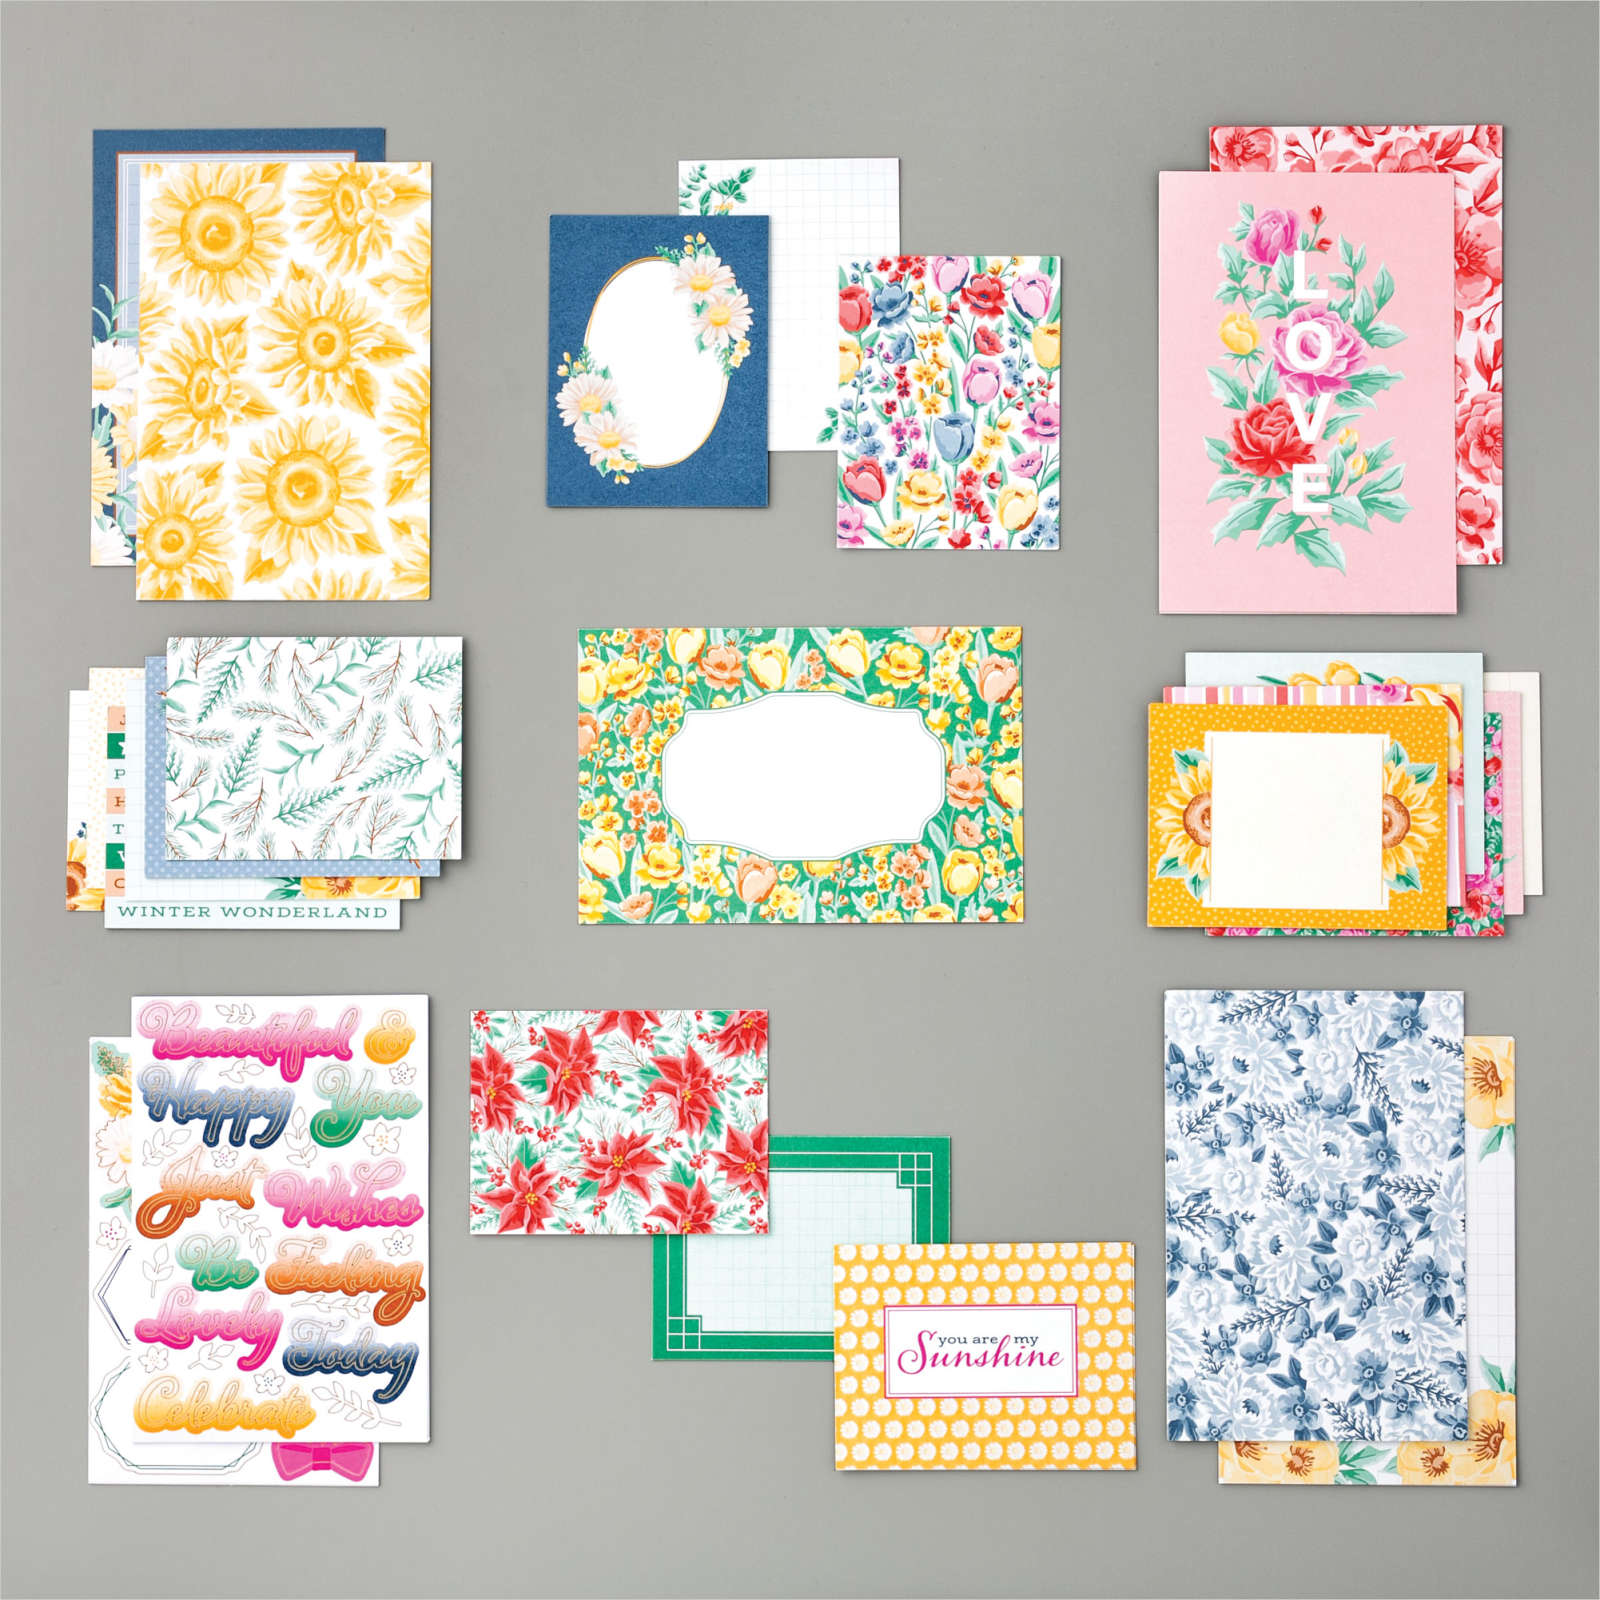
Stampin’ Up! Designer Series Paper Sale Ending Soon!
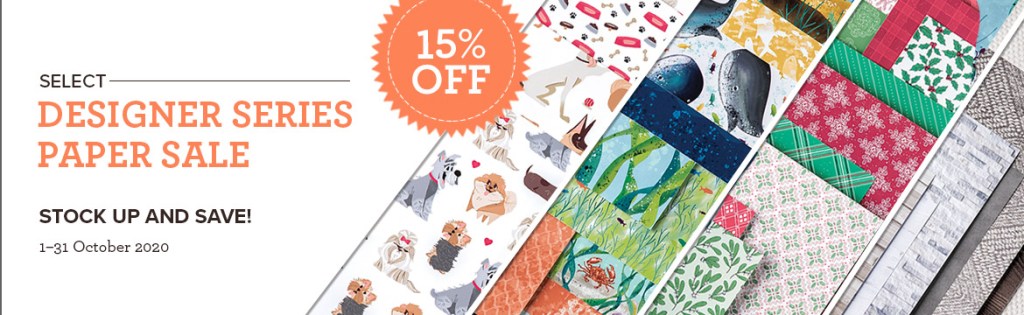
Stampin’ Up! has beautiful Designer Series Paper and during the Month of October they’re putting a select list of those on sale with a 15% discount! This is a fantastic opportunity for you to stock up and save on paper. And the sale includes some of the designs from the August-December 2020 Mini Catalog too! Get the full details on my Promotion Page or click on the image above to download a printable PDF with all the selections. Click Here to shop the Designer Series Paper Sale in My Online Store now! But Hurry – the sale ends on Saturday!
October 16-31 Host Code: 3VJWYCTP
Use this host code when you order $50 or more and receive a free gift from me! The gift is your choice of any item valued up to $10.00 in the 2019-20 Annual Catalog or in the 2020 January-June Mini Catalog! That includes some of the Host Exclusive stamp sets!
If your order is over $150, please do not use the host code since you’ll receive your own Host Dollars plus I’ll still send you the free gift! This host code can be used by anyone, no commitment required. Let me know if you have any questions.
If you need any stamping supplies, I’d be very happy to be your Demonstrator. Just click on the Shop Now Button on the right side of the screen to go directly to my online store or contact me if you have any questions. Happy Stamping!
Thanks for visiting!
Akiko
- Visit my online store here
- See the current Stampin’ Up! clearance rack specials here
- Earn FREE Stampin’ Up! products through my Wildflower Frequent Shopper Program – my way of saying thank you to my frequent shopper online customers.
- Sign up for my weekly newsletter here
- Have any questions? I’d be happy to help, click here to contact me.
Cardstock Cuts for this project:
- Thick Whisper white – 4-1/4″ x 11″ card base scored at 5-1/2″
- Real Red – 2-5/8″ x 3-3/4″ (scalloped rectangle die cut), 4″ x 5-1/4″ (inside mat)
- Just Jade – 1-1/2″ x 2-1/4″ (die cut pine sprigs)
- Silver Foil – 2″ x 3″ (die cut jingle bells)
- Whisper White – 3-7/8″ x 5-1/8″ (inside panel), 3/8″ x 2 (label)
- ‘Tis The Season DSP – 4-1/4″ x 5-1/2″ (front background), 2-1/8″ x 3-5/16″ (jingle bell background), 2″ x 5″ (plaid banner), 1/2″ x 3-7/8″ (inside trim)
- Wonder of the Season Memories & More card pack – holly sticker
Stampin’ Up! products used in this project:

")
")


 Designer Series Paper")


 Braided Linen Trim")


 2020–2022 In Color Ribbon")


")


")


 Designer Series Paper")


")


 Sheer Ribbon")


 Designer Series Paper")


")

 Designer Series Paper")


