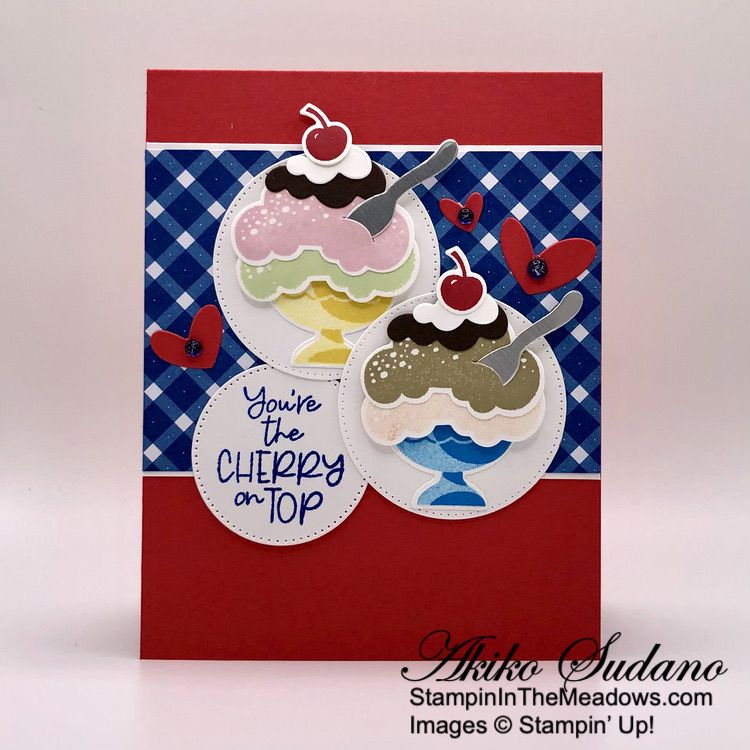
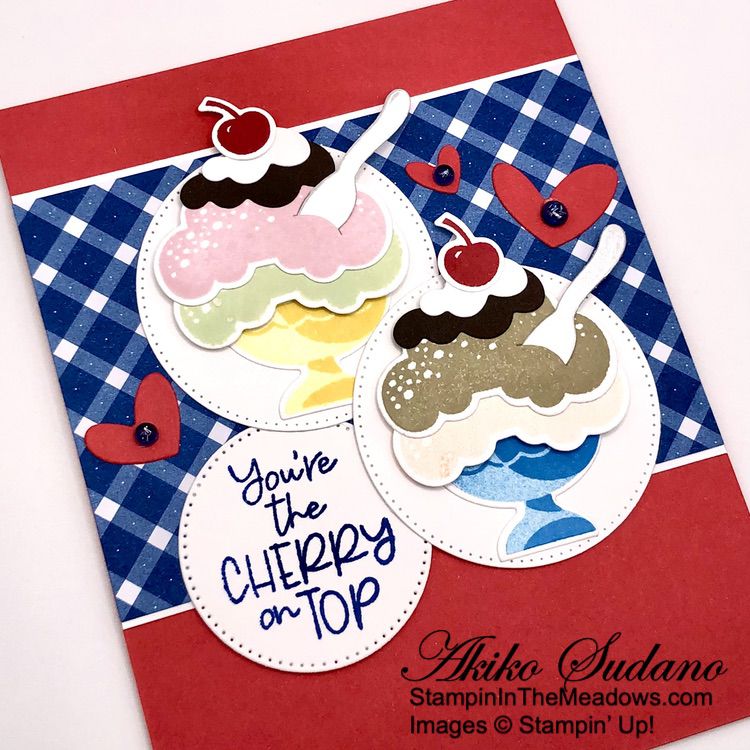
Good Morning! Tomorrow is Independence Day and while I did not make a patriotic card to celebrate, I used the wonderful Stampin’ Up! Share A Milkshake photopolymer stamp set and dies to make a card with ice cream – the perfect thing for a hot 4th of July afternoon! You can find the supplies I used at the bottom of my post along with the sizes of cardstock used.
This is the card I made for my Facebook Live yesterday afternoon and you can watch the video on my Facebook page HERE. I also posted it to my YouTube Channel and you can view it HERE.
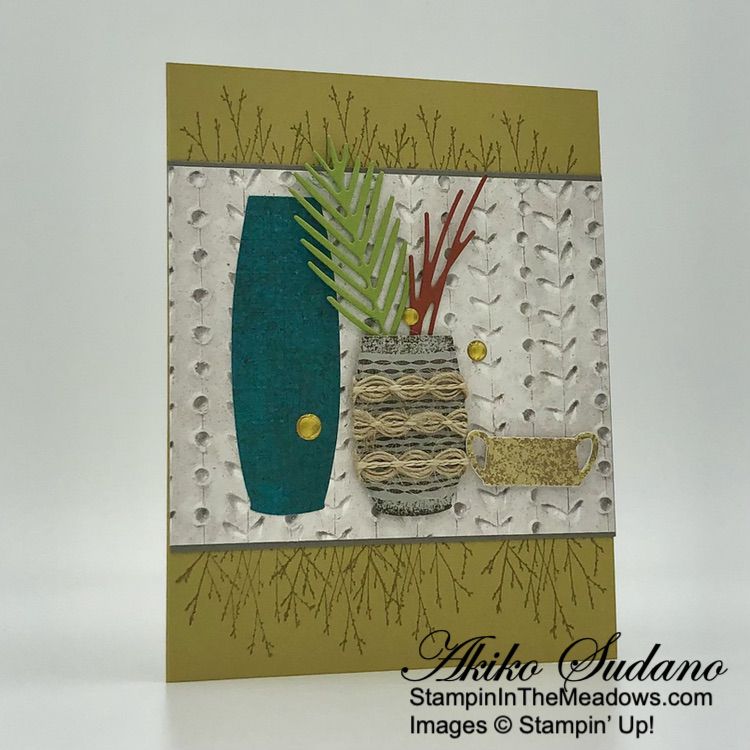
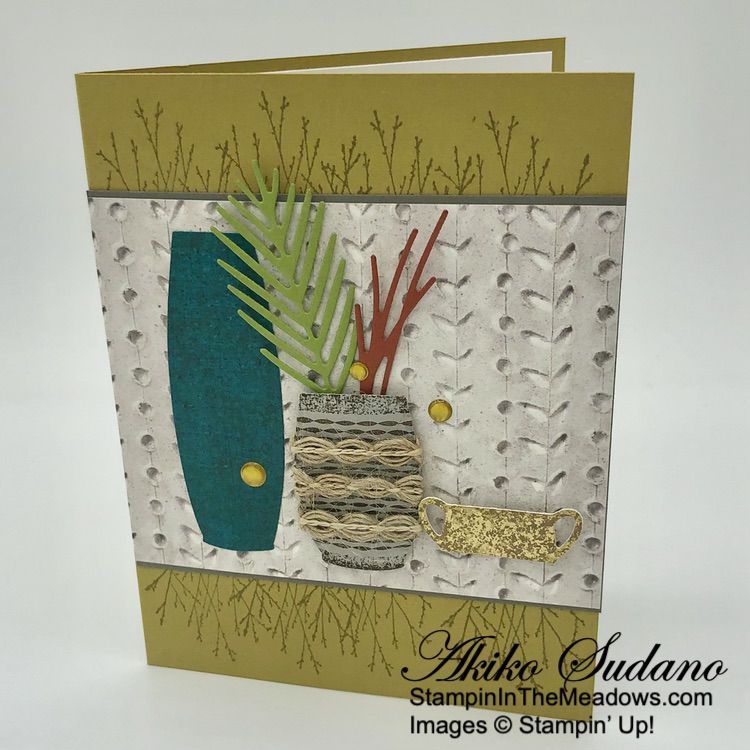
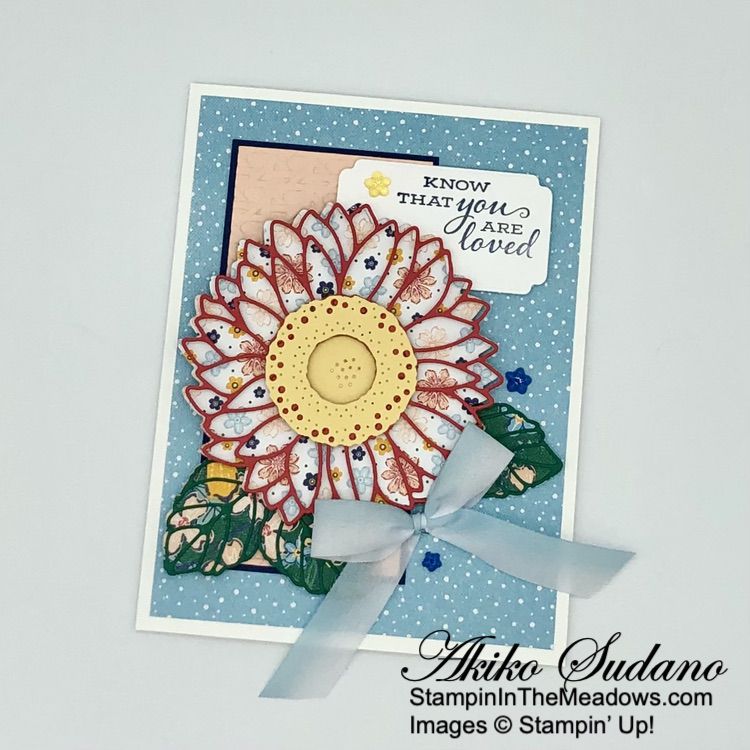
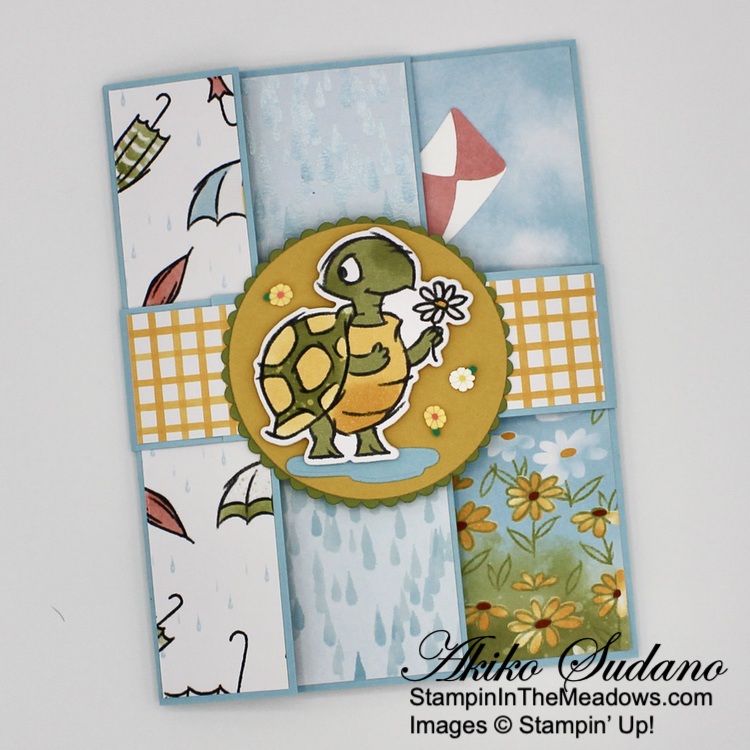
I adhered a panel of Blueberry Bushel Glorious Gingham 6″ x 6″ designer series paper to a Basic White mat and then to the front of a Sweet Sorbet card base with liquid glue. I two circles using the Stylish Shapes dies for my ice cream dishes. I stamped two ice cream dishes using the Stampin’ Up! Share A Milkshake stamp set in Daffodil Delight and Azure Afternoon on Basic White. I stamped the detailed stamp using full strength ink and stamped off before stamping the filler stamp. I cut them out with the coordinating dies and adhered them to the die cut circles with liquid glue.
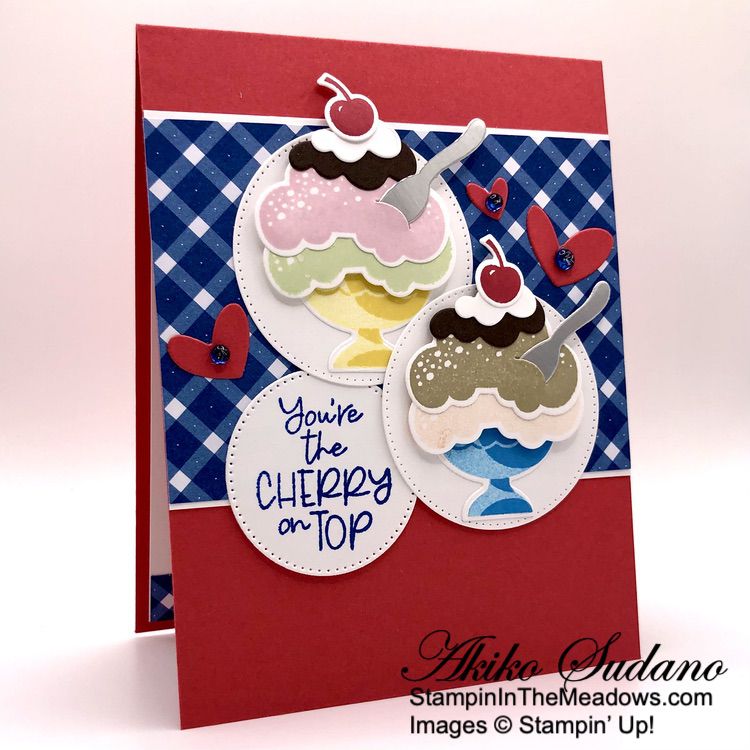
I cut two spoons from silver foil, two fudge shapes from Early Espresso and two whipped creams from Basic white. I stamped the large ice cream stamp from the Stampin’ Up! Share A Milkshake stamp set in Crumb Cake, Bubble Bath, Soft Sea Foam and stamped off Petal Pink and cut them out with the coordinating die. I adhered two ice cream scoops together with liquid glue and topped it off with a die cut fudge and whipped cream. I slipped a die cut spoon into the slot, adhering it with liquid glue. I repeated the process for the second ice cream and stamped two cherries in Real Red. I cut them out, adhered them to the top of the ice creams. I adhered ice creams to the die cut circles on top of the dishes with dimensionals.
Ii stamped the sentiment from the Stampin’ Up! Share A Milkshake stamp set in Blueberry Bushel ink on Basic White. I cut it out with a Stylish Shapes circle and adhered it to the card front with liquid glue. I adhered the ice cream circles to the card front with liquid glue. I used the heart dies to cut some hearts and adhered them with tinsel gems and liquid glue.
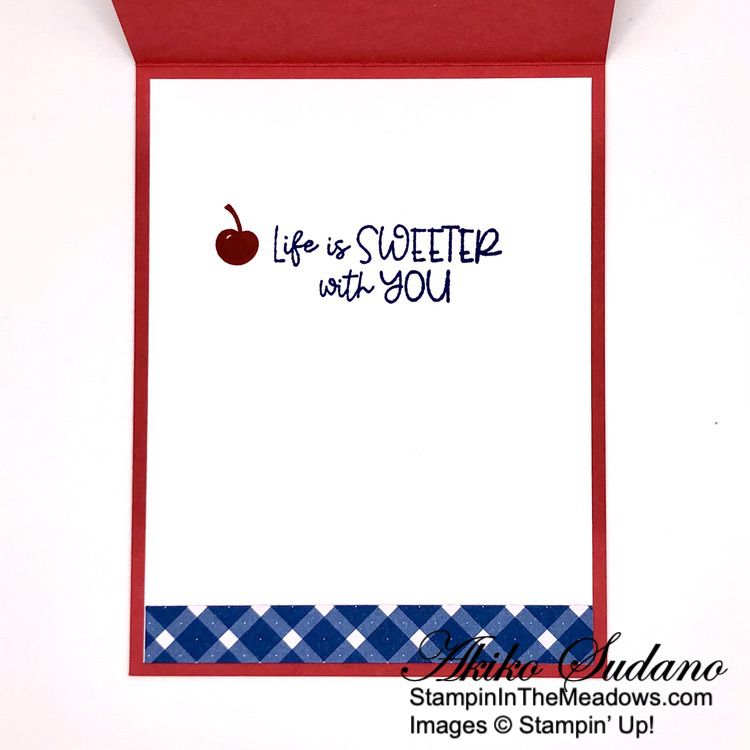
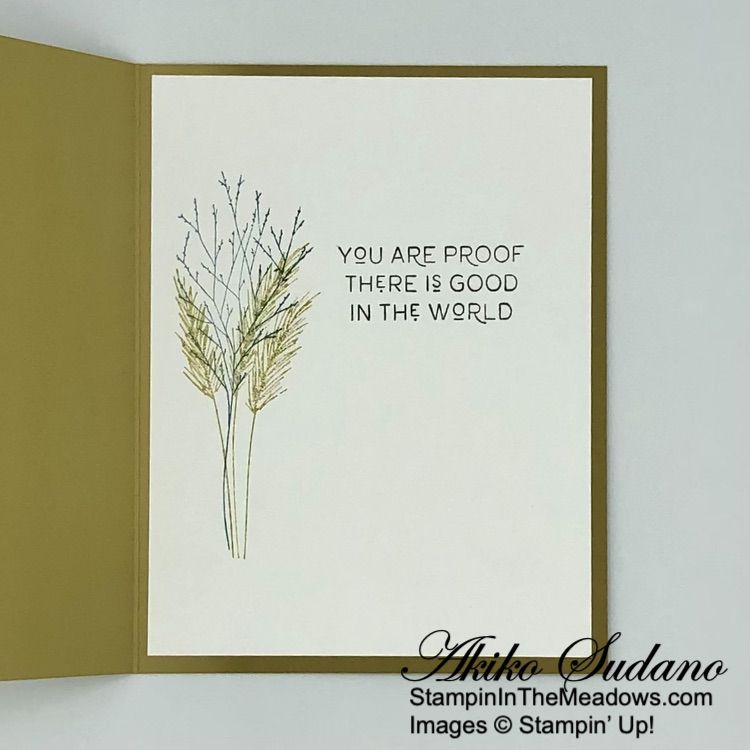
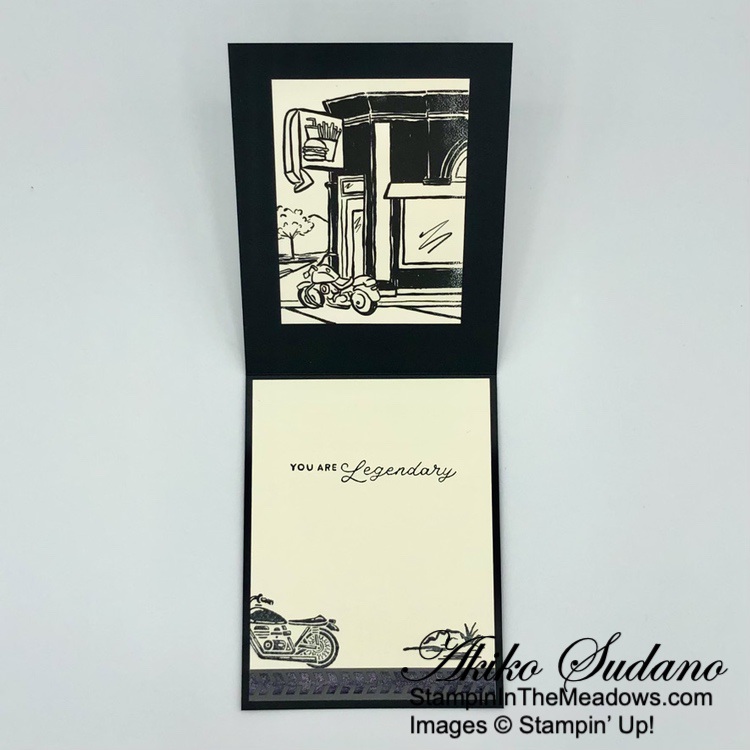
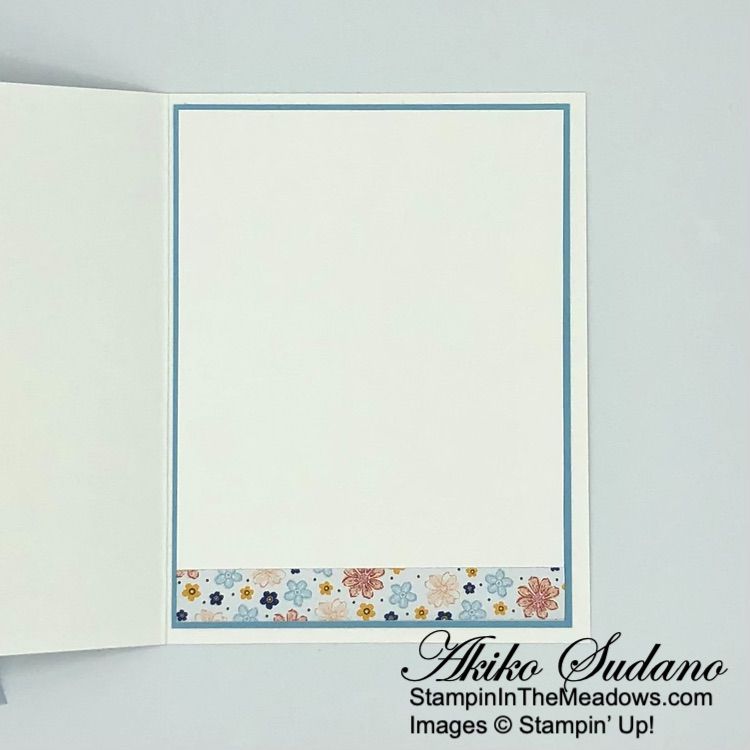
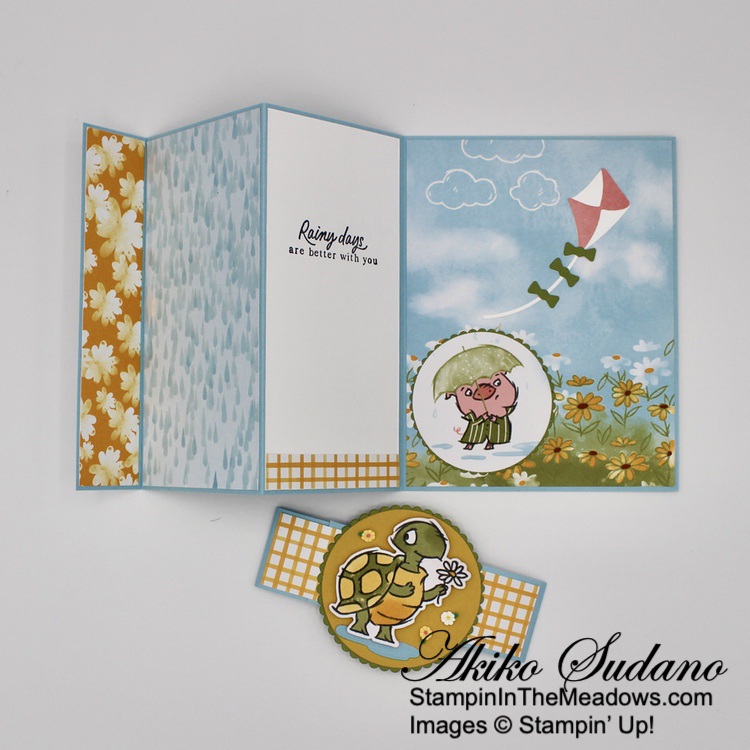
For the inside of the card, I stamped the sentiment from the Stampin’ Up! Share A Milkshake stamp set in Blueberry Bushel on a Basic White panel. I stamped a cherry next to the sentiment in Real Red ink and trimmed the bottom with a strip of Glorious Gingham DSP. I adhered the panel to the inside of the card with Stampin’ Seal.
The Stampin’ Up! Share A Milkshake stamp set and dies are perfect for celebrating any occasion in the Summer. Or just celebrating the wonderfulness of ice cream!
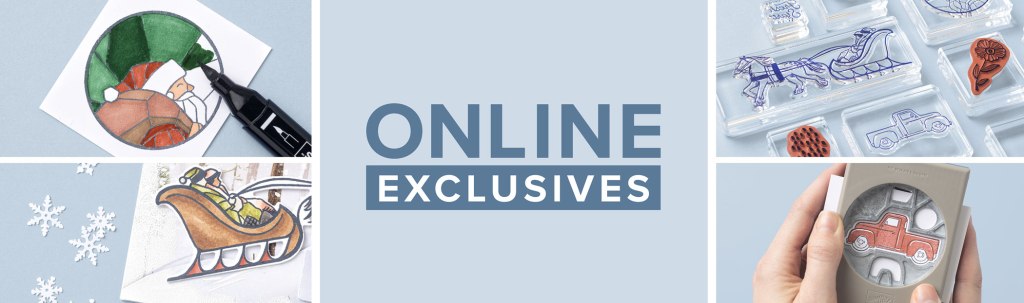
Exclusives Available July 6, 2023!
A new drop of Online Exclusives products will be available on July 6, 2023 with fresh, never-before-seen products to spark your creativity and expand your collection! And this drop will include some new Christmas products to help jumpstart holiday crafting!

Bonus Days Starts July 6, 2023!
Stampin’ Up! is bringing back a favorite promotion—BONUS DAYS! Because do you know what’s a great deal? Getting rewarded for all the crafting supplies you’re already going to buy! When you shop between July 6 – July 31, 2023 and spend $50, you will earn a $5 coupon! Make sure you save all your coupons because you can redeem them (and we mean ALL of them) between August 1 – August 31, 2023. There’s no limit to how many coupons you can earn!
Promotion Details:
Earning Period: July 6, 2023 – July 31, 2023
- Earn a $5 coupon for every $50 spent (before shipping and tax).
- All coupon codes will be emailed right after a qualifying purchase has been made.
- If you earn multiple codes from a single order, you will receive one email with multiple codes. If you earn multiple codes from multiple orders, you will receive separate emails for each code earned.
- All order types qualify for this promotion.
- Orders that are started before the promotion begins will not count toward earning coupon codes. For example, if you add items to your cart before 6 July and wait to purchase until that date or later, then those items will not qualify towards earning coupons. You must add items to your cart and complete your purchase during the earning period.
- There is no limit to the number of coupon codes participants can earn per order or throughout the duration of the earning period.
- Ordering Deadline: July 31, 2023 at 11:59 p.m. (MT)
Redemption Period: August 1 – August 31, 2023
- There is no limit to the number of coupon codes participants can redeem on an order during the redemption period. If using multiple codes, they must be separated by a space.
- Coupons may be redeemed one time only.
- Coupon codes may be redeemed for any product (excluding Starter Kits, demonstrator supply items, and Paper Pumpkin month-to-month subscriptions).
- New prepaid Paper Pumpkin codes may be discounted using Bonus Days coupon codes.
Let me know if you have any questions, and have fun shopping!
Current Host Code: P7SWY6DS
Use this host code when you order $50 or more and receive a Thank You gift from me! The free gift is your choice of any item valued up to $10 from the 2023-2024 Annual Catalog!
If your order is over $150, please do not use the host code since you’ll receive your own Host Dollars plus I’ll still send you the Thank You gift! This host code can be used by anyone, no club or commitment required. Let me know if you have any questions.
If you need any stamping supplies, I’d be very happy to be your Demonstrator. Just click on the Shop Now button on the right side of the screen to go directly to my online store or contact me if you have any questions. Happy Stamping!
Thanks for stopping by and have a great week!
Akiko
- Visit my online store here
- See the current Stampin’ Up! clearance rack specials here
- Earn FREE Stampin’ Up! products through my Wildflower Frequent Shopper Program – my way of saying thank you to my online frequent shopper customers.
- Have any questions? I’d be happy to help, click here to contact me.
Cardstock Cuts for this project:
- Sweet Sorbet – 4-1/4″ x 11″ card base scored at 5-1/2″, 1-1/4″ x 2″ (die cut hearts)
- Early Espresso – 1″ x 2-1/2″ (die cut fudge)
- Silver foil – 1″ x 2″ (die cut spoons)
- Basic White – 4″ x 5-1/4″ (inside panel), 3-1/8″ x 4-1/4″ (front mat), 2-1/4″ x 7″ (die cut circles), 2″ x 8-1/2″ (die cut ice cream and bowls)
- Glorious Gingham 6″ x 6″ DSP – 3″ x 4-1/4″ (front background), 1/2″ x 4″ (inside trim)
Stampin’ Up! products used in this project:
")


 Designer Series Paper")


 Specialty Pack")


 Designer Series Paper")


 Sheer Ribbon Combo Pack")


")
 Designer Series Paper")


 Specialty Paper")


 Wavy Trim")


")
 Designer Series Paper")

 Specialty Designer Series Paper")


 Metallic Woven Ribbon")


")


")
")

 Designer Series Paper")


")

 Specialty Designer Series Paper")


 Gingham Ribbon")

")


")


 Variegated Ribbon")


")

 Designer Series Paper")


