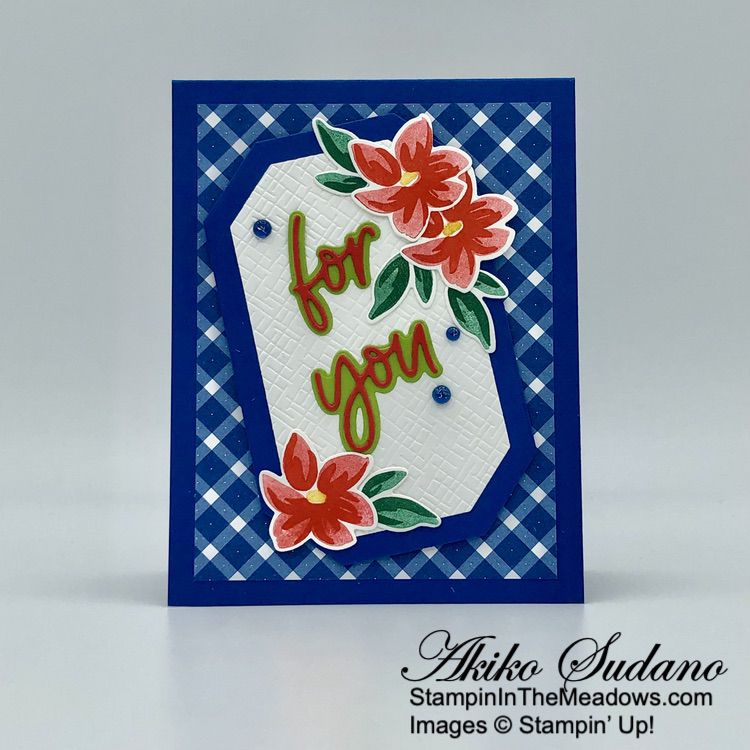
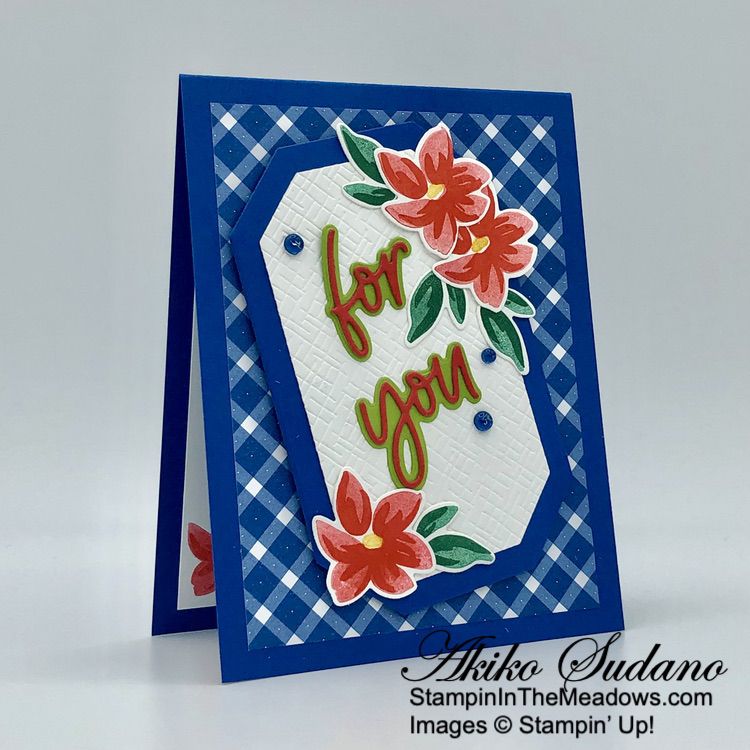
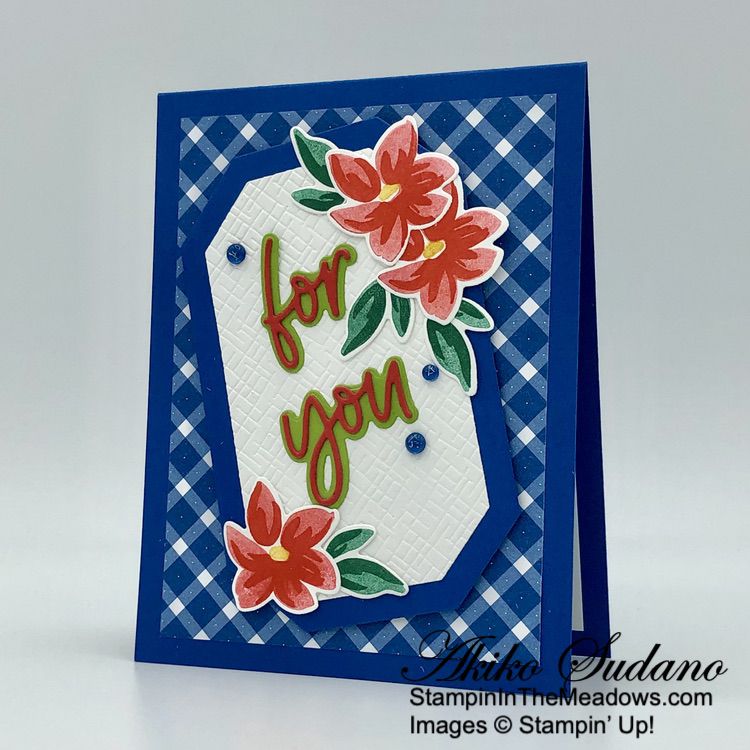
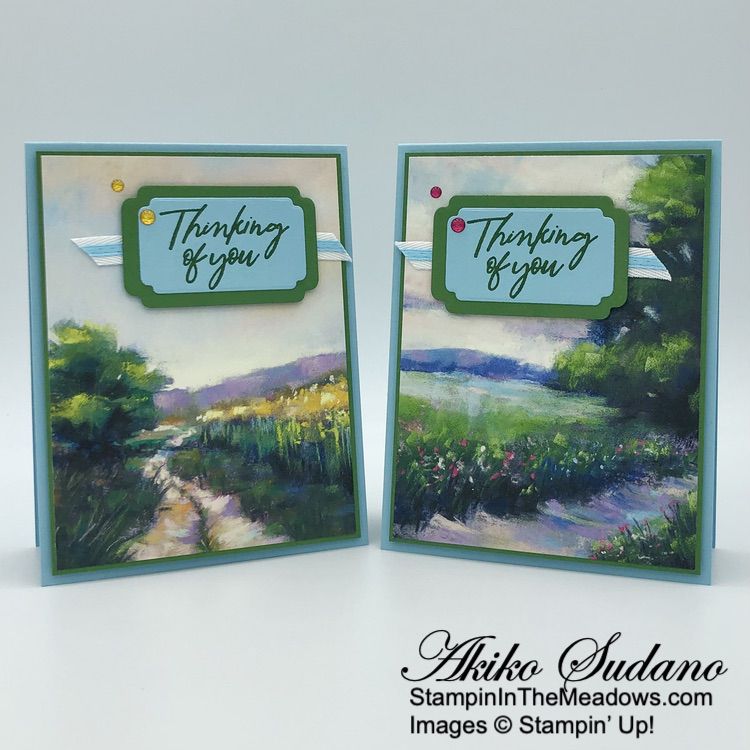
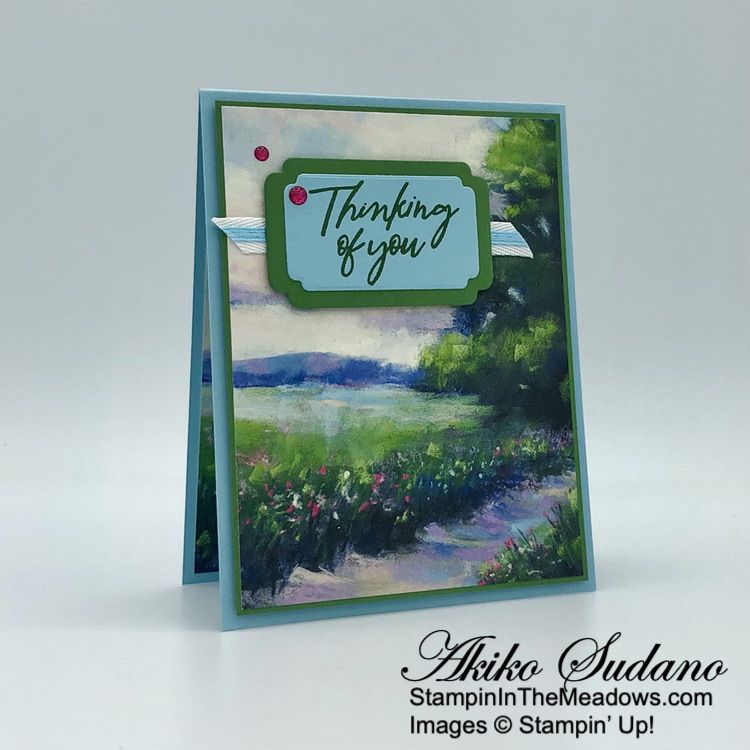
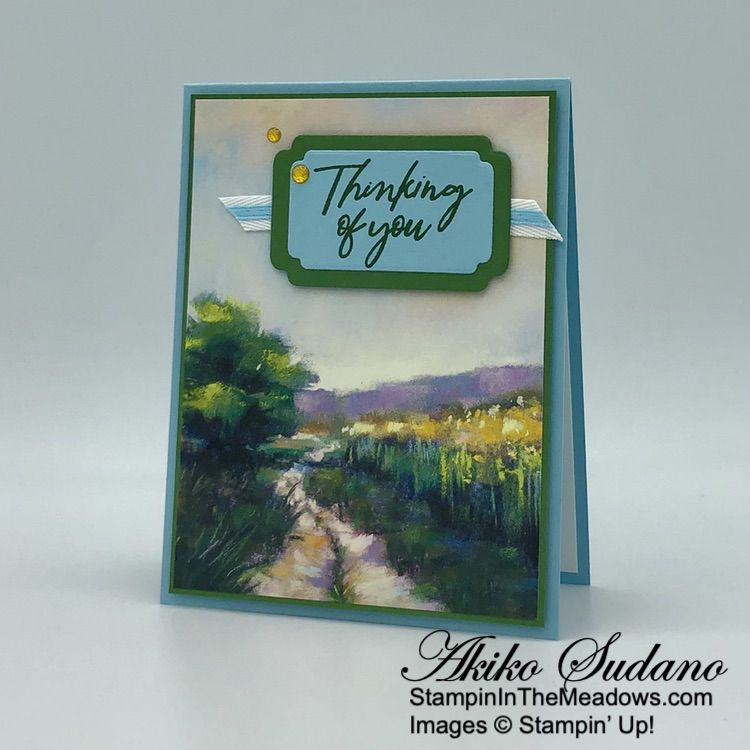
Good Morning! Here’s a CAS card made with the Stampin’ Up! Planted Paradise cling stamp set. This pretty set has reversible photopolymer stamps that you can build an indoor garden with planters, leaves and hangers. You can find the products I used at the bottom of my post along with the card stock sizes.

I was inspired to use this bundle to make a CAS card by the sketch in Freshly Made Sketches #619:

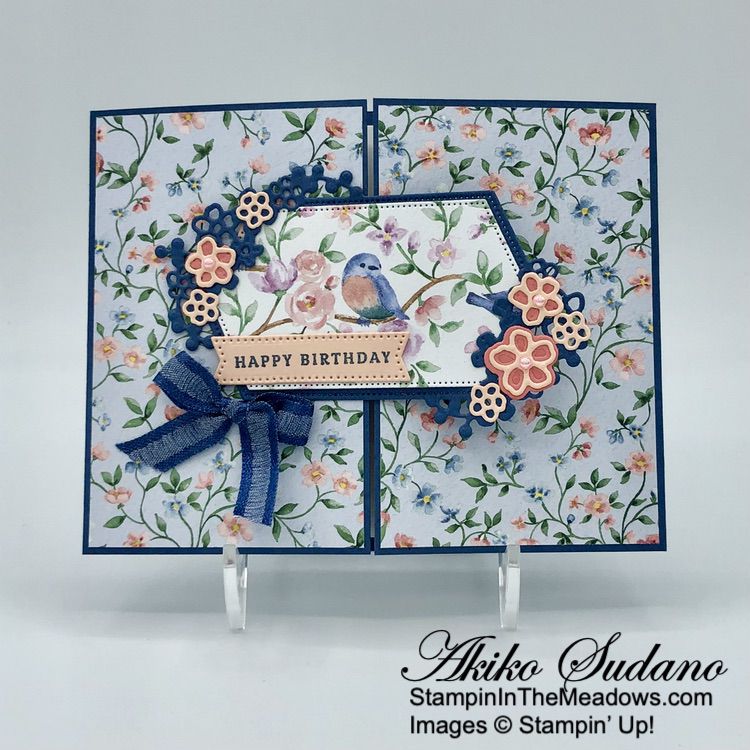
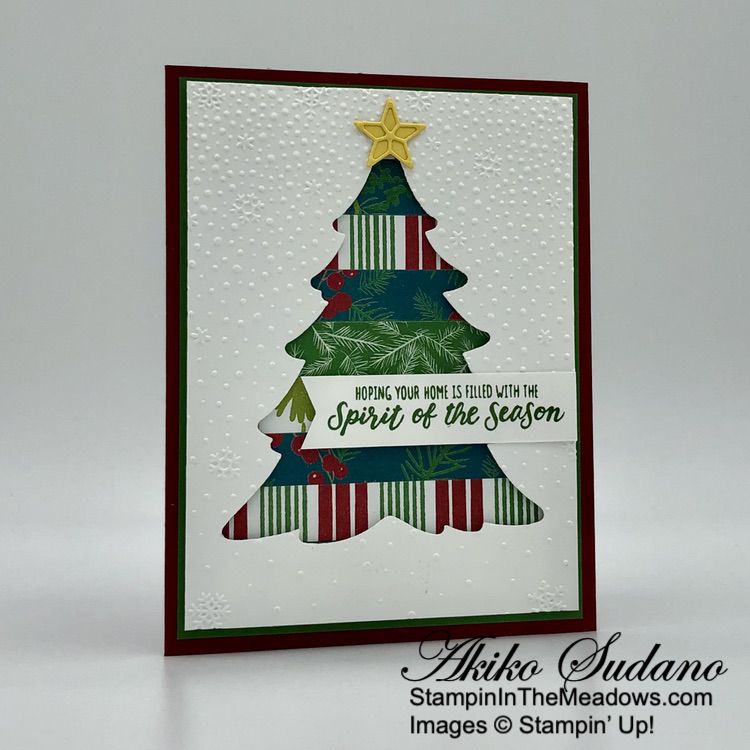
I embossed a Basic White panel with the pretty new Sale-A-Bration Softly Sophisticated embossing folder and adhered it to a Basic White mat. I wrapped a length of Pebbled Path jute twice around the left side and tied a knot and adhered the panel to the front of a Thick Basic White card base.
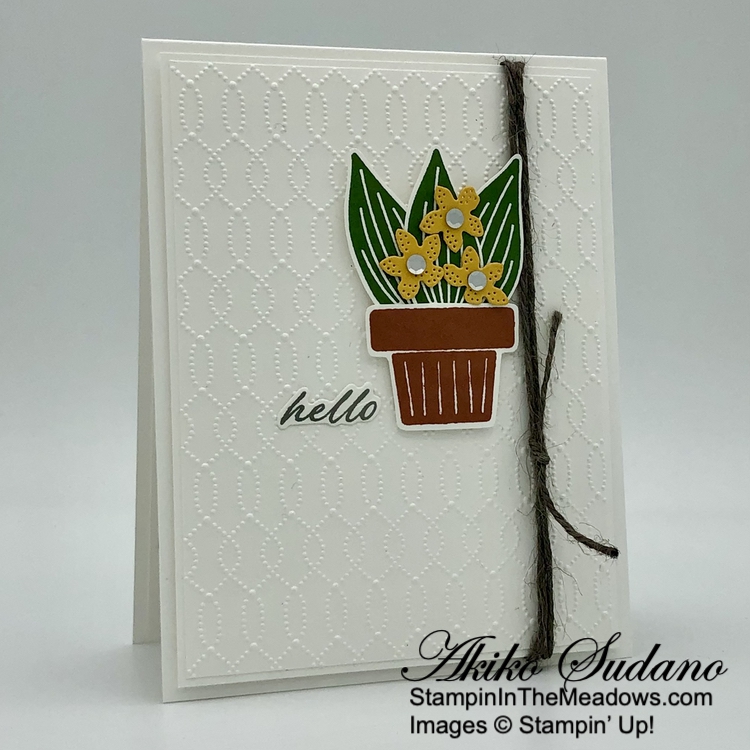
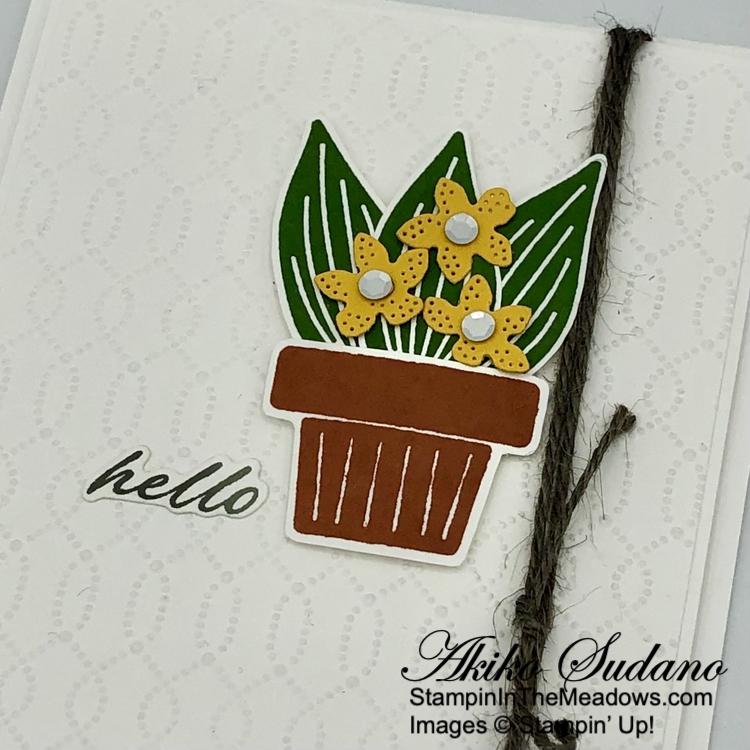
I stamped the pot and leaves from the Stampin’ Up! Planted Paradise stamp set on Basic White. I stamped the pot in Copper Clay and the leaves in Garden Green. I fussy cut the pot and leaves with my paper snips and adhered the leaves to the back of the pot with liquid glue. I popped the pot and leaves to the card front with dimensionals.

I stamped the hello sentiment from the Wonderful Thoughts stamp set in Pebbled Path ink on a Basic White strip and cut it out with the coordinating die. I adhered it to the card with glue dots. I used the flower die from the Stippled Roses dies to cut a Crushed Curry panel and adhered the flowers to the plant with glue dots. I used white sequins to accent the flower centers.

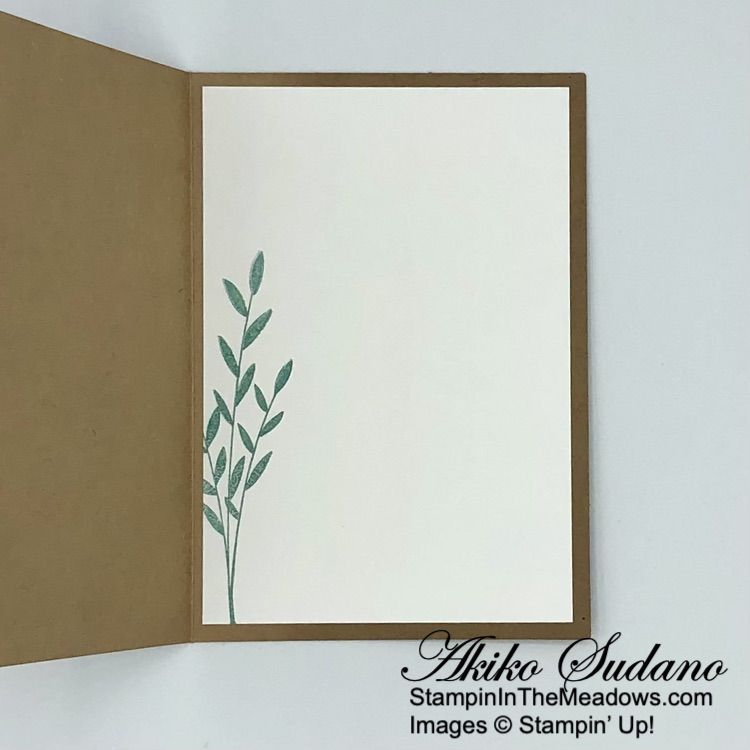
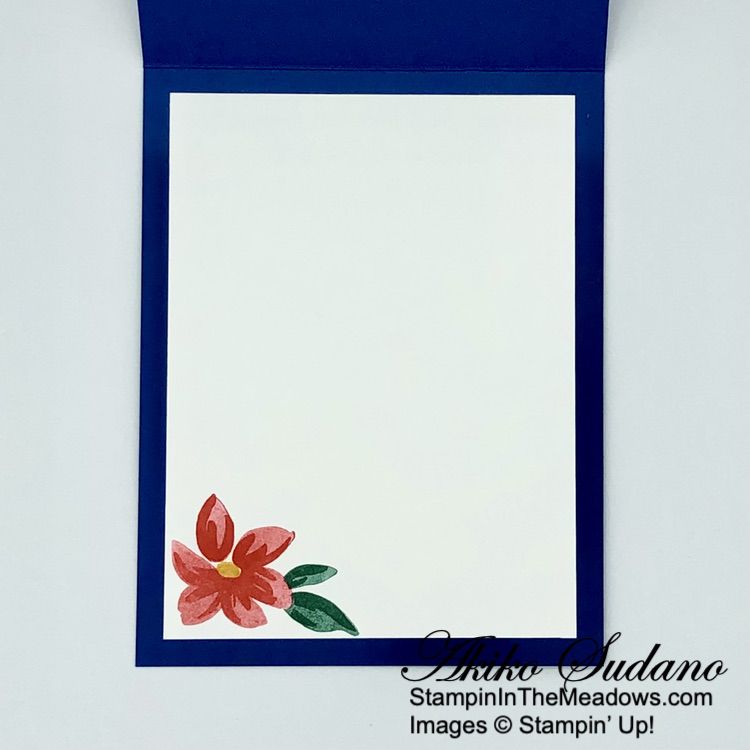
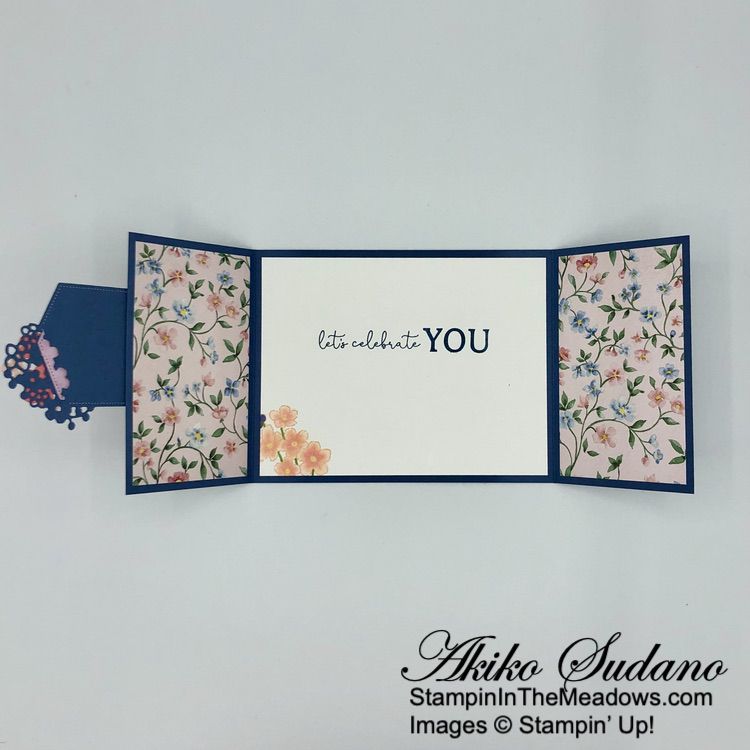
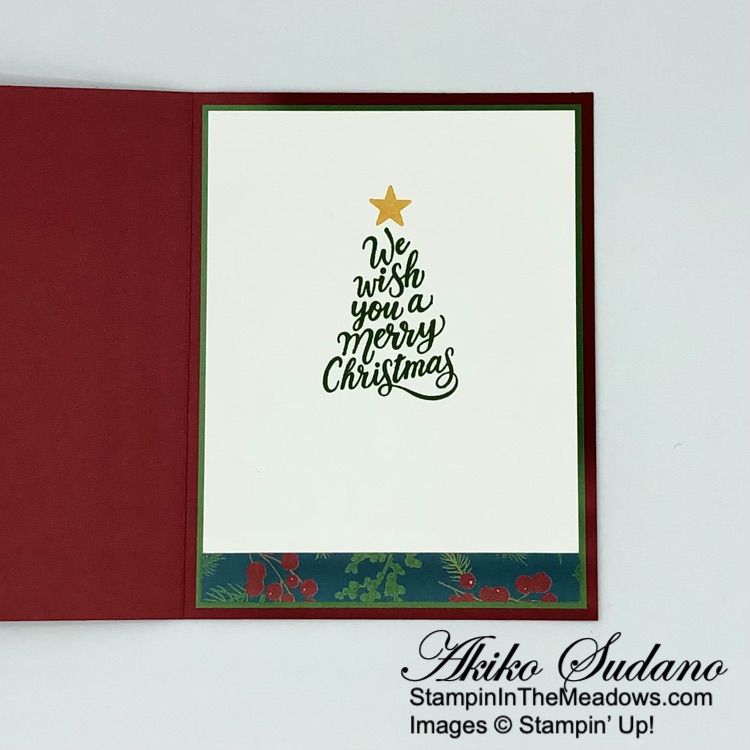
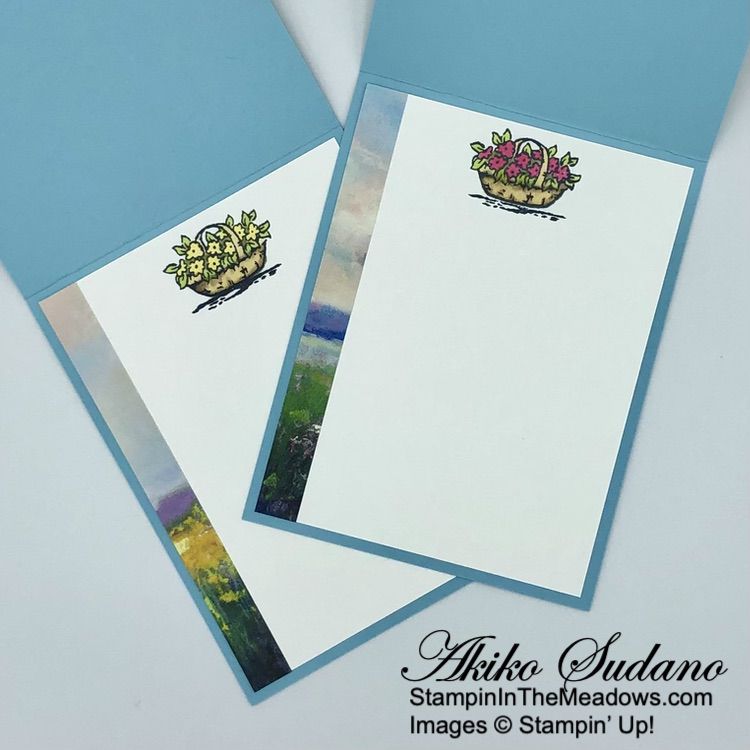
For the inside of the card, I stamped the pot from the Stampin’ Up! Planted Paradise stamp set in Copper Clay ink on a Basic White panel. I decided to make this a “before” image, so I left it empty, giving the recipient an opportunity to think about what they will fill it with. I adhered the panel to the inside of the card with Stampin’ Seal.
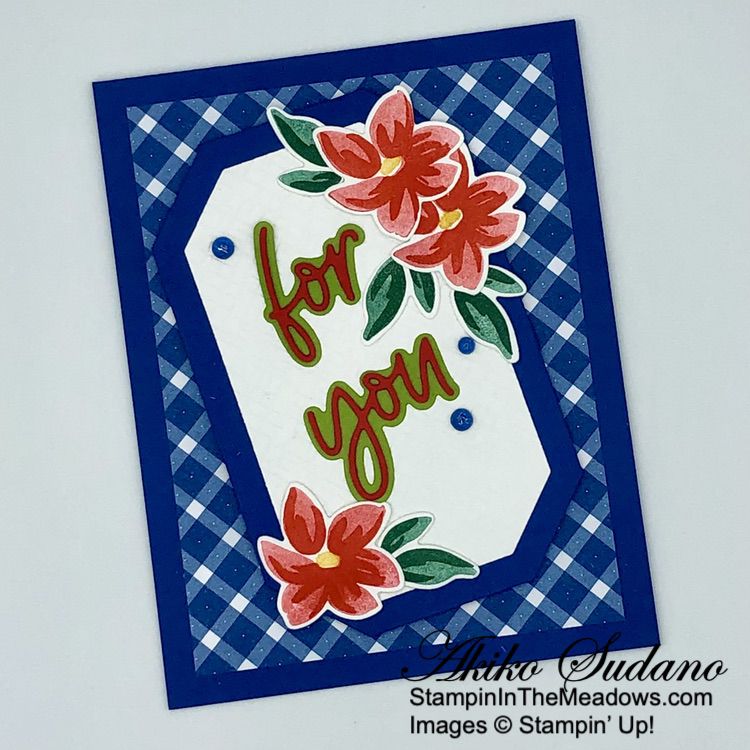
The Stampin’ Up! Planted Paradise stamp set has so many different leaves and pots that are pretty easy to fussy cut. And they’re in different sizes, making it pretty easy to combine with other plant stamps in your stash. And with the bitter cold outside, indoor plants are good way to bring cheer to your day – and with stamping, there’s no dirt to clean up!

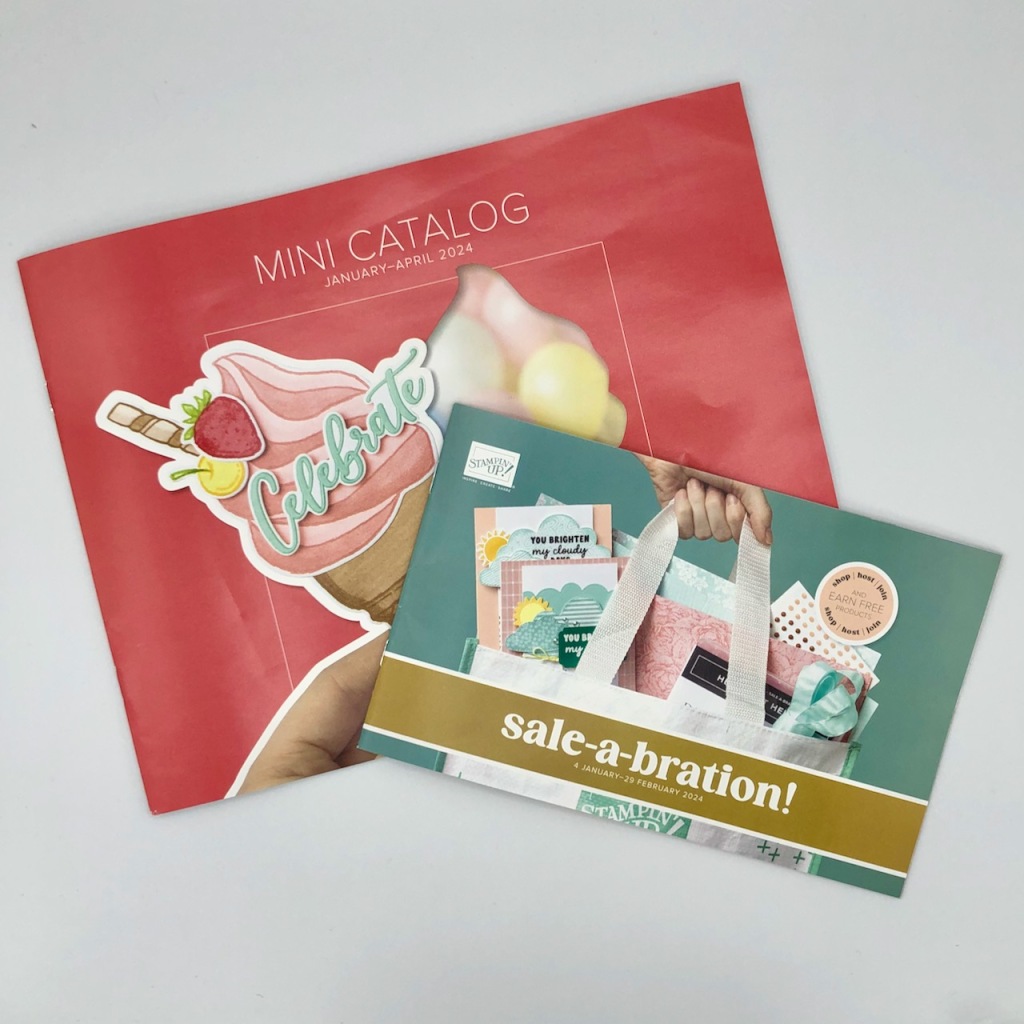
Sale-A-Bration Is Going On Now!
Sale-A-Bration is Stampin’ Up!’s best promotion of the year with specials for Shopping, Hosting and Joining!
Shopping
Choose a FREE Sale-A-Bration item from the Sale-A-Bration Brochure with every $50 or $100 you spend (before tax and shipping). The Sale-A-Bration brochure has eleven items available for free with orders of $50 or greater and three items you can pick from with orders of $100 or greater! The free Sale-A-Bration items are stackable, so if you place an order of $150, you can choose to add three $50 items or one $100 item and one $50 item to your order! The Sale-A-Bration items are only available while supplies last, so order early if there are items that you are really wanting!
Hosting
Host a party of $300 or more and get an additional $30 in Stampin’ Rewards! Normally a $300 party will result in $36 in Stampin’ Rewards for the host, but during Sale-A-Bration a $300 party will result in $66 in Stampin’ Rewards! Stampin’ Rewards are redeemed to get free items from any current catalog. And if you have a large enough shopping list, you will get the Sale-A-Bration Host rewards in a single order (and that’s in addition to the Sale-A-Bration shopping items)!
If you’d like to set up a host code to see if you can collect $300 in orders, I’d be happy to help you with that! Reach out to me at apsudano@stampininthemeadows.com.
Joining
Sale-A-Bration is one of the best times to join Stampin’ Up! as a new demonstrator and there are two fantastic options for purchasing your Starter Kit during Sale-A-Bration
Option 1:
Customers who join our fun crafting community as a new demonstrator can get $125 worth of product PLUS our Stampin’ Glass Mat Studio* (a $60 USD) for just $99! The Glass Mat Studio includes a 17″ x 14″ safety-tempered glass mat, a gray 8-1/4″ x 8-1/4″ lint-free, reusable cleaning cloth and a 8-3/4″ x 6″ white 4-palette silicone mat.

Option 2:
Customers who want to join Stampin’ Up! during Sale-A-Bration but are interested in a different join option can instead get $125 worth of product PLUS an additional $30 worth of product of their choice when they join for $99. That’s $155 in products for $99!
Once you join, you’ll get at least a 20% discount on all of your Stampin’ Up! merchandise purchases AND you get to order early from upcoming catalogs! There is NO COMMITMENT and NO REQUIREMENT TO SELL to anyone. You can join and just get the discount for yourself! Contact me at apsudano@stampininthhemeadows.com if you’d like more information about joining or purchasing the Starter Kit!
Click on the image below to open a PDF of the Sale-A-Bration Brochure to see all the Sale-A-Bration items and get additional details:

Current Host Code: M3WQ2HCB
Use this host code when you order $50 or more and receive a Thank You gift from me! The free gift is your choice of any item currently available valued up to $10.00.
If your order is over $150, please do not use the host code since you’ll receive your own Host Dollars plus I’ll still send you the Thank You gift! This host code can be used by anyone, no club or commitment required. Let me know if you have any questions.
If you need any stamping supplies, I’d be very happy to be your Demonstrator. Just click on the Shop Now Button on the right side of the screen to go directly to my Online store or contact me if you have any questions. Happy Stamping!
Thanks for stopping by and have a great day!
Akiko
- Visit my online store here
- See the current Stampin’ Up! clearance rack specials here
- Earn FREE Stampin’ Up! products through my Wildflower Frequent Shopper Program – my way of saying thank you to my online frequent shopper customers.
- Have any questions? I’d be happy to help, click here to contact me.
Cardstock Cuts for this project:
- Thick Basic White – 4-1/4″ x 11″ card base, scored at 5-1/2″
- Crushed Curry – 1-1/2″ x 2″ (die cut flowers)
- Basic White – two 4 x 5-1/4″ (inside panel and front mat), 3-7/8″ x 5-1/8″ (embossed background), 2-1/2″ x 4-1/2″ (fussy cut leaves and pot), 3/4″ x 1-1/2″ (label)
Stampin’ Up! products used in this project:

")

")


")
")


 Designer Series Paper")


 Bordered Ribbon")


 Designer Series Paper")


")


 Specialty Paper")


")


")
")

 Designer Series Paper")


")


 Bordered Ribbon")


")


 Specialty Designer Series Paper")
 Designer Series Paper")
 Designer Series Paper")


")
")


 Designer Series Paper")


 Iridescent Ribbon")
 Trim Combo Pack")


")

 Designer Series Paper")


