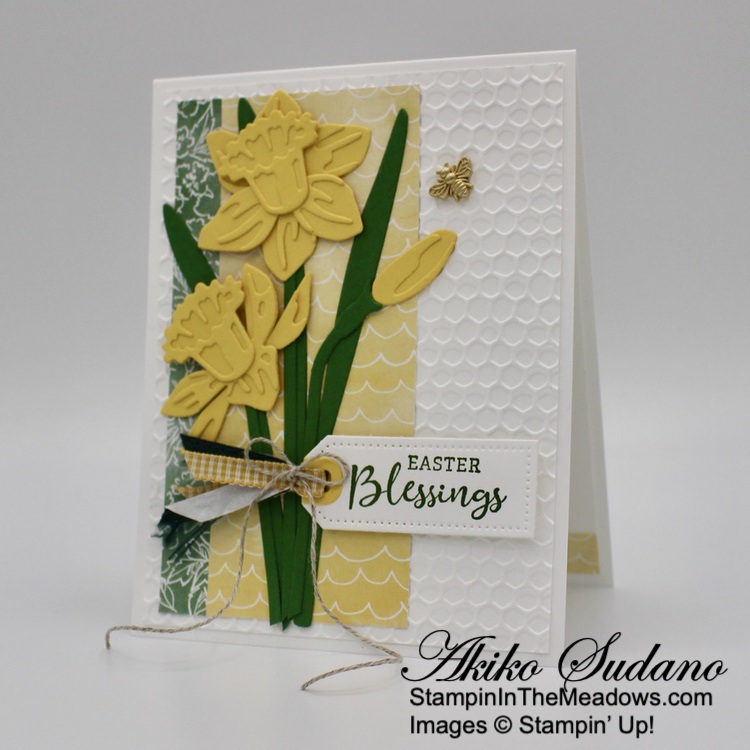
Good Morning! The Stampin’ Up! Boughs and Blossoms bundle is a pretty floral cling stamp set that comes with sweet sentiments and a two sided punch that punches out leaves on one side and flowers on the other. The flowers are solid graphic floral designs rather than line art designs and they are very versatile. Today I made my own DSP panel in Polished Pink, Daffodil Delight, Granny Apple Green and Poppy Parade with these pretty floral stamps, and I pulled in the little flower from the Lovely You stamp set as well. You can find the supplies I used at the bottom of my post along with the sizes of cardstock used.

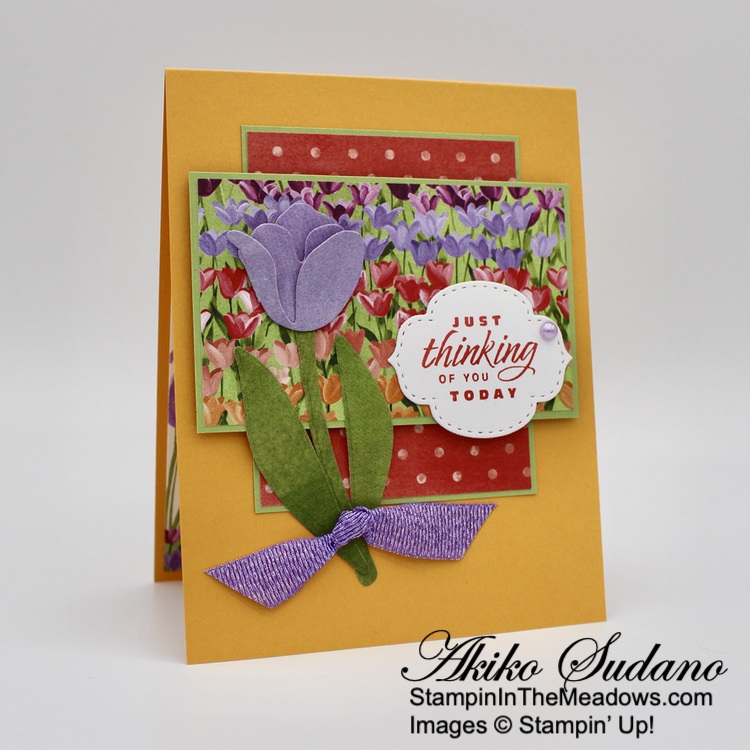
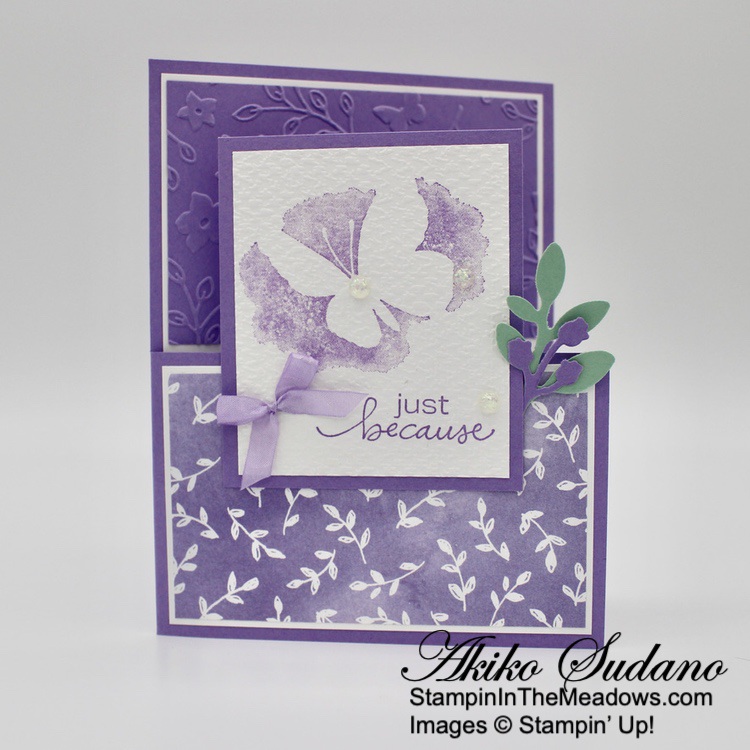
I adhered a panel of Polished Pink 2021-2023 In Color designer series paper to the front of a Thick Basic White card base. I stamped the flowers from the Stampin’ Up! Boughs and Blossoms stamp set in Polished Pink and Daffodil delight randomly on a Basic White panel. I stamped a few leaves in Granny Apple Green and finally used the little flower from the Lovely You stamp set to fill in the spaces with Poppy Parade.
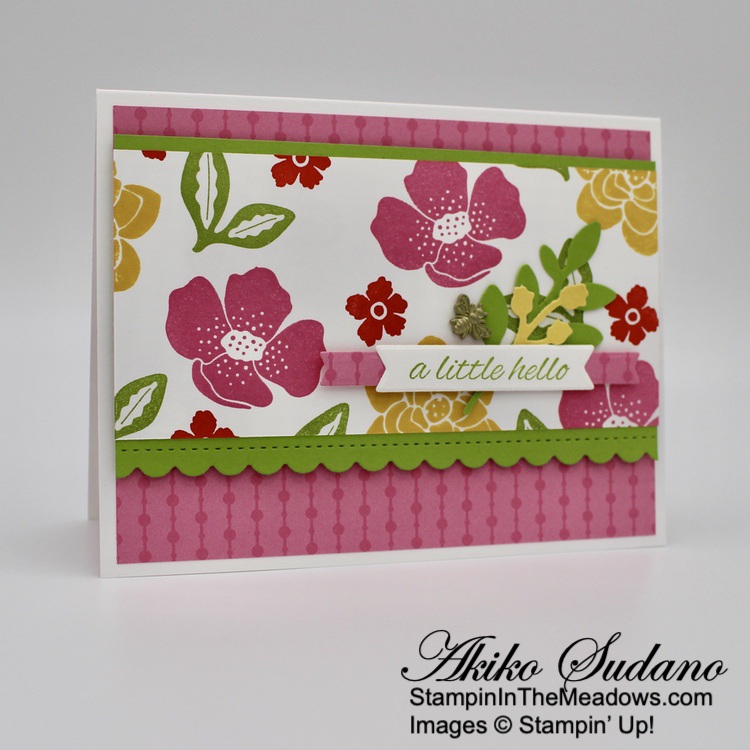
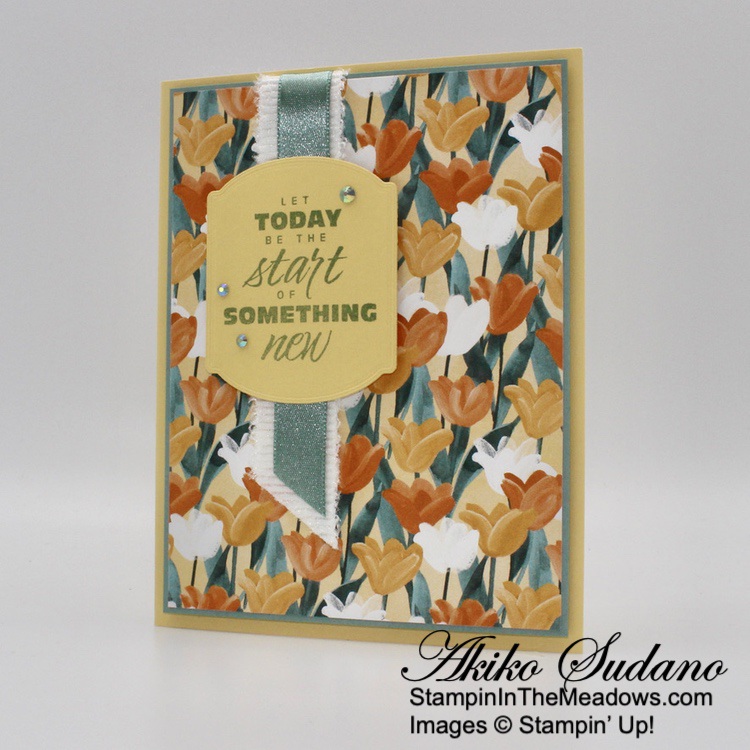
I used the scalloped edge die from the Penned Flowers die to cut the edge of a Granny Apple Green panel and adhered the stamped panel on top. I adhered the layered panel to the front of my card. I used the bough punch from the Stampin’ Up! Boughs and Blossoms bundle to punch a Granny Apple Green leaf sprig and a Daffodil Delight flower sprig.

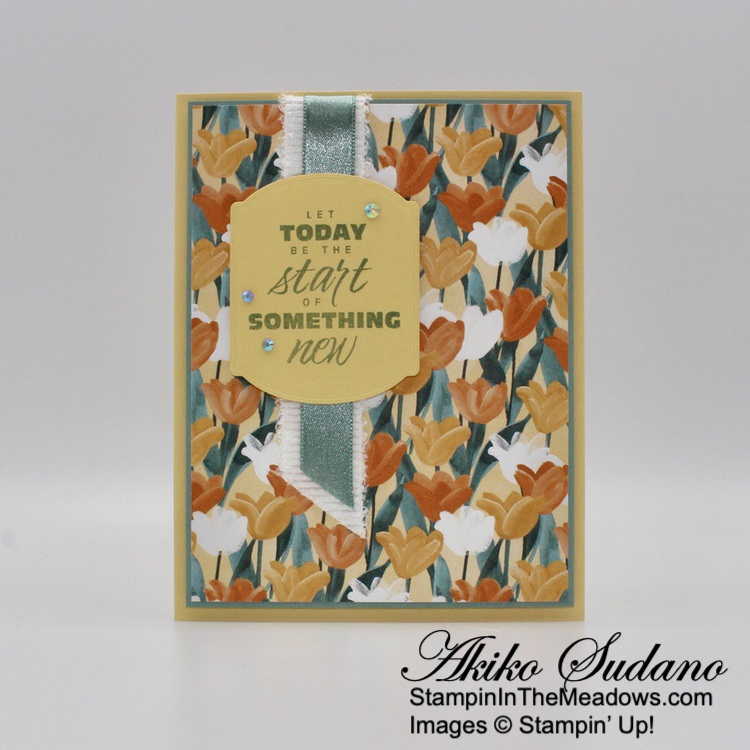
I stamped the sentiment from the Stampin’ Up! Boughs and Blossoms stamp set in Granny Apple Green on Basic White and cut it out with the banner die from the Give It A Whirl dies. I used the Messages die to cut a banner from the Polished Pink 2021-2023 In Color DSP and cut it in half. This allowed me to adhere each piece of the die cut and get the overlap to the right length. I adhered the punched leaves and flowers with glue dots and the label with dimensionals and finished with a little bumblebee trinket!
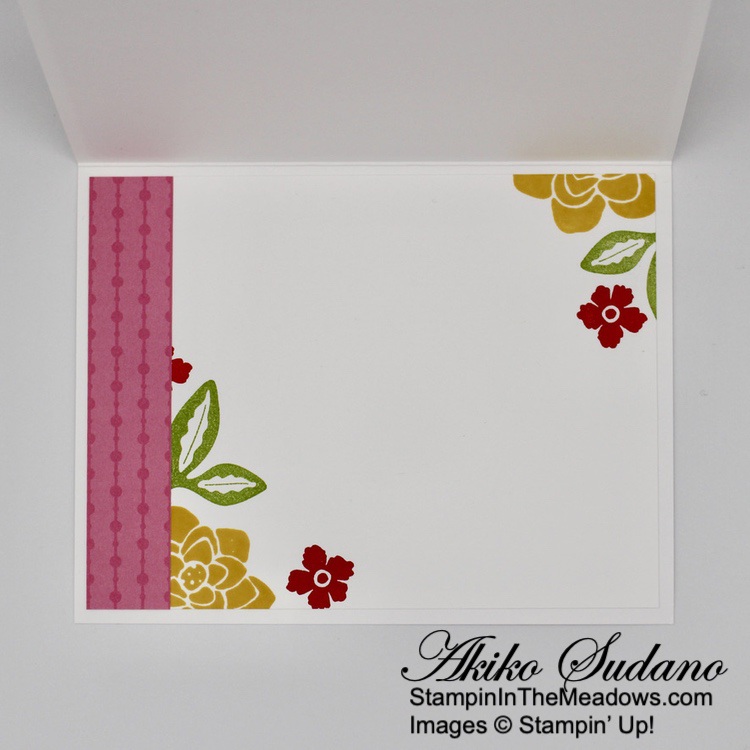
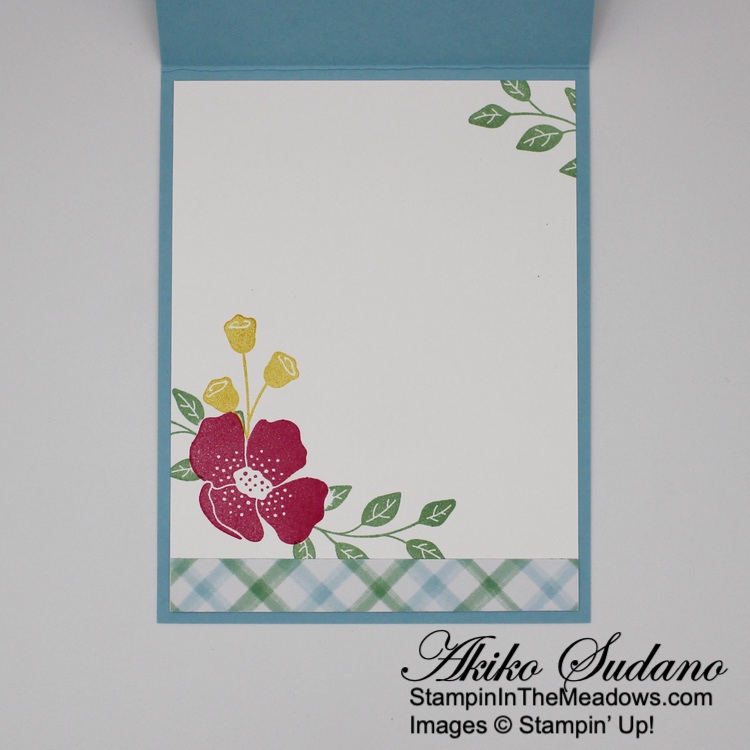
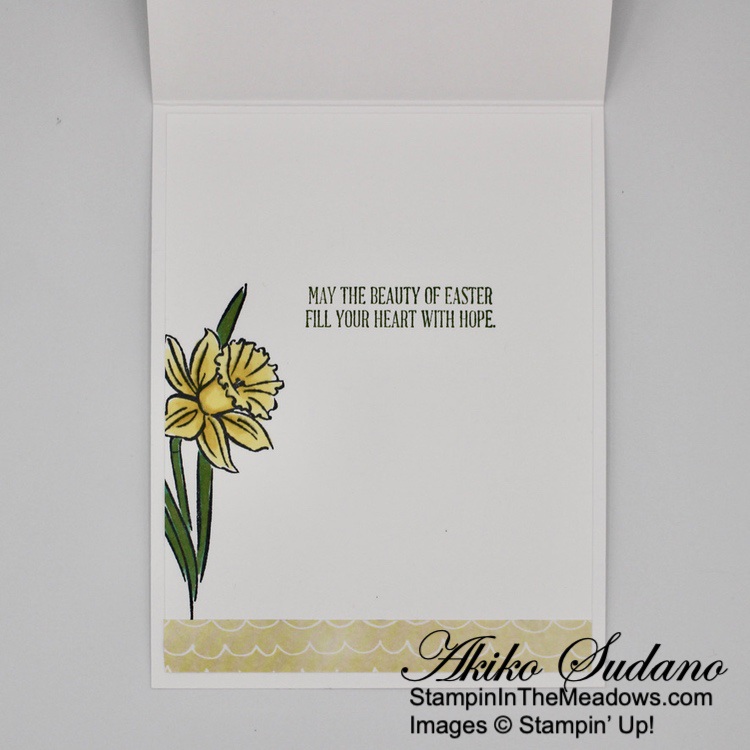
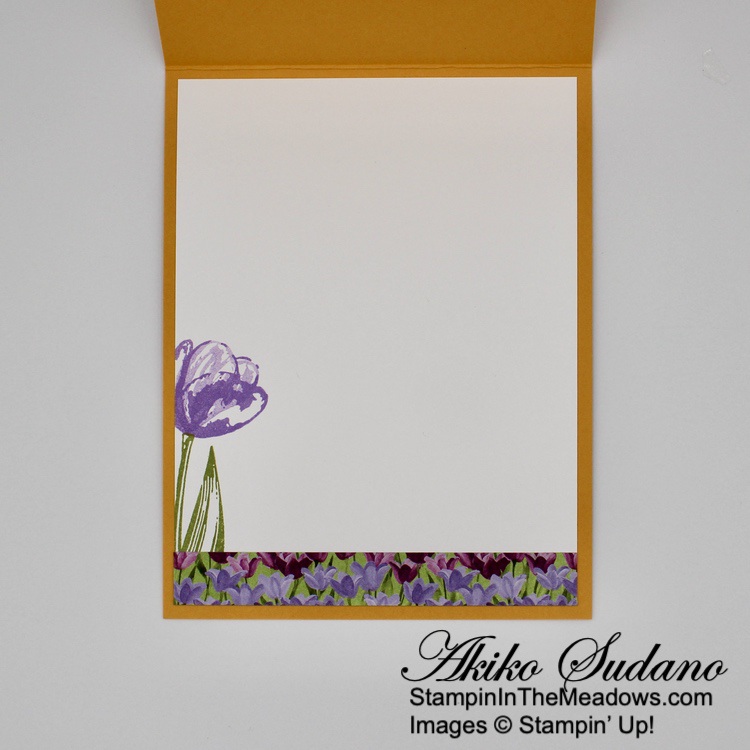
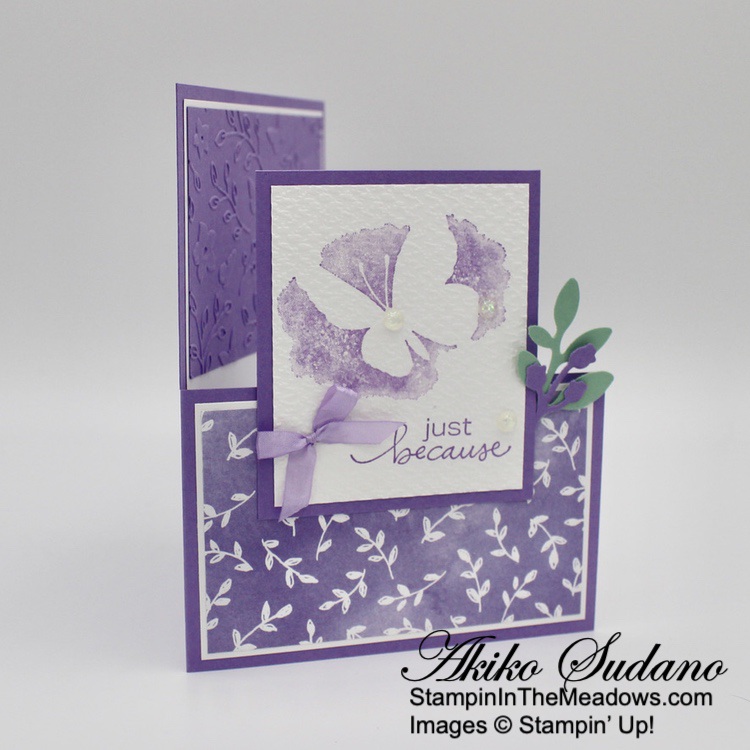
For the inside of the card, I stamped the flower and leaf from the Stampin’ Up! Boughs and Blossoms stamp set in Daffodil Delight and Granny Apple Green on a Basic White panel. I added some Poppy Parade flowers from the Lovely You stamp set and trimmed the side with a strip of DSP .

The Stampin’ Up! Boughs and Blossoms bundle is a wonderful floral stamp set for Spring and it can be easily combined with other solid flower stamp sets in your stash. I love the random stamping technique to make my own DSP because I can use whatever colors I feel like. This stamp set is perfect for the job.
Join me for a Facebook Live this Afternoon!
I’m planning to go live on my Facebook Page at 1:00 ET this afternoon to make a card with the new Waves of Inspiration bundle. Look forward to seeing you then!


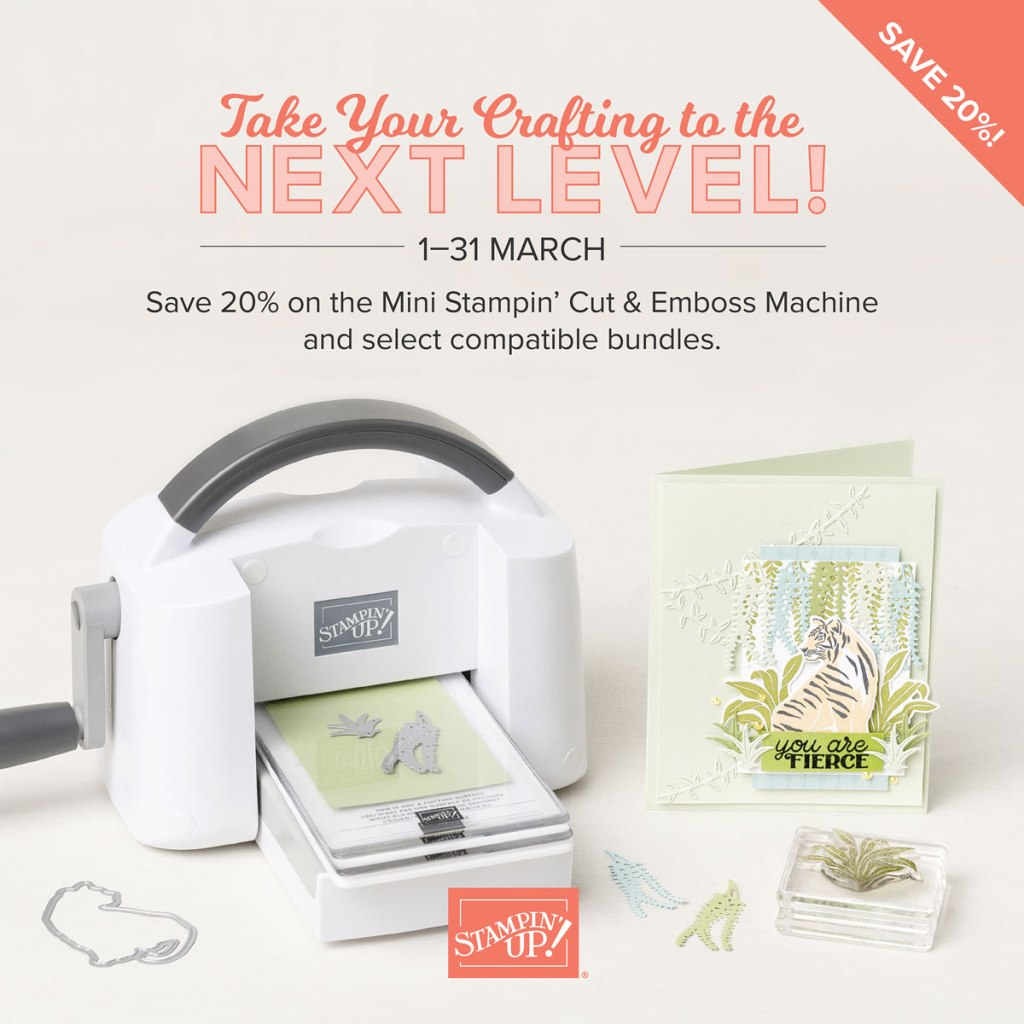
Savings Are In Bloom During March!
During the month of March, you can snag the Mini Stampin’ Cut & Emboss Machine at a 20% discount! This miniature machine is compatible with a large selection of Stampin’ Up! embossing folders and dies. Build your craft collection and combine the Mini Stampin’ Cut & Emboss Machine with any (or all!) of the select stamp-and-die bundles that are also available for 20% off during the month of March!
Click on the image below to download a PDF with all the details, including all the stamp bundles that will be on sale and the discounted prices! Click HERE to shop for these discounted items in my Online Store.

Waves of the Ocean Collection now available!
Discover the depths of the ocean—and your artistic abilities—with the Waves of the Ocean Collection! This coastal collection includes an inspiring set of stamps and detailed dies, both early-release products from the upcoming 2022–2023 Annual Catalog. Plus, a pack of paper made from images of hand-poured paint, blue-hued foil sheets for a sea of shine, and radiant rhinestones for a splash of sparkle—each an exclusive product you can only purchase during the promotion period! Click on the image below to download a PDF flyer with all the details. Click HERE to shop the Waves of the Ocean Collection in my Online Store now.


All Together Collection Available Through May 2, 2022
Loving hands and heartfelt words are the best way to show you care. With hand designs that illustrate coming together in friendship and solidarity, the All Together Collection will help you create cardmaking and paper crafting projects that reflect the people you know and love. Click on the picture below to download a brochure with all the details or click HERE to start shopping the All Together Collection now in My Online Store.

Current Host Code: MPMDW6BG
Use this host code when you order $50 or more and receive a free gift from me! The free gift is your choice of any item valued up to $10.00 in the 2021-2022 Annual Catalog or the January – June 2022 Mini Catalog!
If your order is over $150, please do not use the host code since you’ll receive your own Host Dollars plus I’ll still send you the free gift! This host code can be used by anyone, no club or commitment required. Let me know if you have any questions.
If you need any stamping supplies, I’d be very happy to be your Demonstrator. Just click on the Shop Now button on the right side of the screen to go directly to my online store or contact me if you have any questions. Happy Stamping!
Thanks for stopping by and have a great week!
Akiko
- Visit my online store here
- See the current Stampin’ Up! clearance rack specials here
- Earn FREE Stampin’ Up! products through my Wildflower Frequent Shopper Program – my way of saying thank you to my online frequent shopper customers.
- Have any questions? I’d be happy to help, click here to contact me.
Cardstock Cuts for this project:
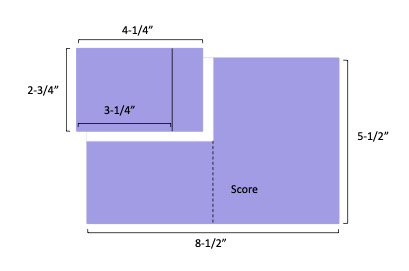
- Thick Basic White – 5-1/2″ x 8-1/2″ card base scored at 4-1/4″
- Daffodil Delight – 1″ x 2″ (flower punch)
- Granny Apple Green – 3″ x 5-1/4″ (scalloped mat), 1-1/2″ x 3″ (punched leaf)
- Basic White – 4″ x 5-1/4″ (inside panel), 2-1/2″ x 5-1/4″ (stamped panel), 1″ x 3″ (label)
- 2021-2023 In Color DSP – 4″ x 5-1/4″ (front panel), 1/2″ x 4″ (inside trim), 1/2″ x 6″ (label)
Stampin’ Up! products used in this project:
")
")
")


 Designer Series Paper")


")

 Designer Series Paper")


 Specialty Designer Series Paper")


 Crinkled Seam Binding Ribbon")


")


 Glittered Organdy Ribbon")


")


 Designer Series Paper")


 Chevron Weave Ribbon")


")
")

 Designer Series Paper")


 Frayed Ribbon")
 Satin Shimmer Ribbon")


 Grosgrain Ribbon")


")
")


 Braided Ribbon")


 Designer Series Paper")


