
Good Morning and welcome to the Happy Inkin’ Thursday Blog Hop! I used the pretty Stampin’ Up! Hills of Tuscany stamp set to make a Thank You card for today. This is a sweet landscape set with different stamps that you can use to create a stamped scene. These are fun to do. You can find the supplies I used along with card stock cuts at the bottom of my post.
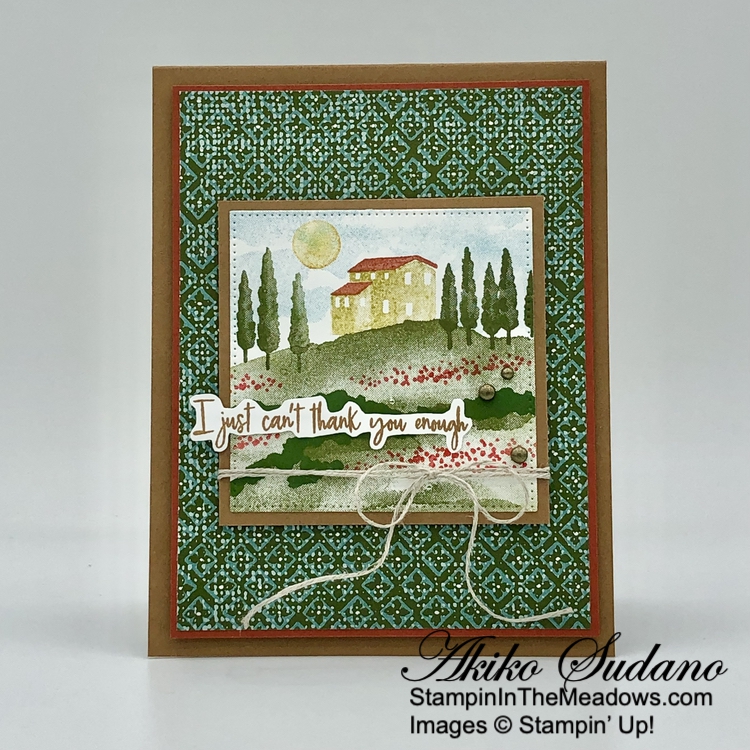
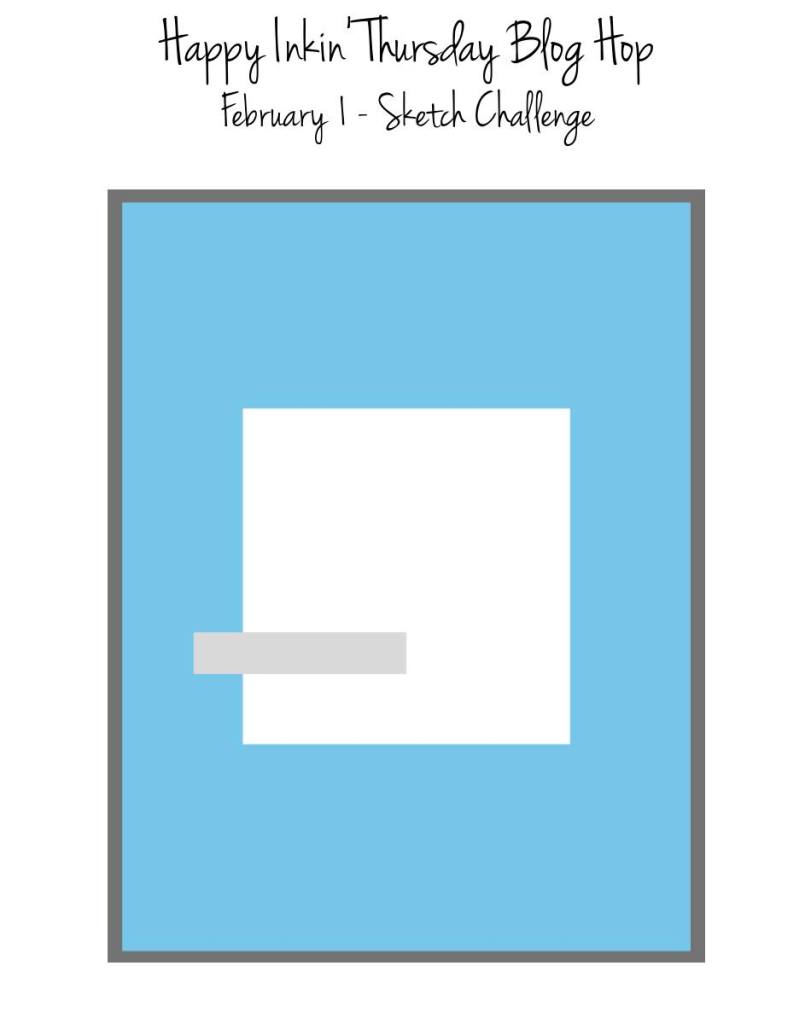
We have a sketch challenge this week, so I made a little picture of the Tuscan countryside!
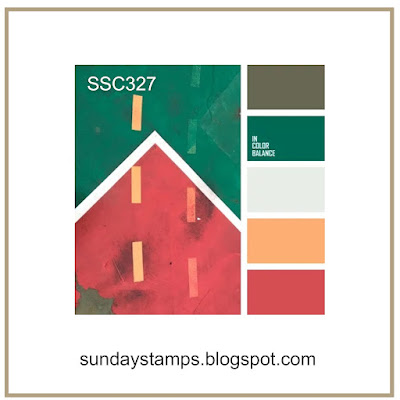
And I used colors from the Sunday Stamps Challenge SSC327 Feeling Earthy:
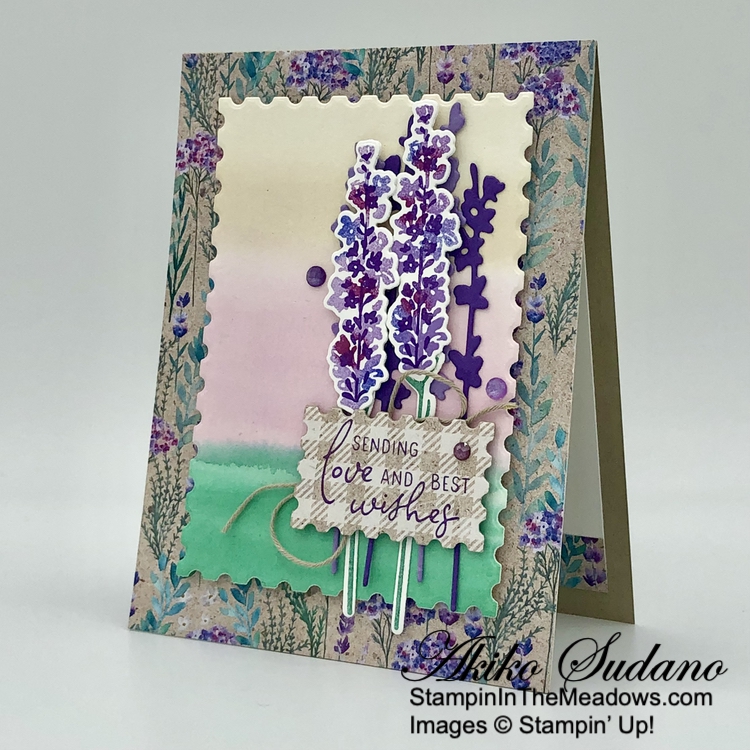
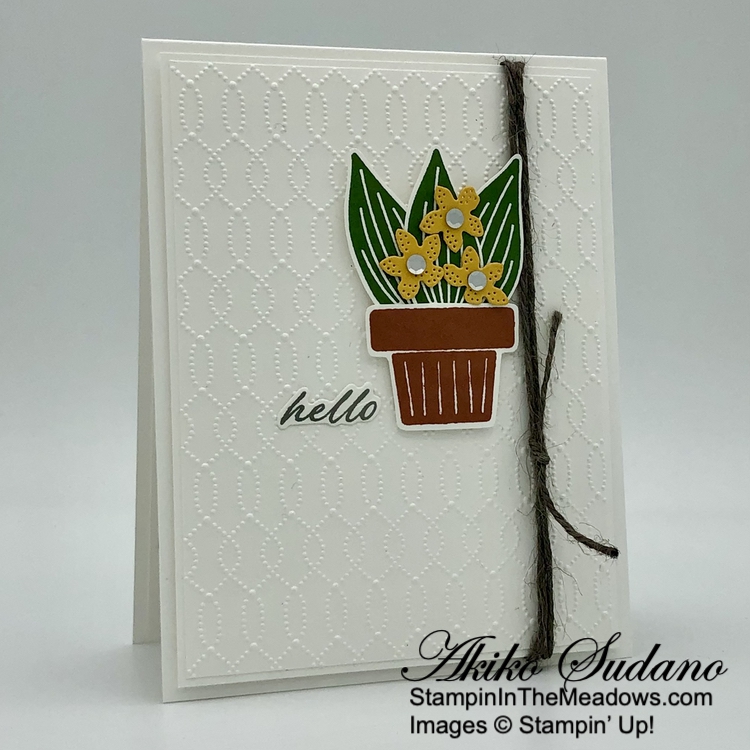
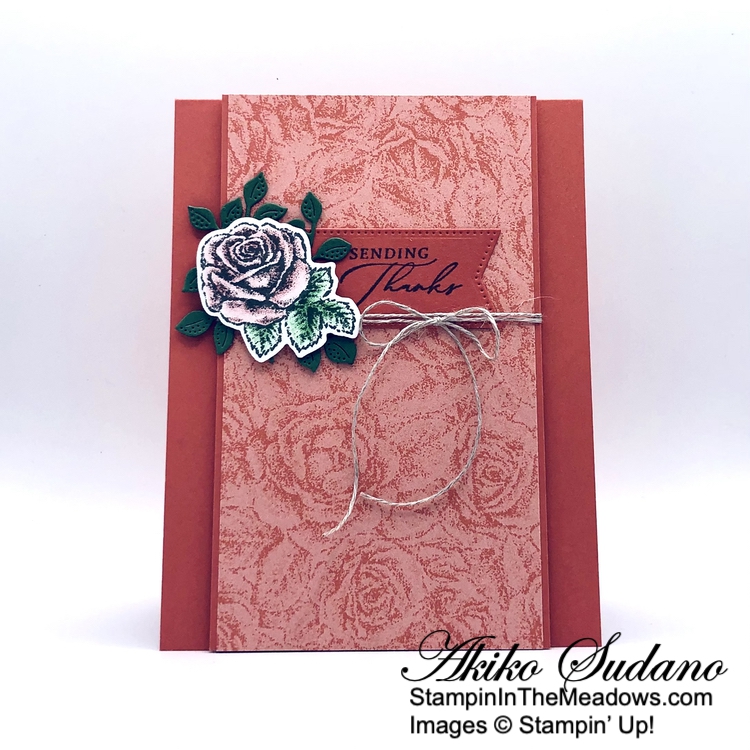
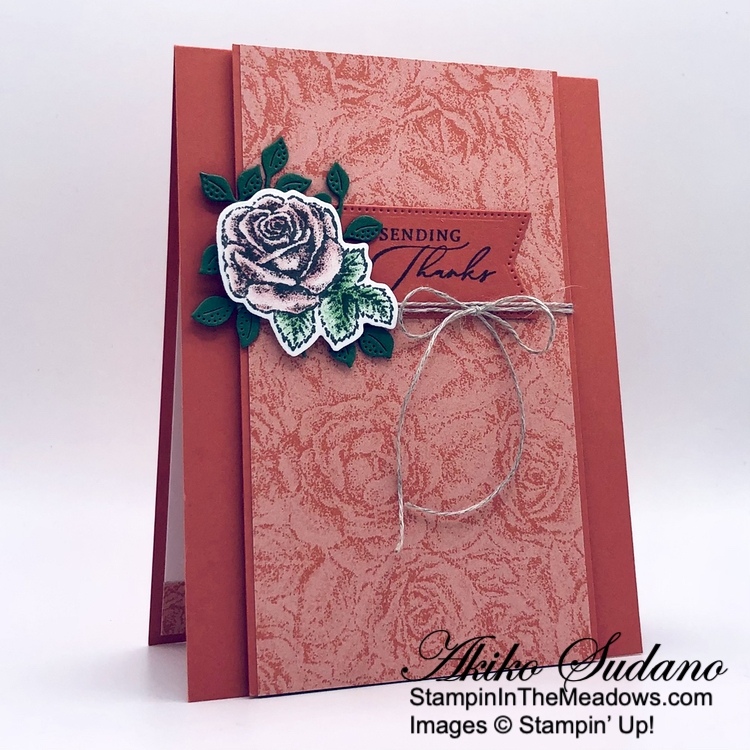
I adhered a panel of Poetic Expressions designer series paper to a Cajun Craze mat with liquid glue and adhered the layered panel to the front of a Pecan Pie card base with dimensionals.
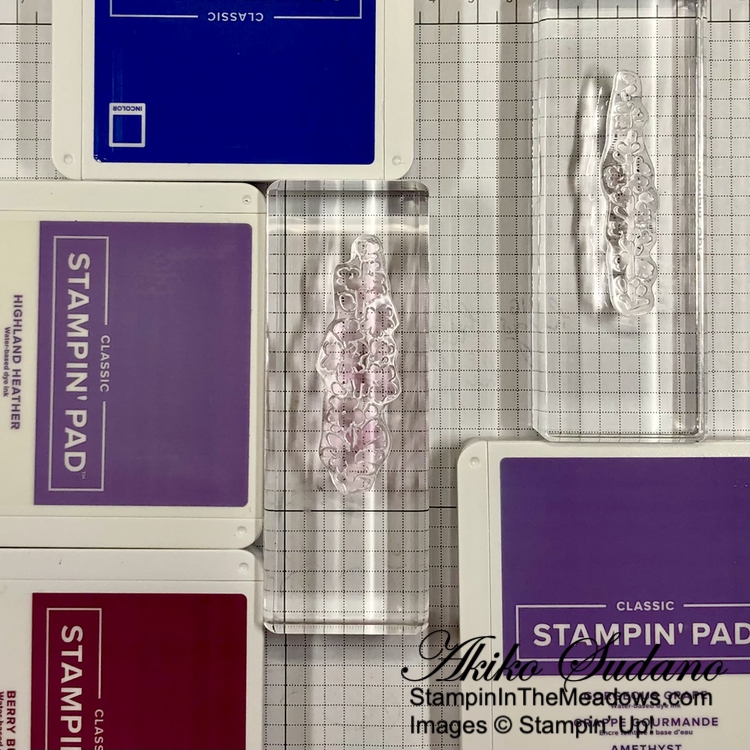
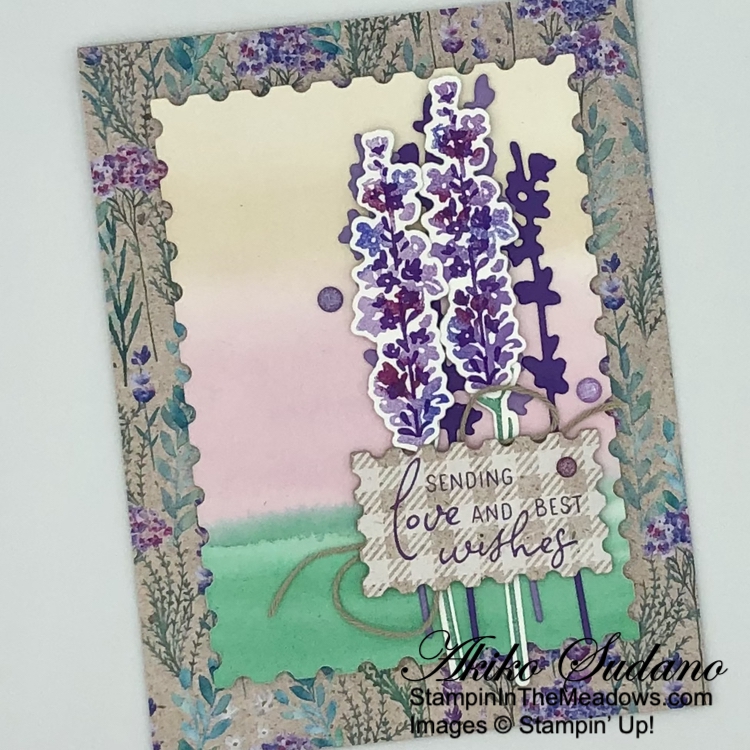
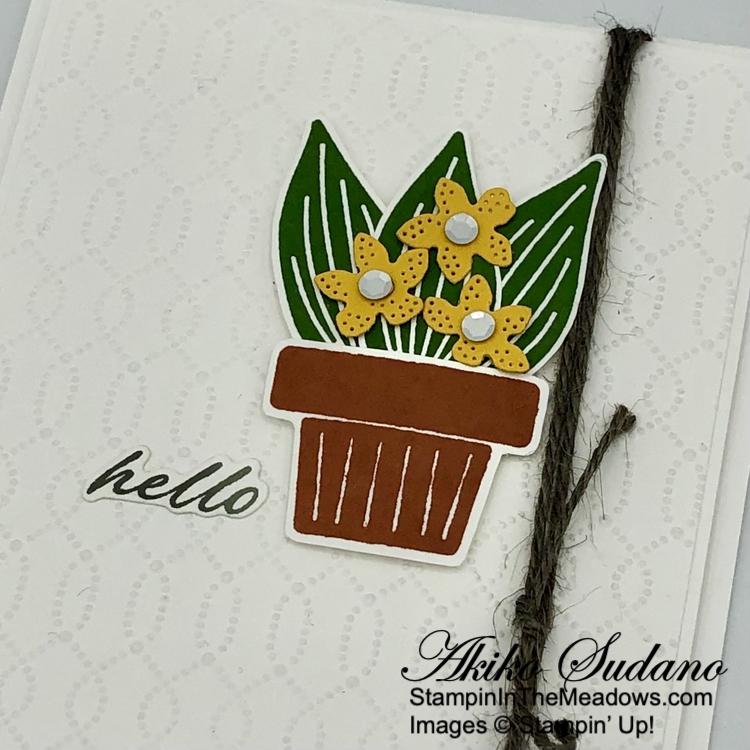
I started the little scene by stamping the house from the Stampin’ Up! Hills of Tuscany stamp set in stamped off Wild Wheat ink on Basic White. I stamped the roof in Cajun Craze, the sun in Crushed Curry and the sky in Balmy Blue. Next I stamped the ground in Old Olive using the two hillside stamps, overlapping as I filled in the ground. I love the different shading these stamps create! I stamped the trees in Mossy Meadow on either side of the house. There’s a couple of bush stamps and I stamped these in Garden Green over some of the overlapped ground stamped areas and they did a nice job of smoothing out the edges. I finished by stamping some flower fields in Poppy Parade.
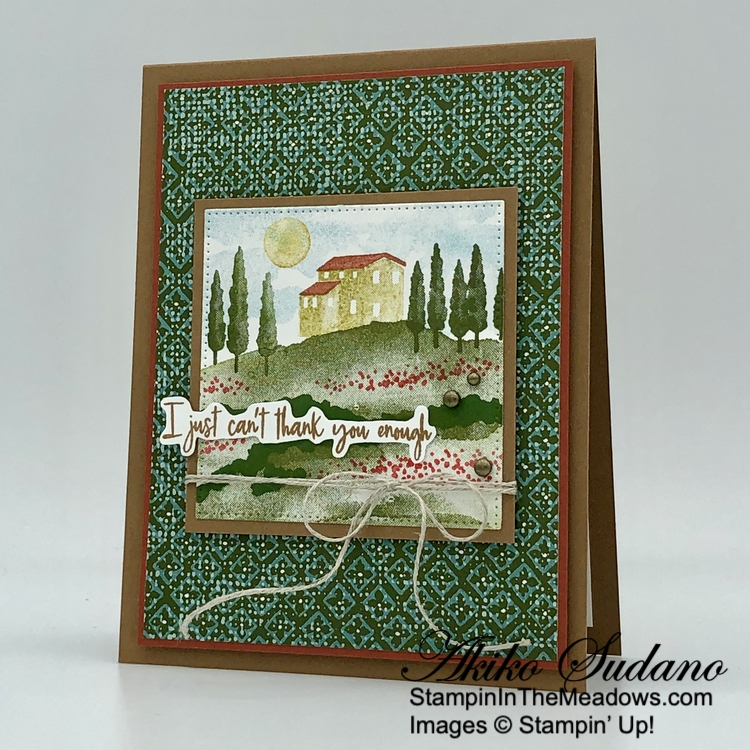
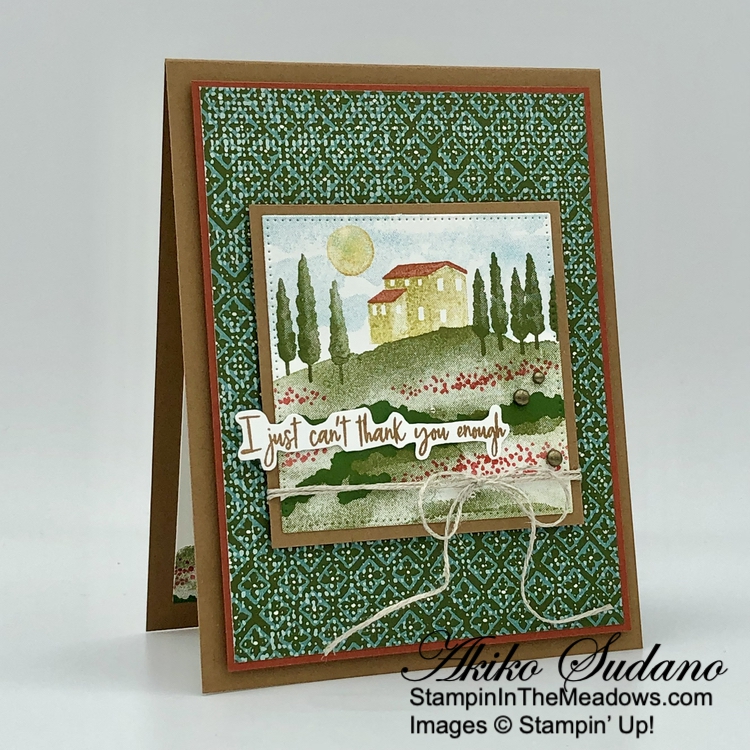
I used the second largest square from the Stylish Shapes dies to cut it out and adhered it to a Pecan Pie mat. I wrapped it with linen thread and adhered it to the card front with dimensionals. I stamped the sentiment from the Stampin’ Up! Hills of Tuscany stamp set in Pecan Pie ink on Basic White. I fussy cut the sentiment with my paper snips and adhered it with glue dots and dimensionals. I finished with rustic metallic dots.
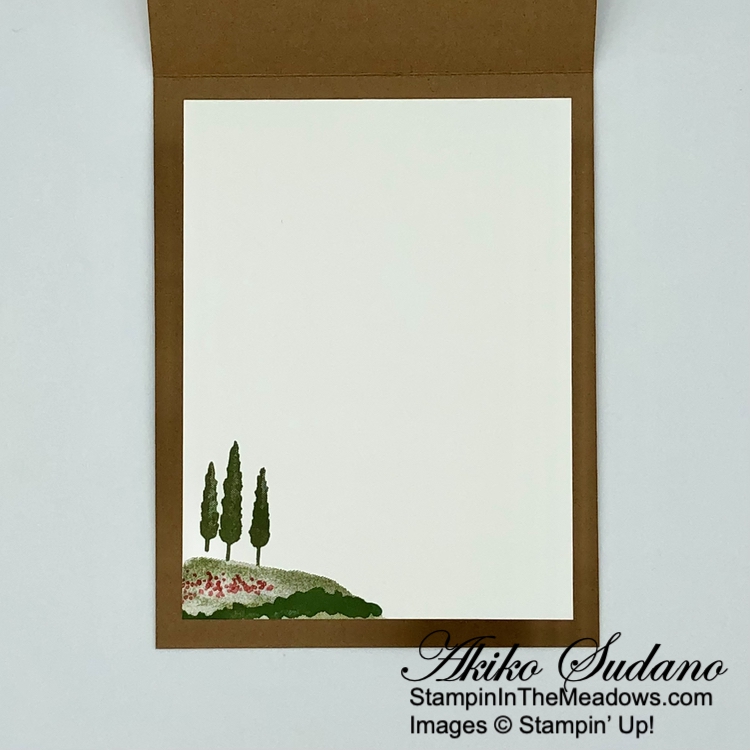
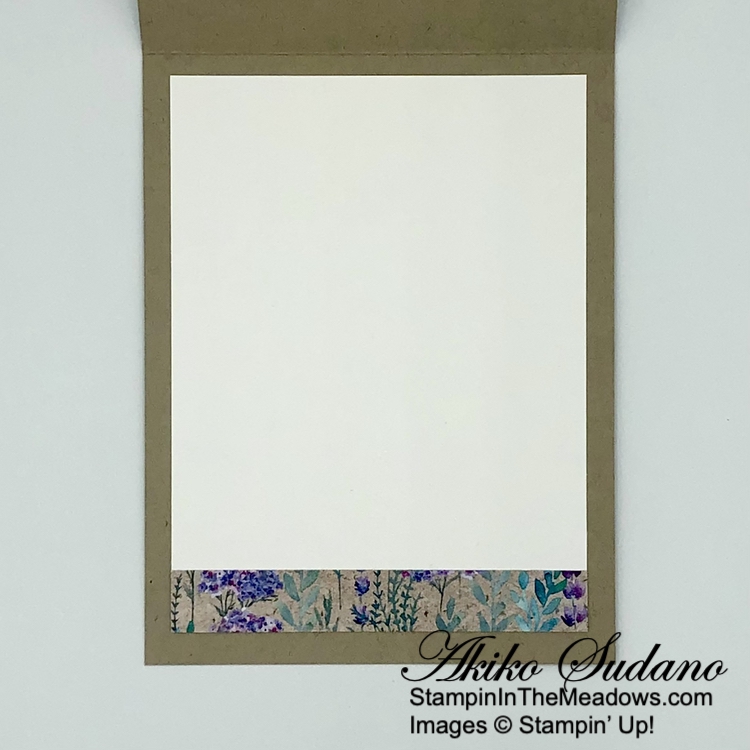
For the inside of the card, I stamped a little scene in the lower corner of a Basic White panel using Mossy Meadow for the trees, Old Olive and Garden Green for the ground and Poppy Parade for the flowers. I adhered the panel to the inside of the card with Stampin’ Seal.

The Stampin’ Up! Hills of Tuscany stamp set is fun to play with and it has nice sentiments. These stamps are fun to play with, creating different countryside scenes.
On with the Hop! Click on the Next Blog button to move forward to see the beautiful project Karen Ksenzakovic has created.

If you get lost along the way, here are the participants for the hop:
- Amy Koenders
- Mary Deatherage
- Jaimie Babarczy
- Karen Finkle
- Akiko Sudano <– You Are Here
- Karen Ksenzakovic
- Tara Carpenter
- Terry Lynn Bright
- Carol Buckalew
- Nel Thames
Current Host Code: M3WQ2HCB
Use this host code when you order $50 or more and receive a free gift from me! The free gift is your choice of any item currently available valued up to $10.00!
If your order is over $150, please do not use the host code since you’ll receive your own Host Dollars plus I’ll still send you the free gift! This host code can be used by anyone, no club or commitment required. Let me know if you have any questions.
If you need any stamping supplies, I’d be very happy to be your Demonstrator. Just click on the Shop Now button on the right side of the screen to go directly to my online store or contact me if you have any questions.
Thanks for stopping by and Happy Stamping!
Akiko
- Visit my online store here
- See the current Stampin’ Up! clearance rack specials here
- Earn FREE Stampin’ Up! products through my Wildflower Frequent Shopper Program – my way of saying thank you to my online frequent shopper customers.
- Have any questions? I’d be happy to help, click here to contact me.
Cardstock Cuts for this project:
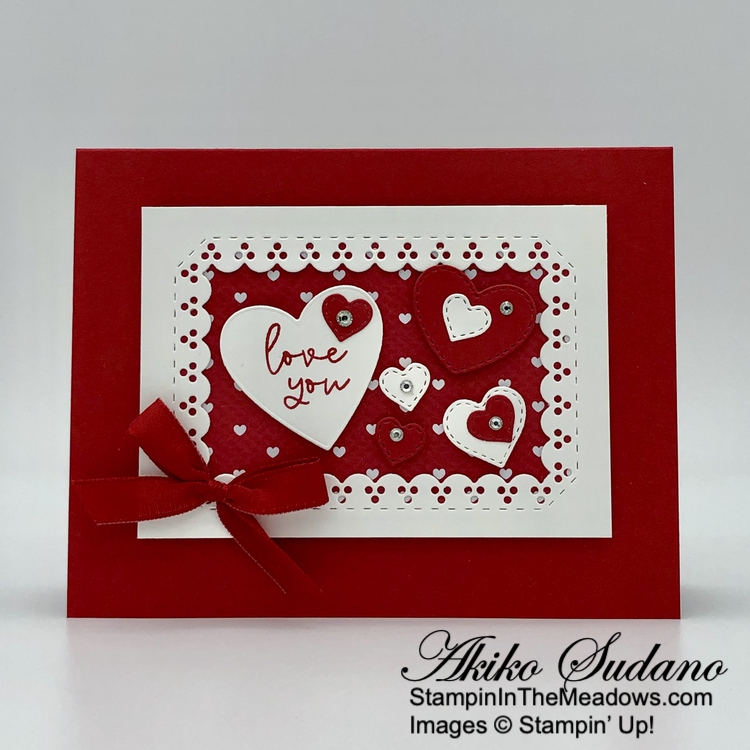
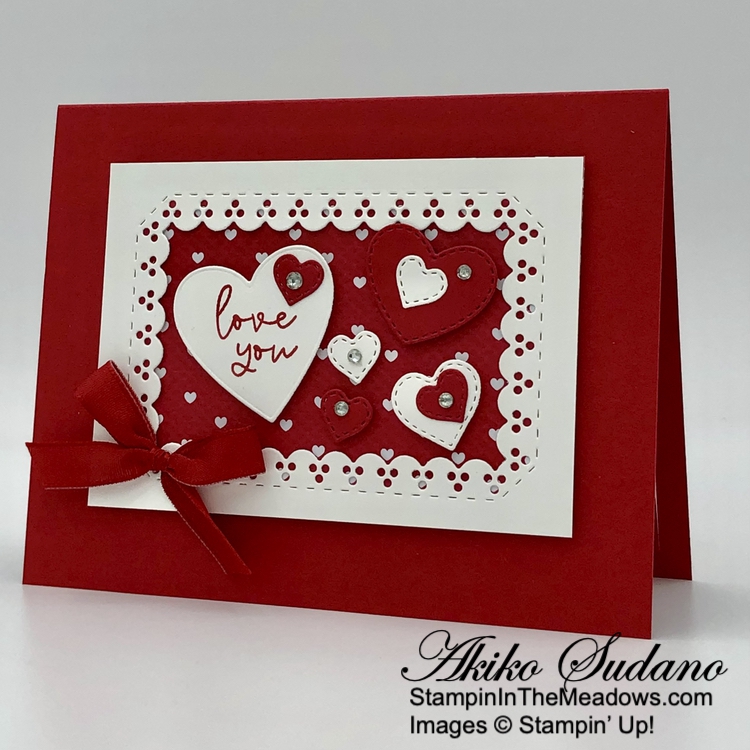
- Real Red – 5-1/2″ x 8-1/2″ card base scored at 4-1/4″, 2″ x 3″ (die cut hearts)
- Basic White – 3-3/4″ x 5″ (inside panel), 3″ x4-1/4″ (die cut frame), 2″ x 3″ (die cut hearts)
- Most Adored specialty DSP – 3″ x4-1/4″ (front background and inside mat), 7/8″ x 3-7/8″ (hinge)
Stampin’ Up! products used in this project:
")

 Designer Series Paper")


")
 Designer Series Paper")


")


 Specialty Designer Series Paper")


")

")


")

 Designer Series Paper")


 Bordered Ribbon")


 Metallic Woven Ribbon")


")


 Grosgrain Ribbon")


")
 Specialty Designer Series Paper")


 Trim Combo Pack")


")
 Designer Series Paper")


 Designer Series Paper")


