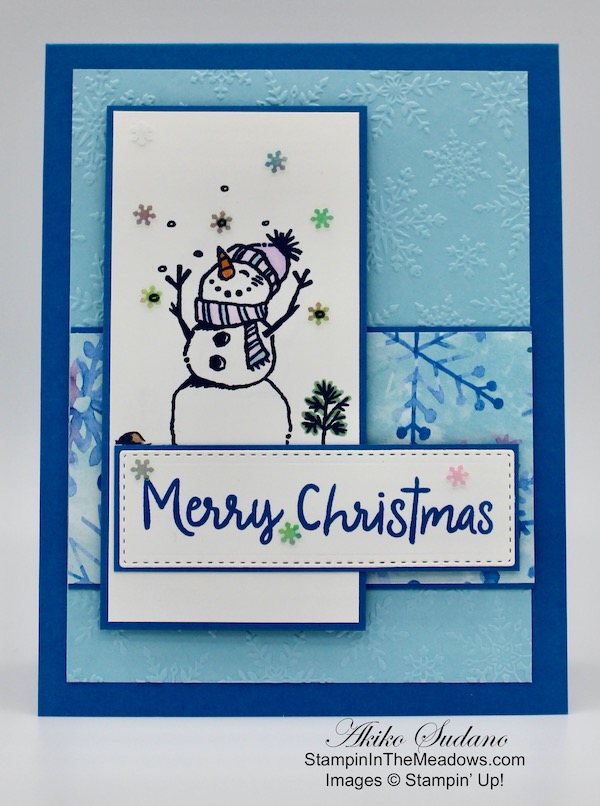
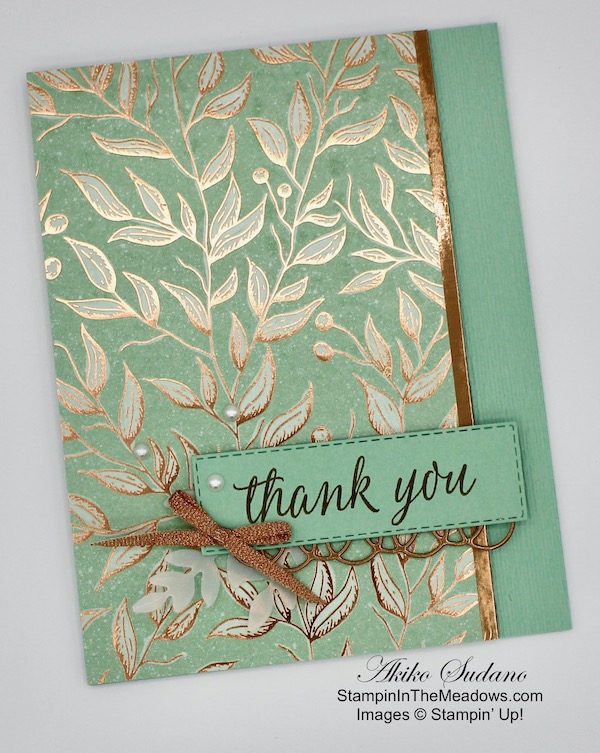
Good Morning! Today I have a simple and elegant thinking of you card made with the Stampin’ Up! Forever Gold specialty laser cut paper. You can find the supplies used to create this card at the bottom of my post along with the sizes of cardstock used.
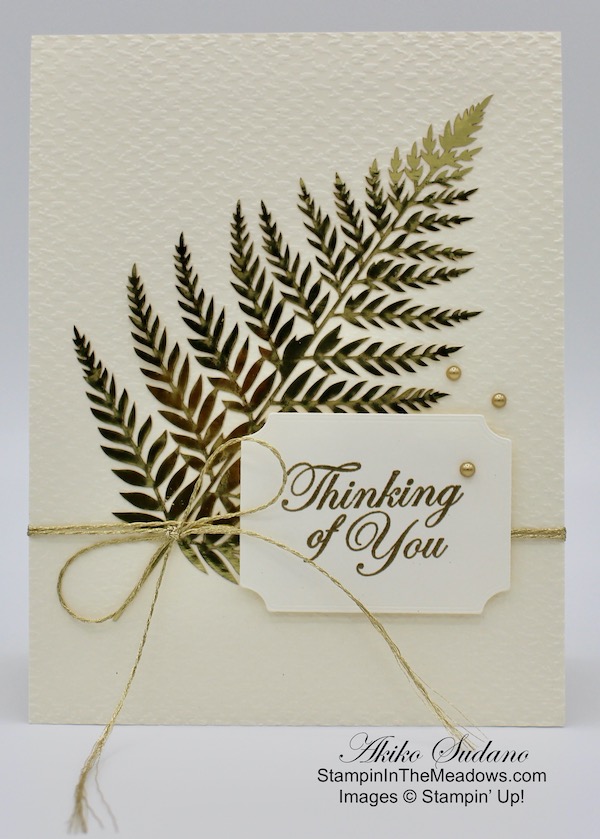
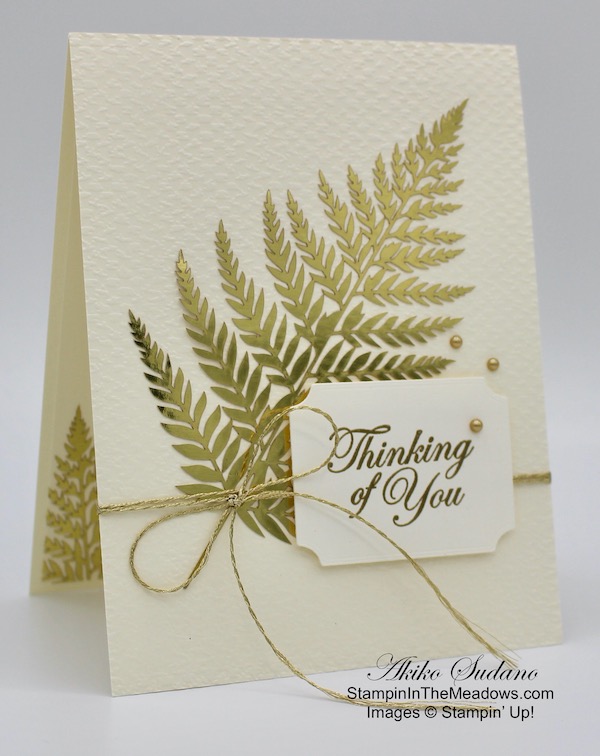
I embossed a panel of Very Vanilla cardstock with the Tasteful Textile 3D embossing folder and adhered it to the front of a Thick Very Vanilla card base. I adhered the beautiful large gold fern leaf from the Stampin’ Up! Forever Gold specialty laser cut paper to the front with small dots of liquid glue.
I stamped the sentiment from the Good Morning Magnolia cling stamp set in Versamark ink on a panel of Very Vanilla card stock. I sprinkled it with gold embossing powder and heat set until shiny. I cut it out with the die from the Tasteful Labels Dies.

I wrapped the card twice with gold floss and tied a bow. I popped the embossed label on the card front with dimensionals and finished it off with three metallic pearls.
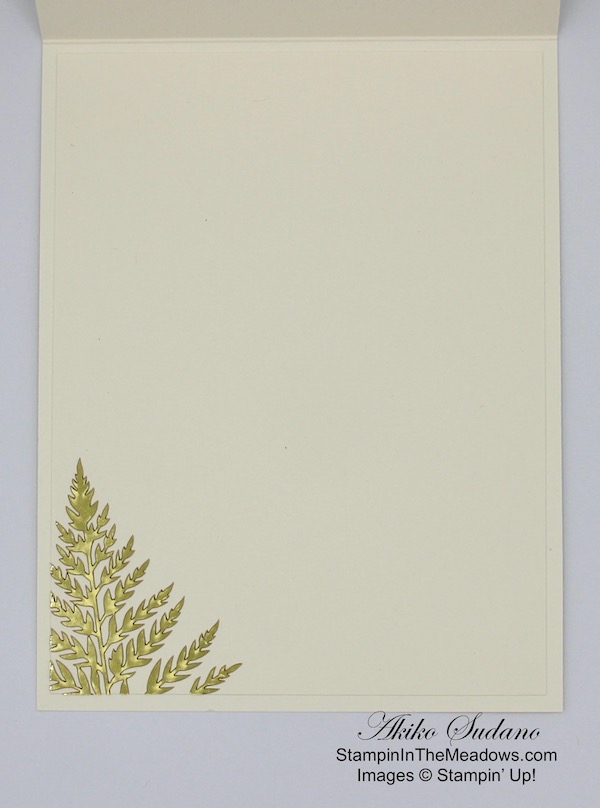
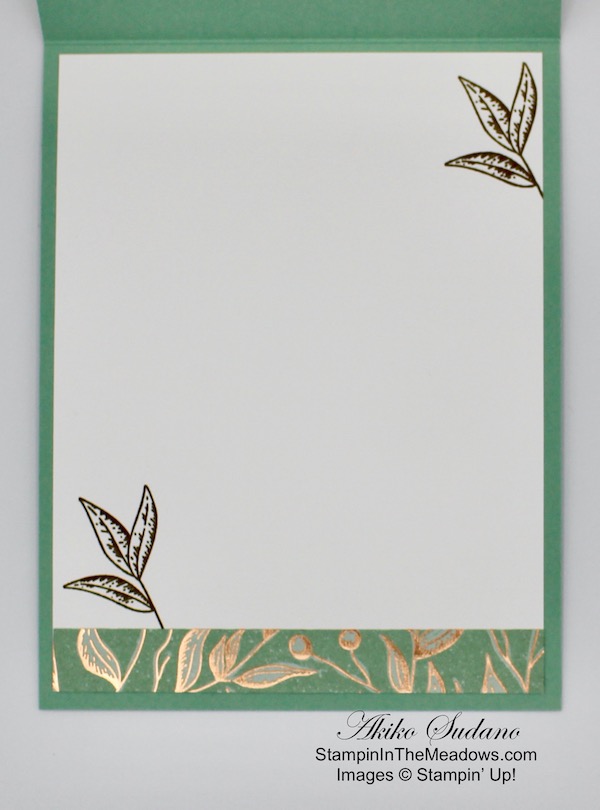
I cut the top of another large gold fern from the Stampin’ Up! Forever Gold specialty laser cut paper and adhered it to the bottom corner of a Very Vanilla panel with dots of liquid glue. I adhered the panel to the inside of the card.
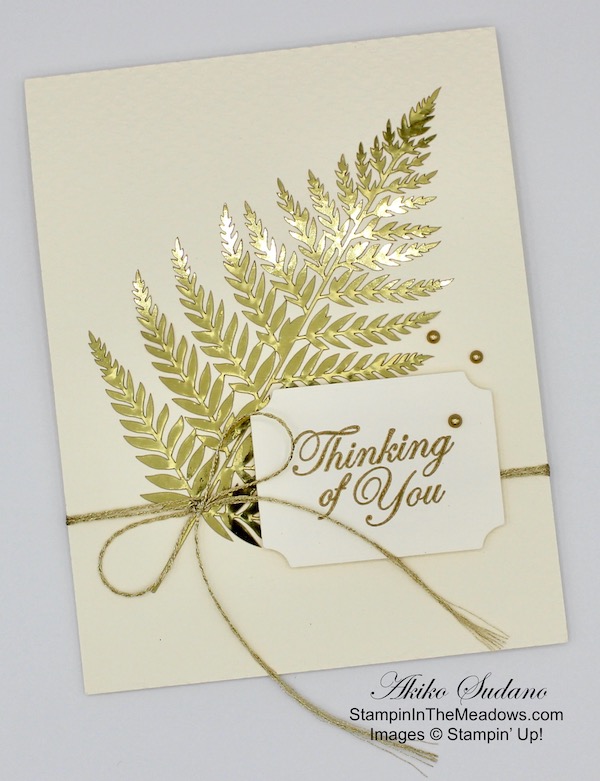
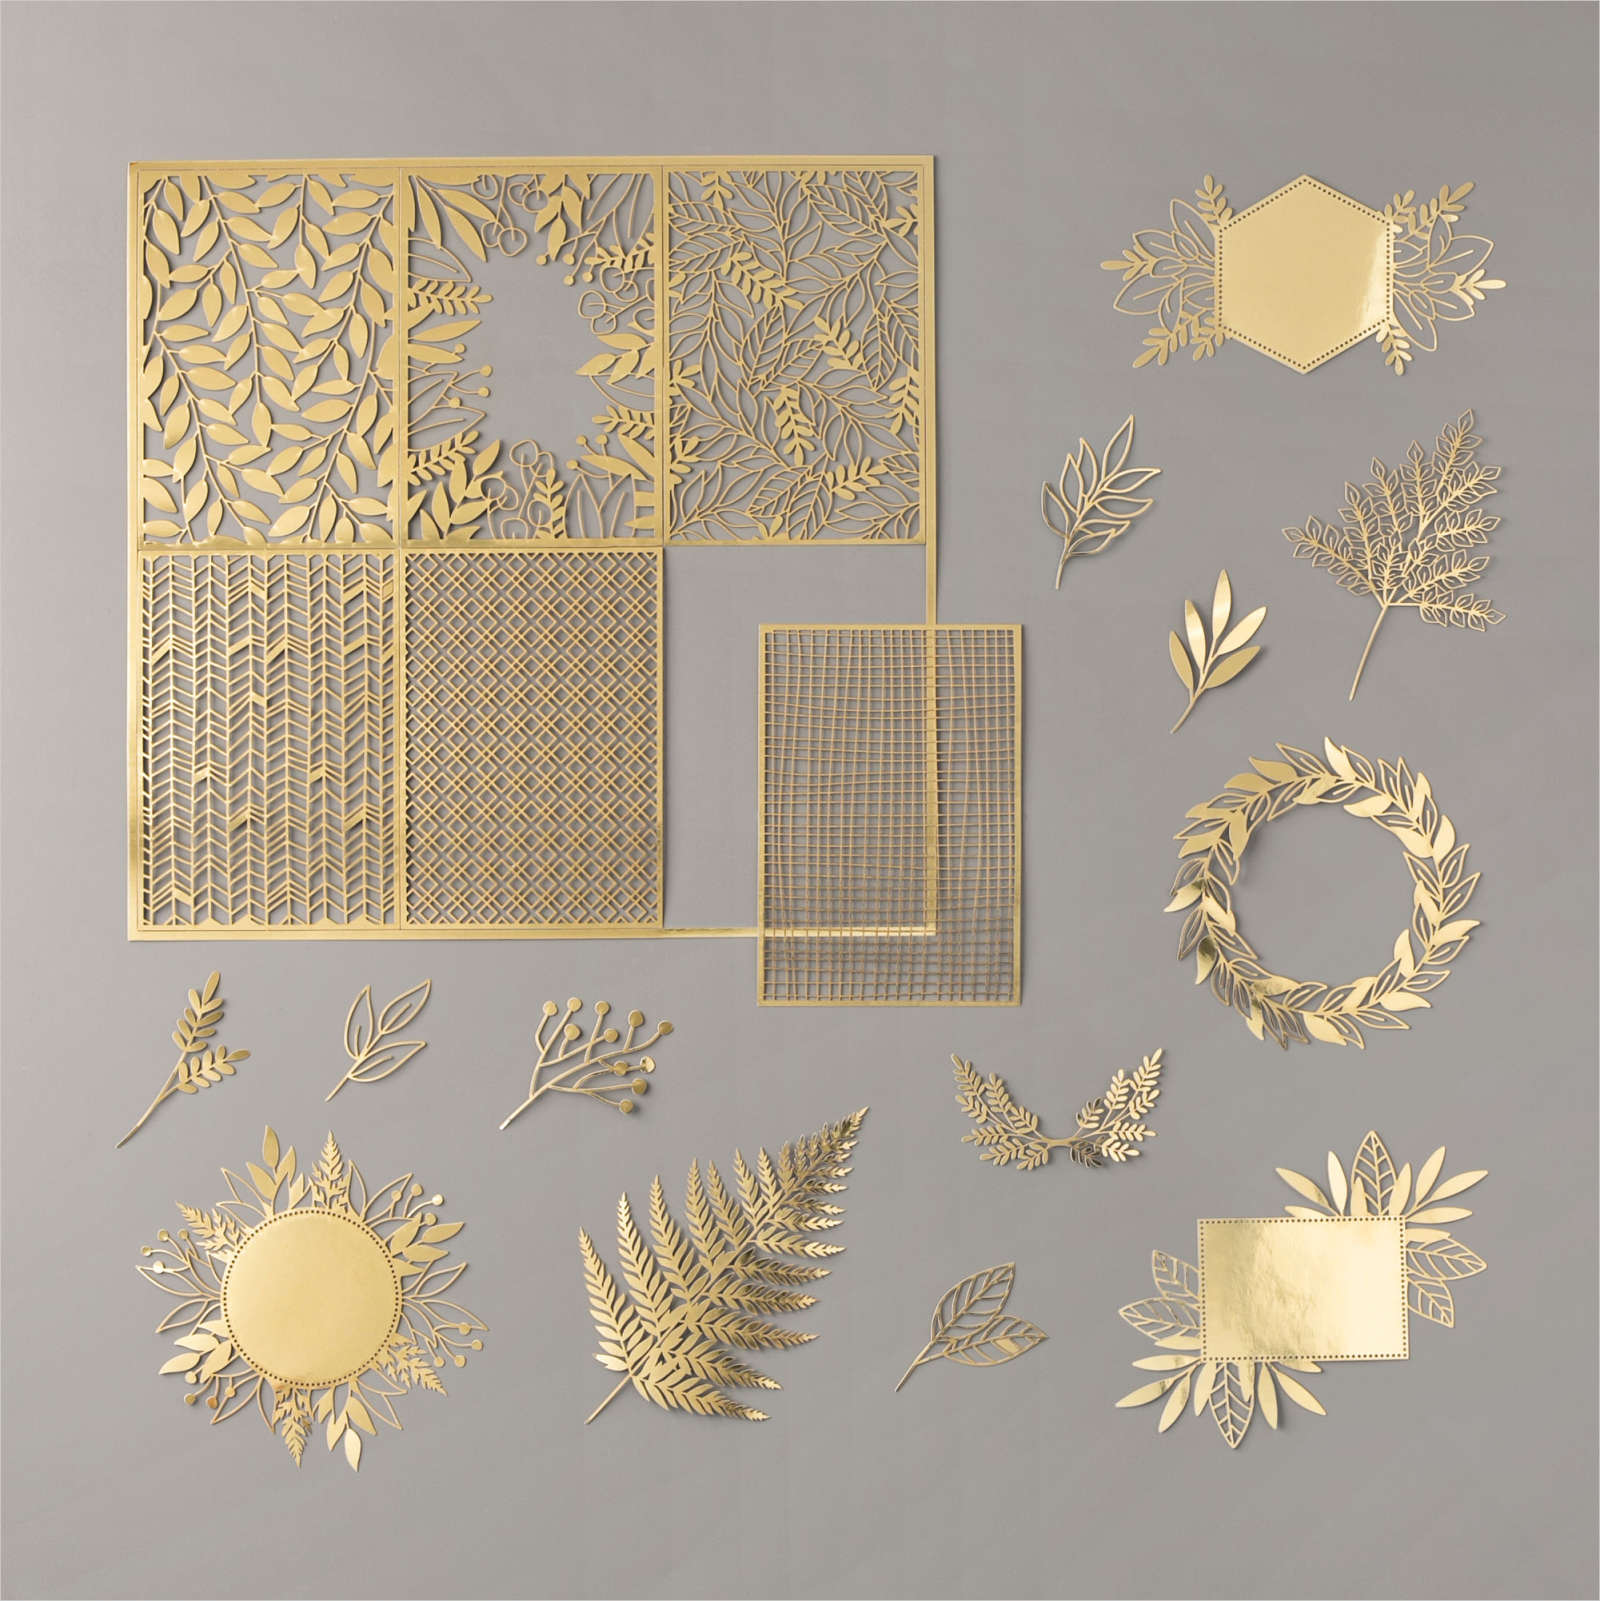
This card is so simple, but the gold foil leaves from the Stampin’ Up! Forever Gold specialty laser cut paper makes it so elegant and special. And while this card is a thinking of you card, you could replace the label with any sentiment and use it for many different occasions from a wedding card to a masculine birthday card. Here are all the pretty laser-cut gold foil elements that come in the set – you get three of each!!
Get & Go Starter Kit – Limited Time Joining Promotion

The Get & Go Starter Kit is a limited time promotion designed to give new Stampin’ Up! demonstrators additional products to help you get started right away. In addition to the already great valued Starter Kit, you will receive precut paper, stamps, and embellishments to use in your first event.

For full details, see my Promotions page or contact me.
The Stampin’ Cut & Emboss Machine is Here!
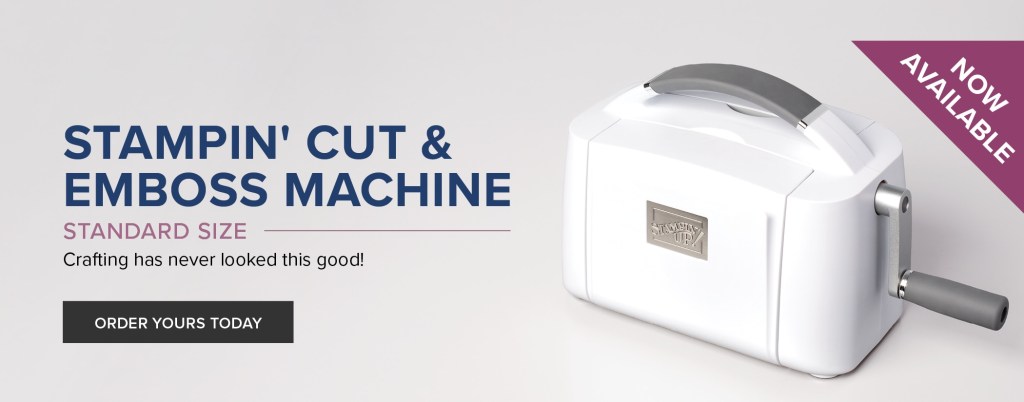
And if you need a new die cutting machine, check out the new Stampin’ Cut & Emboss machine! Details are on my Promotions page.
September 1-15 Host Code: 9UZFD3BH
Use this host code when you order $50 or more and receive a free gift from me! The gift is your choice of any item valued up to $10.00 in the 2020-21 Annual Catalog or the Aug – Dec 2020 Mini Catalog. This includes some of the host exclusive sets!
If your order is over $150, please do not use the host code since you’ll receive your own Host Dollars plus I’ll still send you the free gift! This host code can be used by anyone, no commitment required. Let me know if you have any questions.
If you need any stamping supplies, I’d be very happy to be your Demonstrator. Just click on the Shop Now Button on the right side of the screen to go directly to my Online store or contact me if you have any questions. Happy Stamping!
Thanks for stopping by and have a great day!
Akiko
- Visit my Online store here
- See the current Stampin’ Up! clearance rack specials here
- Earn FREE Stampin’ Up! products through my Wildflower Frequent Shopper Program – my way of saying thank you to my frequent shopper online customers.
- Sign up for my monthly newsletter here
- Have any questions? I’d be happy to help, click here to contact me.
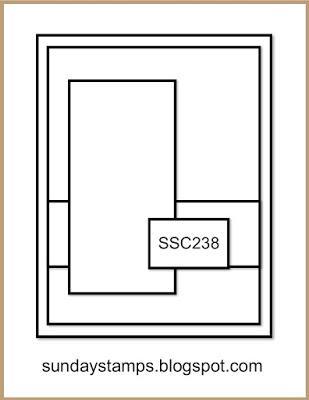
Cardstock Cuts for this project:
- Thick Very Vanilla – 4-1/4″ x 11″ card base scored at 5-1/2″
- Very Vanilla – 4-1/4″ x 5-1/2″ (embossed front), 4″ x 5-1/4″ (inside panel), 2″ x 2-3/4″ (label)
- Forever Gold Laser cut – two large fern leaves
Stampin’ Up! products used in this project:


")


 Designer Series Paper")