Good Morning! I used the pretty die cut daffodils from the Stampin’ Up! Daffodil Daydream bundle to make an Easter card for my Facetime Live yesterday afternoon. You can find the supplies I used in my video at the bottom of my post along with the sizes of cardstock used.

Here is the link to the Facebook Live video from yesterday. I also posted a copy of the video in my YouTube channel and you can view it here if you prefer. Here it is:
My design was inspired by the sketch challenge in TGIF Challenges #tgifc539. Here’s the pretty card sketch:

I embossed a Basic White panel with the Hive 3D embossing folder and trimmed it to 4″ x 5-1/4″ before adhering it to the front of a Thick Basic White card base. I adhered two strips of Hand Penned designer series paper on the embossed panel and started to make the flowers using Daffodil Delight card stock.

Here’s a picture of the die cuts for the flowers in the Stampin’ Up! Daffodil Daydream bundle. For each of the flower elements there is a background die cut and a detailed die cut. Adhere the detailed die cut to the top of the background die cut and you get the layered elements on the right. Then combine the layered elements to complete the flower. For the tallest daffodil, I used two sets of the 3 petal flowers and topped it with the center section. For the shortest flower, I used the 4 petal flower on the 2 petal flower and topped it with another center section. The bud is just the single layered bud element.

After putting the flowers together, I die cut the stems and leaves from the Stampin’ Up! Daffodil Daydream bundle from Garden Green card stock. I adhered three leaves to the DSP with liquid glue, trimming the bottom with paper snips before applying the liquid glue. I adhered stems to the back of the flowers and adhered them with liquid glue over the leaves (except for the bud, the stem fits nicely on the top). I trimmed the bottom of the tallest flower and adhered it. Next I did the same with the shortest flower and used a dimensional to lift the flower a bit, and finally trimmed the bottom and adhered the bud.
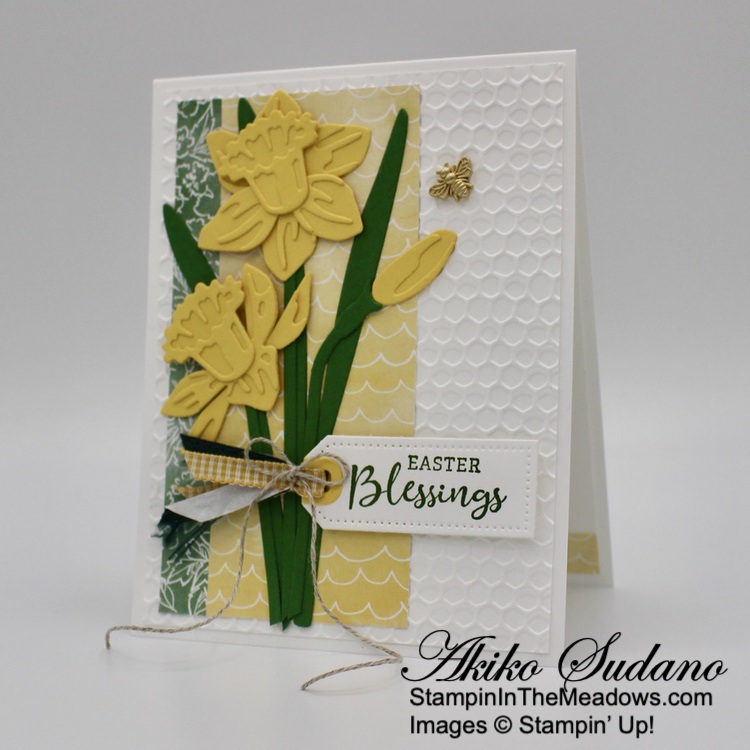
I stamped the sentiment from the Stampin’ Up! Daffodil Daydream cling stamp set in Garden Green on Basic White and cut it out with the Tailor Made Tags die. I adhered a Daffodil Delight Tag reinforcement to the top and looped some ribbons through the hole. I tied off the ribbons with linen thread, making a bow and adhered the tag with dimensionals. I finished off the card front with a little gold bumblebee trinket.
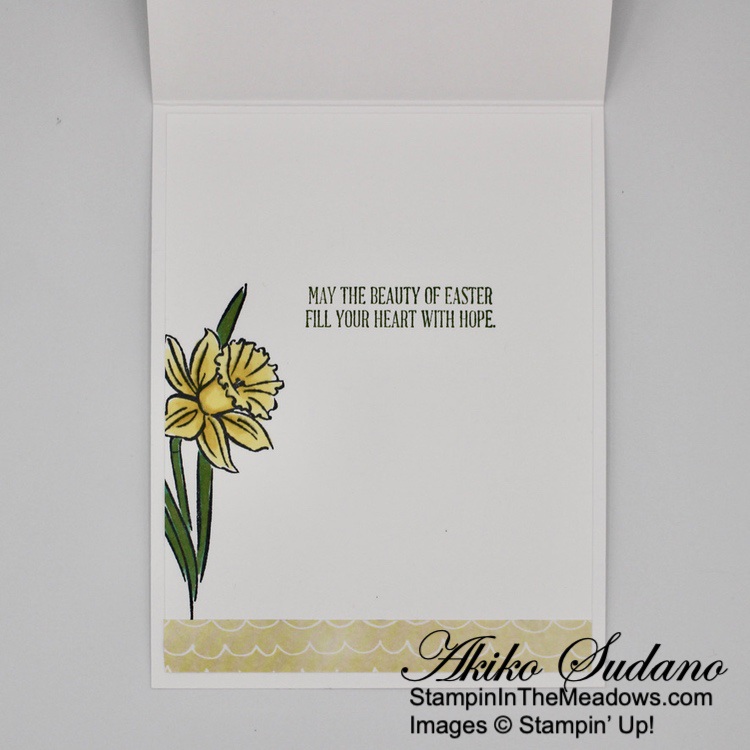
For the inside of the card, I stamped the daffodil from the Stampin’ Up! Daffodil Daydream stamp set in Memento Tuxedo Black on Basic White and Colored it with Stampin’ Blends. I used Daffodil Delight on the flower and Light Shaded Spruce and Light Mossy Meadow on the stems and leaves (this results in a shade close to Garden Green). I stamped the wonderful Easter sentiment from the A Wish for Everything cling stamp set in Garden Green and trimmed the bottom with Hand Penned DSP. I adhered the panel to the inside of the card with Stampin’ Seal.

The Stampin’ Up! Daffodil Daydream bundle is perfect for Spring cards! I love the die cut daffodils and the stamped images are pretty too. Daffodils are the first flowers to bloom in my yard, and I’m always happy to see them. This bundle captures that same feeling.

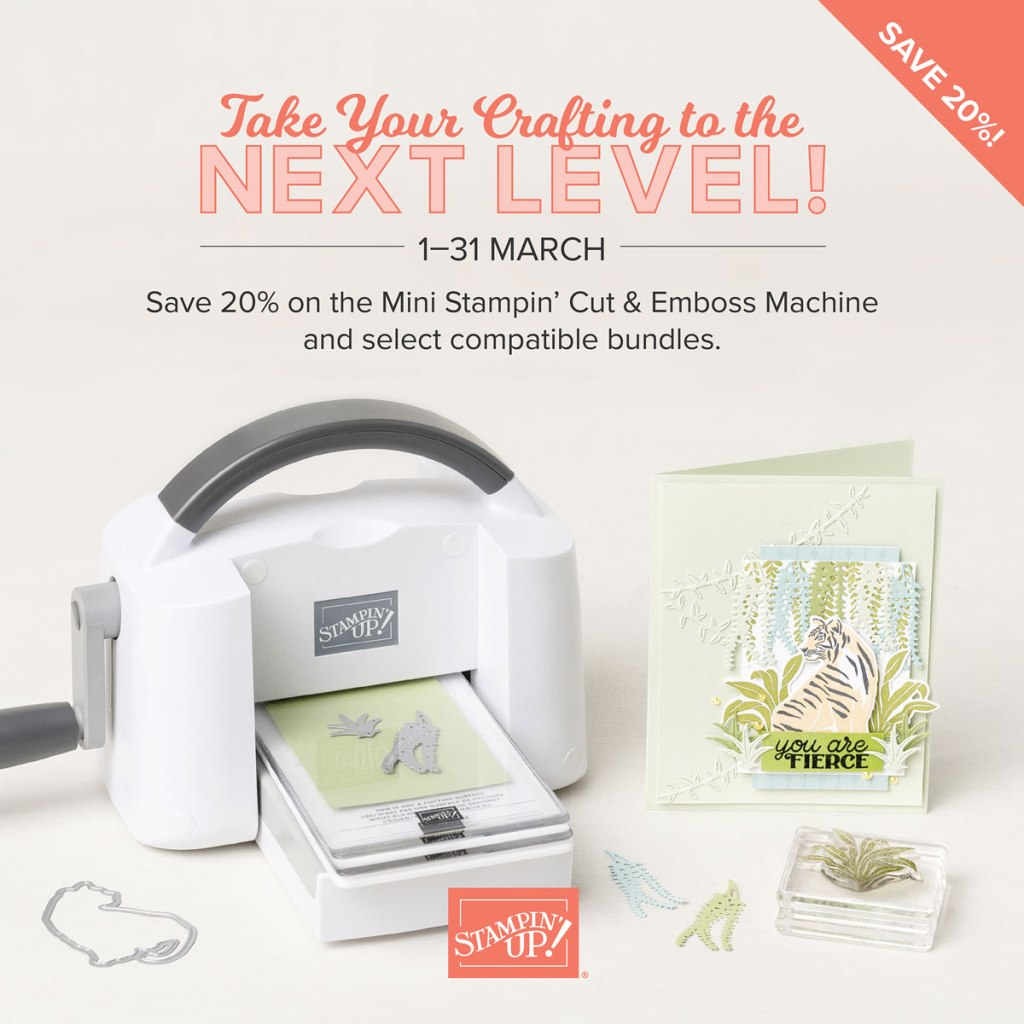
Savings Are In Bloom During March!
During the month of March, you can snag the Mini Stampin’ Cut & Emboss Machine at a 20% discount! This miniature machine is compatible with a large selection of Stampin’ Up! embossing folders and dies. Build your craft collection and combine the Mini Stampin’ Cut & Emboss Machine with any (or all!) of the select stamp-and-die bundles that are also available for 20% off during the month of March!
Click on the image below to download a PDF with all the details, including all the stamp bundles that will be on sale and the discounted prices! Click HERE to shop for these discounted items in my Online Store.

The April Paper Pumpkin Kit is Change is Beautiful!
Growing through life can also mean growing pains. Whether they’re climbing their career ladder or moving out for the first time—change can be simultaneously thrilling and scary—but isn’t that what makes life beautiful? Because new beginnings, after all, are simply new adventures. Let your loved ones know you’ll be there to support them through all of life’s chapters!
The Change is Beautiful kit contains enough supplies to create 9 stunning cards with a unique folding technique to commemorate moments of change. The designs are inspired by the natural cycles of change found in nature.
This kit includes:
- Change is Beautiful Photopolymer Stamp Set
- Melon Mambo Classic Stampin’ Spot®
- Printed card bases and Envelopes
- Card size – 4-1/4″ x 5-1/2″
- Printed, shaped die cuts
- Iridescent sea glass
- Dimensionals
Coordinating Colors: Balmy Blue, Basic Black, Bermuda Bay, Crushed Curry, Evening Evergreen, Granny Apple Green, Melon Mambo
If you’re interested in subscribing to Paper Pumpkin, you can either sign up for a subscription where you are billed monthly for your kit or you can purchase a prepaid subscription in my Online Store. To see more information and to sign up for the monthly subscription click here. To see the options for prepaid subscriptions in my Online Store, click here.
Sign up deadline for the April 2022 kit is April 10, 2022. Note: Supplies may be limited toward the end of the subscription period.
Current Host Code: MPMDW6BG
Use this host code when you order $50 or more and receive a free gift from me! The free gift is your choice of any item valued up to $10.00 in the 2021-2022 Annual Catalog or the January – June 2022 Mini Catalog!
If your order is over $150, please do not use the host code since you’ll receive your own Host Dollars plus I’ll still send you the free gift! This host code can be used by anyone, no club or commitment required. Let me know if you have any questions.
If you need any stamping supplies, I’d be very happy to be your Demonstrator. Just click on the Shop Now button on the right side of the screen to go directly to my online store or contact me if you have any questions. Happy Stamping!
Thanks for stopping by and have a great week!
Akiko
- Visit my online store here
- See the current Stampin’ Up! clearance rack specials here
- Earn FREE Stampin’ Up! products through my Wildflower Frequent Shopper Program – my way of saying thank you to my online frequent shopper customers.
- Have any questions? I’d be happy to help, click here to contact me.
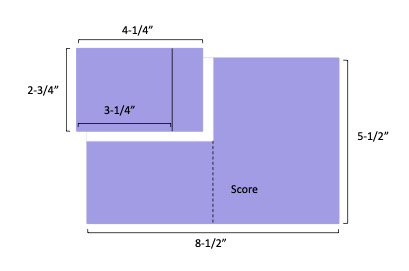
Cardstock Cuts for this project:
- Thick Basic White – 4-1/4″ x 11″ card base scored at 5-1/2″
- Daffodil Delight – 4″ x 7″ (die cut flowers)
- Garden Green – 4″ x 5″ (die cut stems & leaves)
- Basic White – 4″ x 5-1/4″ (inside panel), 4″ x 5-3/8″ (embossed front background), 1-1/2″ x 3″ (tag)
- Hand Penned DSP – 2″ x 5″ (front background), 1/2″ x 5″ (front trim), 1/2″ x 4″ (inside trim)
Stampin’ Up! products used in this project:

")


 Designer Series Paper")


 Chevron Weave Ribbon")

 Crinkled Seam Binding Ribbon")


")


")


 Grosgrain Ribbon")


