Stampin’ Up! Trusty Tools for the Happy Inkin’ Thursday Blog Hop

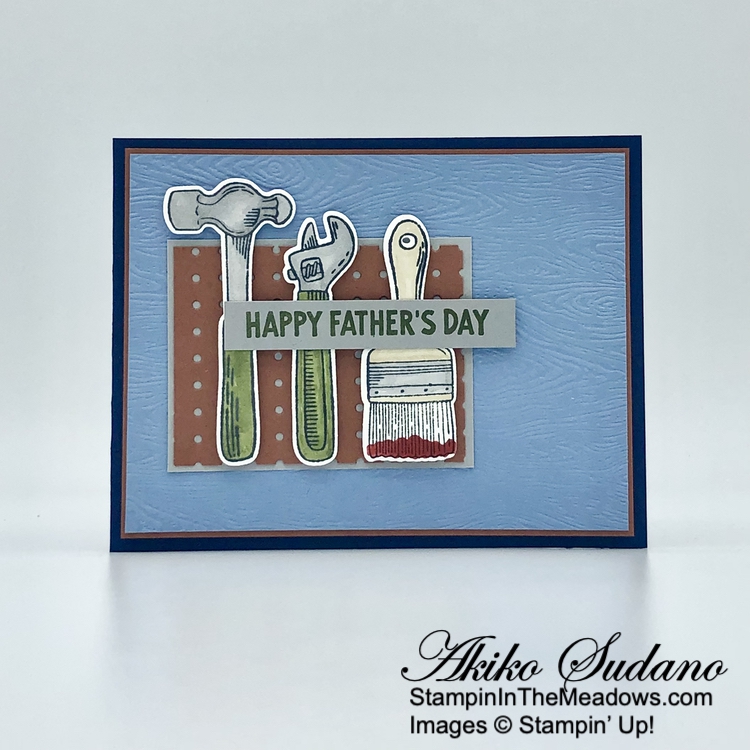
Good Morning and welcome to the Happy Inkin’ Thursday Blog Hop! Mother’s Day is just around the corner, but it’s not too early to start thinking about Father’s Day. So I pulled out the Stampin’ Up! Trusty Tools stamp set and dies to make a Father’s Day card. You can find the supplies I used along with card stock cuts at the bottom of my post.

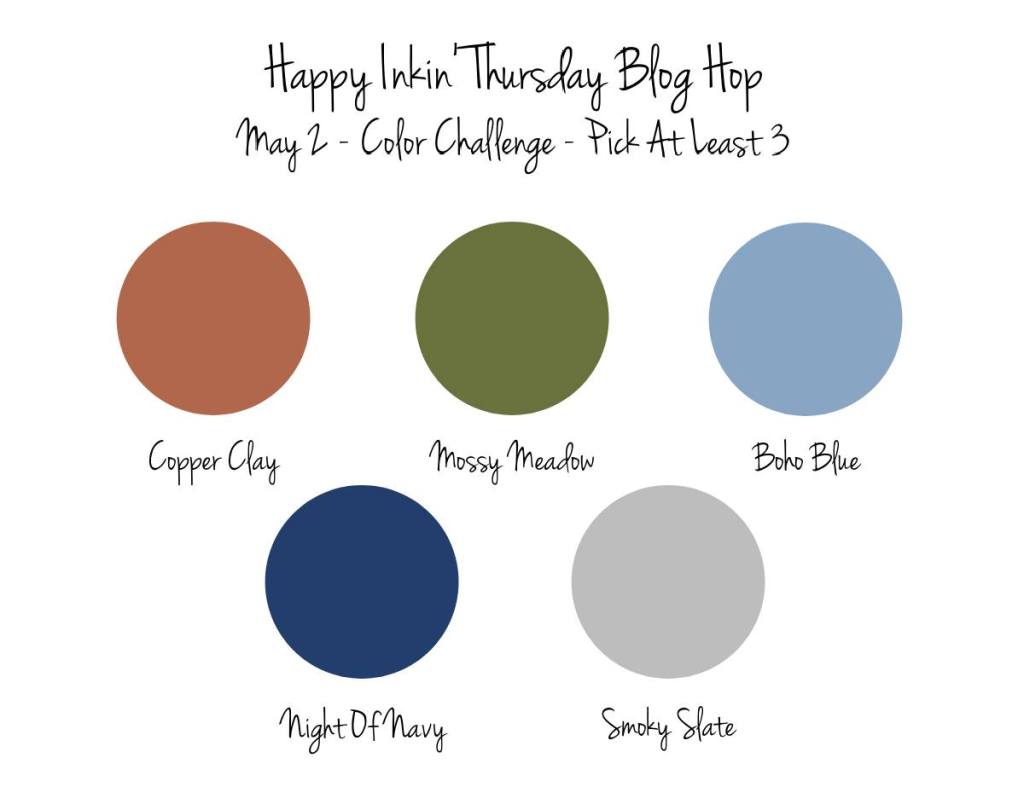
We have a color challenge this week:

I embossed a panel of Boho Blue with the Timber 3D embossing folder and adhered it to a Copper Clay mat with liquid glue. I adhered the layered panel to the front of a Night of Navy card base with dimensionals. This one’s a little different because it’s a landscape card with a side fold rather than on the top!

I used the peg board die from the Stampin’ Up! Trusty Tools dies to cut a Copper Clay panel and adhered it to a Smoky Slate mat using tiny dots of liquid glue. I adhered it to the card front with liquid glue. I stamped the hammer, wrench and paintbrush using Memento Tuxedo Black ink on Basic White. I stamped the paint on the bottom of the brush in Real Red ink.

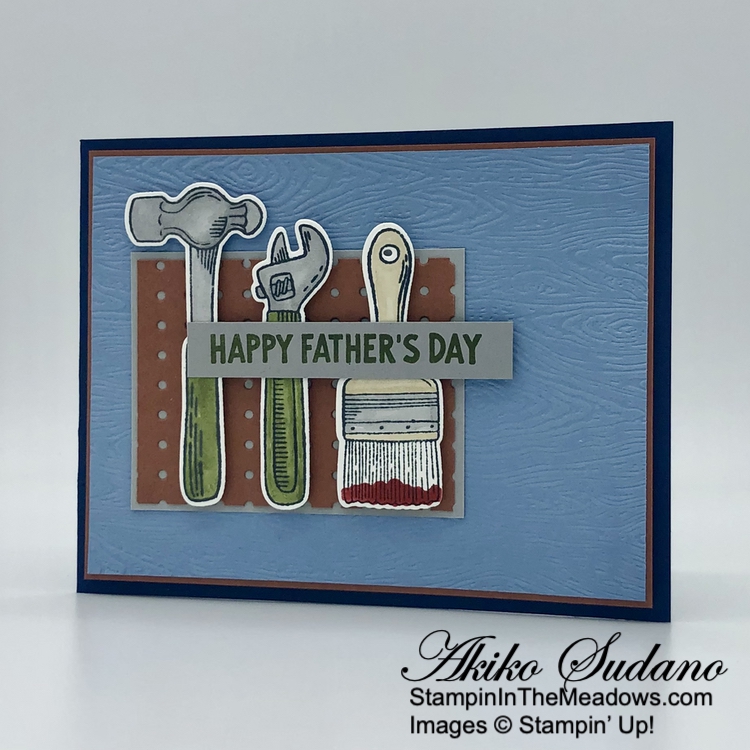
I colored the tools with light Mossy Meadow, light Smoky Slate and light Crumb Cake Stampin’ Blends. I cut the tools out with the coordinating dies from the Stampin’ Up! Trusty Tools dies and adhered them to the card with dimensionals. I stamped the sentiment using Mossy Meadow ink on Smoky Slate and adhered it to the card with glue dots and dimensionals.

For the inside of the card, I stamped the sentiments from the Stampin’ Up! Trusty Tools stamp set in Mossy Meadow and Copper Clay inks on a Basic White panel. I stamped the screws and bolts using Smoky Slate ink and adhered the panel to the inside of the card with Stampin’ Seal.

I’m so glad the Stampin’ Up! Trusty Tools stamp set and dies carried over to the new Annual Catalog. They’re perfect for making masculine cards and I love how you can make the tools with both stamped and die cut images. And the sentiments are great too!

On with the Hop! Click on the Next Blog button to move forward to see the beautiful project Karen Ksenzakovic has created.

If you get lost along the way, here are the participants for the hop:


Current Host Code: YEPTJAZ9

Use this host code when you order $50 or more and receive a free gift from me!  The free gift is your choice of any item currently available valued up to $10.00!

If your order is over $150, please do not use the host code since you’ll receive your own Host Dollars plus I’ll still send you the free gift!  This host code can be used by anyone, no club or commitment required. Let me know if you have any questions.


If you need any stamping supplies, I’d be very happy to be your Demonstrator.  Just click on the Shop Now button on the right side of the screen to go directly to my online store or contact me if you have any questions. 

Thanks for stopping by and Happy Stamping!

Akiko

  • Visit my online store here
  • See the current Stampin’ Up! clearance rack specials here
  • Earn FREE Stampin’ Up! products through my Wildflower Frequent Shopper Program – my way of saying thank you to my online frequent shopper customers.
  • Have any questions? I’d be happy to help, click here to contact me.

Cardstock Cuts for this project:

  • Night of Navy – 4-1/4″ x 11″ card base, scored at 5-1/2″
  • Copper Clay – 4″ x 5-1/4″ (front mat), 2-1/4″ x 3″ (die cut peg board)
  • Boho Blue – 3-7/8″ x 5-1/8″ (embossed background)
  • Smoky Slate – 2-3/8″ x 3-1/8″ ( peg board mat), 1/2″ x 3″ (label)
  • Basic White – 4″ x 5-1/4″ (inside panel), 3-1/2″ x 4″ (die cut tools)

Stampin’ Up! products used in this project:


Stampin’ Up! Trusty Tools for the Inkin’ Krew Blog Hop

Good Morning! Welcome to the February Inkin’ Krew Team Blog Hop! The theme for this month’s hop is “Birthday” and I used the Stampin’ Up! Trusty Tools bundle with the Trusty Toolbox Sale-A-Bration designer series paper to make a fun fold masculine birthday card. You can find the supplies I used along with card stock cuts at the bottom of my post.

I cut and scored the Gray Granite and Lost Lagoon card bases for my Joy Fold card and adhered panels of Trusty Toolbox designer series paper to the back section and front and back of the front flap of the Gray Granite card base and to the front and back of the front flap of the Lost Lagoon mini card. I used different patterns for each panel and adhered them with liquid glue. I adhered the Lost Lagoon mini card to the inside of the main Gray Granite card base with liquid glue, placing the hinge on the right side.

I used the drill dies from the Stampin’ Up! Trusty Tools dies to cut Crushed Curry, Gray Granite, Copper Clay, Lost Lagoon and Basic Black card stock. For the Basic Black and Lost Lagoon sections, I used the large drill die to partially cut the pieces and finished cutting with paper snips. I adhered the die cuts together with liquid glue and adhered the drill to the front flap of the large card base. 

I used the Stampin’ Up! Trusty Tools dies to cut the pencil, tape measure and paintbrush from Trusty Toolbox DSP and fussy cut the screwdriver and pliers. I used dies to cut nuts and bolts from Gray Granite card stock and adhered the all the tools to the inside flaps with liquid glue.

I stamped the Happy Birthday sentiment from the Carousel Horses stamp set in Memento Tuxedo Black in on a strip of Trusty Toolbox DSP and cut it out with the Gorgeously Made label die. I cut the toolbox from Copper Clay card stock using the Stampin’ Up! Trusty Tools dies. I adhered the handle to the mini card front with liquid glue and adhered the label on top. I adhered more die cut and fussy cut Trusty Toolbox DSP tools to the card and popped the toolbox on top with dimensionals. I adhered a die cut DSP hammer on top with glue dots and dimensionals.

For the inside of the card, I stamped the sentiment from the Stampin’ Up! Trusty Tools stamp set in Lost Lagoon ink on Basic White. I stamped the nuts and bolts in Gray Granite and adhered the panel to the inside of the card with Stampin’ Seal.

The Stampin’ Up! Trusty Tools bundle is a great tool themed bundle that is perfect for making cards for your handy man or handy lady who is great at fixing things.

On With The Hop! Click on the Next Blog button to move forward to Amy Koender’s project or click the Previous Blog button to move back to see the project that Nel Thames created.

If you get lost along the way, here are the participants for the hop:

UPDATE: I decided to enter this card in the Creative Creases Challenge #75 – Anything Goes with a Fun Fold. Check out the other fun folds:


Current Host Code: M3WQ2HCB

Use this host code when you order $50 or more and receive a Thank You gift from me!  The free gift is your choice of any currently available item valued up to $10.00.

If your order is over $150, please do not use the host code since you’ll receive your own Host Dollars plus I’ll still send you the Thank You gift!  This host code can be used by anyone, no club or commitment required. Let me know if you have any questions.


If you need any stamping supplies, I’d be very happy to be your Demonstrator.  Just click on the Shop Now button on the right side of the screen to go directly to my online store or contact me if you have any questions.  Happy Stamping!

Thanks for stopping by and have a great week!

Akiko

  • Visit my online store here
  • See the current Stampin’ Up! clearance rack specials here
  • Earn FREE Stampin’ Up! products through my Wildflower Frequent Shopper Program – my way of saying thank you to my online frequent shopper customers.
  • Have any questions? I’d be happy to help, click here to contact me.

Cardstock Cuts for this project:

  • Gray Granite – 4-1/4″ x 8-1/2″ card base scored at 5-1/2″, 1″ x 3-1/2″ (die cut tools)
  • Lost Lagoon – 3″ x 8″ mini card base scored at 4″, 1″ x 2″ (die cut tools)
  • Copper Clay – 3″ x 4″ (die cut tool box)
  • Crushed Curry – 2″ x 2-3/4″ (die cut tools)
  • Basic Black – 1″ x 1-1/2″ (die cut tools)
  • Basic White – 2-3/4″ x 3-3/4″ (inside panel)
  • Trusty Toolbox DSP – 3-3/4″ x 5″ (inside background), two 2-3/4″ x 4″ panels (large card front flap), two 2-3/4″ x 3-3/4″ panels (mini card front flap), 1″ x 3″ (label), die cut and fussy cut tools

Stampin’ Up! products used in this project: