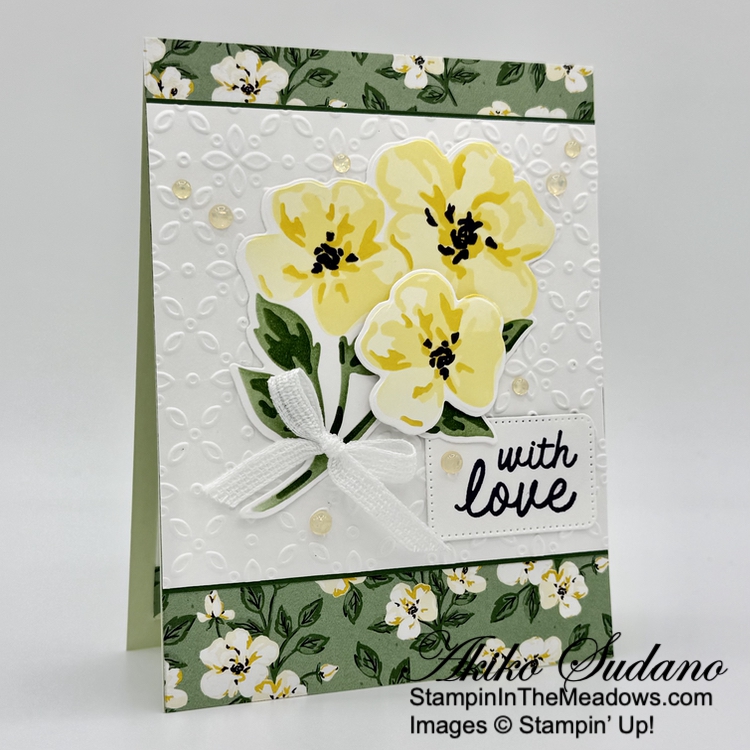
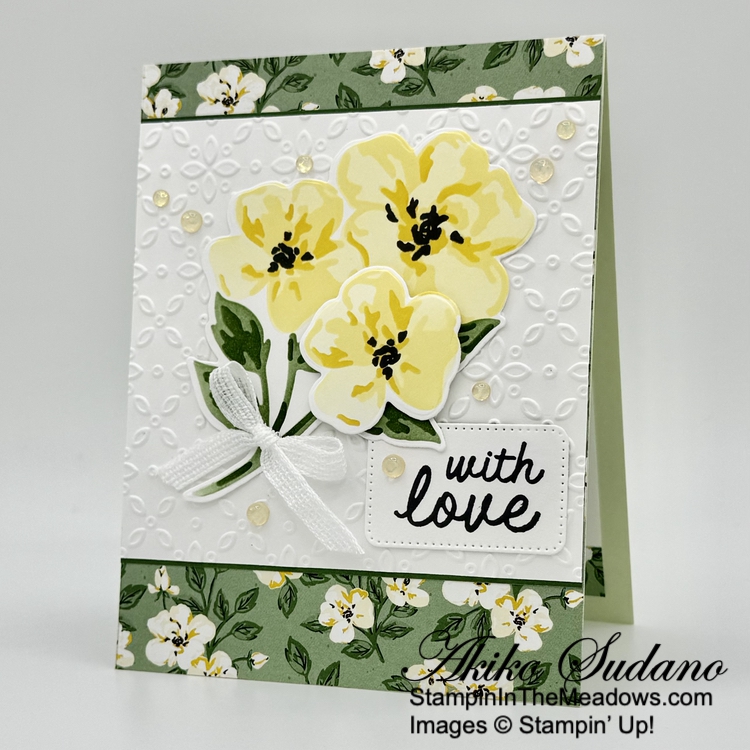
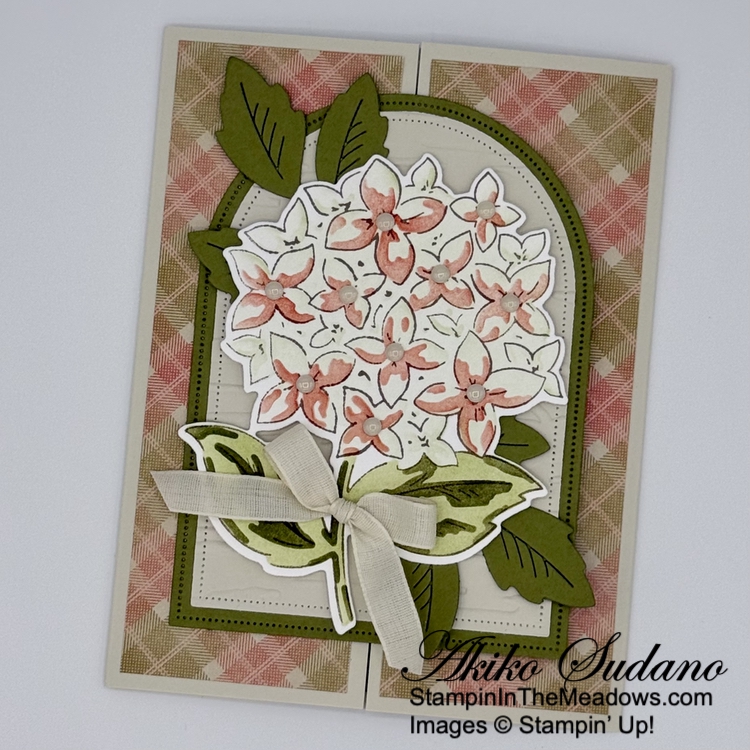
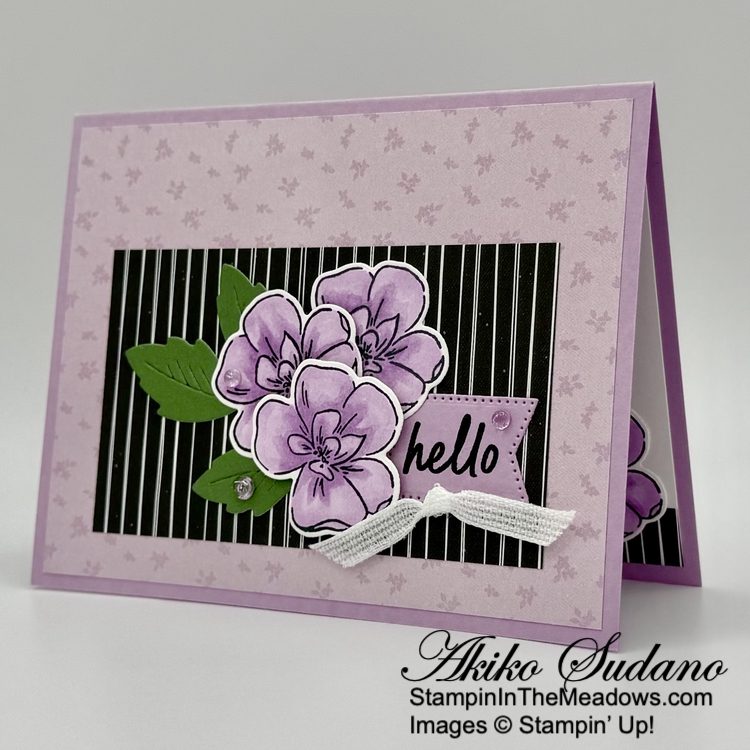
Good Morning! Hope you had a wonderful weekend! Here is a gate fold card made with the pretty Stampin’ Up! Thankful Garden bundle that came out earlier this year. The thing is, my hydrangeas are Lil’ Limelight, which means that they have greenish white flowers that turn a beautiful bronze in the fall (the ones the deer don’t eat, that is). And they’re at the peak of their color right now, so I wanted to make a card using this pretty bundle to capture these Fall hydrangeas. You can find the card stock cuts along with supplies at the bottom of my post.
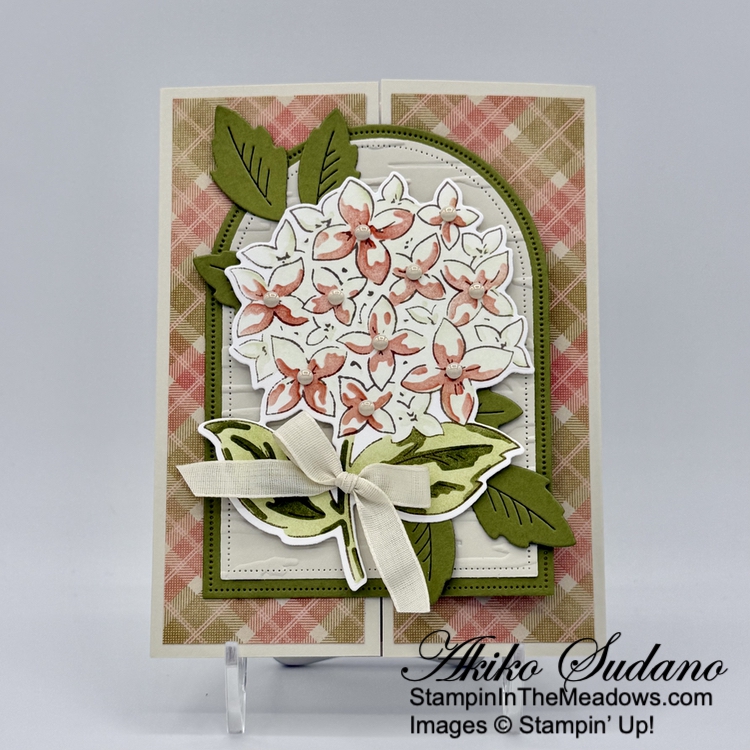
After scoring and burnishing the card base for the center gate fold card, adhere panels of Timeless Plaid 6″ x 6″ designer series paper to the front flaps. Use the third largest die from the Everyday Arches dies to cut Old Olive and the next smallest to cut Basic Beige. Emboss the Basic Beige arch with the Birch Wood 3D embossing folder and adhere it to the Old Olive arch. Adhere the layered arches to the left side of the card base.
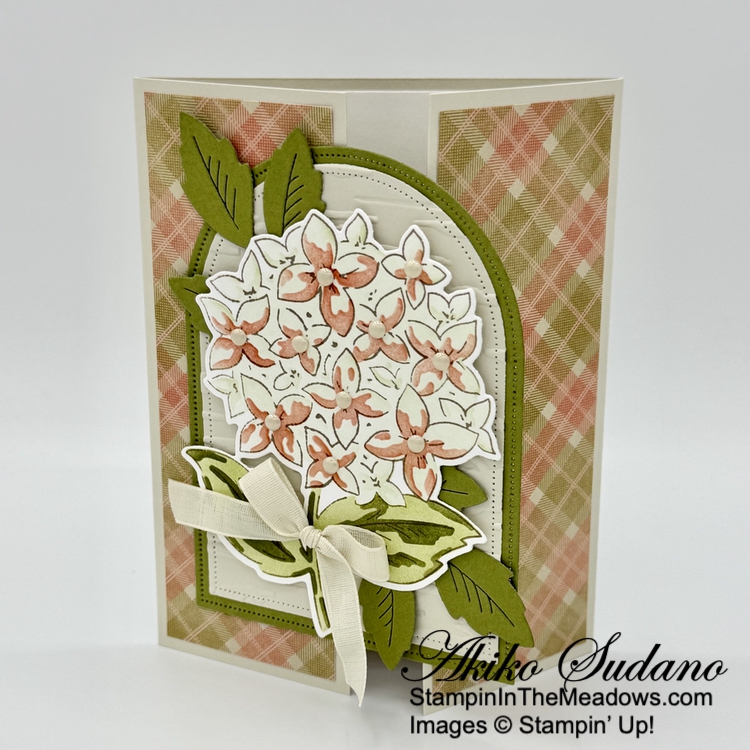
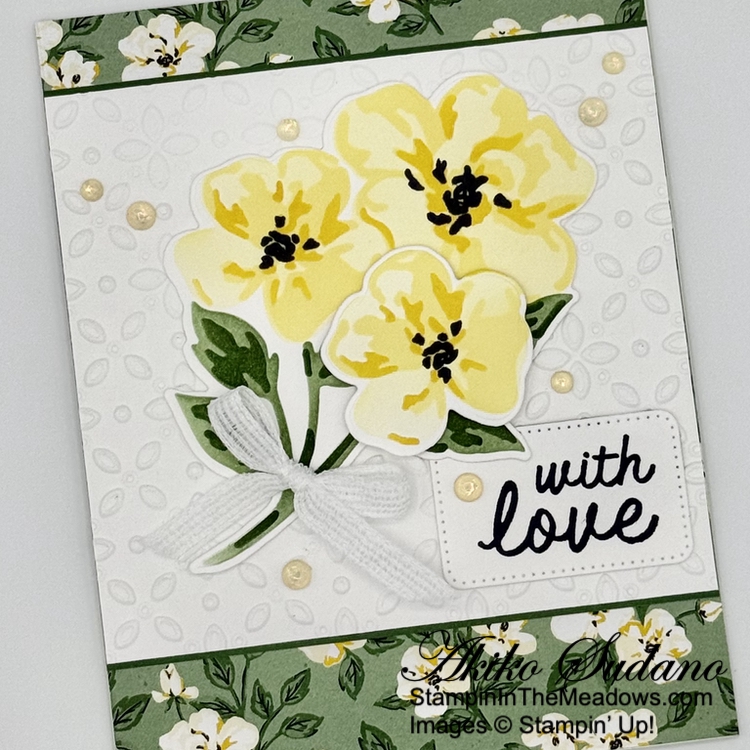
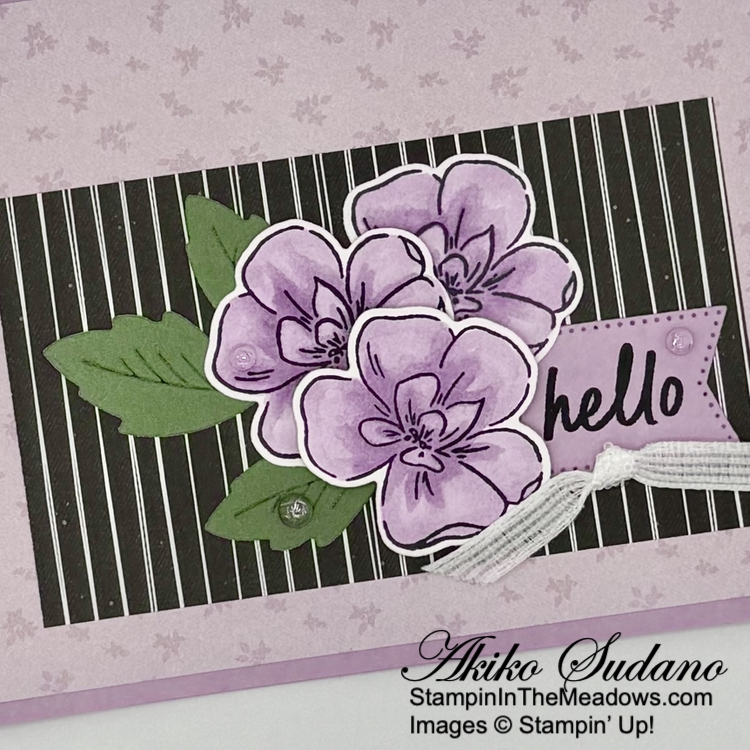
Stamp the large hydrangea flower from the Stampin’ Up! Thankful Garden stamp set using Gray Granite ink and color it using the masks and blending brushes (masks are included in the bundle or can be purchased separately). Color the hydrangea first using Soft Sea Foam for mask #1 and #2 (the color will be darker with the second mask). For mask #3, start with Calypso Coral and add a little Cajun Craze at the end. Use Old Olive to color the leaves with masks #4 and #5. Cut the hydrangea out with the large coordinating die.
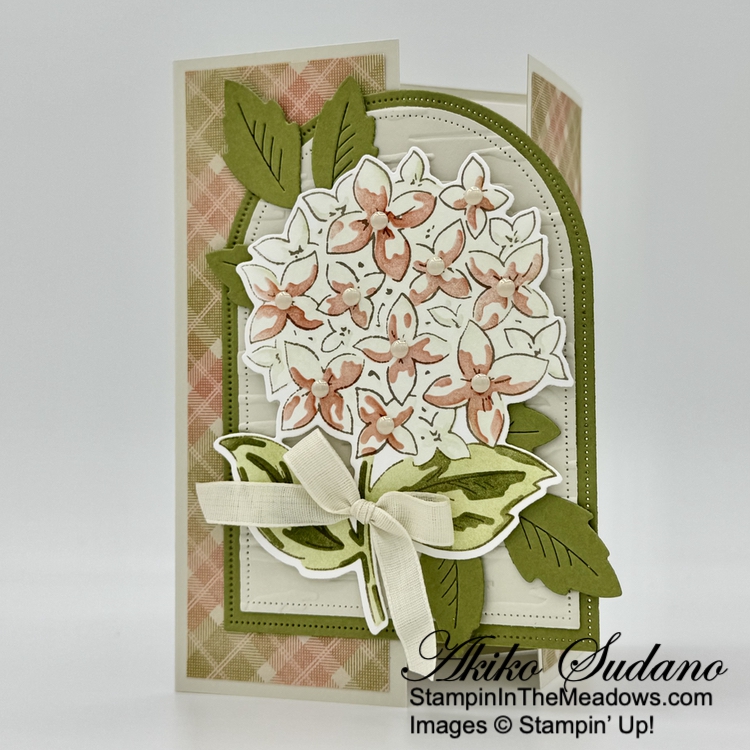
Cut two large leaf clusters using the Stampin’ Up! Thankful Garden dies from Old Olive card stock and adhere them to the card with glue dots. Pop the flower on top with dimensionals and decorate the centers with antique pearls. Finish with a Basic Beige bow.
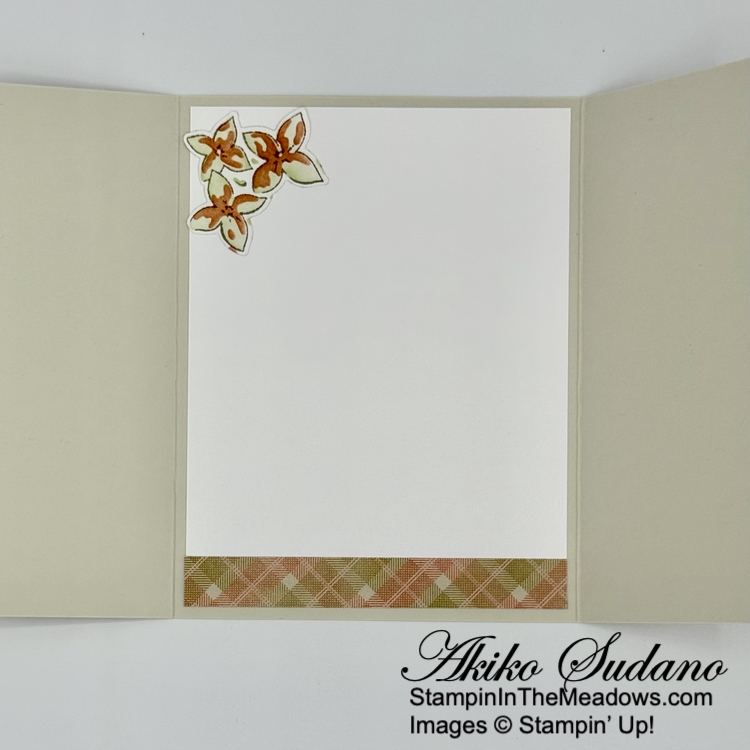
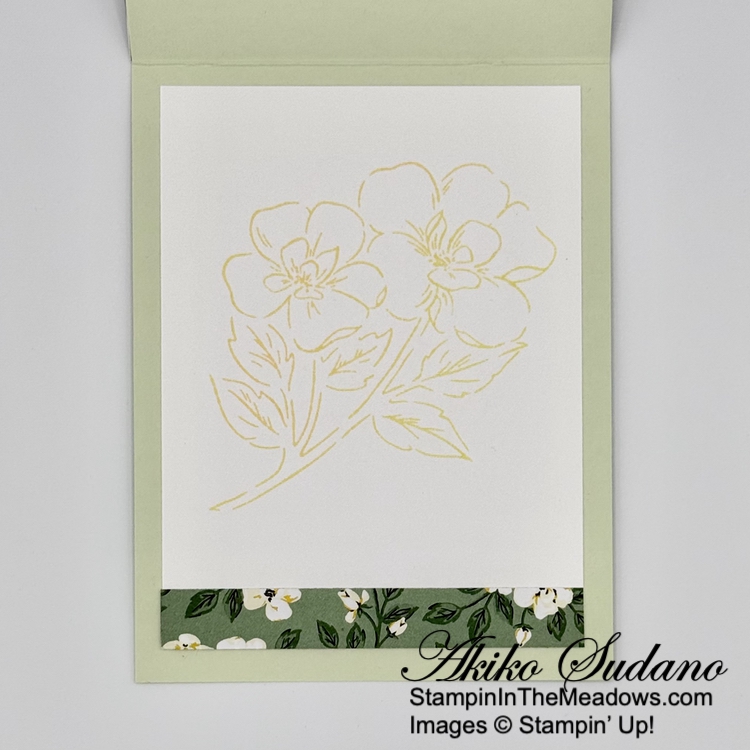
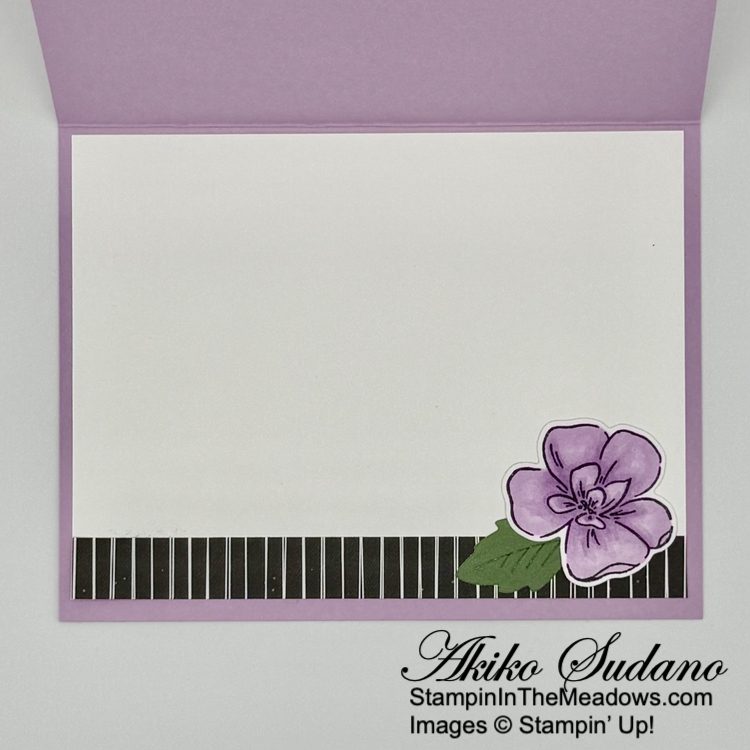
For the inside panel, trim the bottom of a Basic White panel with DSP. Find the section of the hydrangea from the Stampin’ Up! Thankful Garden stamp set that goes with the small flower die and stamp it using Gray Granite ink on Basic White. Color with blending brushes like the large flower on the front and cut it out with the small hydrangea die. Adhere it to the panel and adhere the panel to the inside of the card.
I was happy with how the hydrangea came out using the masks for coloring. My first attempt using Stampin’ Blends didn’t work out nearly as well 😞. I didn’t put any sentiments on the front or inside of this card, but you can use it for a Fall birthday or for any other occasion. I love plaids in the Fall and so many of the Timeless Plaid designs would be great for a Fall card, so don’t forget those items hiding in your stash! Enjoy!
And don’t forget that tomorrow is the Big Day for the new Stampin’ Up! 2025 September-December Mini Catalog to open and a new release of Online Exclusive products!
Thanks so much for stopping by and Happy Stamping!!
Akiko
Cardstock Cuts for this project:
- Basic Beige – 5-1/2″ – 8-1/2″ card base, scored at 2-1/8″ and 6-3/8″, 3-1/4″ x 4-1/2″ (embossed arch)
- Old Olive – 3-1/2″ x 4-3/4″ (arch mat), 2″ x 5-1/2″ (die cut leaves)
- Basic White – 4″ x 5-1/4″ (inside panel), 3-3/4″ x 4-1/2″ (flower), 1-3/4″ x 2-3/4″ (inside flower)
- Timeless Plaid 6″ x 6″ DSP – two 1-7/8″ x 5-1/4″ (front flap backgrounds), 1/2″ x 4″ (inside trim)
Stampin’ Up! products used in this project:
![Thankful Garden Bundle (English) [ 165534 ]](https://assets1.tamsnetwork.com/images/EC042017NF/165534s.jpg "Thankful Garden Bundle (English) [ 165534 ]")
![Everyday Arches Dies [ 164629 ]](https://assets1.tamsnetwork.com/images/EC042017NF/164629s.jpg "Everyday Arches Dies [ 164629 ]")
![Birch Wood 3 D Embossing Folder [ 164069 ]](https://assets1.tamsnetwork.com/images/EC042017NF/164069s.jpg "Birch Wood 3 D Embossing Folder [ 164069 ]")
![Timeless Plaid 6" X 6" (15.2 X 15.2 Cm) Designer Series Paper [ 164678 ]](https://assets1.tamsnetwork.com/images/EC042017NF/164678s.jpg "Timeless Plaid 6\" X 6\" (15.2 X 15.2 Cm) Designer Series Paper [ 164678 ]")
![Basic Beige 8 1/2" X 11" Cardstock [ 164511 ]](https://assets1.tamsnetwork.com/images/EC042017NF/164511s.jpg "Basic Beige 8 1/2\" X 11\" Cardstock [ 164511 ]")
![Old Olive 8-1/2" X 11" Cardstock [ 100702 ]](https://assets1.tamsnetwork.com/images/EC042017NF/100702s.jpg "Old Olive 8-1/2\" X 11\" Cardstock [ 100702 ]")
![Basic White 8 1/2" X 11" Cardstock [ 166780 ]](https://assets1.tamsnetwork.com/images/EC042017NF/166780s.jpg "Basic White 8 1/2\" X 11\" Cardstock [ 166780 ]")
![Soft Sea Foam Classic Stampin' Pad [ 147102 ]](https://assets1.tamsnetwork.com/images/EC042017NF/147102s.jpg "Soft Sea Foam Classic Stampin' Pad [ 147102 ]")
![Calypso Coral Classic Stampin' Pad [ 147101 ]](https://assets1.tamsnetwork.com/images/EC042017NF/147101s.jpg "Calypso Coral Classic Stampin' Pad [ 147101 ]")
![Cajun Craze Classic Stampin' Pad [ 147085 ]](https://assets1.tamsnetwork.com/images/EC042017NF/147085s.jpg "Cajun Craze Classic Stampin' Pad [ 147085 ]")
![Old Olive Classic Stampin' Pad [ 147090 ]](https://assets1.tamsnetwork.com/images/EC042017NF/147090s.jpg "Old Olive Classic Stampin' Pad [ 147090 ]")
![Antique Pearls [ 164679 ]](https://assets1.tamsnetwork.com/images/EC042017NF/164679s.jpg "Antique Pearls [ 164679 ]")
![Basic Beige 3/8" (1 Cm) Classic Ribbon [ 165216 ]](https://assets1.tamsnetwork.com/images/EC042017NF/165216s.jpg "Basic Beige 3/8\" (1 Cm) Classic Ribbon [ 165216 ]")
![Blending Brushes [ 153611 ]](https://assets1.tamsnetwork.com/images/EC042017NF/153611s.jpg "Blending Brushes [ 153611 ]")


![Stampin' Cut & Emboss Machine [ 149653 ]](https://assets1.tamsnetwork.com/images/EC042017NF/149653s.jpg "Stampin' Cut & Emboss Machine [ 149653 ]")


")

 Designer Series Paper")

 Two Tone Cardstock")


 Ribbon")