Stampin’ Up! Itty Bitty Christmas Snowflakes for the Happy Inkin’ Thursday Blog Hop

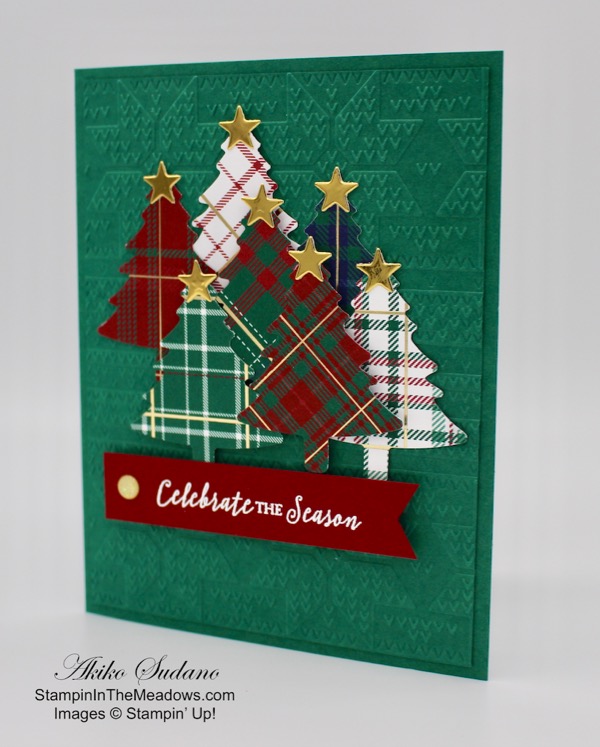
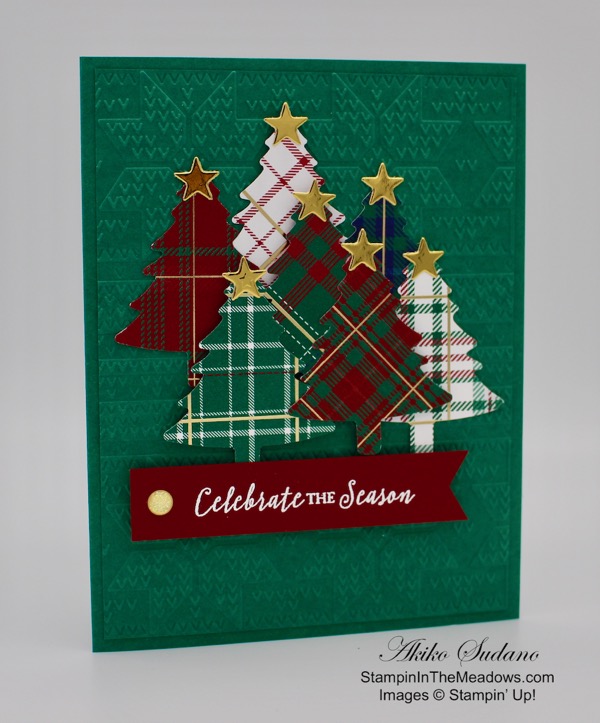
Good Morning! Welcome to another Happy Inkin’ Thursday Blog Hop! For today’s blog hop, I am sharing one of the last Christmas Cards for this season since I will need to send them out soon! I used the Stampin’ Up! Itty Bitty Christmas bundle with the Wrapped in Plaid specialty designer series paper to make a sparkly card. The bundle includes the Christmas Layers dies and it has some snowflake dies – one with a cluster of snowflakes and two individual snowflakes. I used these to create my card today.

We have a sketch challenge this week, and here is the sketch we are using:

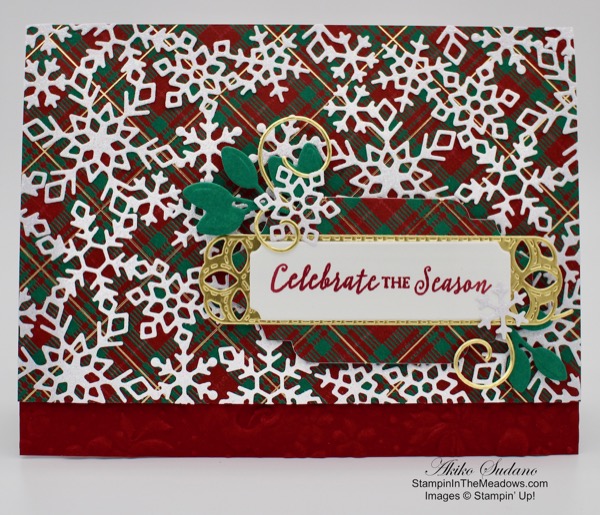
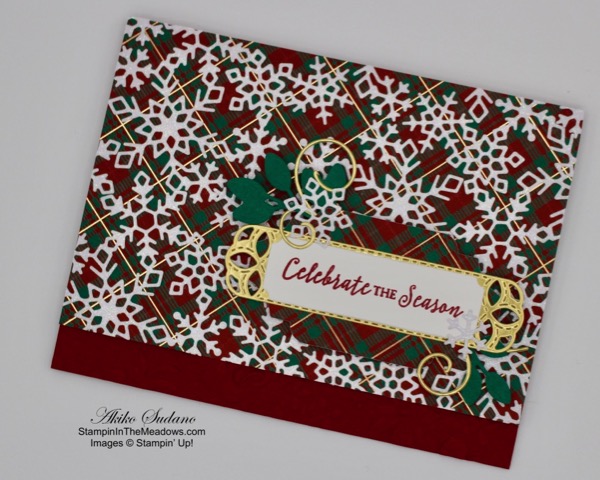
I started by die cutting 5 snowflake clusters using the Christmas Layers dies from Sparkle Glimmer paper and arranging them to cover a panel of Wrapped in Plaid DSP. I adhered the snowflakes with multipurpose liquid glue and trimmed the ends, using some of the trimmings to fill in bare spots. I ran a strip of Cherry Cobbler card stock through the Country Floral embossing folder and adhered it to the bottom of a Cherry Cobbler card base with multipurpose liquid glue. I adhered the snowflake covered DSP panel to the card front with dimensionals.

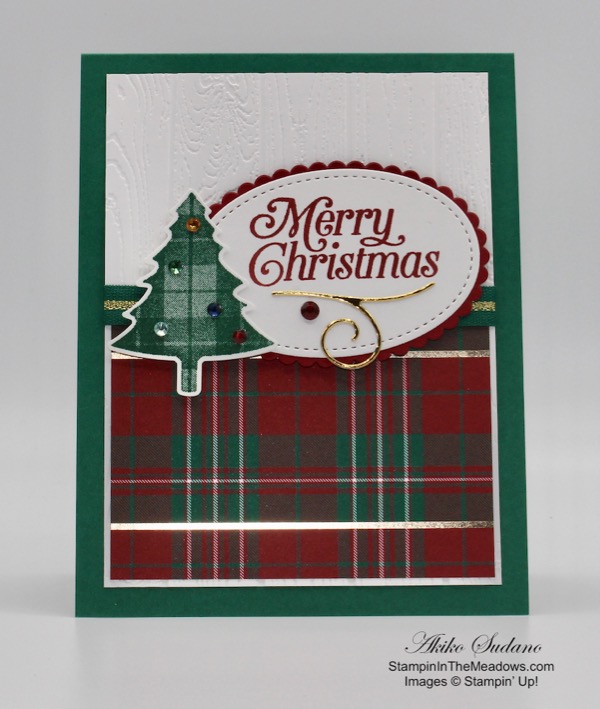
I made a layered die cut sentiment label, starting out by stamping the Stampin’ Up! Itty Bitty Christmas sentiment in Cherry Cobbler ink on a strip of Whisper White. I cut it out with the large label die from the Merry Christmas dies. I cut the long label from the Stitched Labels dies out of Gold Foil using the two step die cutting technique so it would be longer than the Whisper White label and adhered it to the back with multipurpose liquid glue. I cut the large label from the Detailed Bands dies from the Wrapped in Plaid DSP and adhered it to the back of the layered label with multipurpose liquid glue.

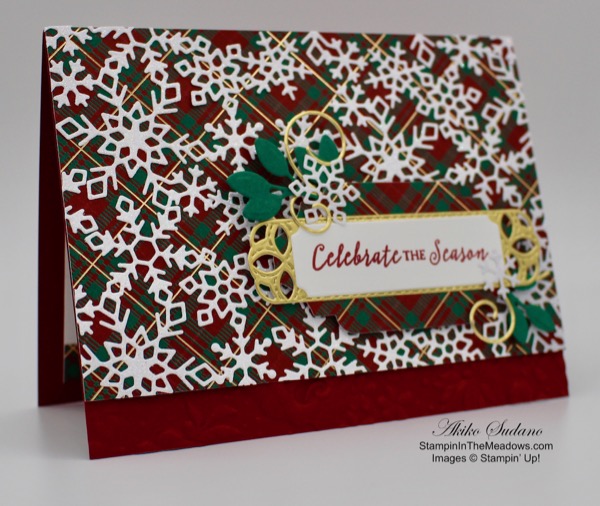
I cut the two small leaf clusters from the Christmas Cardinal dies out of Shaded Spruce card stock. I cut the two swirl flourishes from the Christmas Cardinal dies out of Gold foil. I arranged the large flourish and leaf cluster and adhered it behind the top left of the layered label with a glue dot. I arranged the small flourish and leaf cluster and adhered it behind the bottom right of the layered label with a glue dot. I cut out the two small snowflakes using the Christmas Layers dies from Sparkle Glimmer paper and adhered them to the label with multipurpose liquid glue. I finished it off by adhering the label to the card front with dimensionals.

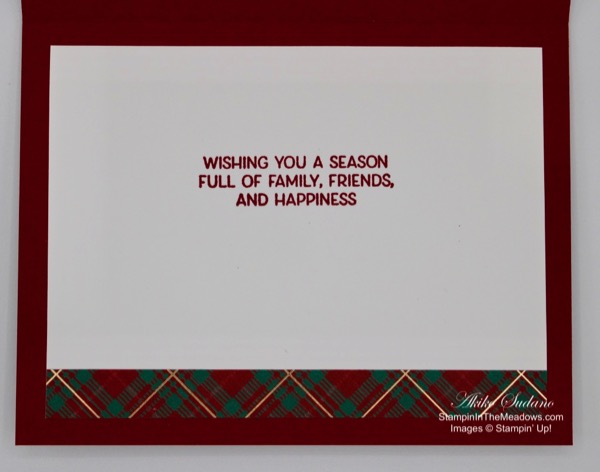
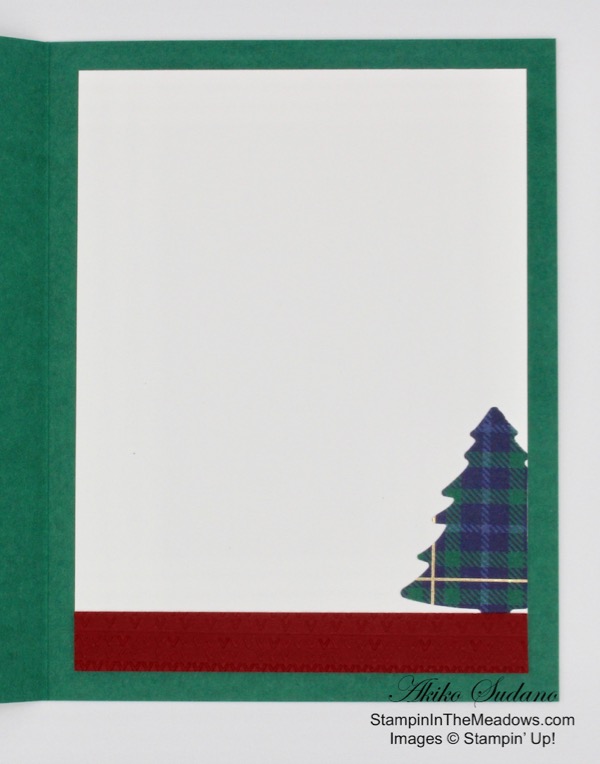
I decorated the inside of the card by stamping the greeting from the Frosted Foliage stamp set in Cherry Cobbler ink on a panel of Whisper White. I trimmed the bottom with a strip of Wrapped in Plaid DSP and adhered to the inside of the card.

I love the Wrapped in Plaid DSP with the touches of Gold Foil and I love it in combination with the elegant Country Floral embossing and Sparkle Glimmer snowflakes. And while the Stampin’ Up! Itty Bitty Christmas stamps and Christmas Layers dies will be carried over (Yay!!), they will no longer be available as a bundle with the 10% discount.

On with the Hop! Click the Next button below to visit Karen Ksenzakovic’s blog.

And just in case you get lost along the way, here’s a list of the team members participating in the hop today:


December 1 – 15 Host Code: R497392Q

Use this host code when you order $50 or more and receive a free gift from me!  The gift is your choice of any item valued up to $10.00 in the 2019-20 Annual Catalog or in the 2019 Holiday Catalog!  That includes some of the Host Exclusive stamp sets!

If your order is over $150, please do not use the host code since you’ll receive your own Host Dollars plus I’ll send you the free gift!  This host code can be used by anyone, no commitment required.  Let me know if you have any questions.


If you need any stamping supplies, I’d be very happy to be your Demonstrator.  Just click on the Shop Now button on the right side of the screen to go directly to my online store or contact me if you have any questions.  Happy Stamping!

Thanks for visiting and enjoy the Blog Hop!

Akiko

  • Visit my online store here
  • See the current Stampin’ Up! clearance rack specials here
  • Earn FREE Stampin’ Up! products through my Wildflower Frequent Shopper Program – my way of saying thank you to my frequent shopper online customers.
  • Sign up for my weekly newsletter here
  • Have any questions? I’d be happy to help, click here to contact me.

Cardstock Cuts for this project:

  • Cherry Cobbler – 5 1/2″ x 8 1/2″ scored at 4 1/4 (card base), 3/4″ x 5 1/2″ (embossed strip)
  • Whisper White – 3 3/4″ x 5″ (inside panel), 1 1/2″ x 3″ (label)
  • Sparkle DSP – 5″ x 8 1/2″ (snowflake die cuts)
  • Gold Foil – 3″ x 4″ (die cuts)
  • Shaded Spruce – 2″ x 3″ (die cuts)
  • Wrapped in Plaid DSP – 3 3/4″ x 5 1/2″ (card front), 1/2″ x 5″ (inside trim), 2″ x 3 1/2″ (label)

Stampin’ Up! products used in this project:


Stampin’ Up! Itty Bitty Christmas Plaid Trees Card

Good Morning! Today I’m sharing a Christmas card with a greeting from the Stampin’ Up! Itty Bitty Christmas cling stamp set and a forest of plaid Christmas trees. The trees are all punched from the Wrapped in Plaid Designer Series Paper using the Pine Tree punch! You can find the supplies used to create this card at the bottom of my post along with the sizes of cardstock used.

I started with a panel of Shaded Spruce cardstock that I ran through the Winter Knit embossing folder. I then adhered it to the front of a Shaded Spruce card base. I selected 7 plaids from the Wrapped in Plaid DSP. I punched out a tree from each using the Pine Tree punch.

Then I die cut 7 stars from gold foil using one of the stars in the star spray die cut in the Stitched Stars dies. The large star in the Twinkle Builder punch would also work well or gold star shaped faceted gems. These would probably take less time, but I didn’t have them, so I improvised and found that this star die cut was a good size. I adhered a star to the top of each tree with liquid glue.

I then arranged the trees and adhered them to the card front. I used liquid glue to attach the back trees and dimensionals to attach the ones in front. I stamped the Celebrate the Season sentiment from the Stampin’ Up! Itty Bitty Christmas stamp set in Versamark ink on a strip of Cherry Cobbler. I sprinkled it with white embossing powder and heat set. I trimmed the end and adhered it to the card front with dimensionals. I finished it off with a gold glitter dot from the upcoming Christmastime is Here limited release suite next month.

I punched part of another plaid tree and attached it to a Whisper White panel with liquid glue. It’s hard to see, but I embossed a strip of Cherry Cobbler with the Winter Knit embossing folder and adhered it to the bottom. I then adhered the panel to the inside of the card with liquid glue.

This is an elegant Christmas Card that sparkles with the gold foil touches in the Wrapped in Plaid Designer Series Paper and stars. But it also has a flannel and knit sweater kind of look with the embossed background coupled with the DSP. Best of all, it comes together pretty quickly. I hope you like it. Thanks for visiting!

Akiko


October 1 – 15 Host Code: 44YKETNJ

Use this host code when you order and receive a free gift from me!  If your order is over $150, please do not use this code, but you’ll still get the free gift.  The free gift is your choice of any item valued up to $10.00 in the 2018-19 Annual Catalog or in the 2019 Occasions Catalog!  That includes some of the Host Exclusive stamp sets!


If you need any stamping supplies, I’d be very happy to be your Demonstrator.  Just click on the Shop Now button on the right side of the screen to go directly to my online store or contact me if you have any questions.  Happy Stamping!

  • Visit my online store here
  • See the current Stampin’ Up! clearance rack specials here
  • Earn FREE Stampin’ Up! products through my Wildflower Frequent Shopper Program – my way of saying thank you to my frequent shopper online customers.
  • Have any questions? I’d be happy to help, click here to contact me.

Cardstock Cuts for this project:

  • Shaded Spruce – 5 1/2″ x 8 1/2″, 4″ x 5 1/4″
  • Cherry Cobbler – 5/8″ x 3 1/2″, 1/2″ x 3 3/4″
  • Whisper White – 3 3/4″ x 5″
  • Gold Foil – (7) 1″ x 1″ scraps
  • Wrapped in Plaid DSP – (7) 2 1/4 x 3″, 1 3/4″ x 3″

Stampin’ Up! products used in this project:


Stampin’ Up! Perfectly Plaid Christmas Tree Card

Good Morning! Today I have a Christmas Card made with the Stampin’ Up! Perfectly Plaid photopolymer stamp set and Pine Tree Punch.

This is the first Christmas Card that I designed for my Card Making 101 video series on Facebook. I used some more die cuts and introduced dry embossing with the Pinewood Planks embossing folder. You can find the supplies used to create this card at the bottom of my post along with the sizes of cardstock used.

Here’s the video with instructions on how to make the card. I think I’m making improvements each time, but I’m still not ready for Prime Time (and definitely no Emmy!).

Here’s a picture of the inside of the card. I am planning to share card making videos on Facebook Live on Sundays at 1:00 Eastern time. I invite you to join me and like my Facebook page.

And don’t forget about the current Buy 3 Get 1 Free Designer Series Paper promotion that lasts for just one more week.

Thanks for stopping by!

Akiko


This image has an empty alt attribute; its file name is 09-19_banner_dsp_us.jpg

Buy 3 Get 1 Free Designer Series Paper Sale

By popular demand, Stampin’ Up! is bringing back the Designer Series Paper Sale! During September 4–30, you can buy three packages of select Designer Series Paper, and get one FREE! See the full details on my Stampin’ Up! Promotions Page.


September 16 – 30 Host Code: EDRVYB3Z

Use this host code when you order and receive a free gift from me!  If your order is over $150, please do not use this code, but you’ll still get the free gift.  The free gift is your choice of any item valued up to $10.00 in the 2018-19 Annual Catalog or in the 2019 Occasions Catalog!  That includes some of the Host Exclusive stamp sets!


If you need any stamping supplies, I’d be very happy to be your Demonstrator.  Just click on the Shop Now button on the right side of the screen to go directly to my online store or contact me if you have any questions.  Happy Stamping!

  • Visit my online store here
  • See the current Stampin’ Up! clearance rack specials here
  • Earn FREE Stampin’ Up! products through my Wildflower Frequent Shopper Program – my way of saying thank you to my frequent shopper online customers.
  • Have any questions? I’d be happy to help, click here to contact me.

Cardstock Cuts for this project:

  • Shaded Spruce – 4 1/4″ x 11″
  • Whisper White – (2) 3 3/4″ x 5″, 2 1/2″ x 5 3/4″
  • Cherry Cobbler – 2 1/4″ x 3 1/4″
  • Gold Foil – 1” x 2”
  • Wrapped in Plaid DSP – 2 3/4″ x 3 5/8″, 1/2″ x 3 3/4”

Stampin’ Up! products used in this project: