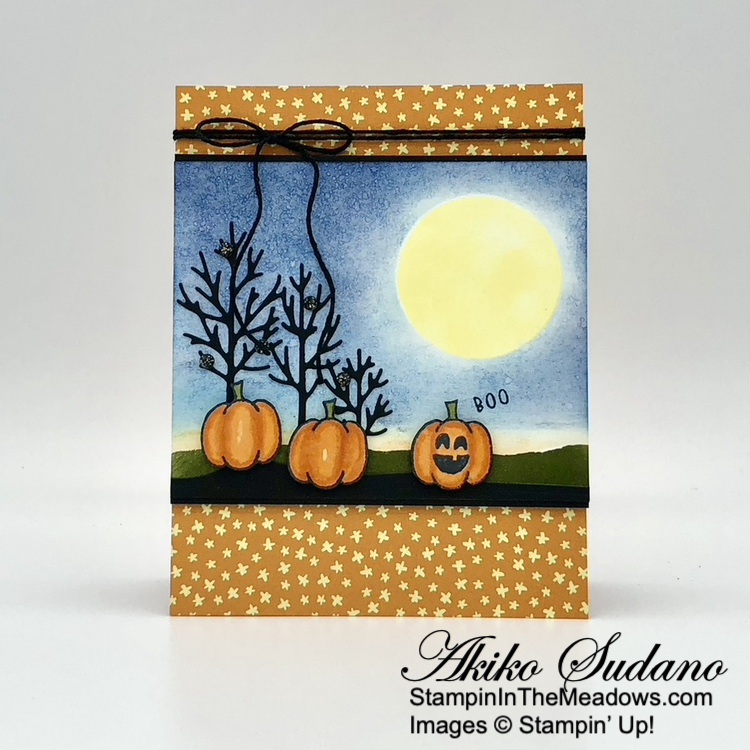
Good Morning! Welcome to the August Inkin’ Krew Team Blog Hop! The theme for this month’s hop is “Fall Frenzy” and I used the Stampin’ Up! Choose Happy stamp set with the pretty Splendid Autumn 6″ x 6″ designer series paper for a Fall card. You can find the supplies I used along with card stock cuts at the bottom of my post.

Emboss a panel of Splendid Autumn 6″ x 6″ designer series paper with the distressed brick 3D embossing folder and sponge it lightly with Pecan Pie ink. Adhere it to an Early Espresso mat and wrap a Timid Tiger ribbon around it, tying a knot at the side. Adhere it to an Early Espresso card base with dimensionals.
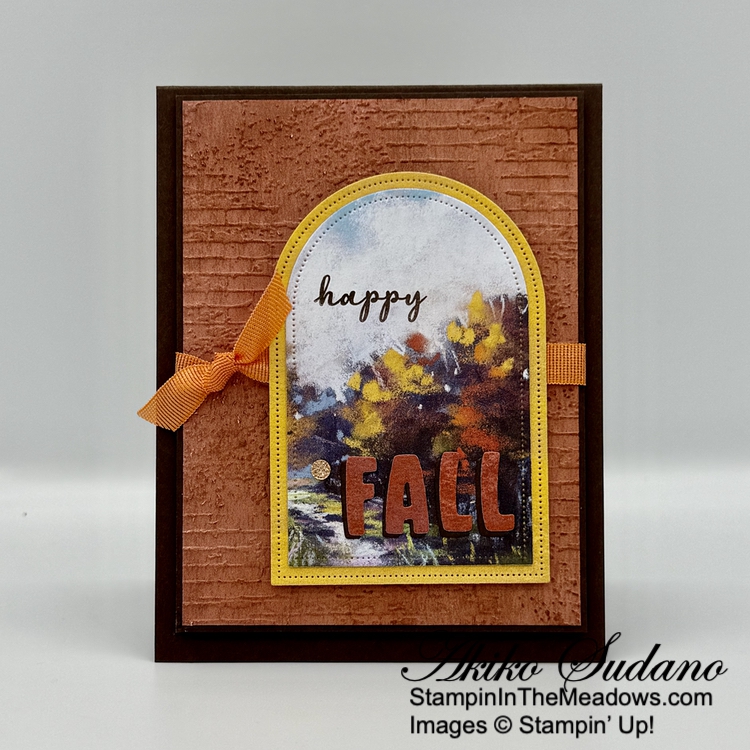
Cut two panels of Splendid Autumn 6″ x 6″ DSP with the Everyday Arches dies. Stamp the sentiment from the Stampin’ Up! Choose Happy stamp set on the Fall tree arch die cut with Early Espresso ink and adhere it to the the larger arch die cut mat.
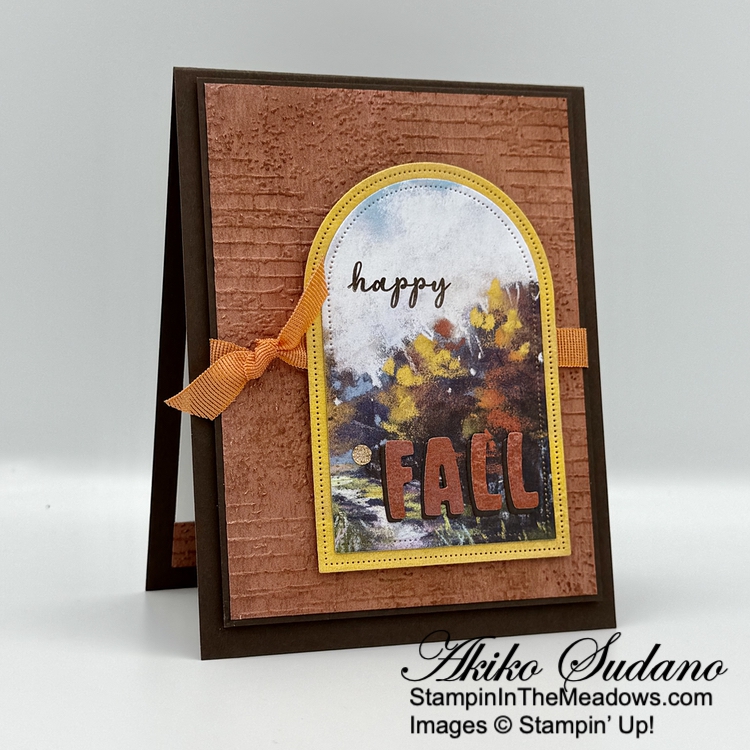
Use the Mini Alphabet dies to cut the letters F-A-L-L from Early Espresso card stock and Splendid Autumn DSP. Adhere each DSP letter to the card stock letter with liquid glue, slightly offset.

Adhere the layered letters to the Fall tree arch die cut and pop the layered arches on the card front with dimensionals. Finish with a gold druzy dot.
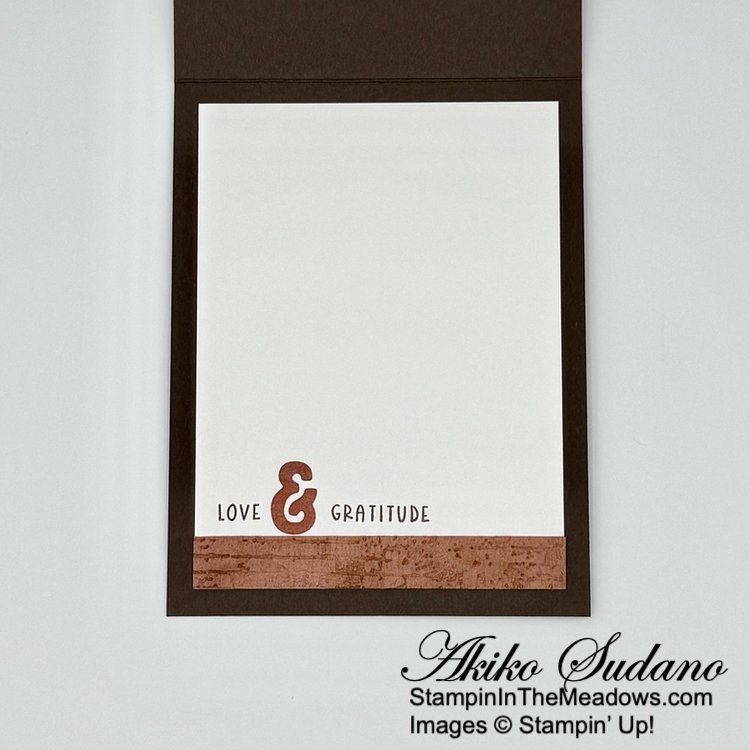
Stamp the sentiments from the Stampin’ Up! Choose Happy stamp set using Early Espresso ink on the bottom of a Basic White panel. Cut the ampersand from a DSP panel using the Mini Alphabet dies and adhere it between the words. Trim the bottom with a sponged and embossed DSP strip and adhere the panel to the inside of the card with Stampin’ Seal.
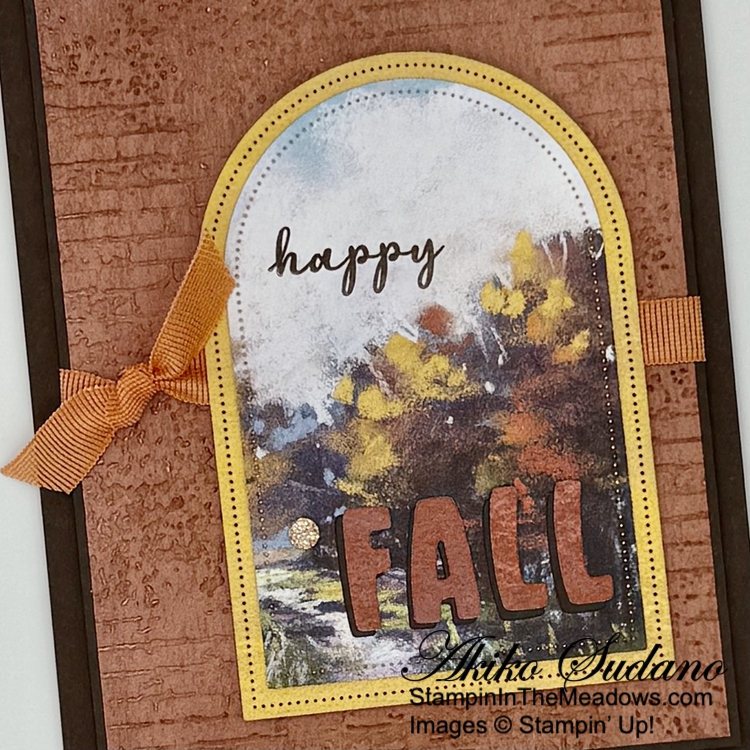
The Stampin’ Up! Choose Happy stamp set has nice sentiments for different occasions and it goes well with theMini Alphabet dies. But the Everyday Arches dies are the real star of this card, transforming a pretty Splendid Autumn DSP image into something special.
On With The Hop! Click on the Next Blog button to move forward to Terry Lynn Bright’s project or click the Previous Blog button to move back to see the project that Ann Louise Fodgaard created.


If you get lost along the way, here are the participants for the hop:
- Karen Finkle
- Tara Carpenter
- Christie King
- Karen Ksenzakovic
- Nicole Bloxom
- Mary Deatherage
- Ann Louise Fodgaard
- Akiko Sudano <– you are here
- Terry Lynn Bright
- Amy Koenders
Thanks for stopping by and have a great week!
Akiko
Cardstock Cuts for this project:
- Early Espresso – 4-1/4″ x 11″ card base, scored at 5-1/2″, 3-7/8″ x 5-1/8″ (DSP mat), two 2″ x 2″ scraps (die cut letter shadows)
- Basic White – 3-3/4″ x 5″ (inside panel)
- Splendid Autumn 6″ x 6″ DSP – 3-3/4″ x 5″ (front background), 1/2″ x 3-3/4″ (inside trim), 2-1/2″ x 4″ (Fall tree arch), 2-3/4″ x 4-1/4″ (arch mat), three 2″ x 2″ panels (die cut letters)
Stampin’ Up! products used in this project:
![Choose Happy Photopolymer Stamp Set (English) [ 163701 ]](https://assets1.tamsnetwork.com/images/EC042017NF/163701s.jpg "Choose Happy Photopolymer Stamp Set (English) [ 163701 ]")
![Everyday Arches Dies [ 164629 ]](https://assets1.tamsnetwork.com/images/EC042017NF/164629s.jpg "Everyday Arches Dies [ 164629 ]")
![Exposed Brick 3 D Embossing Folder [ 161600 ]](https://assets1.tamsnetwork.com/images/EC042017NF/161600s.jpg "Exposed Brick 3 D Embossing Folder [ 161600 ]")
![Splendid Autumn 6" X 6" (15.2 X 15.2 Cm) Designer Series Paper [ 164173 ]](https://assets1.tamsnetwork.com/images/EC042017NF/164173s.jpg "Splendid Autumn 6\" X 6\" (15.2 X 15.2 Cm) Designer Series Paper [ 164173 ]")
![Early Espresso 8-1/2" X 11" Cardstock [ 119686 ]](https://assets1.tamsnetwork.com/images/EC042017NF/119686s.jpg "Early Espresso 8-1/2\" X 11\" Cardstock [ 119686 ]")
![Basic White 8 1/2" X 11" Cardstock [ 166780 ]](https://assets1.tamsnetwork.com/images/EC042017NF/166780s.jpg "Basic White 8 1/2\" X 11\" Cardstock [ 166780 ]")
![Early Espresso Classic Stampin' Pad [ 147114 ]](https://assets1.tamsnetwork.com/images/EC042017NF/147114s.jpg "Early Espresso Classic Stampin' Pad [ 147114 ]")
![Drusy Adhesive Backed Embellishments [ 164223 ]](https://assets1.tamsnetwork.com/images/EC042017NF/164223s.jpg "Drusy Adhesive Backed Embellishments [ 164223 ]")
![Timid Tiger 3/8" (1 Cm) Faux Linen Ribbon [ 165275 ]](https://assets1.tamsnetwork.com/images/EC042017NF/165275s.jpg "Timid Tiger 3/8\" (1 Cm) Faux Linen Ribbon [ 165275 ]")


![Stampin' Cut & Emboss Machine [ 149653 ]](https://assets1.tamsnetwork.com/images/EC042017NF/149653s.jpg "Stampin' Cut & Emboss Machine [ 149653 ]")


 Designer Series Paper")


