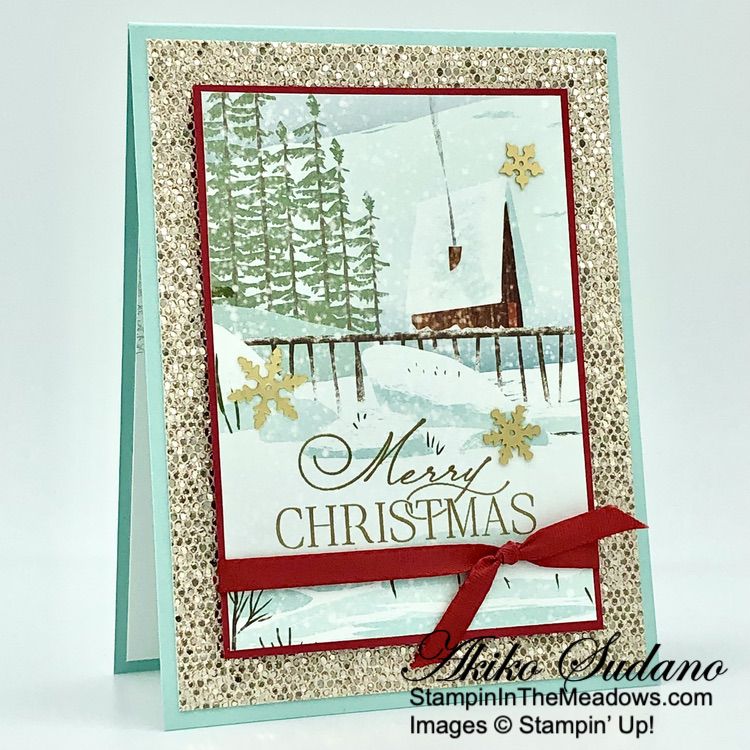
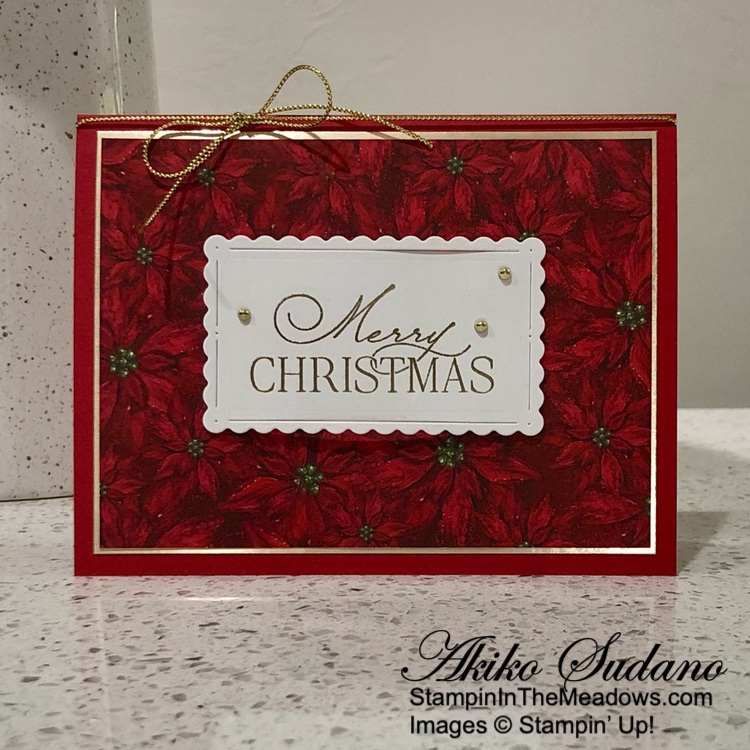
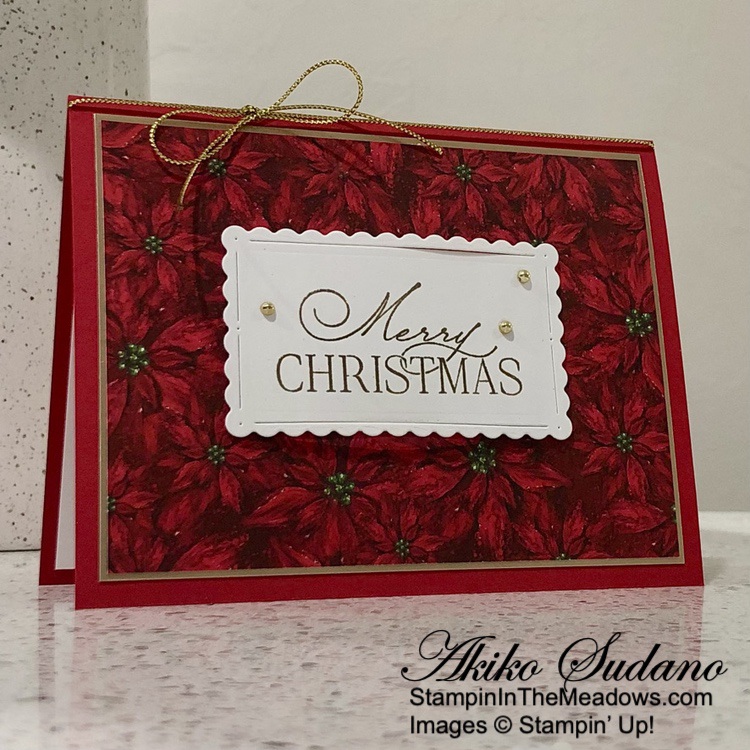
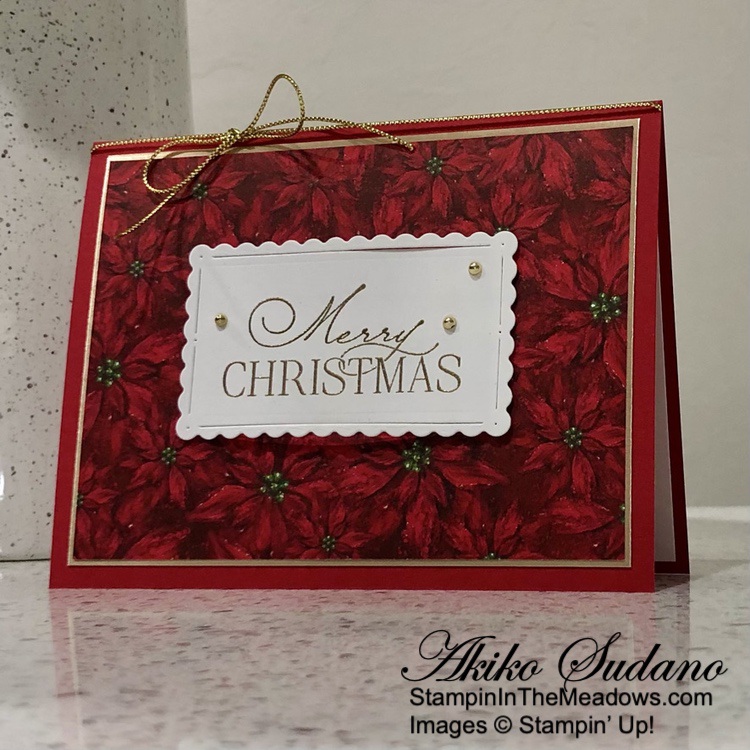
Good Morning! Here’s another simple Christmas card made with the Stampin’ Up! Brightest Glow stamp set and Labels Aglow dies. I paired these items with the pretty deer pattern in the Winter Meadow designer series paper for a quick and easy Christmas card. You can find the products I used at the bottom of my post along with the card stock sizes.
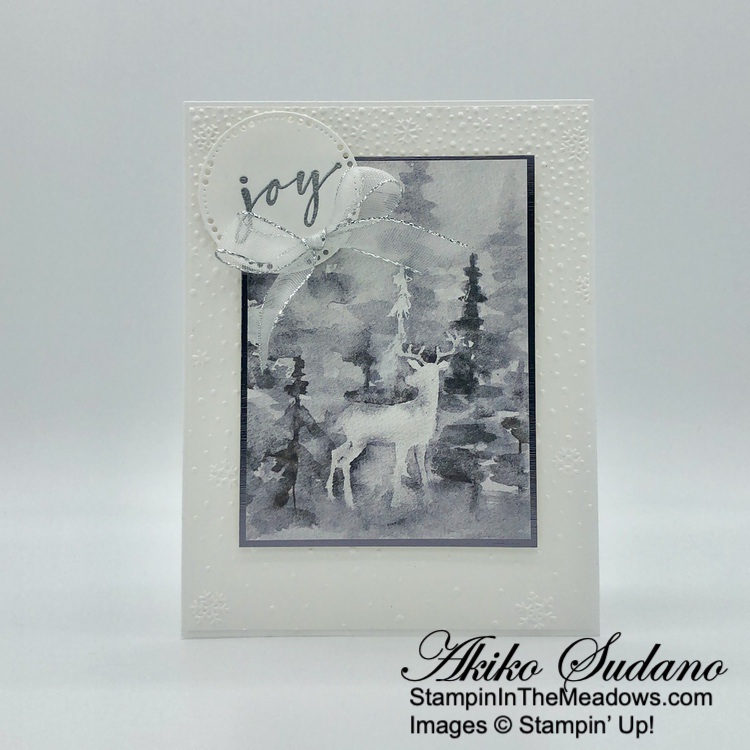
I embossed a panel of Basic White with the Snowflake Sky 3D embossing folder and adhered it to the front of a Thick Basic White card base with liquid glue.
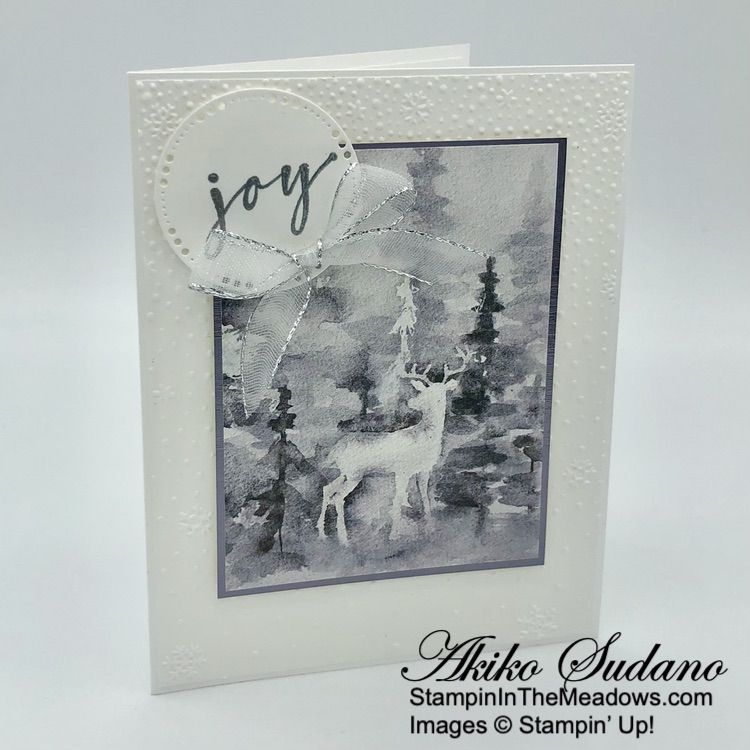
I adhered a panel of the Winter Meadow designer series paper to a panel of Silver Foil and popped the layered DSP onto the card front with dimensionals.
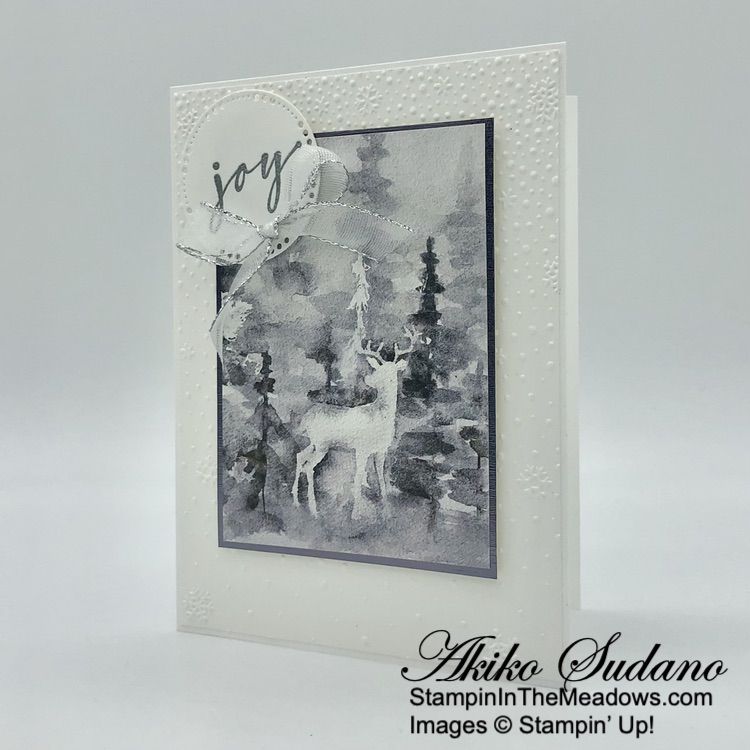
I stamped the sentiment from the Stampin’ Up! Brightest Glow stamp set in Versamark ink on a Basic White panel and sprinkled it with silver embossing powder. I shook off the excess and heated the powder with my heat tool until it was bright and shiny. I cut the sentiment out with the circle label die from the Labels Aglow dies and adhered it to the card front with dimensionals and glue dots. I adhered a bow to the label with a glue dot.
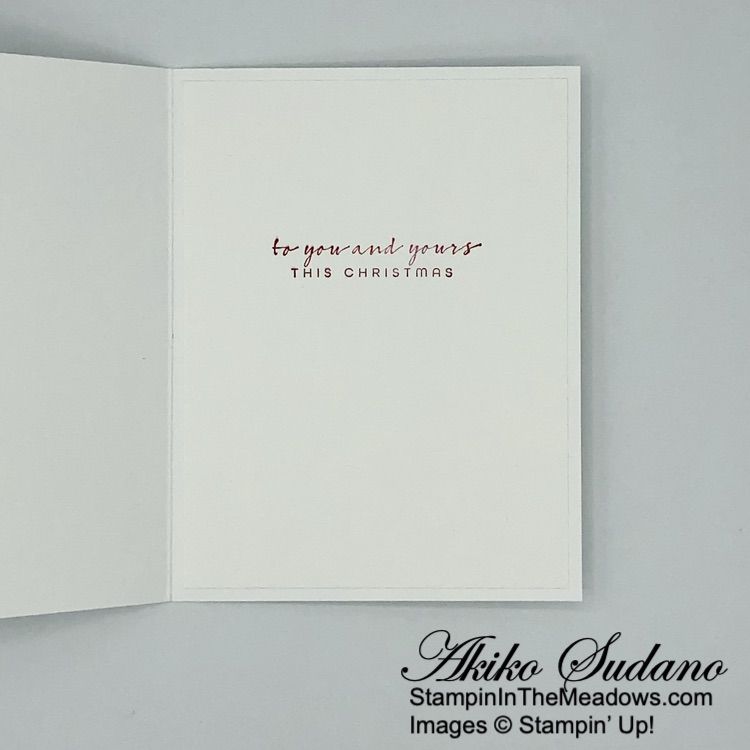
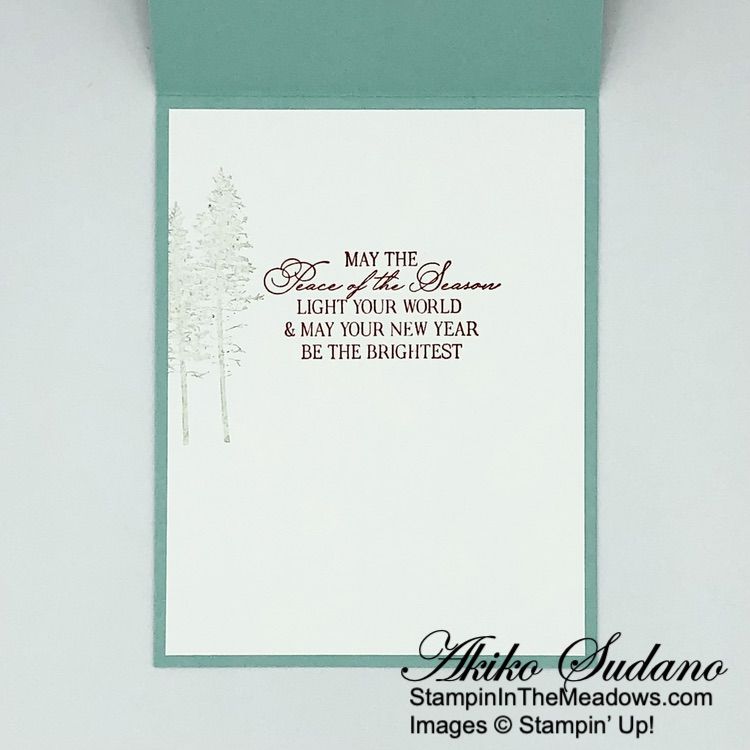
For the inside of the card, I stamped the sentiment from the Stampin’ Up! Brightest Glow stamp set in Real Red ink on a Basic White panel. I adhered the panel to the inside of the card with Stampin’ Seal.
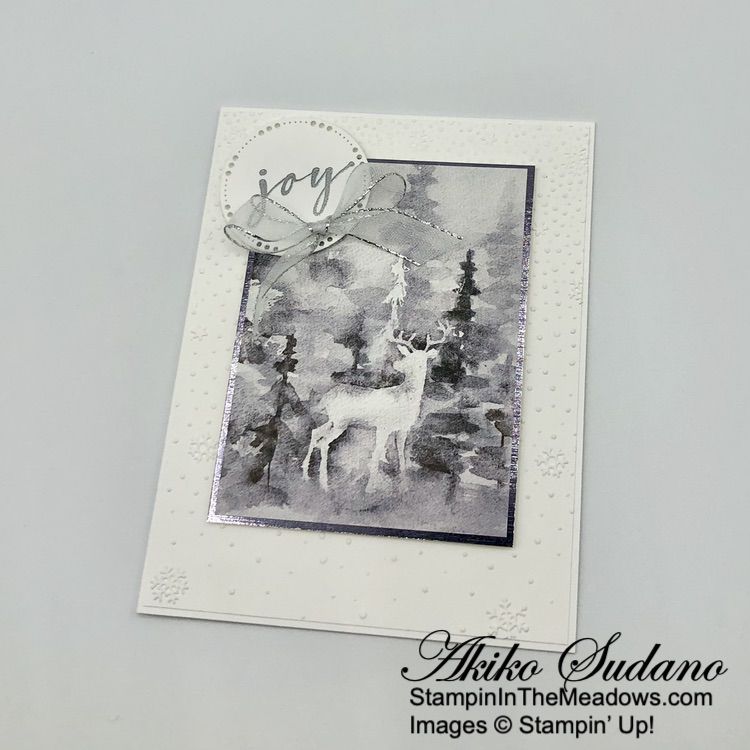
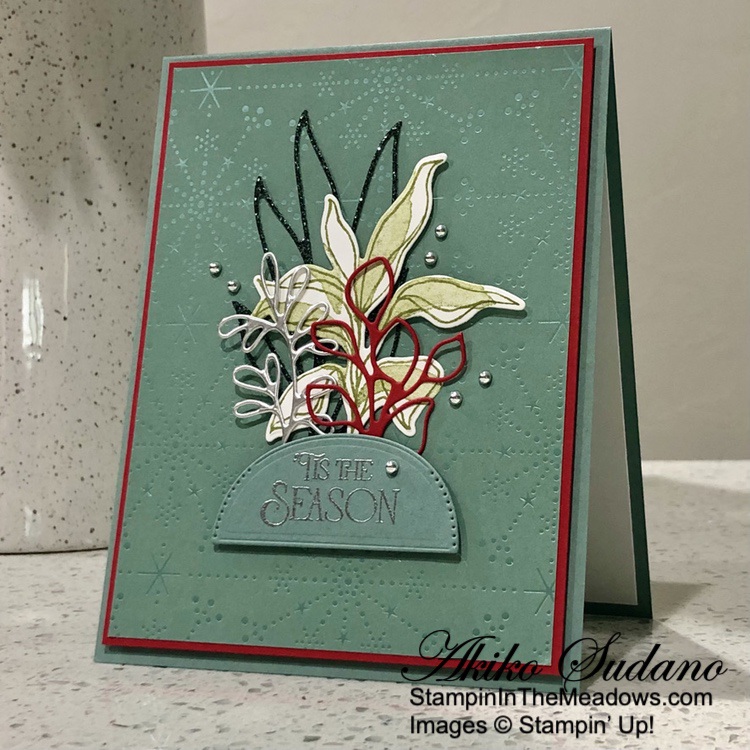
Pretty designer series paper makes it so easy to create elegant simple handmade Christmas cards. Especially when paired with the beautiful sentiments from the Stampin’ Up! Brightest Glow stamp set.

Last Chance Products Discounts Going on Now!
The September–December 2023 Mini Catalog is retiring soon! It’s bittersweet to say goodbye to a Stampin’ Up! catalog, but we’re looking forward to all the new products on their way—and we hope you are, too!
The lists of retiring and carryover products has been announcedFrom November 21, 2023 –January 3, 2024, you can stock up on your favorite seasonal products from the September – December 2023 Mini Catalog and save up to 60%! So, what are you waiting for? After all, Last Chance Products will only be available while supplies last.
Click HERE to download a PDF with the list of retiring items from the Sept-Dec 2023 Mini Catalog and the discounts that start Nov 21.
Click HERE to download a PDF with the list of items from the Sept-Dec 2023 Mini Catalog that will be carrying over.
Note that for some Last Chance bundles, the individual items may be carried over, but the items will no longer be bundled with the 10% savings. These items are marked with three asterisks in the Last Chance PDF.
New January-April 2024 Mini and Sale-A-Bration
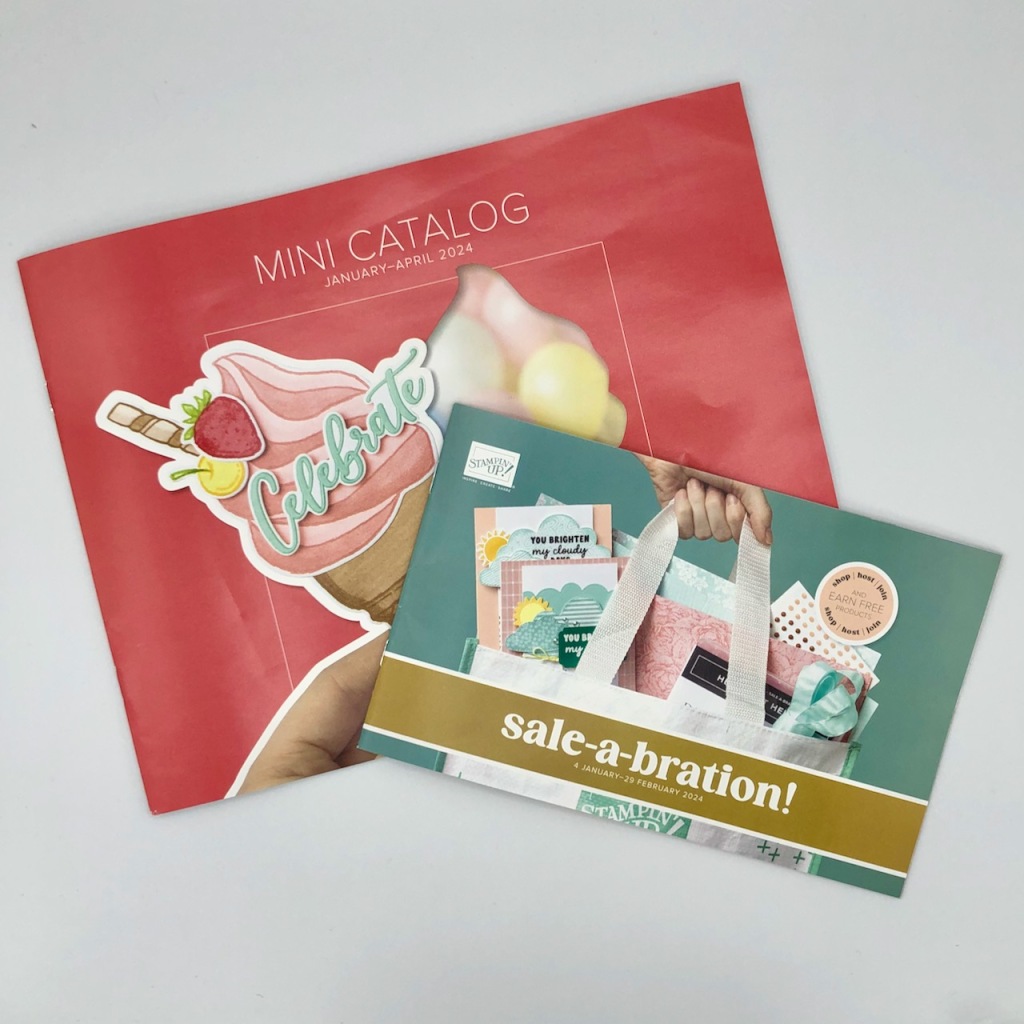
The Stampin’ Up! January – April 2024 Mini Catalog and Sale-A-Bration 2024 will begin on January 4, 2024! The Demonstrator pre-order period begins next week and I will be ordering catalogs for customers who have ordered from me within the last year and sending them out. If you would like a copy, just place an order in my Online Store and I will be happy to send a new catalog to you too!
Current Host Code: 27CYQXTT
Use this host code when you order $50 or more and receive a Thank You gift from me! The free gift is your choice of any item currently available valued up to $10.00.
If your order is over $150, please do not use the host code since you’ll receive your own Host Dollars plus I’ll still send you the Thank You gift! This host code can be used by anyone, no club or commitment required. Let me know if you have any questions.
If you need any stamping supplies, I’d be very happy to be your Demonstrator. Just click on the Shop Now Button on the right side of the screen to go directly to my Online store or contact me if you have any questions. Happy Stamping!
Thanks for stopping by and have a great day!
Akiko
- Visit my online store here
- See the current Stampin’ Up! clearance rack specials here
- Earn FREE Stampin’ Up! products through my Wildflower Frequent Shopper Program – my way of saying thank you to my online frequent shopper customers.
- Have any questions? I’d be happy to help, click here to contact me.
Cardstock Cuts for this project:
- Thick Basic White – 5-1/2″ x 8-1/2″ card base scored at 4-1/4″
- Silver Foil specialty – 3″ x 4″ (DSP mat)
- Basic White – 4″ x 5-1/4″ (inside panel), 4-1/8″ x 5-3/8″ (embossed background), 2-1/4″ x 2-1/4″ (label)
- Winter Meadow DSP – 2-7/8″ x 3-7/8″ (deer panel)
Stampin’ Up! products used in this project:
")


 Designer Series Paper")

 Specialty Pack")


 Sheer Ribbon")
")


")
 Designer Series Paper")


 Designer Series Paper")
 Specialty Designer Series Paper")
 Specialty Paper")


")


")


")
 Specialty Designer Series Paper")

 Specialty Paper")


 Designer Series Paper")


