Stampin’ Up! Thankful Garden Love Card

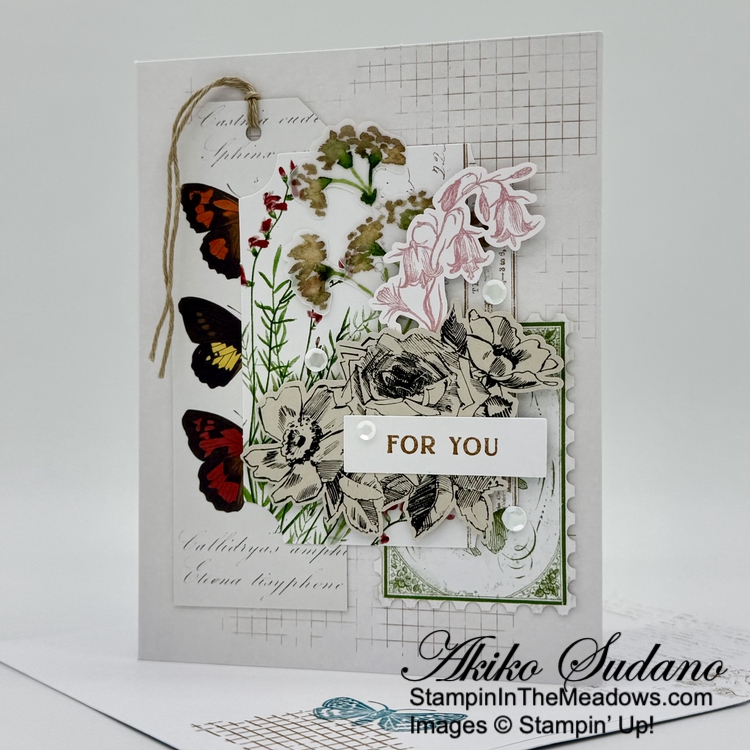
Good Morning! There’s a new release of Online Exclusives today and one of the new bundles is the pretty Stampin’ Up! Thankful Garden bundle. This is a stamp, die and mask bundle with big, bold flowers and pretty sentiments. I used the masks to make my flowers today and I’ve paired it with the coordinating Lovely Garden designer series paper. You can find the products I used at the bottom of my post along with the card stock sizes.

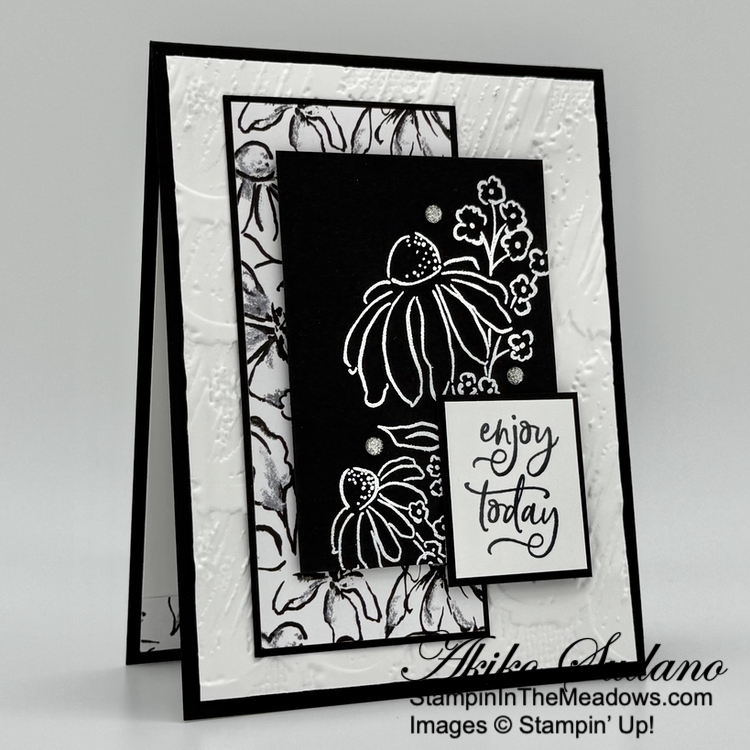
I adhered a panel of Lovely Garden designer series paper to the front of a Soft Sea Foam card base with liquid glue. I was going to use Garden Green, but I wanted a softer color – I think it works. I embossed a Basic White panel with the Eyelet 3D embossing folder and adhered strips of dark Garden Green two-tone card stock to the top and bottom edges. The two Tone card stock is thinner than regular card stock and I didn’t want the extra bulk and since I was adhering the embossed panel with liquid glue, I think it’s a great option! It gives me just a little stronger definition between the embossed panel and DSP.

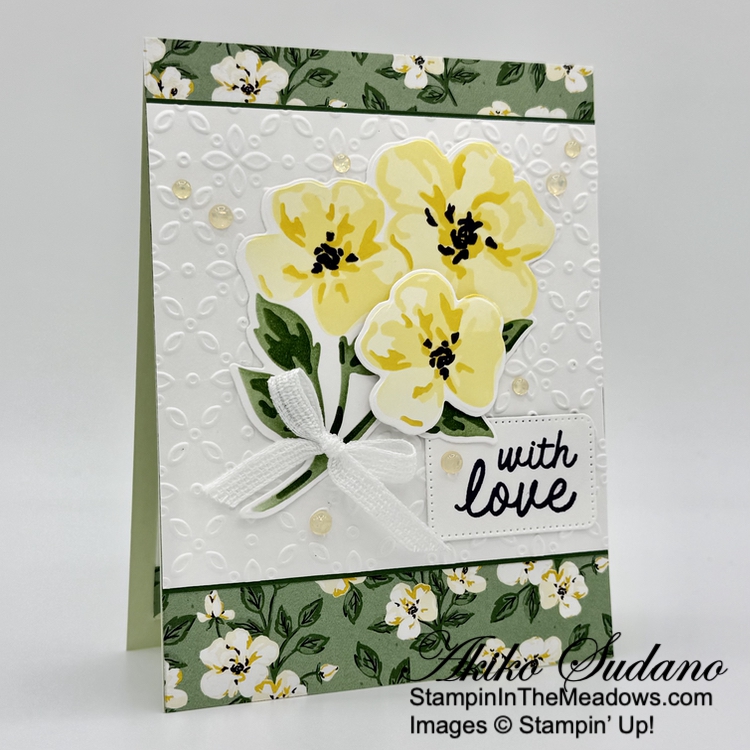
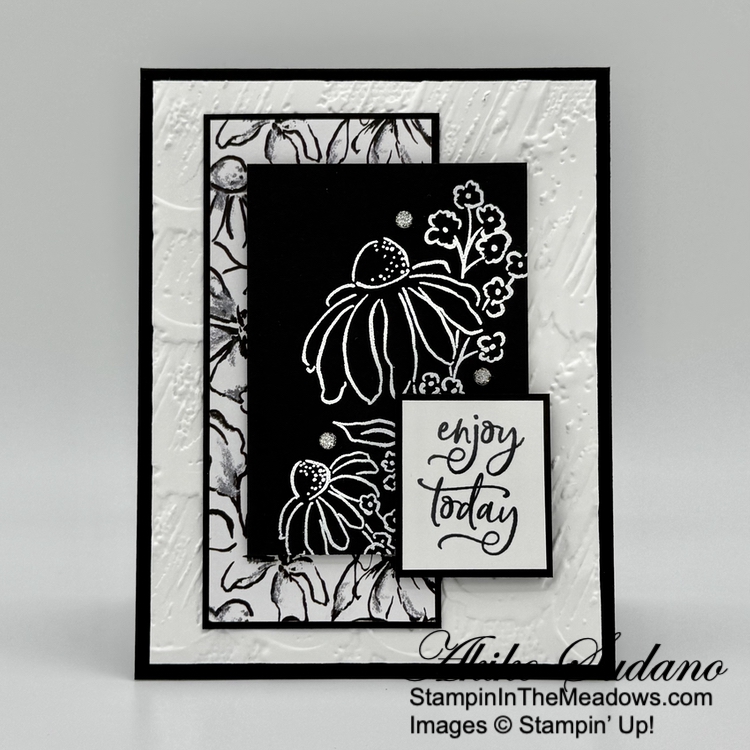
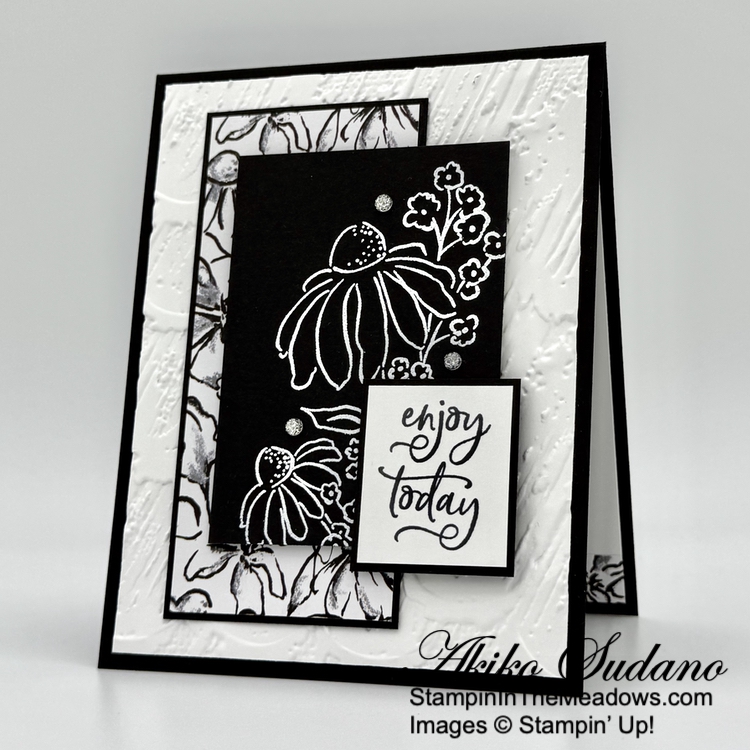
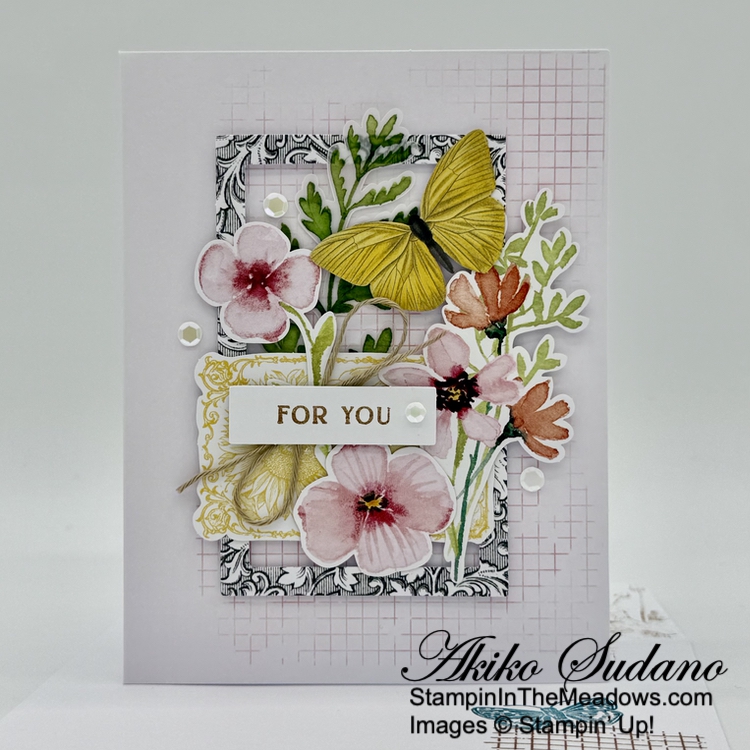
The masks for the Stampin’ Up! Thankful Garden bundle are numbered 1 – 5 and have little notches to help line them up. I applied Lemon Lolly with Blending Brushes to 1 and 2. I applied the ink a little darker on the second mask. I used Daffodil Delight on the third mask to get the darkest highlights. The last two masks are for the leaves and I used Garden Green ink, making the ink darker on the last one. I used Memento Tuxedo Black ink to stamp the flower centers and cut the flowers out with the large coordinating die. I had to do this twice because the die didn’t line up correctly the first time. So on the second attempt, I snugged the stems up tighter against the flower and checked my die after I laid down enough Garden Green ink. For the third flower, I just used ink on the smaller flower in the masks (no need to do the stems). and cut it out with the small flower die. I adhered the flower and stems to the card with glue dots and popped the small flower on top with dimensionals.

I stamped sentiment from the Stampin’ Up! Thankful Garden stamp set using Memento Tuxedo Black ink on Basic White and cut it out with the small rectangle die from the Nested Essentials dies. I adhered the label to the card with glue dots. I made a bow with the new white ribbon and adhered it with a glue dot and finished with daffodil Delight opal rounds.

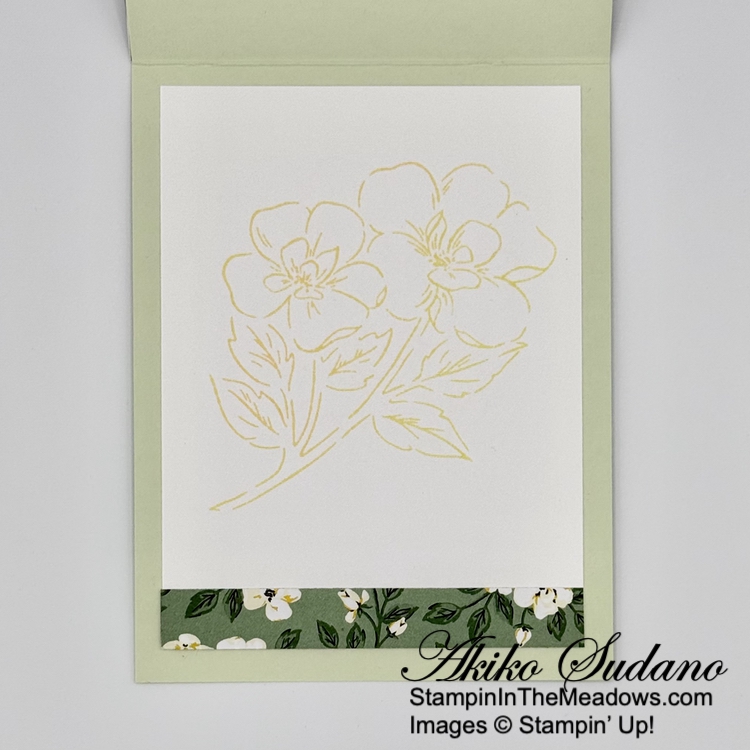
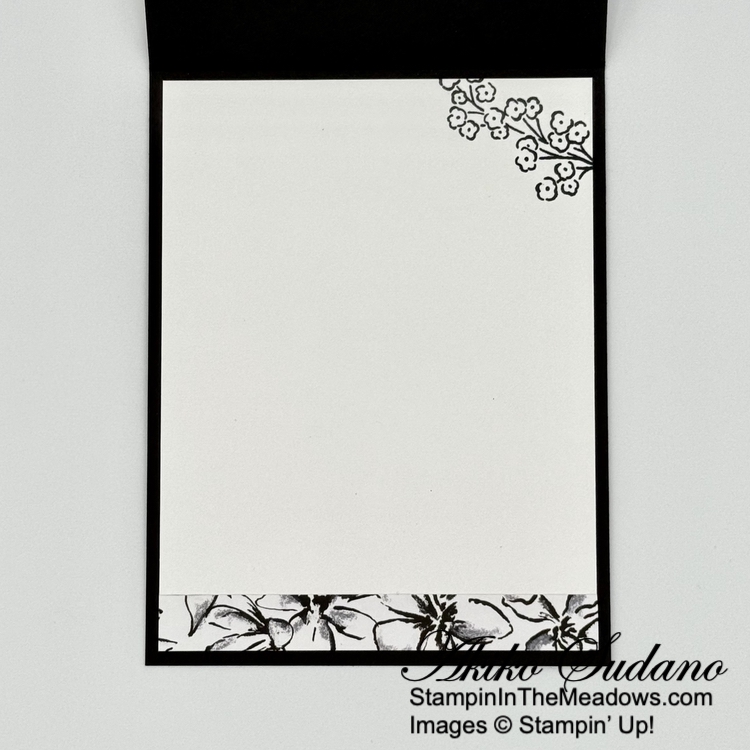
For the inside panel, I stamped the the flowers from the Stampin’ Up! Thankful Garden stamp set using Lemon Lolly ink on a Basic White panel. I trimmed the bottom with DSP and adhered it to the inside of the card with Stampin’ Seal.

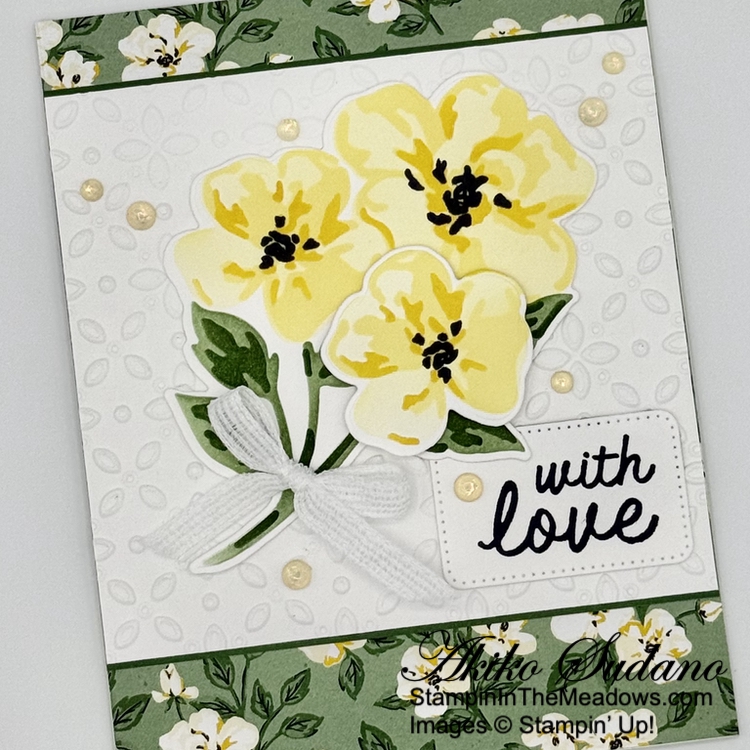
The flowers from the Stampin’ Up! Thankful Garden bundle are so versatile and can be colored in so many ways. I think it would have been a little easier to align the coordinating die if I had stamped the whole flower first, but I wanted the look without the stamped image. And I love the black stamped center accents!

Next, I’ll have to try coloring the stamped outline image. This pretty bundle can be used in so many ways. Check it out along with the other new Online Exclusives here.


If you need any stamping supplies, I’d be very happy to be your Demonstrator.  Just click on the Shop Now Button on the right side of the screen to go directly to my Online store or contact me if you have any questions.  Happy Stamping!

Thanks for stopping by and have a great day!

Akiko

  • Visit my online store here
  • See the current Stampin’ Up! Last Chance items here
  • Have any questions? I’d be happy to help, click here to contact me.

Cardstock Cuts for this project:

  • Soft Sea Foam – 4-1/4″ x 11″ card base scored at 5-1/2″
  • Garden Green Two-Tone – two 1″ x 4-1/4″ strips (embossed panel mat)
  • Basic White – 4″ x 4-1/4″ (embossed front background), 3-3/4″ x 5″ (inside panel), 3-1/2″ x 3-1/2″ (die cut flowers), 2-1/2″ x 2-1/2″ (die cut flower), 1-1/2″ x 2″ (label)
  • Lovely Garden DSP – 4-1/4″ x 5-1/2″ (front background), 1/2″ x 3-3/4″ (inside trim)

Stampin’ Up! products used in this project:


Stampin’ Up! Mixed Florals Card

Good Morning! I used the pretty daisy image from the Stampin’ Up! Mixed Florals stamp set with the pretty sentiment from the Labeled with Love stamp set o make an monochromatic black and white card for today. You can find the products I used at the bottom of my post along with the card stock sizes.

I embossed a Basic White panel with the Plaster Painting 3D embossing folder and adhered it to the front of a Basic Black card base with liquid glue. I adhered a black and white floral panel of Mixed Media Florals designer series paper to a Basic Black mat and adhered it to the card.

I stamped the daisy image from the Stampin’ Up! Mixed Florals stamp set using Versamark ink on a Basic Black panel. I sprinkled it with white embossing powder and shook off the excess. I heated the powder with my heat tool until it was bright and shiny and popped it on the card with dimensionals.

I stamped sentiment from the Labeled with Love stamp set using Memento Tuxedo Black ink ink on Basic White and adhered it to a basic Black mat. I adhered it to the card with glue dots and finished the card with clear sparkle dots.

For the inside panel, I stamped the the floral sprig from the Stampin’ Up! Mixed Florals stamp set using Memento Tuxedo Black ink on a Basic White panel. I trimmed the bottom with DSP and adhered it to the inside of the card with Stampin’ Seal.

I love the Mixed Media Florals designer series paper and the floral images go well with the stamped daisy from the Stampin’ Up! Mixed Florals stamp set. And I love that sentiment from the Labeled with Love stamp set – the curvy script goes perfect with the flowers. And the sentiment is the perfect start to the week – Enjoy!!


If you need any stamping supplies, I’d be very happy to be your Demonstrator.  Just click on the Shop Now Button on the right side of the screen to go directly to my Online store or contact me if you have any questions.  Happy Stamping!

Thanks for stopping by and have a great day!

Akiko

  • Visit my online store here
  • See the current Stampin’ Up! Last Chance items here
  • Have any questions? I’d be happy to help, click here to contact me.

Cardstock Cuts for this project:

  • Basic Black – 4-1/4″ x 11″ card base scored at 5-1/2″, 2-1/8″ x 4-5/8″ (DSP mat), 1-3/8″ x 1-5/8″ (label mat), 2-1/2″ x 3-1/2″ (floral panel)
  • Basic White – two 4″ x 5-1/4″ (embossed front background and inside panel), 1-1/4″ x 1-1/2 (label)
  • Mixed Media Florals DSP – 2″ x 4-1/2″ (floral strip), 1/2″ x 4″ (inside trim)

Stampin’ Up! products used in this project:


Stampin’ Up! Heirloom Arrangements Kit

Good Morning and Happy March! Hopefully Spring arrives soon. I used the beautiful Stampin’ Up! Heirloom Arrangements kit for today’s cards and it was so much fun and creative relaxation to arrange the die cuts and make the cards!

The kit comes with detailed instructions for two cards and shows examples that are pretty easy to re-create for the rest. There are several die cuts left over, and I just added them to the existing designs so they were all used. I did add baker’s twine and sequins from my stash to each of the cards and used Pretty Peacock ink to stamp the butterfly with the Pecan Pie grid. Here’s a closer look at each of my cards.

Aren’t the vintage die cuts from the Stampin’ Up! Heirloom Arrangements kit so pretty? There are other sentiments in the stamp set, but I decided to only use the ‘for you‘ sentiment on the cards. I love how you can make each card unique and that there are 8 cards. This kit was just added to the Stampin’ Up! Kits Collection last month and is only available in the Online Store. New kits are added each month in a variety of styles to meet different crafting tastes and needs. Be sure to check them out.


Last Month To Earn Wildflower Rewards Points

There are exciting changes coming to the Stampin’ Rewards program in April, so sadly, this means my Wildflower Points Frequent Shopper Program is coming to an end.  March 2025 is the last month to earn Wildflower Points and all Wildflower Rewards earned must be redeemed before December 31, 2025.  If you have any questions about your current Wildflower Points status, please contact me.

Stay tuned for the exciting new Stampin’ Rewards program that will begin April 15, 2025!


Current Host Code: CCXFTCJQ

Use this host code when you order $50 or more and receive a Thank You gift from me – a pack of pretty Tinsel Gems Three-Pack (item 161624).

161624 – Tinsel Gems Three-Pack

When I am notified of your order, I will pack your embellishments and send them to your shipping address along with a handmade thank you card!


If you need any stamping supplies, I’d be very happy to be your Demonstrator.  Just click on the Shop Now Button on the right side of the screen to go directly to my Online store or contact me if you have any questions.  Happy Stamping!

Thanks for stopping by and have a great day!

Akiko

  • Visit my online store here
  • See the current Stampin’ Up! Last Chance items here
  • Have any questions? I’d be happy to help, click here to contact me.

Stampin’ Up! products used in this project: