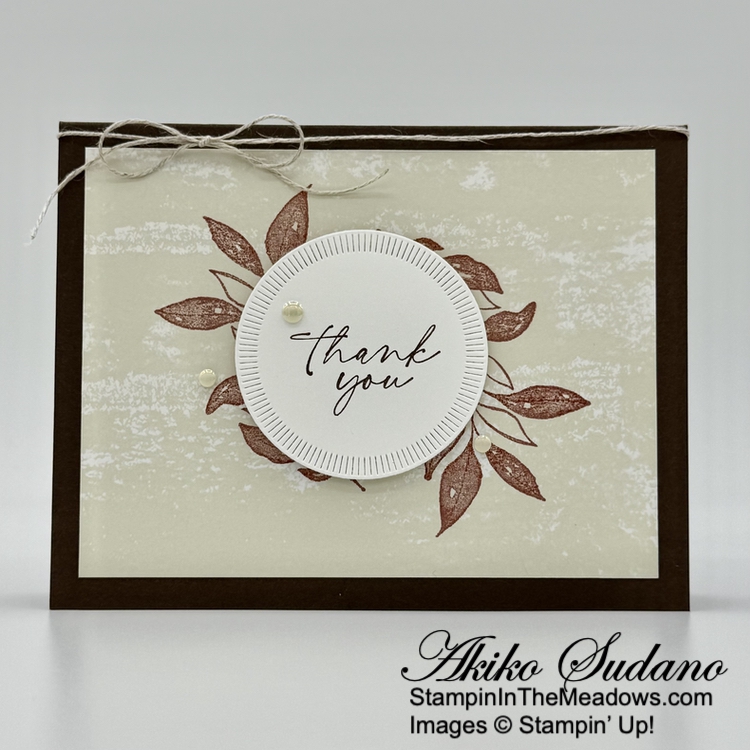
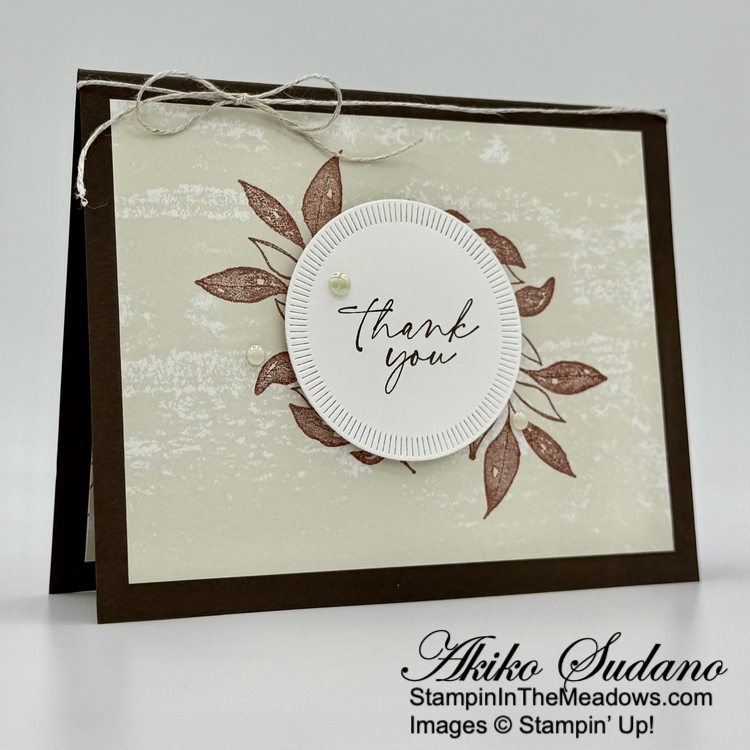
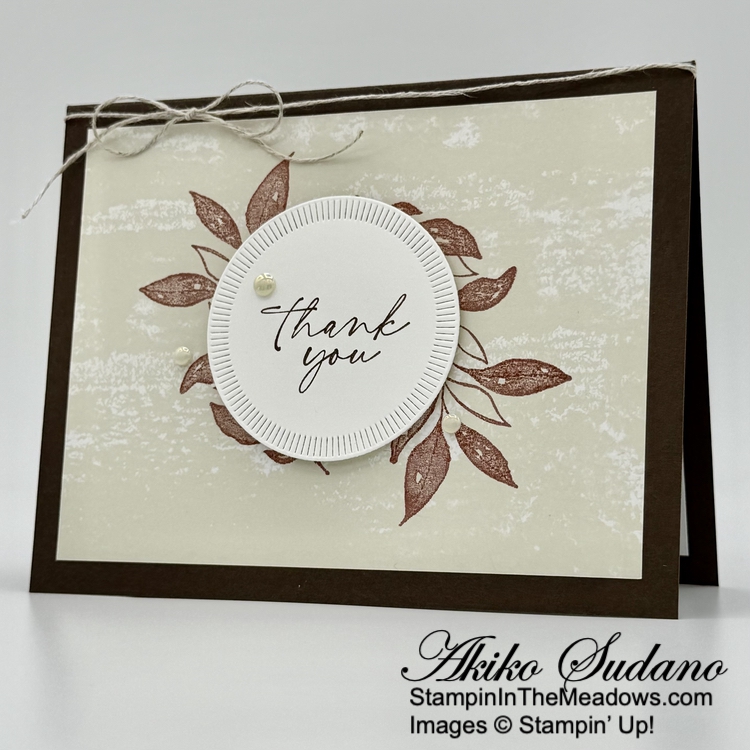
Good Morning and welcome to the Happy Inkin’ Thursday Blog Hop! I’ve got another super simple thank you card today made with the pretty Stampin’ Up! Textured Notes stamp set and the Gathering Together specialty designer series paper. You can find the supplies I used along with card stock cuts at the bottom of my post.
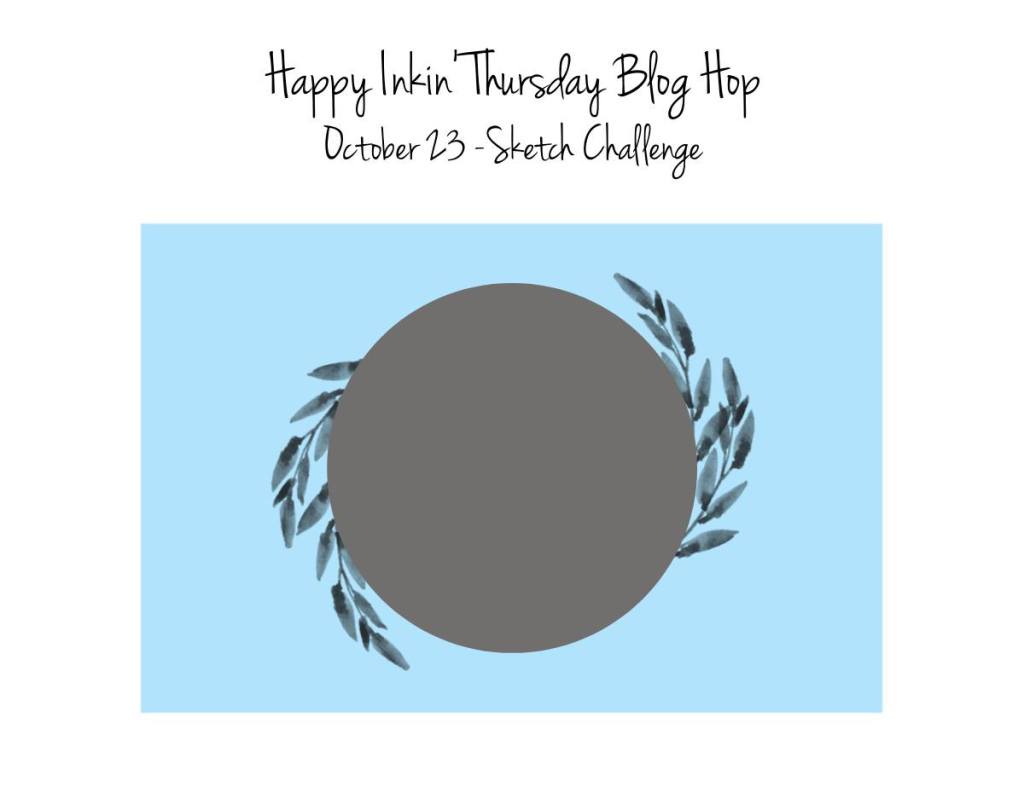
We have a sketch challenge this week:
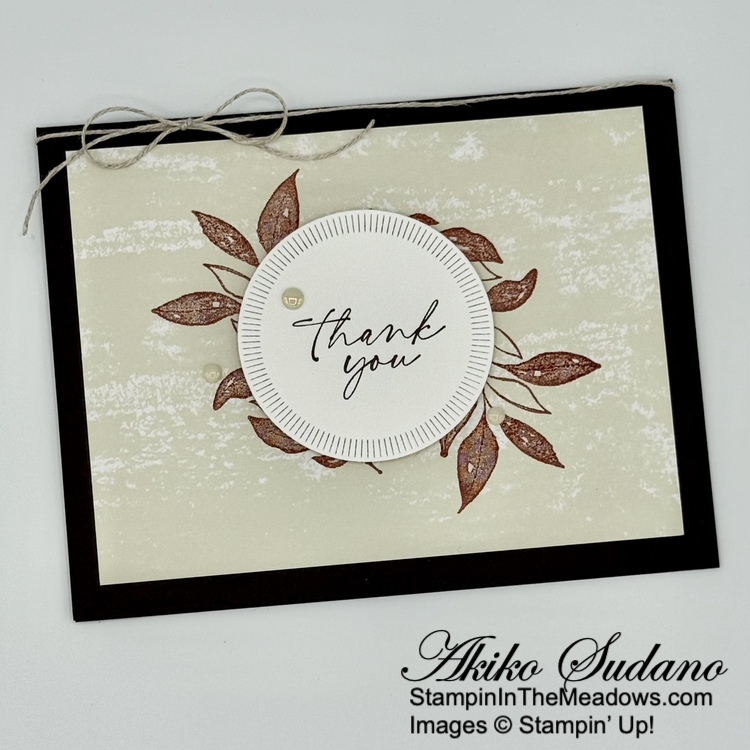
Use the large leaf spray from the Stampin’ Up! Textured Notes stamp set and Pecan Pie ink to stamp on a the plain side of a panel of Gathering Together specialty DSP. Stamp the image twice, making a double outward spiral design.
Adhere the stamped panel to the front of an Early Espresso card base with liquid glue. Stamp the sentiment from the Stampin’ Up! Textured Notes stamp set using Early Espresso ink and cut it out with the circle die from the Spotlight on Nature dies. Adhere the sentiment to the card with dimensionals.
Wrap a length of Linen Thread around the top of the card and make a bow. Finish the card with Antique Pearls.
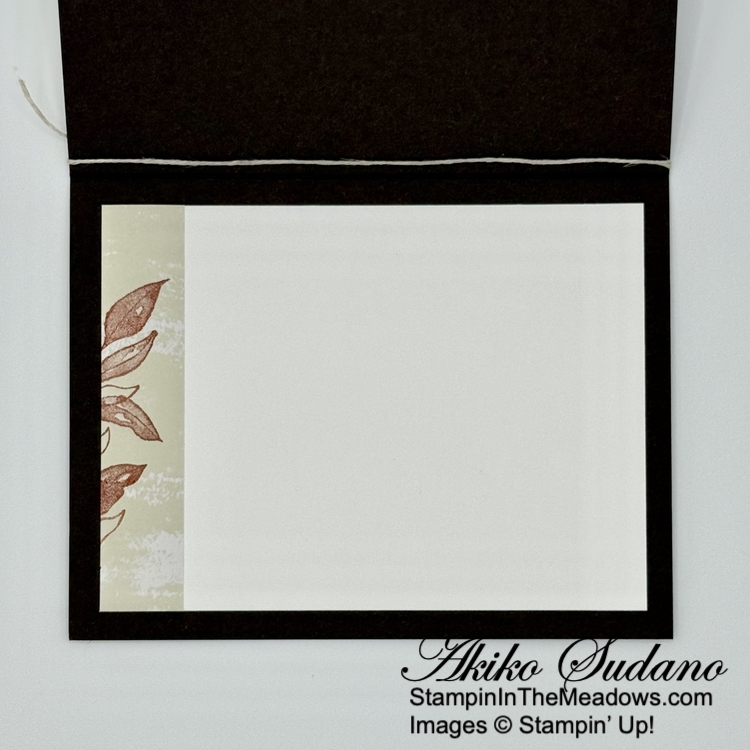
For the inside, stamp the leaf spray from the Stampin’ Up! Textured Notes stamp set on a strip of DSP using Pecan Pie ink and adhere it to the side of a Basic White panel. Adhere the panel to the inside of the card with Stampin’ Seal.
The Stampin’ Up! Textured Notes bundle is a wonderful bundle and I feel guilty not using the great rectangular dies. But the images and sentiments are great too, especially for this time of year.
On with the Hop! Click on the Next Blog button to move forward to see the beautiful project Tara Carpenterhas created.
If you get lost along the way, here are the participants for the hop:
Good Morning and welcome to the Happy Inkin’ Thursday Blog Hop! I used the wonderful Stampin’ Up! Textured Notes bundle from the March Online Exclusives release with some new products from to make a thank you card for today. You can find the supplies I used along with card stock cuts at the bottom of my post.
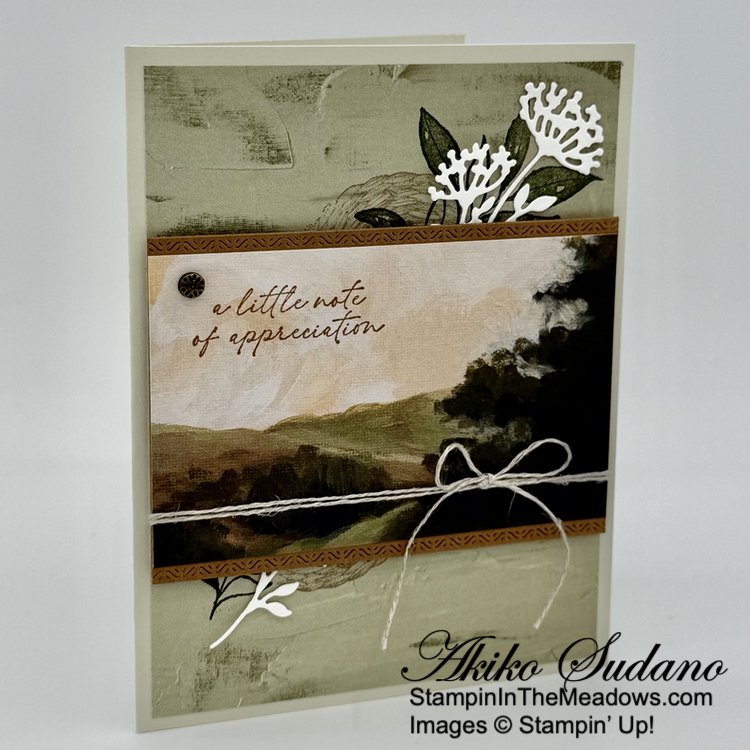
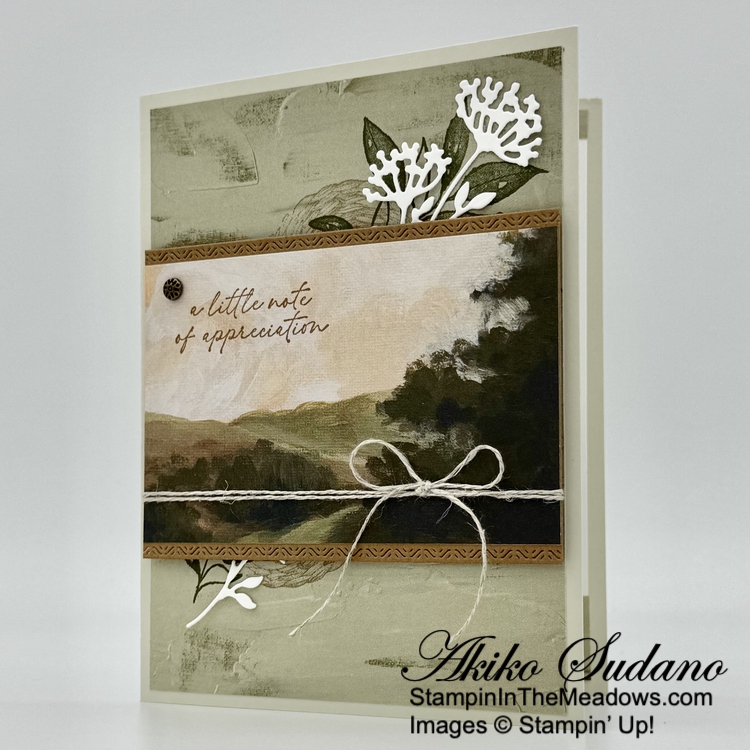
We have a pretty sketch challenge this week, and I interpreted it on a portrait card:
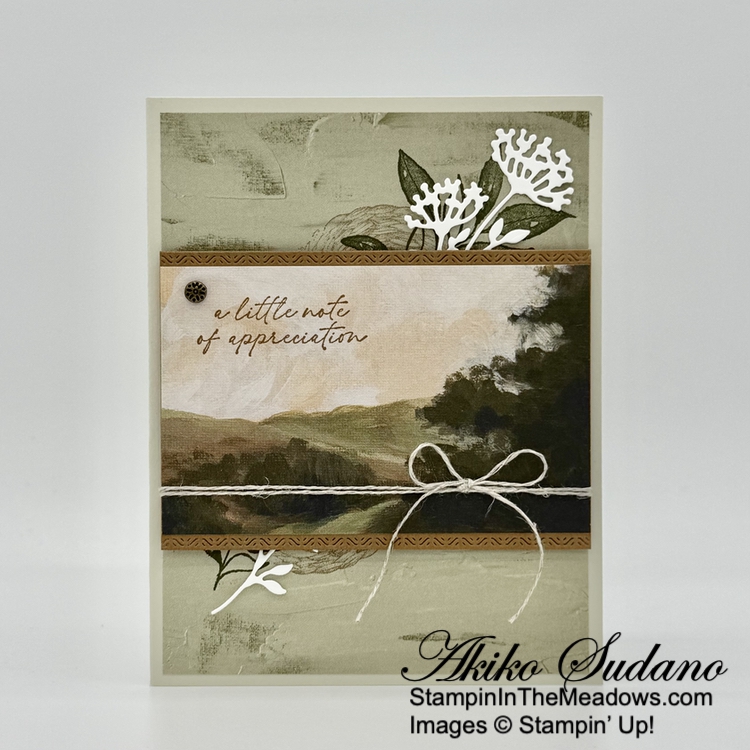
I selected the landscape section from one of the panels of the Beautiful Gallery 6″ x 6″ designer series paper and cut it to 2-1/2″ x 4″. I stamped the sentiment from the Stampin’ Up! Textured Notes stamp set on the panel using Pecan Pie ink. I used the long side of one of the Stampin’ Up! Textured Notes rectangle dies to cut the top and bottom of the Pecan Pie panel and adhered the DSP to the die cut panel.
I stamped the large leaf cluster from the Stampin’ Up! Textured Notes stamp set using Mossy Meadow ink on a fairly plain panel of Beautiful Gallery DSP. I stamped it in the top right corner and then again in the lower left section. I stamped the woven circle basket using Crumb Cake ink and adhered the panel to the front of a Basic Beige card base. I cut a Basic White panel with the floral die from the Beautiful Motifs dies and snipped it in the middle. I adhered the two sections to the card with glue dots.
I wrapped the landscape panel twice with linen thread and tied a bow before adhering it to the card with dimensionals and finished with a textured metallic dot near the sentiment.
For the inside of the card I stamped the leaf cluster and woven circle basket from the Stampin’ Up! Textured Notes stamp set using Mossy Meadow and Crumb Cake inks on Basic White. I trimmed the top and bottom with dSP and adhered the panel to the inside of the card with Stampin’ Seal.
The gorgeous Beautiful Gallery 6″ x 6″ DSP is so versatile and the landscapes make nice focal points for cards. I was pleased that the images from the Stampin’ Up! Textured Notes stamp set would compliment the DSP so well and of course those rectangle dies make wonderful bordered mats!
On with the Hop! Click on the Next Blog button to move forward to see the beautiful project Karen Ksenzakovichas created.
If you get lost along the way, here are the participants for the hop:
If you need any stamping supplies, I’d be very happy to be your Demonstrator. Just click on the Shop Now button on the right side of the screen to go directly to my online store or contact me if you have any questions.
See the current Stampin’ Up! Last Chance items here
Have any questions? I’d be happy to help, click here to contact me.
Cardstock Cuts for this project:
Basic Beige – 5-1/2″ x 8-1/2″ card base, scored at 4-1/4″
Pecan Pie – 2-7/8″ x 4″ (DSP mat)
Basic White – 4″ x 5-1/4″ (inside panel), 1-3/4″ x 4-1/2″ (die cut flower)
Beautiful Gallery 6″ x 6″ DSP – 4″ x 5-1/4″ (front background), 2-1/2″ x 4″ (landscape panel), 3/4″ x 4″ (inside bottom trim), 1/4″ x 4″ (inside top trim)
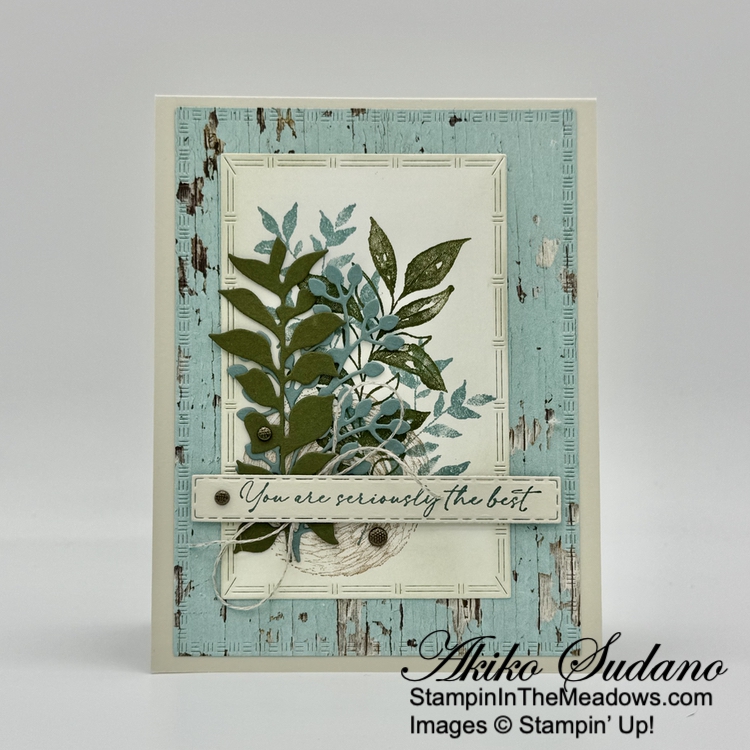
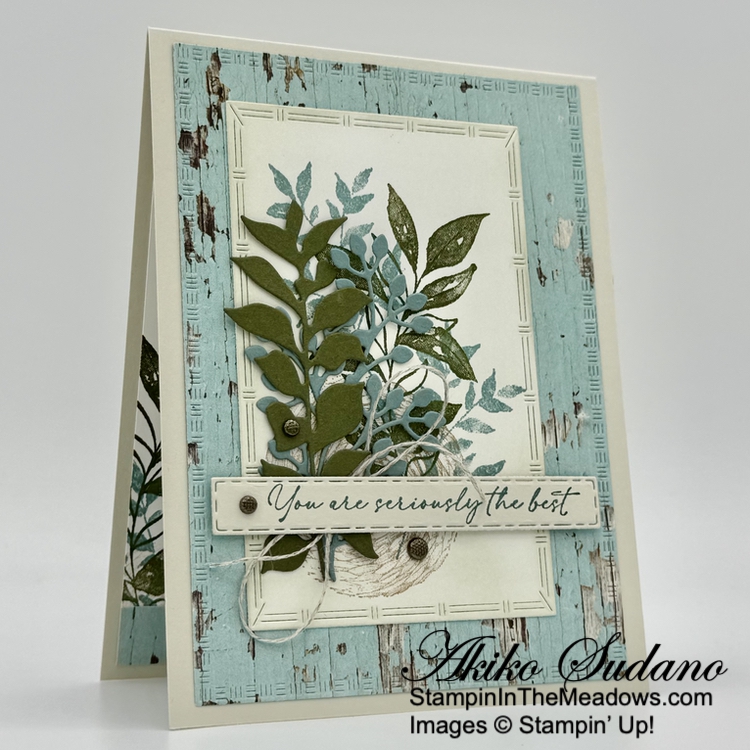
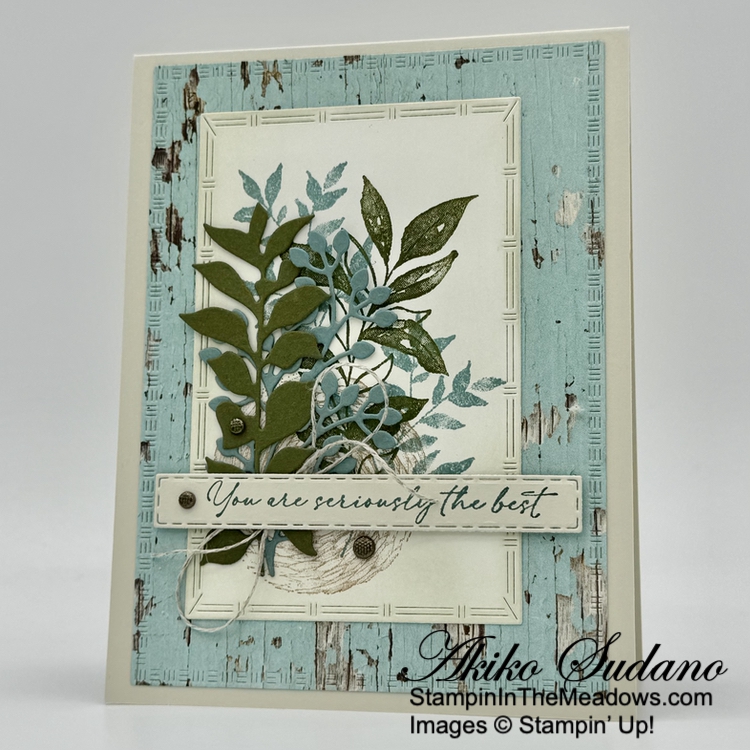
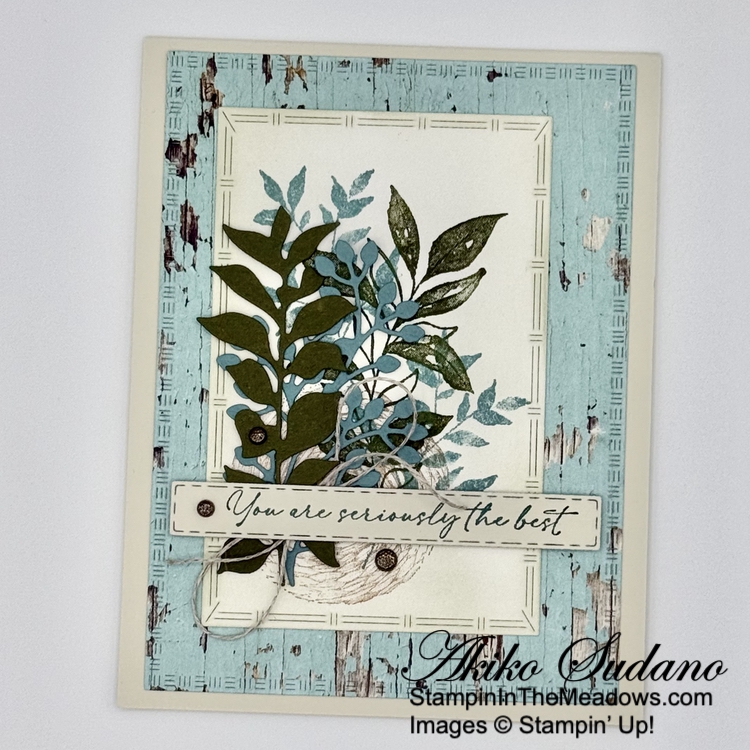
Good Morning! The Stampin’ Up! Textured Notes bundle is part of the new Online Exclusives release and has these wonderful bordered rectangle dies. I used the bundle with the pretty Country Woods designer series paper and the leaf sprig dies from the Textured Floral dies for today’s card. You can find the products I used at the bottom of my post along with the card stock sizes.
I used the large rectangle die from the Stampin’ Up! Textured Notes dies to cut a Pool Party panel of Country Woods designer series paper and adhered it to the front of a basic Beige card base with liquid glue.
I lightly applied Basic Beige ink to a Basic White panel with a blending brush to give it a little color and stamped the large leaf sprig from the Stampin’ Up! Textured Notes stamp set using Mossy Meadow ink. I stamped the round basket using Crumb Cake and I used Lost Lagoon to stamp the small leaf sprig twice. I cut the stamped image out with the third largest rectangle die and applied more Basic Beige ink to the edges. I adhered the panel to the card with liquid glue.
I cut the large leaf sprig die from the Textured Florals dies from Mossy Meadow and the small sprig from Lost Lagoon. I adhered the leaf sprigs to the card with glue dots. I stamped the sentiment from the Stampin’ Up! Textured Notes stamp set using Lost Lagoon ink on Basic Beige. I cut it out with the long skinny die and adhered a Linen Thread bow to the back before popping it on the card with dimensionals. I finished the card with textured metallic dots.
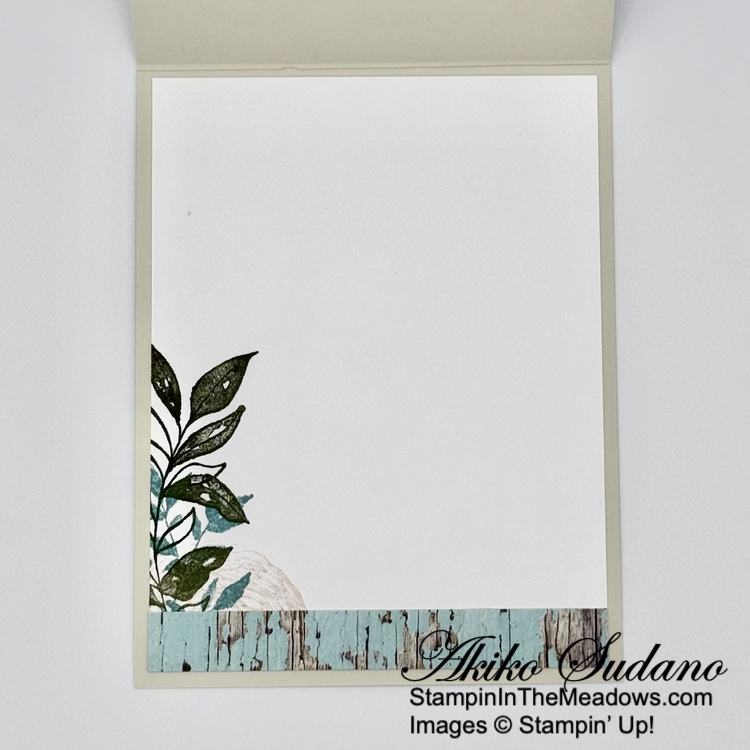
For the inside panel, I stamped the leaf sprigs and round basket from the Stampin’ Up! Textured Notes stamp set using the same colors as the card front on a Basic White panel. I trimmed the bottom with DSP and adhered it to the inside of the card with Stampin’ Seal.
The Stampin’ Up! Textured Notes bundle is wonderful for stamping textured collages and can be combined with images from other stamp sets, such as letters, graphic designs and naturals such as flowers and butterflies. I also think the leaves from the Textured Floral dies nicely coordinate with the stamped images in the stamp set. And I just love these new bordered rectangle dies!
If you need any stamping supplies, I’d be very happy to be your Demonstrator. Just click on the Shop Now Button on the right side of the screen to go directly to my Online store or contact me if you have any questions. Happy Stamping!
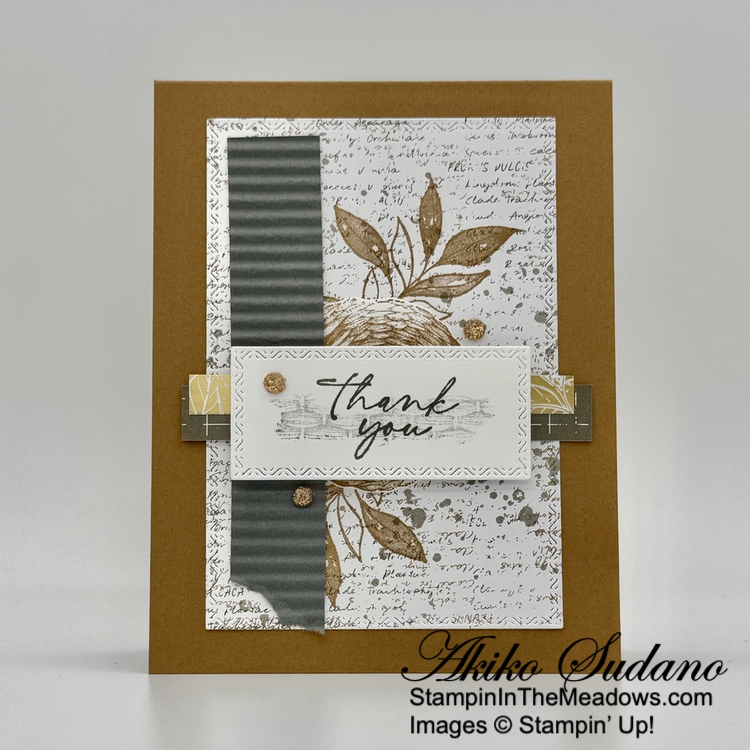
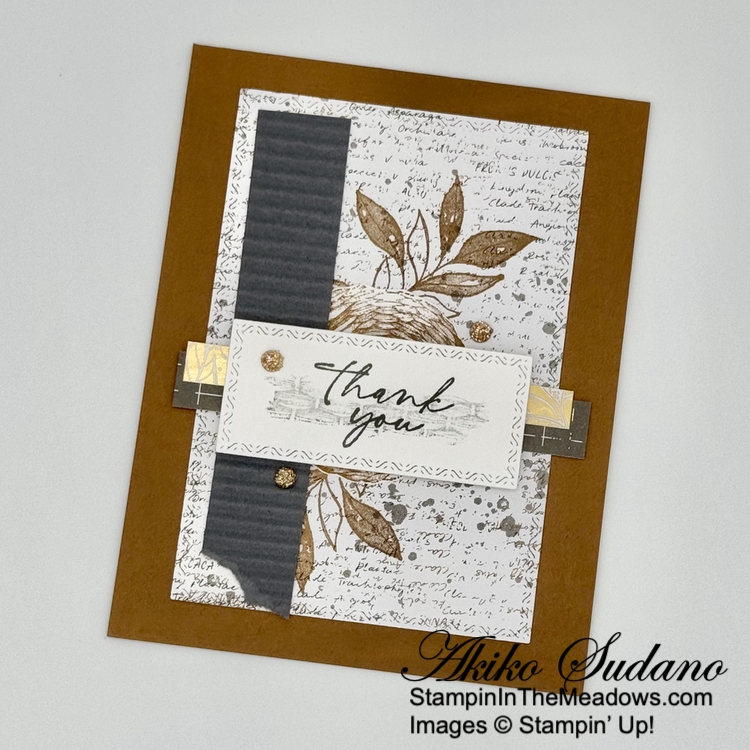
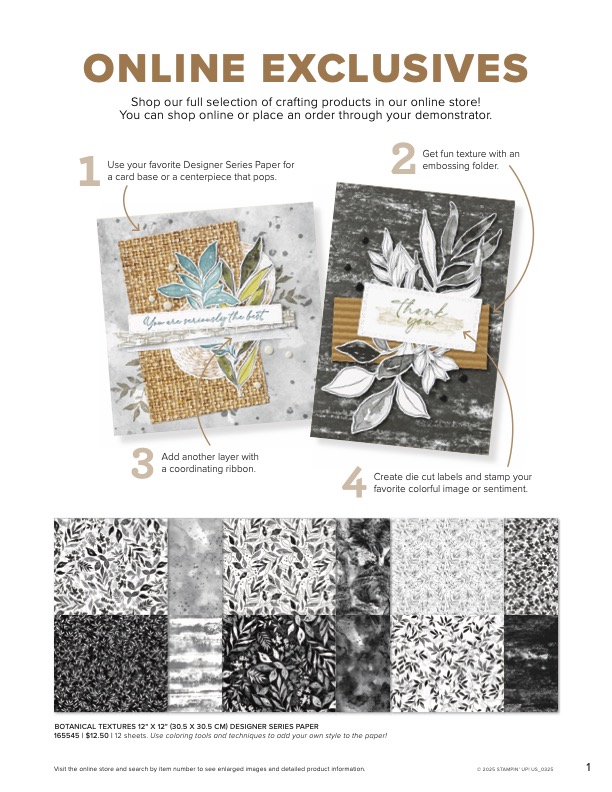
Good Morning! Next week a new set of Online Exclusives will be released on March 4 and one of the new bundles is the Stampin’ Up! Textured Notes bundle. This is stamp and die bundle featuring a stamp set with wonderful texture elements and sentiments along with a fabulous set of rectangle dies with fancy textured edges. I used the bundle with the Nature’s Sweetness specialty designer series paper for today’s card. You can find the currently available products I used at the bottom of my post along with the card stock sizes. And you can find a link further down to download a PDF with all the details of the Botanical Textures suite that includes this awesome new bundle.
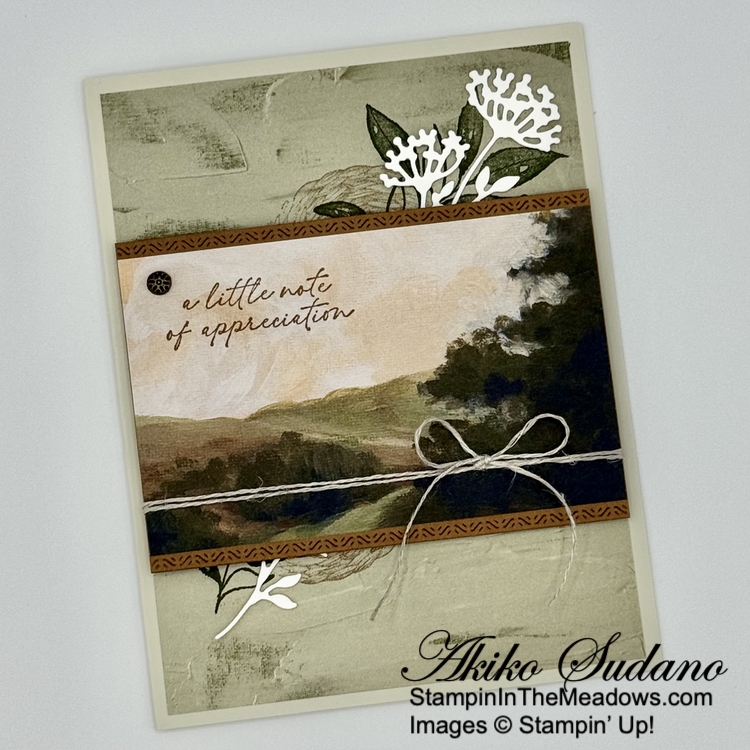
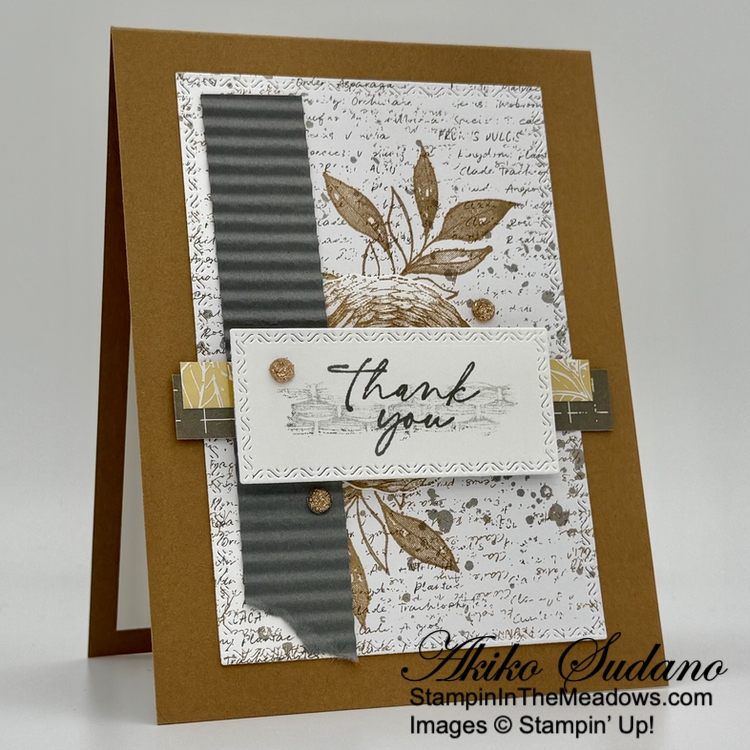
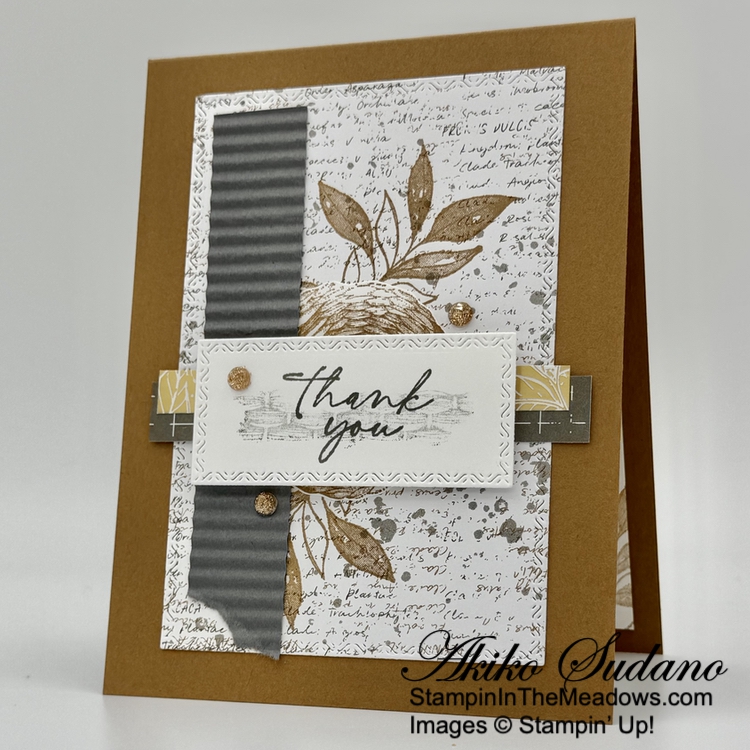
I stamped a panel of Nature’s Sweetness specialty designer series paper with the large leaf sprig from the pretty Stampin’ Up! Textured Notes stamp set using Pecan Pie ink. I stamped the image twice so that the image flowed on a diagonal across the panel. I cut it out with one of the awesome rectangle dies and adhered it to the front of a Pecan Pie card base.
I stamped the basket from the Stampin’ Up! Textured Notes stamp set using Pecan Pie ink on Basic White. I fussy cut it out with my paper snips and adhered it to the card with liquid glue. I tore the end of a strip of Pebbled Path card stock and embossed it with the new Mini Corrugated 3D embossing folder. I adhered it to the card with liquid glue. I adhered two strips of Nature’s Sweetness specialty DSP to the card with glue dots.
I stamped the woven image from the Stampin’ Up! Textured Notes stamp set using stamped off Pebbled Path ink on Basic White. I stamped the sentiment in full strength Pebbled Path and cut it out with a rectangle die – isn’t the edge just gorgeous!
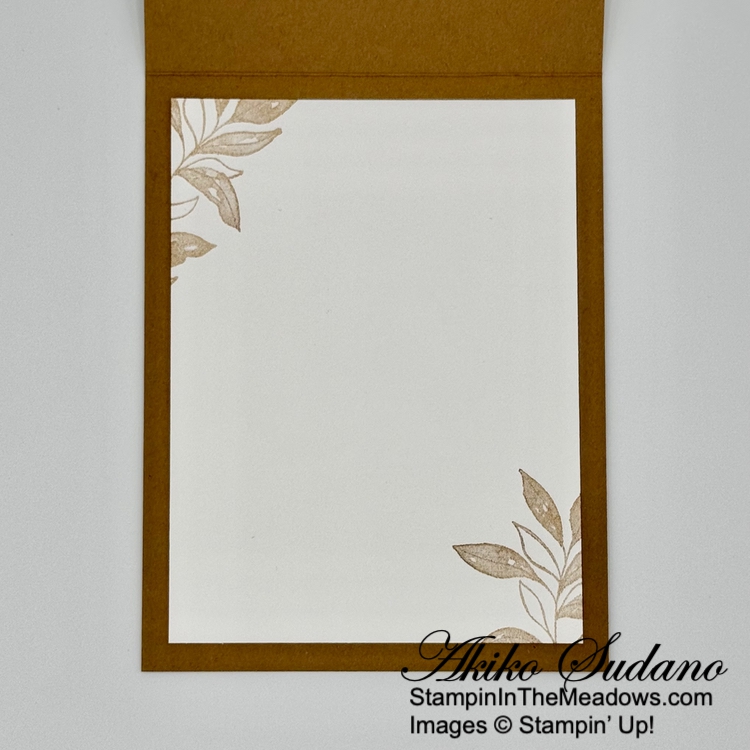
For the inside panel, I stamped the leaf from the Stampin’ Up! Textured Notes stamp set using stamped off Pecan Pie ink in the corners of a Basic White panel and adhered it to the inside of the card with Stampin’ Seal.
The pretty Stampin’ Up! Textured Notes bundle will be available on March 4 with the new release of Online Exclusives. Click on the picture below to download a flyer with details of this bundle and other items in the Botanical Textures Suite Collection.
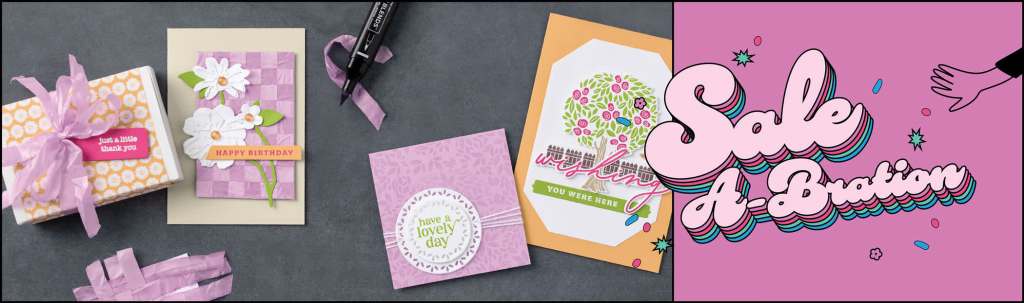
Last Week For Sale-A-Bration!!
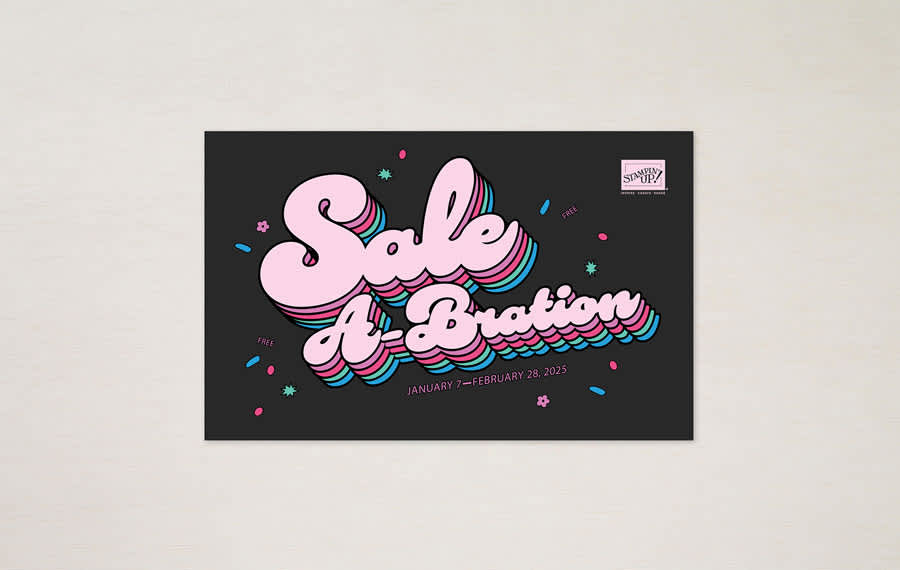
Sale-A-Bration is the biggest Stampin’ Up! promotion of the year. The best part of Sale-A-Bration is that you earn FREE items for every $60 worth of products you purchase. There are items that you get for $60 and there are items you can get for $120. All the details are in the Sale-A-Bration Brochure. Click on the picture of the brochure below to download a copy to view the items and details.
Another benefit of Sale-A-Bration is when you host a workshop with sales over $300 or have an individual order over $300, you get to choose an additional $30 worth of products from the Stampin’ Up! catalog or Online Store for FREE!
And Sale-A-Bration is the best time to join Stampin’ Up! as a new Demonstrator. During Sale-A-Bration, new Demonstrators who purchase a starter kit by choosing $125 worth of products for only $99 (includes shipping) have two FREE bonus options to add to your starter kit.
Option 1: Your choice of TWO marker sets from our Stampin’ Write Marker Assortments (Brights, Neutrals, Regals, Subtles), PLUS the Handmade Designs stamp set, a beautiful stamp set exclusively designed to work with them.
Option 2: Your Choice of an additional $30 in FREE products
Sale-A-Bration runs through February 28, 2025. Visit my Online Store to start shopping now.
Current Host Code: FYMGA4AN
Use this host code when you order $50 or more and receive a Thank You gift from me! The free gift is your choice of any item currently available valued up to $10.00.
If your order is over $150, please do not use the host code since you’ll receive your own Host Dollars plus I’ll still send you the Thank You gift! This host code can be used by anyone, no club or commitment required. Let me know if you have any questions.
If you need any stamping supplies, I’d be very happy to be your Demonstrator. Just click on the Shop Now Button on the right side of the screen to go directly to my Online store or contact me if you have any questions. Happy Stamping!


![Textured Notes Cling Stamp Set (English) [ 165548 ]](https://assets1.tamsnetwork.com/images/EC042017NF/165548s.jpg "Textured Notes Cling Stamp Set (English) [ 165548 ]")
![Spotlight On Nature Dies [ 163580 ]](https://assets1.tamsnetwork.com/images/EC042017NF/163580s.jpg "Spotlight On Nature Dies [ 163580 ]")
![Gathering Together 12" X 12" (30.5 X 30.5 Cm) Specialty Designer Series Paper [ 165969 ]](https://assets1.tamsnetwork.com/images/EC042017NF/165969s.jpg "Gathering Together 12\" X 12\" (30.5 X 30.5 Cm) Specialty Designer Series Paper [ 165969 ]")
![Early Espresso 8-1/2" X 11" Cardstock [ 119686 ]](https://assets1.tamsnetwork.com/images/EC042017NF/119686s.jpg "Early Espresso 8-1/2\" X 11\" Cardstock [ 119686 ]")
![Basic White 8 1/2" X 11" Cardstock [ 166780 ]](https://assets1.tamsnetwork.com/images/EC042017NF/166780s.jpg "Basic White 8 1/2\" X 11\" Cardstock [ 166780 ]")
![Pecan Pie Classic Stampin' Pad [ 161665 ]](https://assets1.tamsnetwork.com/images/EC042017NF/161665s.jpg "Pecan Pie Classic Stampin' Pad [ 161665 ]")
![Early Espresso Classic Stampin' Pad [ 147114 ]](https://assets1.tamsnetwork.com/images/EC042017NF/147114s.jpg "Early Espresso Classic Stampin' Pad [ 147114 ]")
![Antique Pearls [ 164679 ]](https://assets1.tamsnetwork.com/images/EC042017NF/164679s.jpg "Antique Pearls [ 164679 ]")
![Linen Thread [ 104199 ]](https://assets1.tamsnetwork.com/images/EC042017NF/104199s.jpg "Linen Thread [ 104199 ]")
![Multipurpose Liquid Glue [ 110755 ]](https://assets1.tamsnetwork.com/images/EC042017NF/110755s.jpg "Multipurpose Liquid Glue [ 110755 ]")
![Stampin' Dimensionals [ 104430 ]](https://assets1.tamsnetwork.com/images/EC042017NF/104430s.jpg "Stampin' Dimensionals [ 104430 ]")
![Mini Glue Dots [ 103683 ]](https://assets1.tamsnetwork.com/images/EC042017NF/103683s.jpg "Mini Glue Dots [ 103683 ]")
![Stampin' Seal [ 152813 ]](https://assets1.tamsnetwork.com/images/EC042017NF/152813s.jpg "Stampin' Seal [ 152813 ]")
![Stampin' Cut & Emboss Machine [ 149653 ]](https://assets1.tamsnetwork.com/images/EC042017NF/149653s.jpg "Stampin' Cut & Emboss Machine [ 149653 ]")


![Textured Notes Bundle (English) [ 165556 ]](https://assets1.tamsnetwork.com/images/EC042017NF/165556s.jpg "Textured Notes Bundle (English) [ 165556 ]")
![Beautiful Motifs Dies [ 165205 ]](https://assets1.tamsnetwork.com/images/EC042017NF/165205s.jpg "Beautiful Motifs Dies [ 165205 ]")
![Beautiful Gallery 6" X 6" (15.2 X 15.2 Cm) Designer Series Paper [ 165196 ]](https://assets1.tamsnetwork.com/images/EC042017NF/165196s.jpg "Beautiful Gallery 6\" X 6\" (15.2 X 15.2 Cm) Designer Series Paper [ 165196 ]")
![Basic Beige 8 1/2" X 11" Cardstock [ 164511 ]](https://assets1.tamsnetwork.com/images/EC042017NF/164511s.jpg "Basic Beige 8 1/2\" X 11\" Cardstock [ 164511 ]")
![Pecan Pie 8 1/2" X 11" Cardstock [ 161717 ]](https://assets1.tamsnetwork.com/images/EC042017NF/161717s.jpg "Pecan Pie 8 1/2\" X 11\" Cardstock [ 161717 ]")
![Mossy Meadow Classic Stampin' Pad [ 147111 ]](https://assets1.tamsnetwork.com/images/EC042017NF/147111s.jpg "Mossy Meadow Classic Stampin' Pad [ 147111 ]")
![Crumb Cake Classic Stampin' Pad [ 147116 ]](https://assets1.tamsnetwork.com/images/EC042017NF/147116s.jpg "Crumb Cake Classic Stampin' Pad [ 147116 ]")
![Pressed Flower Motifs [ 165215 ]](https://assets1.tamsnetwork.com/images/EC042017NF/165215s.jpg "Pressed Flower Motifs [ 165215 ]")


 Designer Series Paper")


 Specialty Designer Series Paper")


