Stampin’ Up! Stippled Roses for the Happy Inkin’ Thursday Blog Hop

Good Morning and welcome to the Happy Inkin’ Thursday Blog Hop! The Stampin’ Up! Stippled Roses bundle is one of my favorites in the new Mini Catalog and I used it with the pretty Softly Stippled Sale-A-Bration designer series paper to make a simple thank you card. You can find the supplies I used along with card stock cuts at the bottom of my post.

We have a theme challenge this week:

I embossed a panel of Pebbled Path card stock with the pretty Distressed Tile 3D embossing folder and adhered it to the front of a Pebbled Path card base with liquid glue. I adhered a panel of Softly Stippled DSP to the card with liquid glue.

I adhered another panel of Softly Stippled DSP to a Pebbled Path mat and adhered it to the card with glue dots. I wrapped a length of Pebbled Path ribbon around the card front and tied a knot.I stamped the sentiment from the Stampin’ Up! Stippled Roses stamp set in Pebbled Path ink on Basic White and cut it out with the small rectangle from the Everyday Details dies. I adhered it to the card with glue dots.

I stamped the small rose from the Stampin’ Up! Stippled Roses stamp set in Pebbled Path ink on Basic White and cut it out with the coordinating die. I stamped the top leaf cluster from the large leaf stamp in Pebbled Path ink on Basic White and cut it out with the coordinating die. I trimmed the bottom and adhered it to the back of the die cut rose with glue dots. I adhered the flower to the card with dimensionals and finished with three clear sparkle gems.

I kept the inside of the card simple, just trimming the bottom of a Basic White panel with a strip of DSP. I adhered the panel to the inside of the card with Stampin’ Seal.

I love how the roses in the Softly Stippled designer series paper coordinate with the Stampin’ Up! Stippled Roses bundle. The flowers are so realistic and go well in a monotone design.

On with the Hop! Click on the Next Blog button to move forward to see the beautiful project Karen Ksenzakovic has created.

If you get lost along the way, here are the participants for the hop:


Current Host Code: M3WQ2HCB

Use this host code when you order $50 or more and receive a free gift from me!  The free gift is your choice of any item currently available valued up to $10.00!

If your order is over $150, please do not use the host code since you’ll receive your own Host Dollars plus I’ll still send you the free gift!  This host code can be used by anyone, no club or commitment required. Let me know if you have any questions.


If you need any stamping supplies, I’d be very happy to be your Demonstrator.  Just click on the Shop Now button on the right side of the screen to go directly to my online store or contact me if you have any questions. 

Thanks for stopping by and Happy Stamping!

Akiko

  • Visit my online store here
  • See the current Stampin’ Up! clearance rack specials here
  • Earn FREE Stampin’ Up! products through my Wildflower Frequent Shopper Program – my way of saying thank you to my online frequent shopper customers.
  • Have any questions? I’d be happy to help, click here to contact me.

Cardstock Cuts for this project:

  • Pebbled Path – 5-1/2″ x 8-1/2″ card base, scored at 4-3/4″
  • Calypso Coral – 3-7/8″ x 5-1/8″ (front mat)
  • Basic White – 4″ x 5-1/4″ (inside panel), 2-1/2″ x 4″ (die cut panel), 1″ x 2″ (fussy cut flowers)
  • Softly Stippled DSP – 3-3/4″ x5″ (front background), 2-1/2″ x 3-3/4″ (embossed panel), 1/2″ x 5-1/4″ (inside trim)
Stampin’ Up! products used in this project:


Stampin’ Up! Stippled Roses Thank You Card

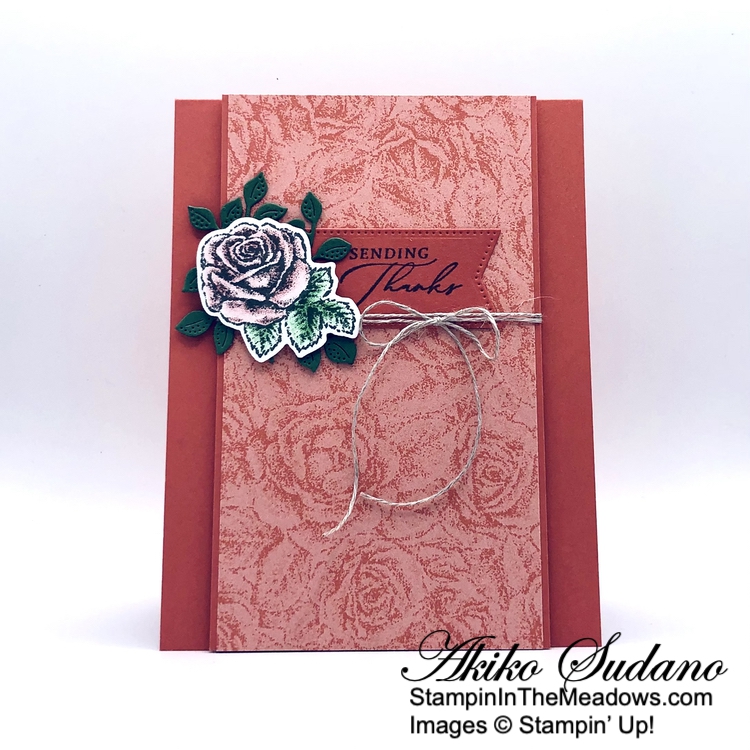
Good Morning! I’m using the Stampin’ Up! Stippled Roses bundle from the new January-April Mini Catalog and the Softly Stippled Sale-A-Bration designer series paper for a thank you card. I love how the images in this pattern resemble the roses in the stamp set! You can find the products I used at the bottom of my post along with the card stock sizes.

My card’s design was inspired by the pretty sketch in Global Design Project #426:

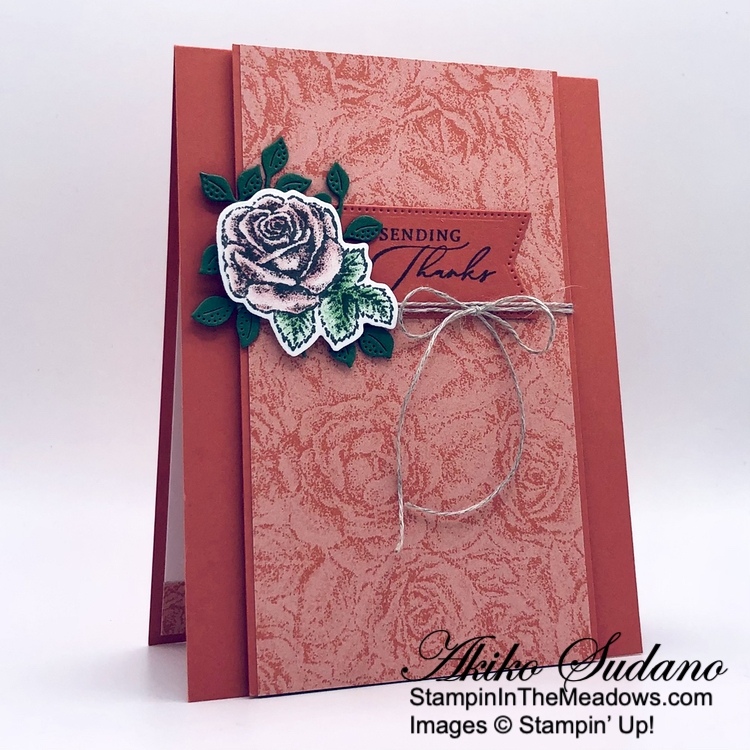
I adhered a panel of Calypso Coral rose patterned Softly Stippled designer series paper to a Calypso Coral mat with liquid glue. I stamped the sentiment from the Stampin’ Up! Stippled Roses stamp set using Pebbled Path ink on Calypso coral and cut it out with a banner die from the Stylish Shapes dies. I adhered it to the DSP panel with liquid glue and wrapped it with linen thread, making a bow.

I adhered the DSP panel to the front of a Calypso Coral Card base withh dimensionals. I cut a small leaf spray from Garden Green using a die from the Stampin’ Up! Stippled Roses dies and adhered it to the card with glue dots, tucking it under the linen thread and covering the left side of the banner. 

I stamped the small rose from the Stampin’ Up! Stippled Roses stamp set in Pebbled Path ink on Basic White and colored it with Watercolor Pencils. I colored the flower all over lightly with the Calypso Coral Pencil. I colored the darker areas again to intensify the color and blend it out into the rest of the petal. I colored the leaves in Garden Green using the same method. I cut the flower out with the coordinating die and popped it on the card with dimensionals.

For the inside of the card, I stamped the small rose from the Stampin’ Up! Stippled Roses stamp set in Pebbled Path ink in the top corner of a Basic White panel. I colored it using Calypso Coral and Garden Green watercolor pencils and trimmed the bottom with a strip of Softly Stippled DSP. I adhered the panel to the inside of the card with Stampin’ Seal.

The images and sentiments from the Stampin’ Up! Stippled Roses bundle are just gorgeous and it’s wonderful to have them also in the Sale-A-Bration Softly Stippled DSP! I’ve been pleased at all the different ways to stamp and color the images from the stamp set – it’s pretty versatile!


Sale-A-Bration Is Going On Now!

Sale-A-Bration is Stampin’ Up!’s best promotion of the year with specials for Shopping, Hosting and Joining!

Shopping

Choose a FREE Sale-A-Bration item from the Sale-A-Bration Brochure with every $50 or $100 you spend (before tax and shipping). The Sale-A-Bration brochure has eleven items available for free with orders of $50 or greater and three items you can pick from with orders of $100 or greater! The free Sale-A-Bration items are stackable, so if you place an order of $150, you can choose to add three $50 items or one $100 item and one $50 item to your order! The Sale-A-Bration items are only available while supplies last, so order early if there are items that you are really wanting! 

Hosting

Host a party of $300 or more and get an additional $30 in Stampin’ Rewards! Normally a $300 party will result in $36 in Stampin’ Rewards for the host, but during Sale-A-Bration a $300 party will result in $66 in Stampin’ Rewards! Stampin’ Rewards are redeemed to get free items from any current catalog. And if you have a large enough shopping list, you will get the Sale-A-Bration Host rewards in a single order (and that’s in addition to the Sale-A-Bration shopping items)! 

If you’d like to set up a host code to see if you can collect $300 in orders, I’d be happy to help you with that!  Reach out to me at apsudano@stampininthemeadows.com.

Joining

Sale-A-Bration is one of the best times to join Stampin’ Up! as a new demonstrator and there are two fantastic options for purchasing your Starter Kit during Sale-A-Bration

Option 1: 

Customers who join our fun crafting community as a new demonstrator can get $125 worth of product PLUS our Stampin’ Glass Mat Studio* (a $60 USD) for just $99! The Glass Mat Studio includes a 17″ x 14″ safety-tempered glass mat, a gray 8-1/4″ x 8-1/4″ lint-free, reusable cleaning cloth and a 8-3/4″ x 6″ white 4-palette silicone mat.

Option 2:

Customers who want to join Stampin’ Up! during Sale-A-Bration but are interested in a different join option can instead get $125 worth of product PLUS an additional $30 worth of product of their choice when they join for $99. That’s $155 in products for $99! 

Once you join, you’ll get at least a 20% discount on all of your Stampin’ Up! merchandise purchases AND you get to order early from upcoming catalogs!  There is NO COMMITMENT and NO REQUIREMENT TO SELL to anyone.  You can join and just get the discount for yourself!  Contact me at apsudano@stampininthhemeadows.com if you’d like more information about joining or purchasing the Starter Kit! 

Click on the image below to open a PDF of the Sale-A-Bration Brochure to see all the Sale-A-Bration items and get additional details:


Current Host Code: 4X6DDWUC

Use this host code when you order $50 or more and receive a Thank You gift from me!  The free gift is your choice of any item currently available valued up to $10.00.

If your order is over $150, please do not use the host code since you’ll receive your own Host Dollars plus I’ll still send you the Thank You gift!  This host code can be used by anyone, no club or commitment required. Let me know if you have any questions.


If you need any stamping supplies, I’d be very happy to be your Demonstrator.  Just click on the Shop Now Button on the right side of the screen to go directly to my Online store or contact me if you have any questions.  Happy Stamping!

Thanks for stopping by and have a great day!

Akiko

  • Visit my online store here
  • See the current Stampin’ Up! clearance rack specials here
  • Earn FREE Stampin’ Up! products through my Wildflower Frequent Shopper Program – my way of saying thank you to my online frequent shopper customers.
  • Have any questions? I’d be happy to help, click here to contact me.

Cardstock Cuts for this project:

  • Calypso Coral – 4-1/4″ x 11″ card base, scored at 5-1/2″, 2″ x 3″ (label), 3-1/4″ x 5-1/2″ (DSP mat)
  • Garden Green – 2-1/2″ x 3-1/4″ (leaf spray die cut)
  • Basic White – 4 x 5-1/4″ (inside panel), 2-1/4″ x 3″ (flower)
  • Softly Stippled DSP – 1/2″ x 4″ (inside trim), 3-1/8″ x 5-1/2″ (front background)

Stampin’ Up! products used in this project:


Stampin’ Up! Stippled Roses for the Happy Inkin’ Thursday Blog Hop

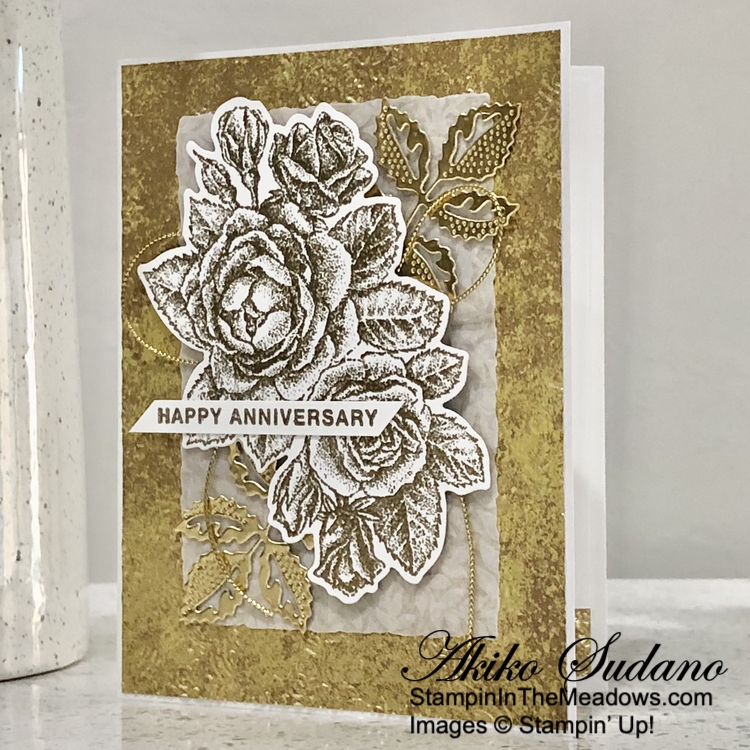
Good Morning and welcome to the Happy Inkin’ Thursday Blog Hop! Here’s an Anniversary card made with the beautiful new Stampin’ Up! Stippled Roses bundle from the upcoming January – April 2024 Mini Catalog that will be available next week. You can find the supplies I used along with card stock cuts at the bottom of my post.

We have a theme challenge this week with the theme of Celebrate. My card celebrates a Wedding Anniversary!

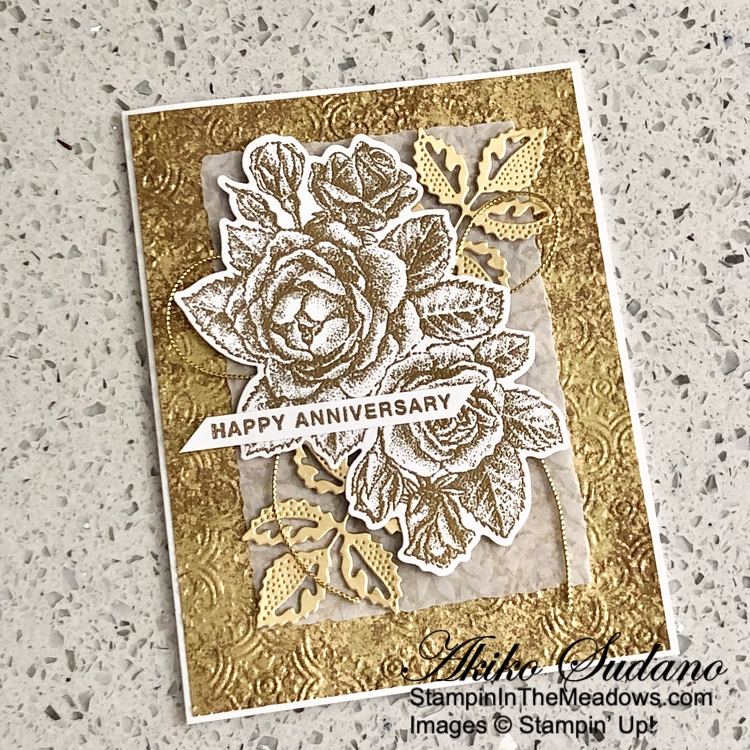
I embossed a panel of Distressed Gold specialty paper with the Distressed Tile 3d embossing folder and adhered it to the front of a Thick Basic white card base with liquid glue. I cut a panel of leafy vellum with the third largest deckled rectangles dies and adhered it to the card front with Stampin’ Seal. I made a large loopy bow with gold twine and adhered it with a glue dot.

I stamped the large rose bouquet from the Stampin’ Up! Stippled Roses bundle using Versamark ink on Basic White and sprinkled it with gold embossing powder and shook off the excess. I heated it with my heat tool until the powder was bright and shiny and cut it out with the coordinating die. I adhered it to the card over the loopy bow with dimensionals. I cut two leaf sprigs from gold foil and adhered them to the card with glue dots, tucking them under the roses.

I stamped the sentiment from the Ringed with Nature stamp set in Versamark ink on a Basic White strip. I sprinkled it with gold embossing powder and shook off the excess. I heated it with my heat tool until it was bright and shiny and trimmed the ends with my paper snips. I adhered it to the card with glue dots and dimensionals.

For the inside of the card, I stamped the single rose from the Stampin’ Up! Stippled Roses stamp set in Versamark ink on a Basic White panel. I sprinkled it with gold embossing powder and shook off the excess. I heated it with my heat tool until it was briight and shiny. I embossed a strip of Distressed Gold specialty paper with the Distressed Tile 3d embossing folder and adhered it to the bottom of the panel.  I adhered the panel to the inside of the card with Stampin’ Seal.

The Stampin’ Up! Stippled Roses stamps are beautiful when embossed! When a celebration is called for, gold is always appropriate! And remember that the Stampin’ Up! January – April 2024 Mini Catalog will be open next – that’s another thing to celebrate!

On with the Hop! Click on the Next Blog button to move forward to see the beautiful project Karen Ksenzakovic has created.

If you get lost along the way, here are the participants for the hop:


Current Host Code: 4X6DDWUC

Use this host code when you order $50 or more and receive a free gift from me!  The free gift is your choice of any item currently available valued up to $10.00!

If your order is over $150, please do not use the host code since you’ll receive your own Host Dollars plus I’ll still send you the free gift!  This host code can be used by anyone, no club or commitment required. Let me know if you have any questions.


If you need any stamping supplies, I’d be very happy to be your Demonstrator.  Just click on the Shop Now button on the right side of the screen to go directly to my online store or contact me if you have any questions. 

Thanks for stopping by and Happy Stamping!

Akiko

  • Visit my online store here
  • See the current Stampin’ Up! clearance rack specials here
  • Earn FREE Stampin’ Up! products through my Wildflower Frequent Shopper Program – my way of saying thank you to my online frequent shopper customers.
  • Have any questions? I’d be happy to help, click here to contact me.

Cardstock Cuts for this project:

  • Thick Basic White – 5-1/2″ x 8-1/2″ card base scored at 4-1/4″
  • Distressed Gold specialty – 4-1/8″ x 5-3/8″ (front background), 1/2″ x 4″ (inside trim)
  • Vellum Basics – 3-1/4″ x 4-3/4″ (die cut rectangle)
  • Gold Foil – 2″ x 3-3/4″ (die cut leaves)
  • Basic White – 4″ x 5-1/4″ (inside panel), 3-1/4″ x 4-3/4″ (die cut flowers)

Stampin’ Up! products used in this project:


Stampin’ Up! Stippled Roses Thank You Card

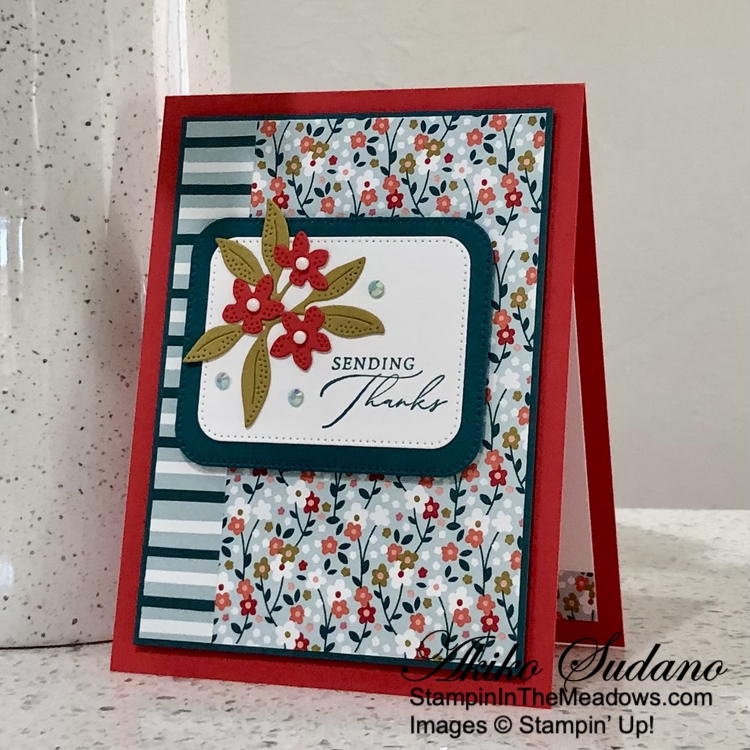
Good Morning! Here’s another sneak peek of the pretty Stampin’ Up! Stippled Roses bundle, but instead of using the pretty stamped roses images, I used the die cuts and combined them with the retiring Garden Walk 6″ x 6″ designer series paper. You can find the products I used at the bottom of my post along with the card stock sizes.

I adhered a strip of Garden Walk designer series paper to the side of a floral panel and adhered the layered DSP to a Pretty Peacock mat. I adhered the panel to the front of a Poppy Parade card base with dimensionals.

I used the largest rectangle from the Nested Essentials dies to cut a Pretty Peacock panel. I stamped the sentiment from the Stampin’ Up! Stippled Roses cling stamp set in Pretty Peacock ink on a Basic White panel and cut it out with the second largest rectangle die from the Nested Essentials dies. I adhered the die cuts together with liquid glue.

I cut a Wild Wheat panel with the long leaf cluster die from the Stampin’ Up! Stippled Roses dies twice and cut the flowers twice from a Poppy Parade panel. I adhered the leaves to the card with glue dots and adhered the flowers on top. I added small white dots for the flower centers and iridescent gemstones around the flower cluster to finish the card.

For the inside of the card, I adhered a strip of DSP to the bottom of a Basic White panel and adhered the flowers and leaves to the top corner. I trimmed the flowers and leaves and adhered the panel to the inside of the card with Stampin’ Seal.

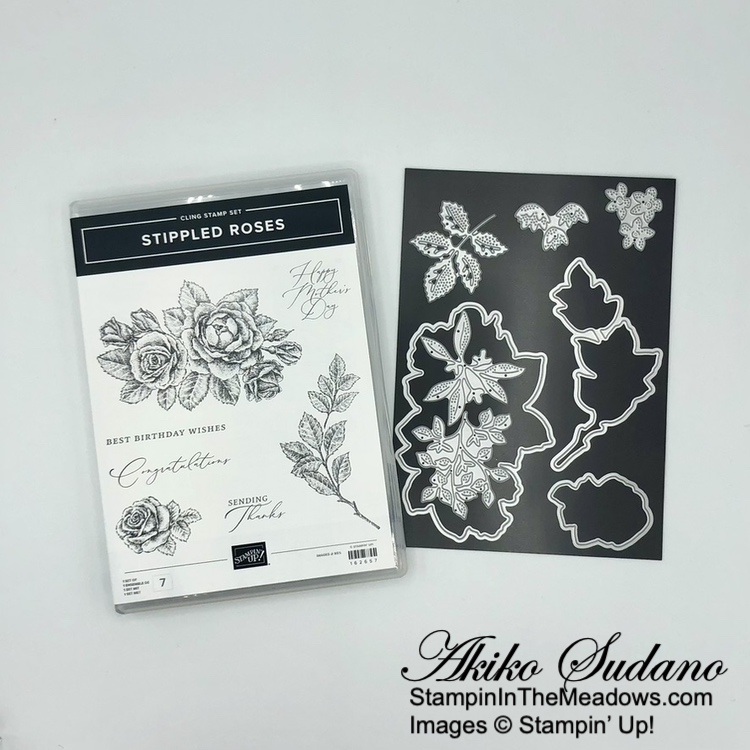
The die cuts give a different, more casual look to the Stampin’ Up! Stippled Roses bundle and it goes well with lots of different papers. The bundle will be available on Jan 4, 2024 when the new Jan-Apr 2024 Mini Catalog goes live. Here’s a picture of the bundle. Aren’t the sentiments beautiful?


Last Chance Products Discounts Going on Now!

The September–December 2023 Mini Catalog is retiring soon! It’s bittersweet to say goodbye to a Stampin’ Up! catalog, but we’re looking forward to all the new products on their way—and we hope you are, too!

The lists of retiring and carryover products has been announcedFrom November 21, 2023 –January 3, 2024, you can stock up on your favorite seasonal products from the September – December 2023 Mini Catalog and save up to 60%! So, what are you waiting for? After all, Last Chance Products will only be available while supplies last.

Click HERE to download a PDF with the list of retiring items from the Sept-Dec 2023 Mini Catalog and the discounts that start Nov 21.

Click HERE to download a PDF with the list of items from the Sept-Dec 2023 Mini Catalog that will be carrying over.

Note that for some Last Chance bundles, the individual items may be carried over, but the items will no longer be bundled with the 10% savings. These items are marked with three asterisks in the Last Chance PDF.


New January-April 2024 Mini and Sale-A-Bration

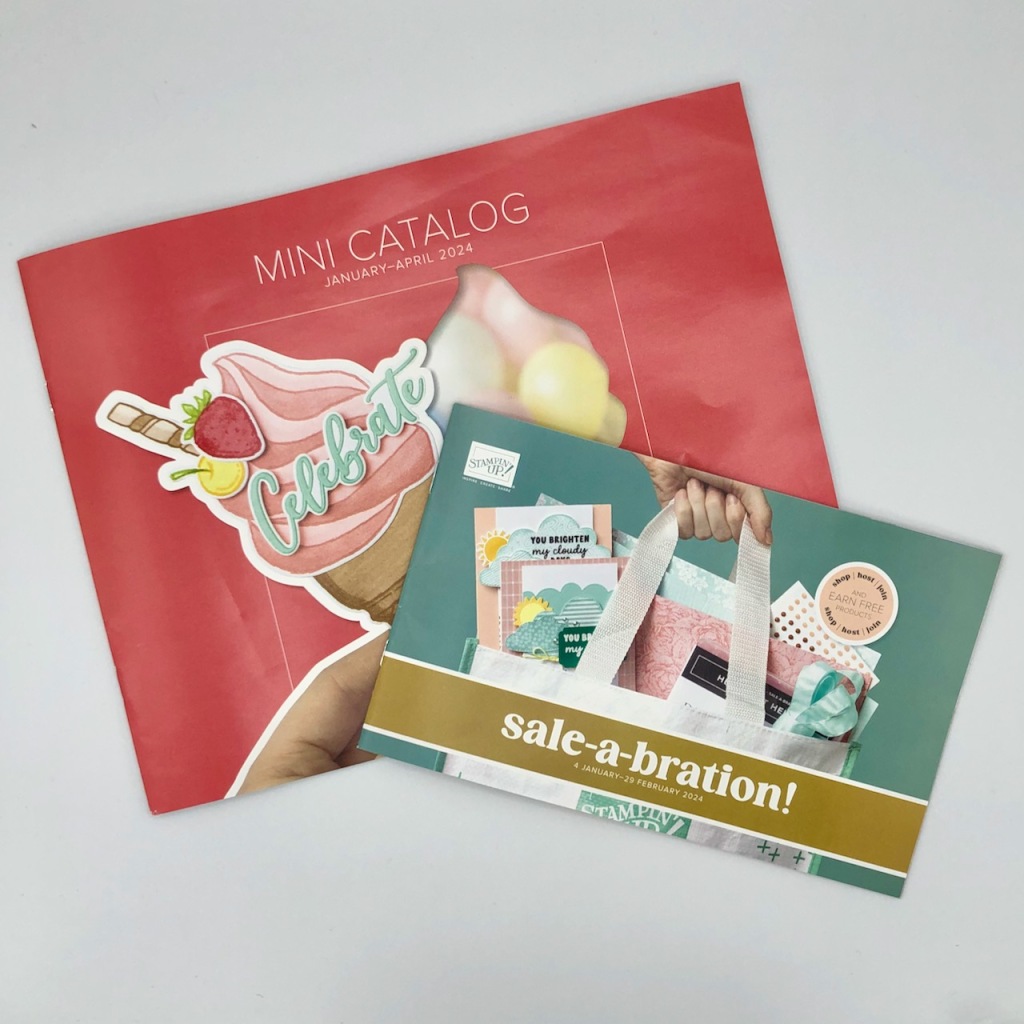
The Stampin’ Up! January – April 2024 Mini Catalog and Sale-A-Bration 2024 will begin on January 4, 2024!


Current Host Code: 27CYQXTT

Use this host code when you order $50 or more and receive a Thank You gift from me!  The free gift is your choice of any item currently available valued up to $10.00.

If your order is over $150, please do not use the host code since you’ll receive your own Host Dollars plus I’ll still send you the Thank You gift!  This host code can be used by anyone, no club or commitment required. Let me know if you have any questions.


If you need any stamping supplies, I’d be very happy to be your Demonstrator.  Just click on the Shop Now Button on the right side of the screen to go directly to my Online store or contact me if you have any questions.  Happy Stamping!

Thanks for stopping by and have a great day!

Akiko

  • Visit my online store here
  • See the current Stampin’ Up! clearance rack specials here
  • Earn FREE Stampin’ Up! products through my Wildflower Frequent Shopper Program – my way of saying thank you to my online frequent shopper customers.
  • Have any questions? I’d be happy to help, click here to contact me.

Cardstock Cuts for this project:

  • Poppy Parade – 4-1/4″ x 11″ card base scored at 5-1/2″, 1-1/4″ x 3″ (die cut flowers)
  • Pretty Peacock – 3-3/4″ x 5″ (front mat), 2-1/2″ x 3-1/4″ (die cut rectangle)
  • Wild Wheat – 2″ x 4-1/2″ (die cut leaves)
  • Basic White – 3-3/4″ x 5″ (inside panel), 2-1/4″ x 3″ (die cut rectangle)
  • Garden Walk 6″ x 6″ DSP – 3-5/8″ x 4-7/8″ (front floral background), 3/4″ x 4-7/8″ (side strip), 1/2″ x 3-3/4″ (insiide trim)

Stampin’ Up! products used in this project: