
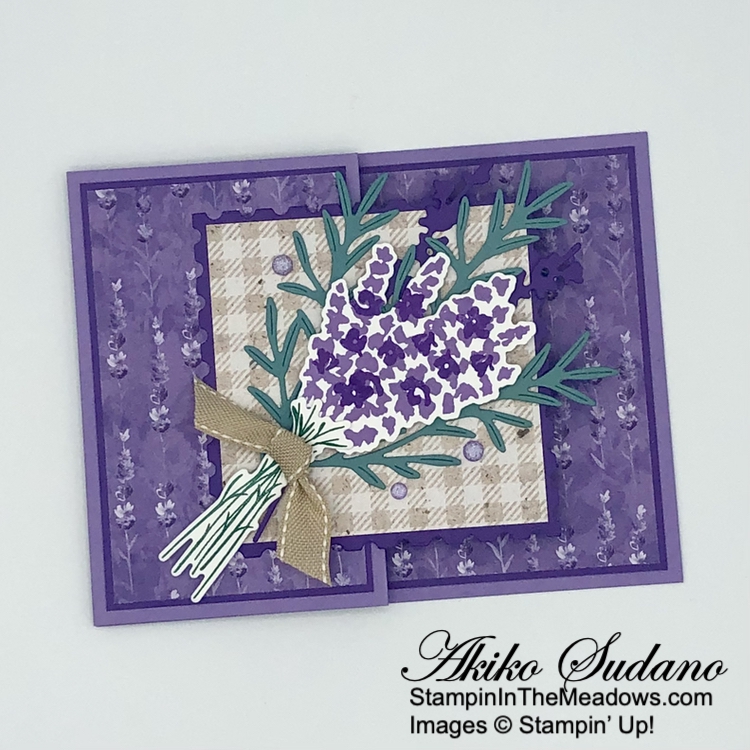
Good Morning and welcome to the Happy Inkin’ Thursday Blog Hop! The beautiful Stampin’ Up! Painted Lavender bundle and Perennial Lavender designer series paper are some of the prettiest new products in the new Mini Catalog, especially if you are a purple lover! I used these products to make a fun fold card for today – a simple Z-fold with die cut extender panel. You can find the supplies I used along with card stock cuts at the bottom of my post.

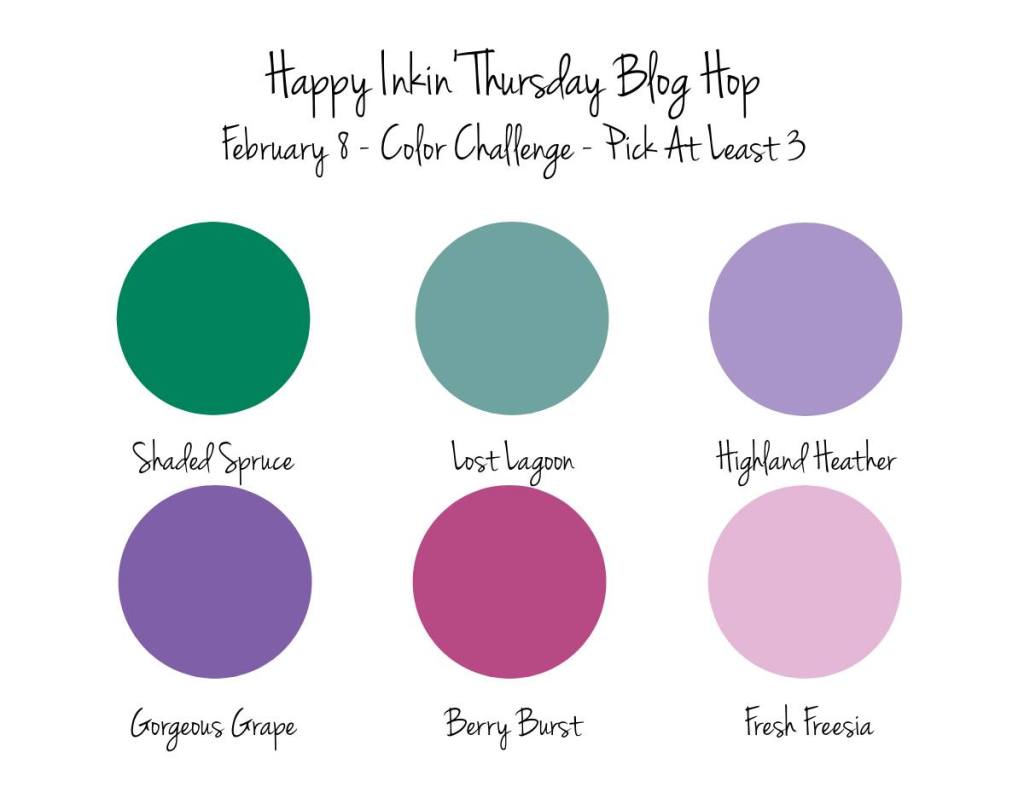
We have a color challenge this week, and I used most of the colors, but not all!
I adhered panels of Perennial Lavender designer series paper to Gorgeous Grape mats and adhered them to panels of the card base. I used the same pattern for the front and inside and a contrasting pattern for the middle section. I used the second largest rectangle to cut a Gorgeous Grape panel. It only cut three sides, so I aligned the die with the scallops to cut the fourth side and ran it through the Stampin’ Cut & Emboss machine a second time and it made a nice square! I adhered a checked panel of Perennial Lavender DSP to the front and adhered it to front of the card by applying liquid glue to the left side.

I cut the double lavender sprig from the Stampin’ Up! Painted Lavender dies from Gorgeous Grape card stock and adhered it to the card front with glue dots. I cut three lavender leaf sprig dies from Lost Lagoon and adhered them to the card with glue dots. I stamped the lavender sprig bunch from the Stampin’ Up! Painted Lavender stamp set in Highland Heather ink on Basic White. I used the little flower stamp to stamp Gorgeous Grape ink over the Highland Heather sprigs and then cut it out with the lavender sprig bunch die.
I stamped the stems from the Stampin’ Up! Painted Lavender stamp set in Shaded Spruce ink on Basic White and cut them out with the coordinating die. I adhered the stems to the sprigs and popped them on the card front with dimensionals. I made a knot in a short length of burlap ribbon and adhered it with glue dots. I finished the card front with there purple shimmer gems.

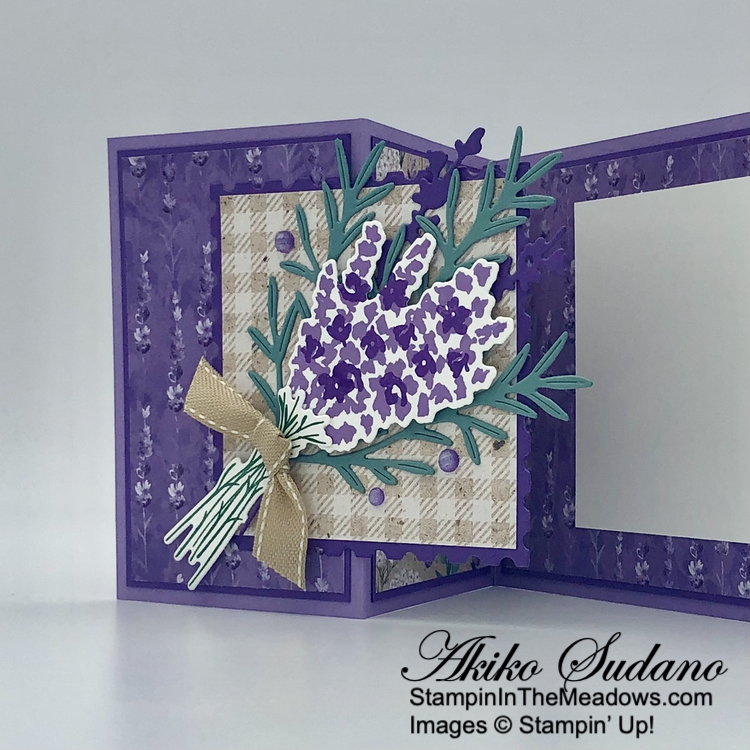
For the inside of the card, I stamped the little butterfly from the Stampin’ Up! Painted Lavender stamp set in Highland Heather ink on Basic White. I adhered the panel to the inside of the card with Stampin’ Seal, lining it up so that it would be covered by the die cut when the card is closed.
I love the Stampin’ Up! Painted Lavender bundle more and more as I play with it. The flowers are pretty when stamped in a single color, but there are so many ways to get multiple colors and it’s so fun to experiment.
On with the Hop! Click on the Next Blog button to move forward to see the beautiful project Karen Ksenzakovic has created.

If you get lost along the way, here are the participants for the hop:
- Amy Koenders
- Mary Deatherage
- Karen Finkle
- Akiko Sudano <– You Are Here
- Karen Ksenzakovic
- Tara Carpenter
- Terry Lynn Bright
- Carol Buckalew
- Nel Thames
Current Host Code: M3WQ2HCB
Use this host code when you order $50 or more and receive a free gift from me! The free gift is your choice of any item currently available valued up to $10.00!
If your order is over $150, please do not use the host code since you’ll receive your own Host Dollars plus I’ll still send you the free gift! This host code can be used by anyone, no club or commitment required. Let me know if you have any questions.
If you need any stamping supplies, I’d be very happy to be your Demonstrator. Just click on the Shop Now button on the right side of the screen to go directly to my online store or contact me if you have any questions.
Thanks for stopping by and Happy Stamping!
Akiko
- Visit my online store here
- See the current Stampin’ Up! clearance rack specials here
- Earn FREE Stampin’ Up! products through my Wildflower Frequent Shopper Program – my way of saying thank you to my online frequent shopper customers.
- Have any questions? I’d be happy to help, click here to contact me.
Cardstock Cuts for this project:
- Highland Heather – 4-1/4″ x 11″ card base, scored at 2-3/4″ and 5-1/2″
- Gorgeous Grape 4″ x 5-1/4″ (inside DSP mat), two 2-1/2″ x 4″ panels (front and side panel DSP mats), 3-1/2″ x 3-1/2″ (postage stamp die cut), 1″ x 4-1/4″ (lavender die cuts)
- Lost Lagoon – 3-3/4″ x 4″ (lavender leaves die cuts)
- Basic White – 3″ x 3″ (inside panel), 2-1/2″ x 3-1/2″ (die cut lavender and stems)
- Perennial Lavender DSP – 3″ x3″ (front background), two 2-3/8″ x 3-7/8″ panels (front and side panel DSP), 3-7/8″ x 5-1/8″ (inside DSP background)
Stampin’ Up! products used in this project:


 Designer Series Paper")


My favorite color! This package of DSP is wonderful. Great fun fold. TFS.
Thanks so much!!
Gorgeous card Akiko 🙂 Love the mix of DSP. Perfect design
Thanks so much Karen!
Oh my goodness, that’s beautiful Akiko! Love the fun fold design and the layering is perfect! 🙂
Thanks so much!!
Great card!
Thanks so much!
Stunning card! I love the fold! TFS
Thank you!! 😊
Simply beautiful – and a fun fold, too!? Wow!! Love it! 🙂
Thank you!! 😊
Gorgeous, Akiko! I love your lavender bouquet! :)
Thank you!! 😊
Beautiful card! Great use of colors and DSP, AND it’s a fun fold! Love it!
Thank you so much!! 😊