
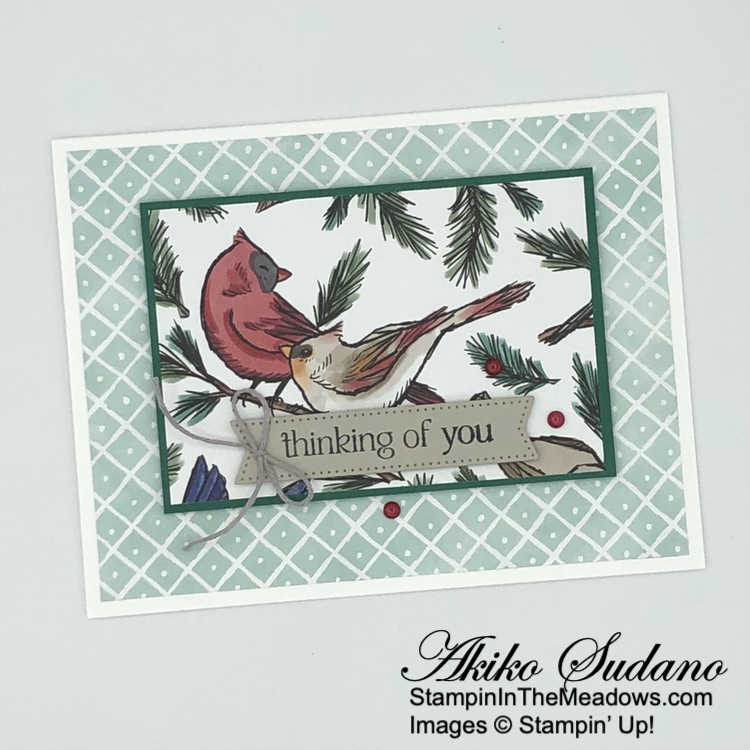
Good Morning and welcome to the Happy Inkin’ Thursday Blog Hop! I used the pretty Stampin’ Up! Winterly Tree Tops stamp set with the sweet Nests of Winter designer series paper to make a simplenThinking of You card today. You can find the supplies I used along with card stock cuts at the bottom of my post.

We have a pretty sketch challenge this week:

I adhered a panel of Nests of Winter designer series paper to the front of a Thick Basic White card base with liquid glue.
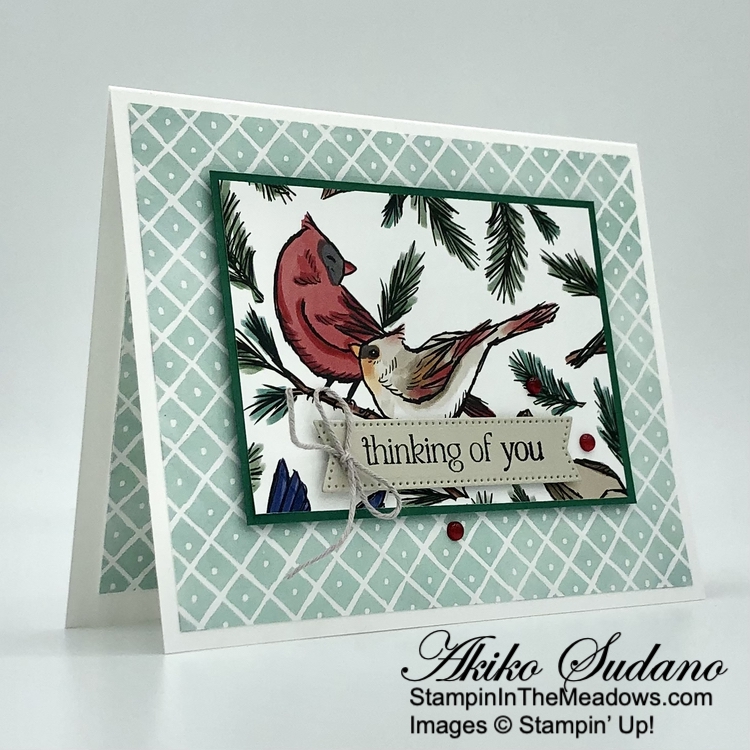
I adhered a birdy panel of the DSP to a Shaded Spruce mat and popped it on the card front with dimensionals. I stamped part of the sentiment from the Stampin’ Up! Winterly Tree Tops stamp set using Memento Tuxedo Black ink on a Gray Granite strip and cut it out with the skinny banner die from the Stylish Shapes dies. I popped it on the card with dimensionals.
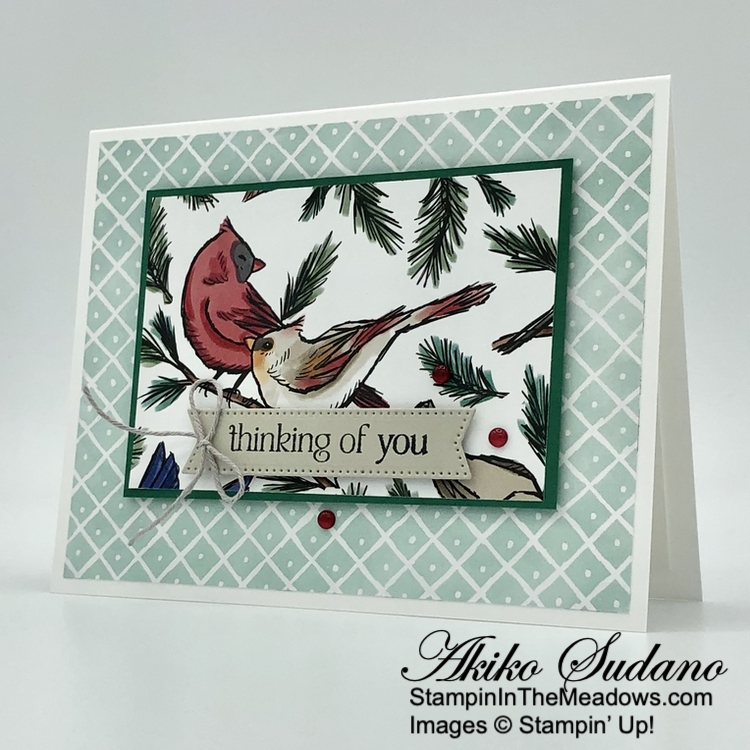
I made a bow with Gray Granite baker’s twine and adhered it to the label with a glue dot. I finished the card with Cherry Cobbler berries.
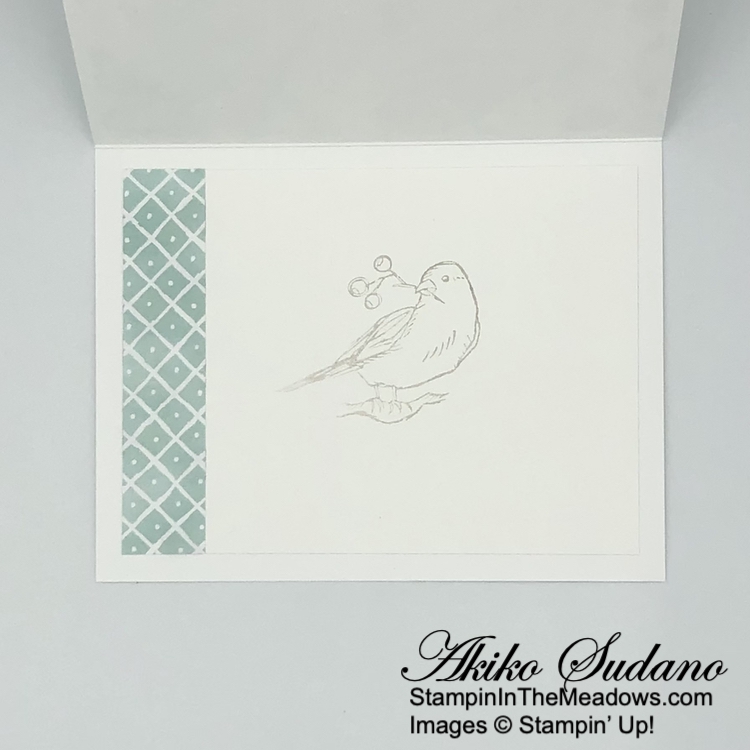
For the inside of the card, I stamped the bird from the Stampin’ Up! Winterly Tree Tops stamp set using twice stamped off Gray Granite ink on a Basic White panel. I adhered DSP to the side before adhering the panel to the inside of the card with Stampin’ Seal..
The sentiments in the Stampin’ Up! Winterly Tree Tops stamp set are simple and perfect for use year round. The pretty Nests of Winter DSP are nice for Christmas cards, making the suite perfect for any occasion during the Winter holidays!
On with the Hop! Click on the Next Blog button to move forward to see the beautiful project Karen Ksenzakovic has created.

If you get lost along the way, here are the participants for the hop:
- Amy Koenders
- Mary Deatherage
- Jaimie Babarczy
- Karen Finkle
- Akiko Sudano <– You Are Here
- Karen Ksenzakovic
- Tara Carpenter
- Terry Lynn Bright
- Carol Buckalew