
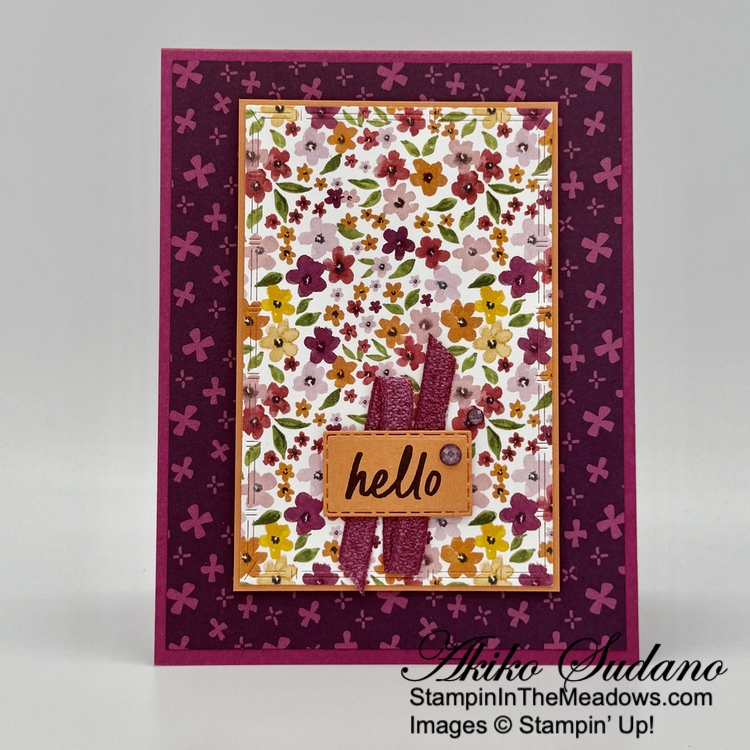
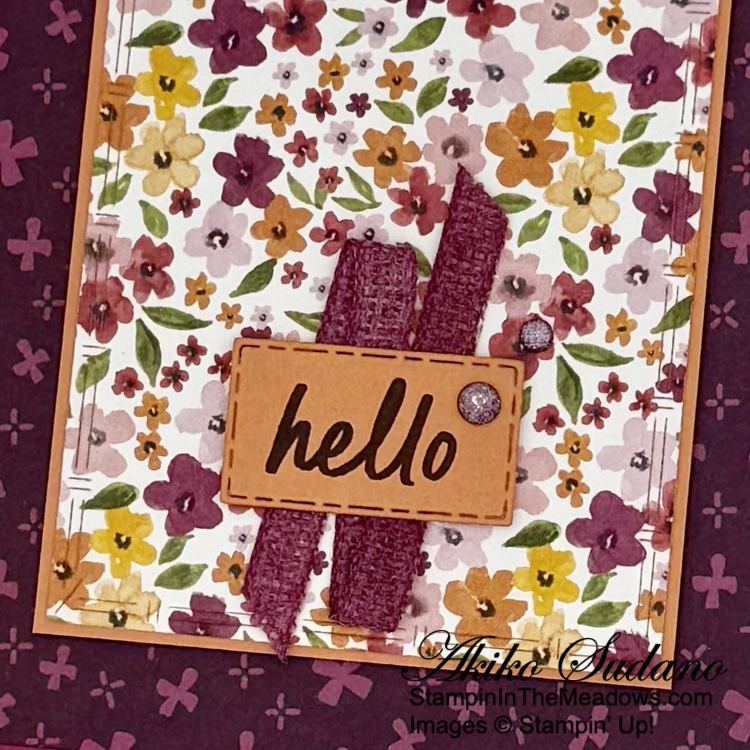
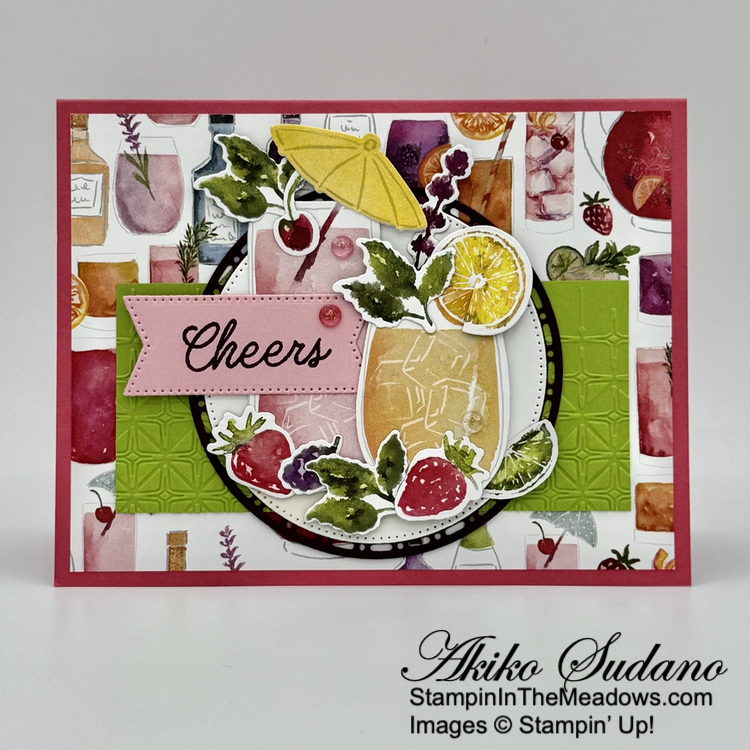
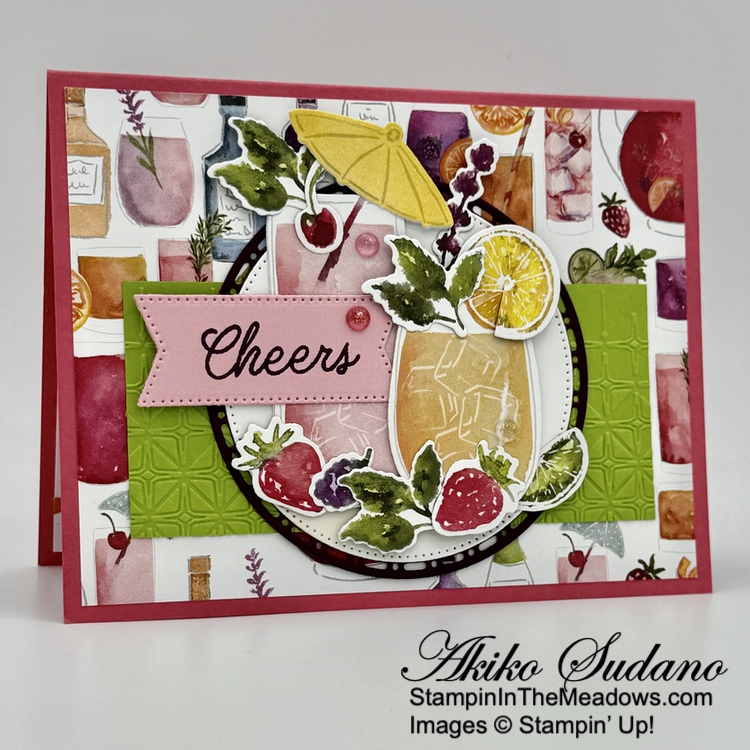
Good Morning and welcome to the Happy Inkin’ Thursday Blog Hop! Here’s a simple hello card made with the Stampin’ Up! Simply Said stamp set and the pretty Celebration Sips designer series paper. You can find the supplies I used along with card stock cuts at the bottom of my post.
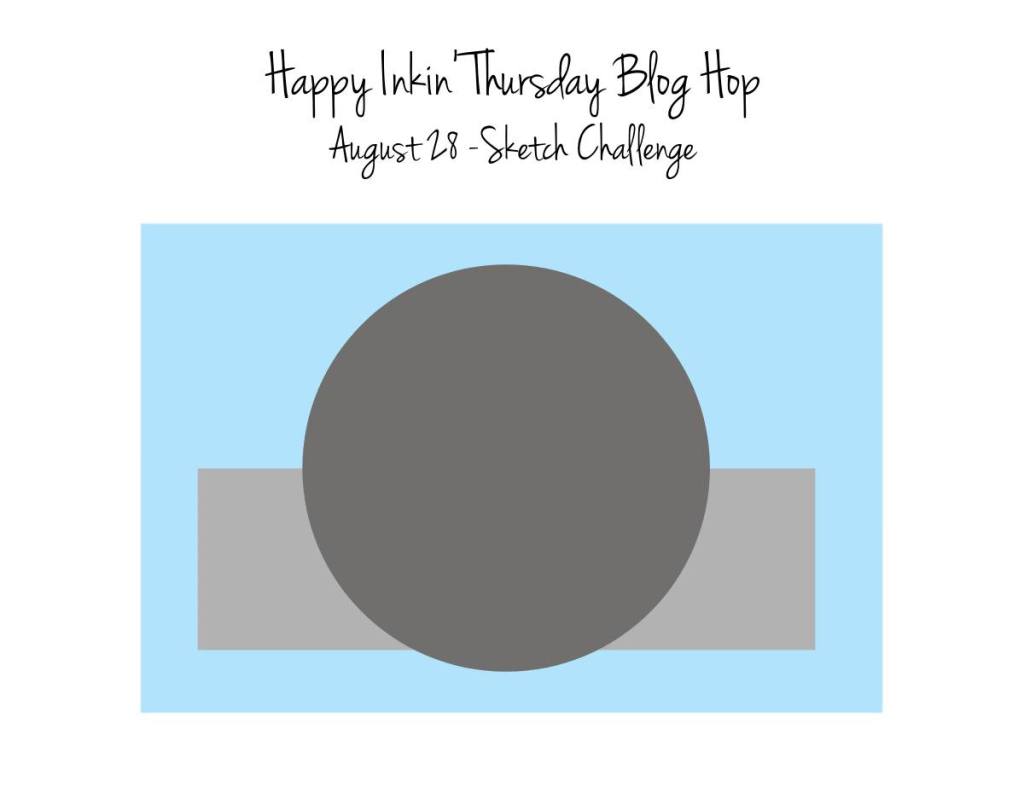
We have a pretty sketch challenge this week:

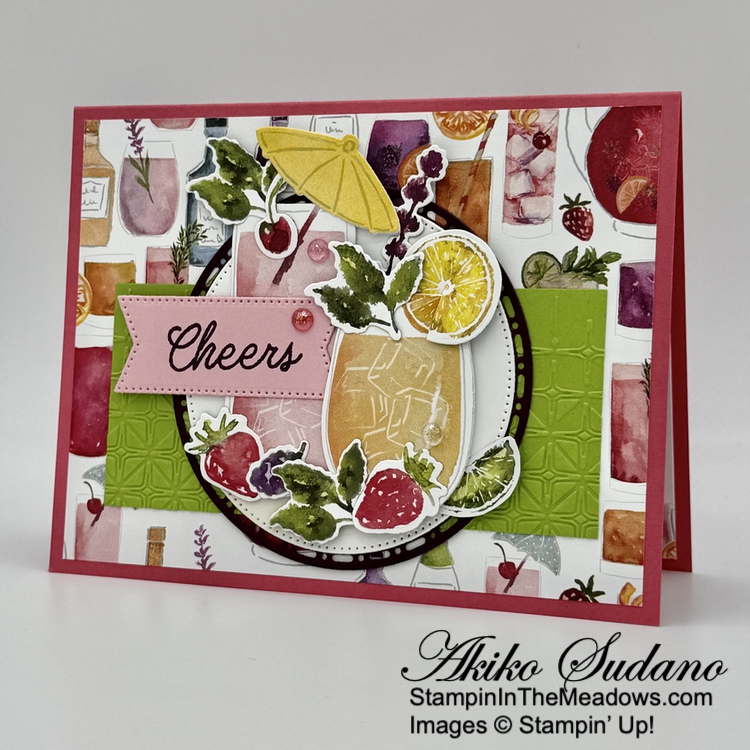
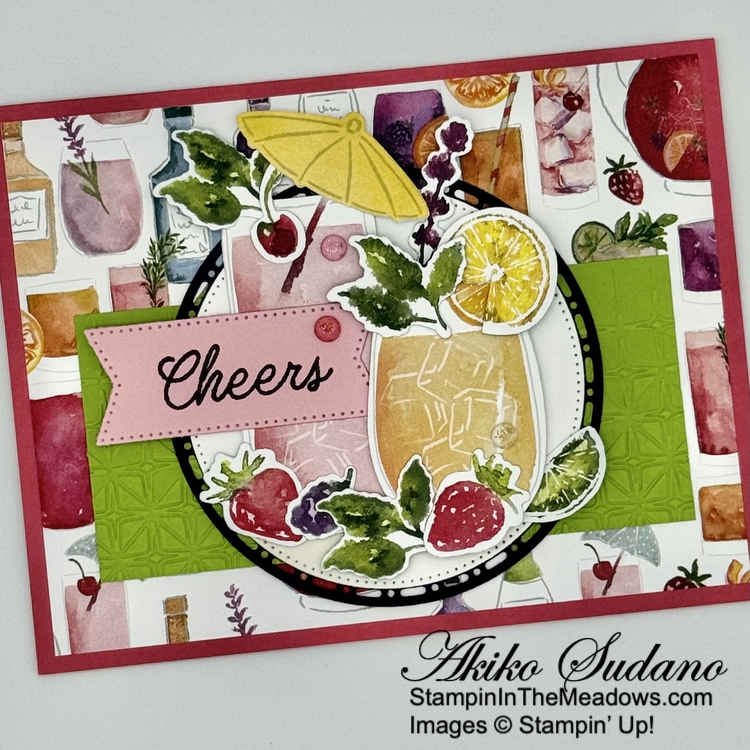
Adhere a panel of Celebration Sips designer series paper to a Berry Burst card base with liquid glue. Cut another panel of DSP with one of the Textured Notes rectangle dies and adhere it to a Timid Tiger mat. Adhere the layered DSP panel to the card with dimensionals.
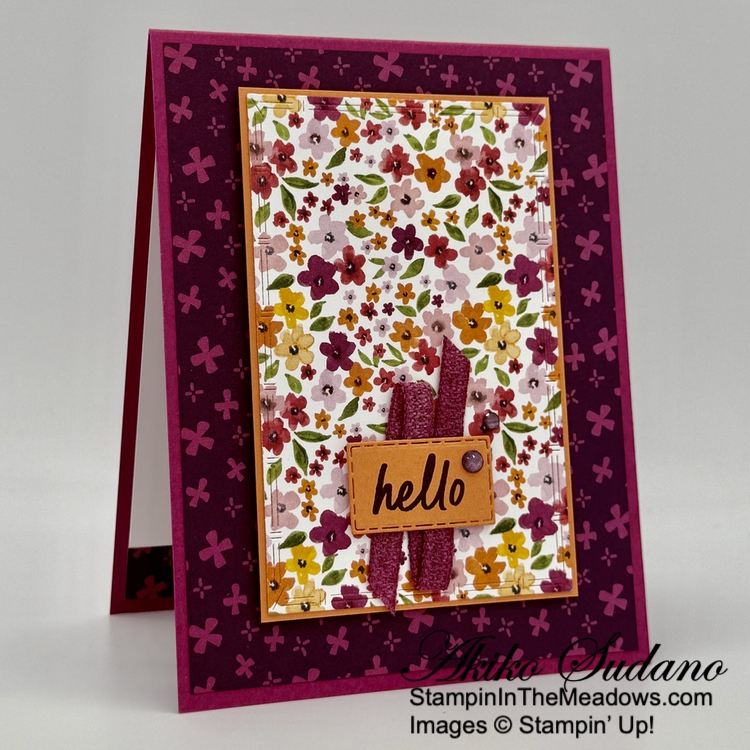
Stamp the sentiment from the Stampin’ Up! Simply Said stamp set using Blackberry Bliss ink on Timid Tiger. Cut it out using the Textured Notes die using the two step method so that it is shorter and fits the sentiment.
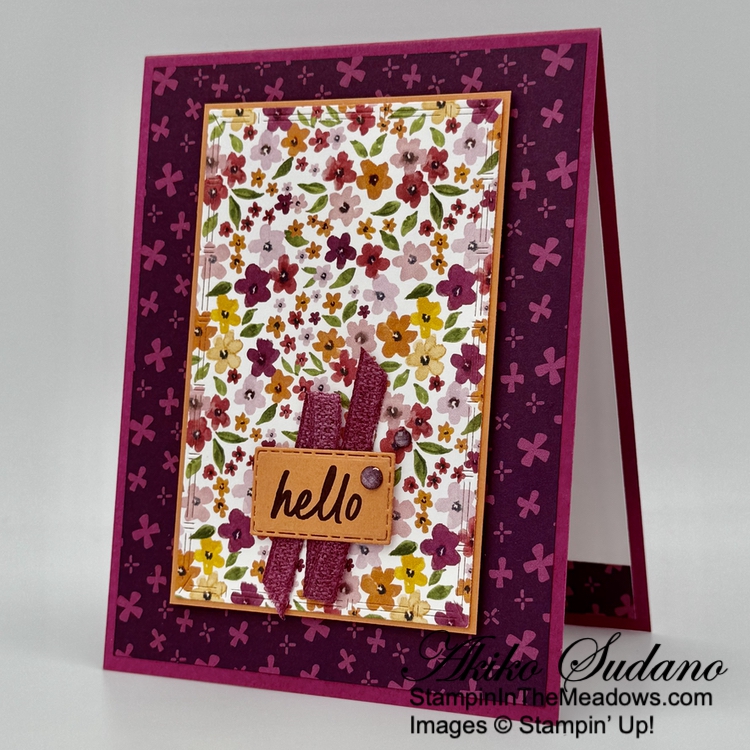
Use the light Berry Burst Stampin’ Blends marker to color a length of white ribbon. Fold the ribbon and adhere it to the back of the sentiment label with Stampin’ Seal. Adhere the label to the card with dimensionals and finish with Blackberry Bliss Shimmer Gems.
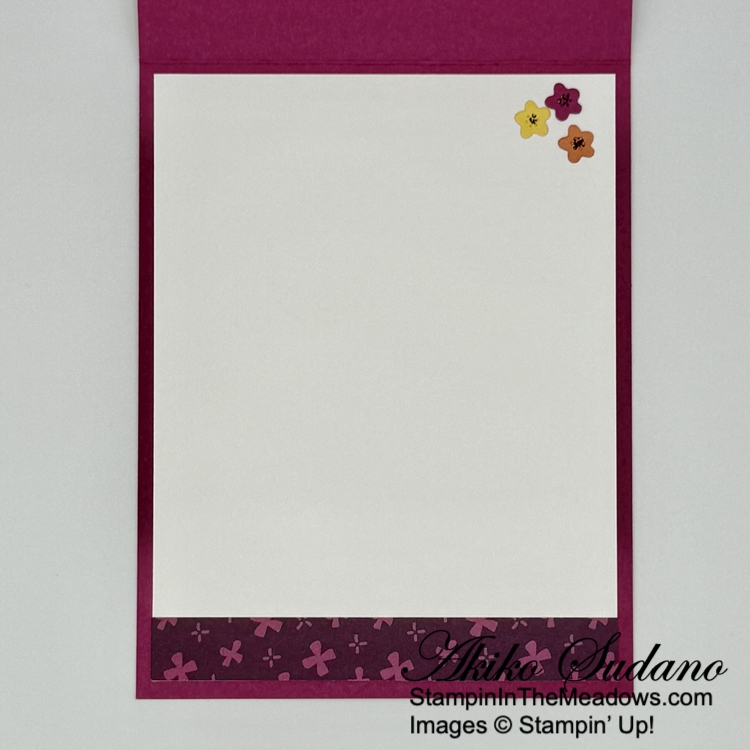
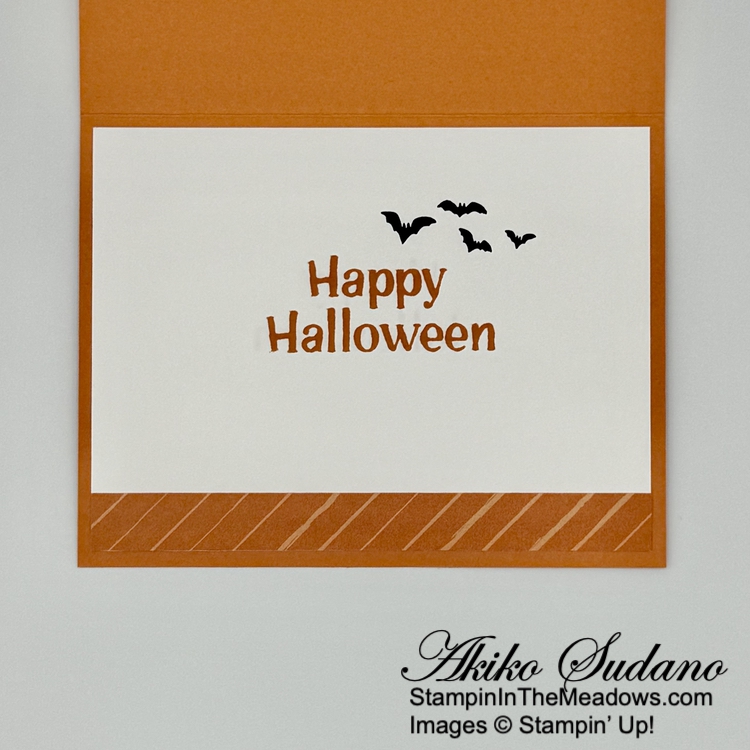
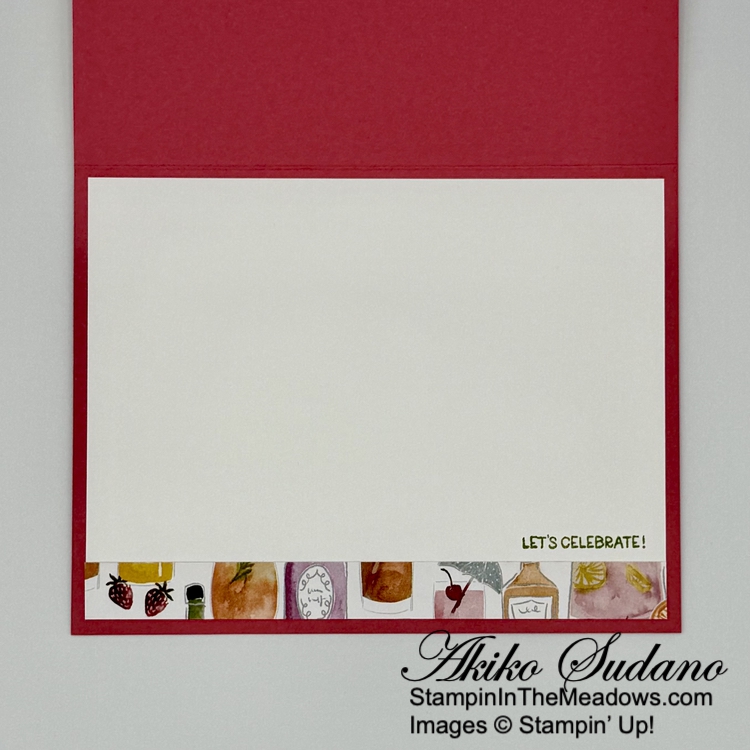
For the inside, use the small flower dies from the Impressions Abloom dies to cut Berry Burst, Daffodil Delight and Timid Tiger flowers. Use the Black Stampin’ Write marker to color the center and adhere them to a corner of a Basic White panel. Adhere a strip of DSP to the bottom of the panel and adhere it to the inside of the card with Stampin’ Seal.
The Stampin’ Up! Simply Said stamp set is my go to set for simple sentiments. They are the most commonly used sentiments and the fonts will go with many different styles.
On with the Hop! Click on the Next Blog button to move forward to see the beautiful project Tara Carpenter has created.

If you get lost along the way, here are the participants for the hop:
- Amy Koenders
- Mary Deatherage
- Karen Ksenzakovic
- Akiko Sudano <– You Are Here
- Tara Carpenter
- Nicole Bloxom
Thanks for stopping by and Happy Stamping!
Akiko
Cardstock Cuts for this project:
- Berry Burst – 4-1/4″ x 11″ card base, scored at 5-1/2″, 1″ x 1″ (die cut flowers)
- Timid Tiger – 2-7/8″ x 4-3/8″ (floral DSP mat), 1-1/4″ x 2-1/2″ (label), 1″ x 1″ (die cut flowers)
- Daffodil Delight – 1″ x 1″ (die cut flowers)
- Basic White – 4″ x 5-1/4″ (inside panel)
- Celebratory Sips DSP – 4″ x 5-1/4″ (front background), 3″ x 4-1/2″ (floral panel), 1/2″ x 4″ (inside trim)
Stampin’ Up! products used in this project:
![Simply Said Mix & Match Photopolymer Stamp Set (English) [ 163756 ]](https://assets1.tamsnetwork.com/images/EC042017NF/163756s.jpg "Simply Said Mix & Match Photopolymer Stamp Set (English) [ 163756 ]")
![Textured Notes Dies [ 165555 ]](https://assets1.tamsnetwork.com/images/EC042017NF/165555s.jpg "Textured Notes Dies [ 165555 ]")
![Impressions Abloom Dies [ 165610 ]](https://assets1.tamsnetwork.com/images/EC042017NF/165610s.jpg "Impressions Abloom Dies [ 165610 ]")
![Celebratory Sips 12" X 12" (30.5 X 30.5 Cm) Designer Series Paper [ 165586 ]](https://assets1.tamsnetwork.com/images/EC042017NF/165586s.jpg "Celebratory Sips 12\" X 12\" (30.5 X 30.5 Cm) Designer Series Paper [ 165586 ]")
![Berry Burst 8-1/2" X 11" Cardstock [ 144243 ]](https://assets1.tamsnetwork.com/images/EC042017NF/144243s.jpg "Berry Burst 8-1/2\" X 11\" Cardstock [ 144243 ]")
![Timid Tiger 8 1/2" X 11" Cardstock [ 165626 ]](https://assets1.tamsnetwork.com/images/EC042017NF/165626s.jpg "Timid Tiger 8 1/2\" X 11\" Cardstock [ 165626 ]")
![Daffodil Delight 8-1/2" X 11" Cardstock [ 119683 ]](https://assets1.tamsnetwork.com/images/EC042017NF/119683s.jpg "Daffodil Delight 8-1/2\" X 11\" Cardstock [ 119683 ]")
![Basic White 8 1/2" X 11" Cardstock [ 166780 ]](https://assets1.tamsnetwork.com/images/EC042017NF/166780s.jpg "Basic White 8 1/2\" X 11\" Cardstock [ 166780 ]")
![Blackberry Bliss Classic Stampin' Pad [ 147092 ]](https://assets1.tamsnetwork.com/images/EC042017NF/147092s.jpg "Blackberry Bliss Classic Stampin' Pad [ 147092 ]")
![Berry Burst Stampin’ Blends Combo Pack [ 161681 ]](https://assets1.tamsnetwork.com/images/EC042017NF/161681s.jpg "Berry Burst Stampin’ Blends Combo Pack [ 161681 ]")
![Basic Black Stampin' Write Marker [ 162481 ]](https://assets1.tamsnetwork.com/images/EC042017NF/162481s.jpg "Basic Black Stampin' Write Marker [ 162481 ]")
![Purple Fine Shimmer Gems [ 162611 ]](https://assets1.tamsnetwork.com/images/EC042017NF/162611s.jpg "Purple Fine Shimmer Gems [ 162611 ]")
![White 1/4" (6.4 Mm) Ribbon [ 165562 ]](https://assets1.tamsnetwork.com/images/EC042017NF/165562s.jpg "White 1/4\" (6.4 Mm) Ribbon [ 165562 ]")
![Multipurpose Liquid Glue [ 110755 ]](https://assets1.tamsnetwork.com/images/EC042017NF/110755s.jpg "Multipurpose Liquid Glue [ 110755 ]")
![Stampin' Dimensionals [ 104430 ]](https://assets1.tamsnetwork.com/images/EC042017NF/104430s.jpg "Stampin' Dimensionals [ 104430 ]")
![Mini Glue Dots [ 103683 ]](https://assets1.tamsnetwork.com/images/EC042017NF/103683s.jpg "Mini Glue Dots [ 103683 ]")
![Stampin' Seal [ 152813 ]](https://assets1.tamsnetwork.com/images/EC042017NF/152813s.jpg "Stampin' Seal [ 152813 ]")
![Stampin' Cut & Emboss Machine [ 149653 ]](https://assets1.tamsnetwork.com/images/EC042017NF/149653s.jpg "Stampin' Cut & Emboss Machine [ 149653 ]")

![Spooky Halloween Bundle (English) [ 166199 ]](https://assets1.tamsnetwork.com/images/EC042017NF/166199s.jpg "Spooky Halloween Bundle (English) [ 166199 ]")
![Loveliest Tree Dies [ 163715 ]](https://assets1.tamsnetwork.com/images/EC042017NF/163715s.jpg "Loveliest Tree Dies [ 163715 ]")
![Stylish Shapes Dies [ 159183 ]](https://assets1.tamsnetwork.com/images/EC042017NF/159183s.jpg "Stylish Shapes Dies [ 159183 ]")
![Timid Tiger 12" X 12" (30.5 X 30.5 Cm) Two Tone Cardstock [ 166706 ]](https://assets1.tamsnetwork.com/images/EC042017NF/166706s.jpg "Timid Tiger 12\" X 12\" (30.5 X 30.5 Cm) Two Tone Cardstock [ 166706 ]")
![Secret Sea 8 1/2" X 11" Cardstock [ 165624 ]](https://assets1.tamsnetwork.com/images/EC042017NF/165624s.jpg "Secret Sea 8 1/2\" X 11\" Cardstock [ 165624 ]")
![Early Espresso 8-1/2" X 11" Cardstock [ 119686 ]](https://assets1.tamsnetwork.com/images/EC042017NF/119686s.jpg "Early Espresso 8-1/2\" X 11\" Cardstock [ 119686 ]")
![Secret Sea Classic Stampin' Pad [ 165285 ]](https://assets1.tamsnetwork.com/images/EC042017NF/165285s.jpg "Secret Sea Classic Stampin' Pad [ 165285 ]")
![Berry Burst Classic Stampin' Pad [ 147143 ]](https://assets1.tamsnetwork.com/images/EC042017NF/147143s.jpg "Berry Burst Classic Stampin' Pad [ 147143 ]")
![Timid Tiger Classic Stampin' Pad [ 165278 ]](https://assets1.tamsnetwork.com/images/EC042017NF/165278s.jpg "Timid Tiger Classic Stampin' Pad [ 165278 ]")
![Daffodil Delight Classic Stampin' Pad [ 147094 ]](https://assets1.tamsnetwork.com/images/EC042017NF/147094s.jpg "Daffodil Delight Classic Stampin' Pad [ 147094 ]")
![Granny Apple Green Stampin' Pad [ 147095 ]](https://assets1.tamsnetwork.com/images/EC042017NF/147095s.jpg "Granny Apple Green Stampin' Pad [ 147095 ]")
![Blending Brushes [ 153611 ]](https://assets1.tamsnetwork.com/images/EC042017NF/153611s.jpg "Blending Brushes [ 153611 ]")
![Shimmer Star Foam Stickers [ 166202 ]](https://assets1.tamsnetwork.com/images/EC042017NF/166202s.jpg "Shimmer Star Foam Stickers [ 166202 ]")

![Cheers & Sips Bundle (English) [ 165594 ]](https://assets1.tamsnetwork.com/images/EC042017NF/165594s.jpg "Cheers & Sips Bundle (English) [ 165594 ]")
![Spotlight On Nature Dies [ 163580 ]](https://assets1.tamsnetwork.com/images/EC042017NF/163580s.jpg "Spotlight On Nature Dies [ 163580 ]")
![Glass & Gardens Embossing Folders [ 165597 ]](https://assets1.tamsnetwork.com/images/EC042017NF/165597s.jpg "Glass & Gardens Embossing Folders [ 165597 ]")
![Strawberry Slush 8 1/2" X 11" Cardstock [ 165625 ]](https://assets1.tamsnetwork.com/images/EC042017NF/165625s.jpg "Strawberry Slush 8 1/2\" X 11\" Cardstock [ 165625 ]")
![Granny Apple Green 8-1/2" X 11" Cardstock [ 146990 ]](https://assets1.tamsnetwork.com/images/EC042017NF/146990s.jpg "Granny Apple Green 8-1/2\" X 11\" Cardstock [ 146990 ]")
![Blackberry Bliss 8-1/2" X 11" Cardstock [ 133675 ]](https://assets1.tamsnetwork.com/images/EC042017NF/133675s.jpg "Blackberry Bliss 8-1/2\" X 11\" Cardstock [ 133675 ]")
![Pretty In Pink 8 1/2" X 11" Cardstock [ 163793 ]](https://assets1.tamsnetwork.com/images/EC042017NF/163793s.jpg "Pretty In Pink 8 1/2\" X 11\" Cardstock [ 163793 ]")
![Classic Stampin' Spot Small Assortment 1 [ 166716 ]](https://assets1.tamsnetwork.com/images/EC042017NF/166716s.jpg "Classic Stampin' Spot Small Assortment 1 [ 166716 ]")
![Strawberry Slush & Pretty In Pink Gems [ 165615 ]](https://assets1.tamsnetwork.com/images/EC042017NF/165615s.jpg "Strawberry Slush & Pretty In Pink Gems [ 165615 ]")

